
Unveil the Magic of Spring: Simple Yet Stunning Easter Table Decor Ideas That Everyone Will Love!
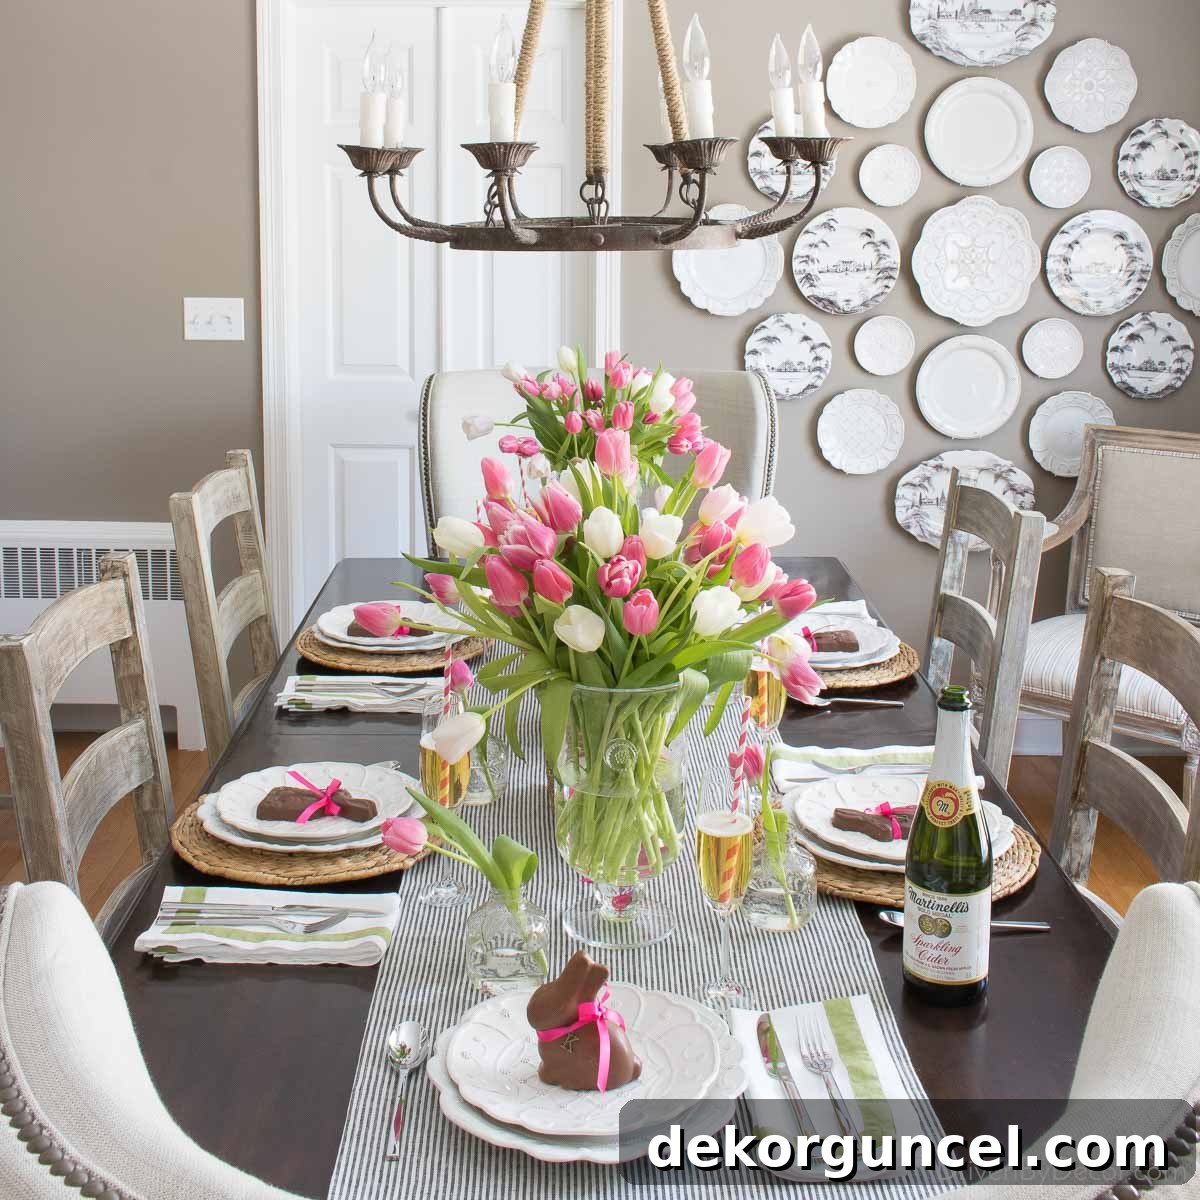
While some find joy in the culinary delights of holiday cooking, my true passion lies in the artistry of decorating holiday tables. There’s something uniquely enchanting about crafting a beautiful setting that brings people together and celebrates the spirit of the season. Among all the holidays, Easter tables hold a special place in my heart. With the vibrant display of tulips gracing grocery store aisles, it’s effortlessly simple to conjure a magnificent table scape without excessive effort or expense. Today, I’m thrilled to share my absolute favorite Easter table decor ideas – concepts that are not only easy to assemble but also utilize items you likely already possess, augmented by a few delightful finds from your local grocery store. Get ready to transform your dining space into a memorable springtime haven!
1. Craft an Effortless Yet Captivating Centerpiece with Fresh Tulips!
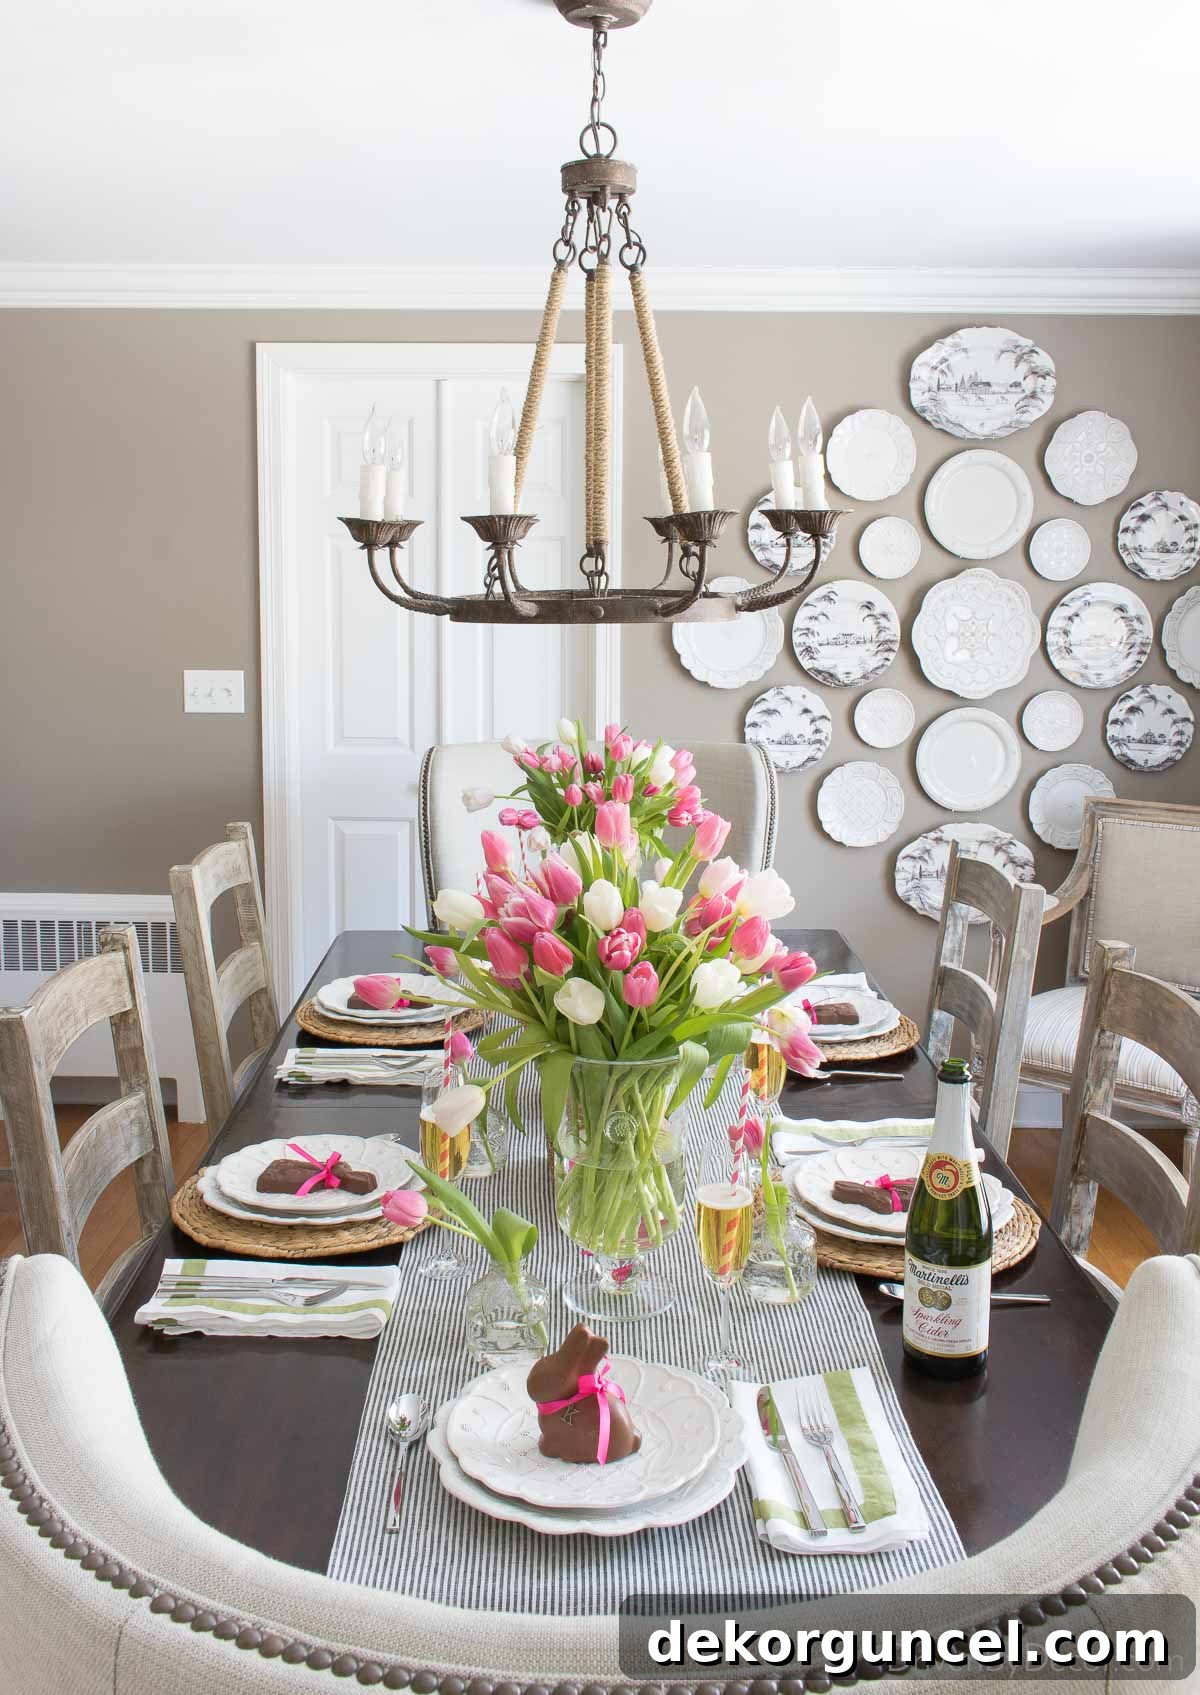
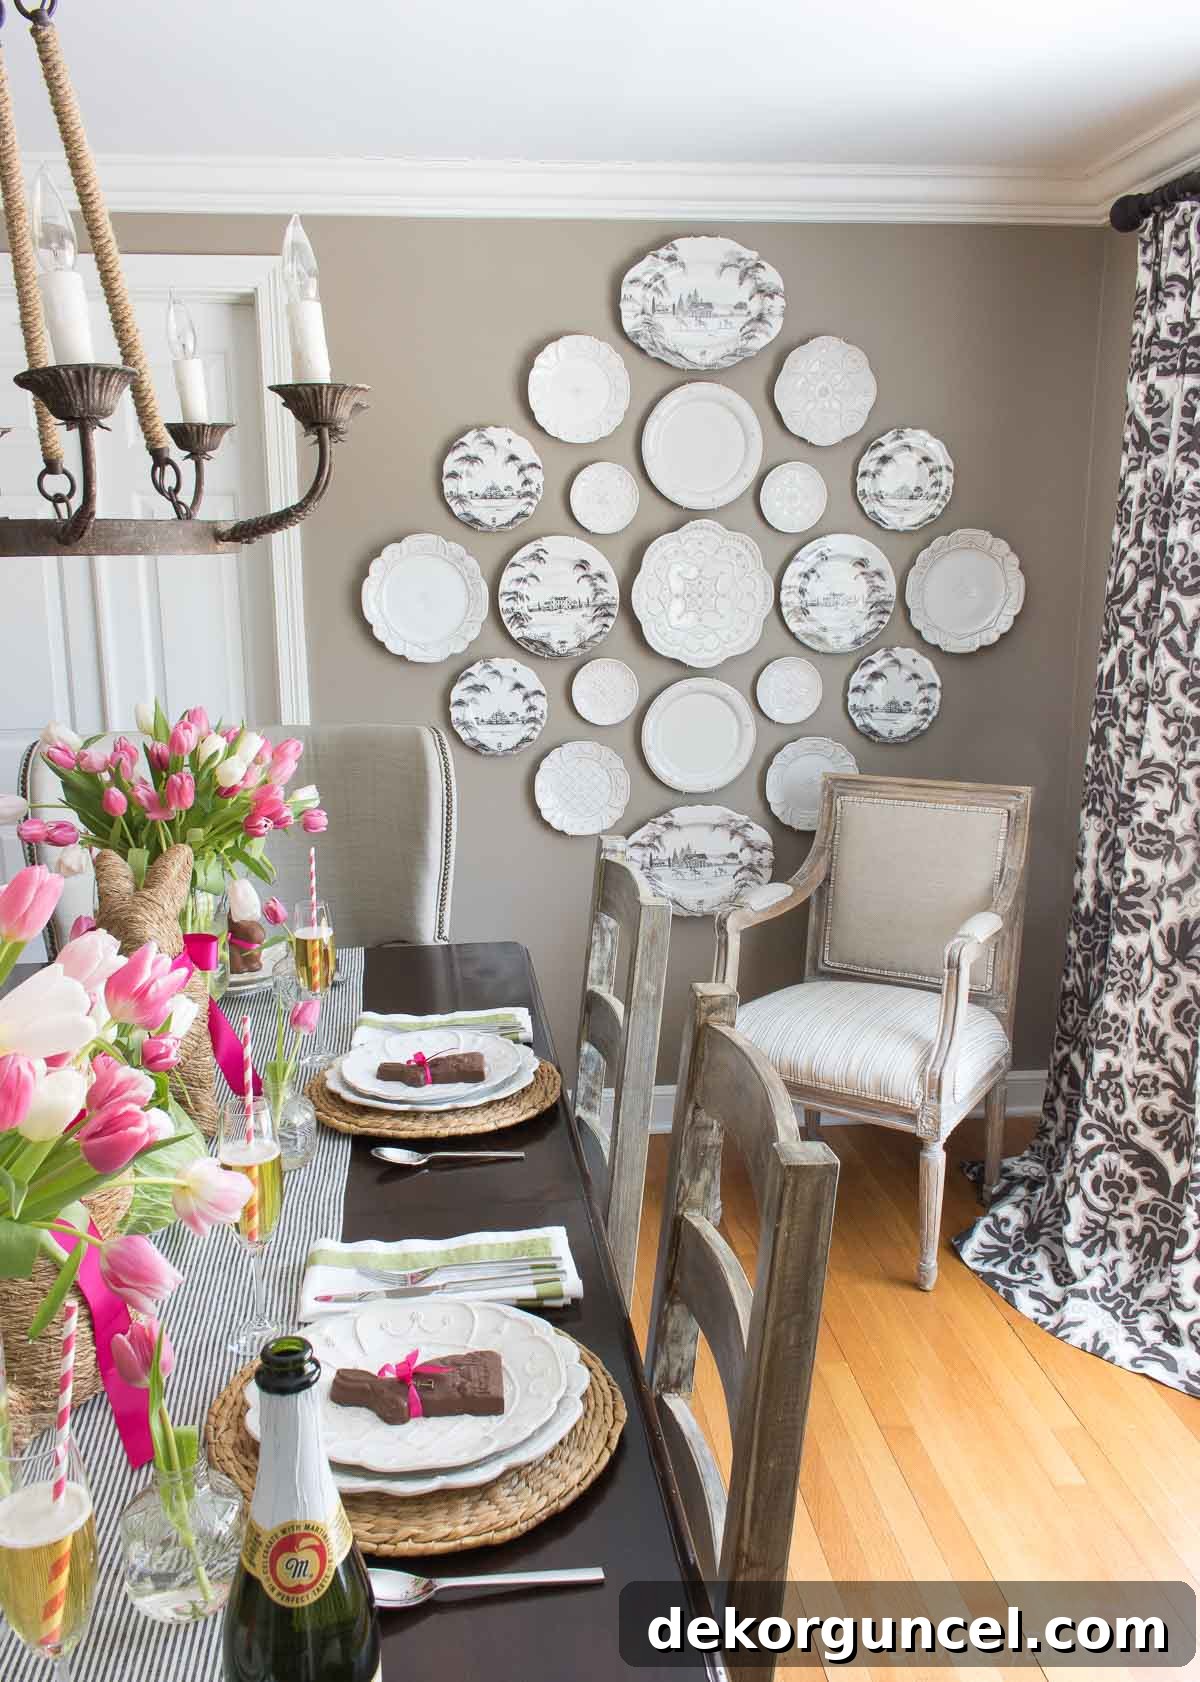
Tulips are undoubtedly the quintessential flower for an Easter centerpiece, and for excellent reasons! First, their affordability makes them accessible to every budget, allowing you to create a lush display without breaking the bank. Second, their widespread availability in most grocery stores means you can conveniently pick up a few bundles during your regular shopping trip. And perhaps best of all, absolutely no professional flower arranging skills are required! Even the most novice decorator can achieve a stunning look by simply gathering a few vibrant bundles of tulips and placing them artfully in a vase. For example, my local grocery store offers beautiful tulips for just $5 a bundle, and I used a total of six bundles – a modest $30 investment – in a delightful mix of pink and white to create this charming Easter table:
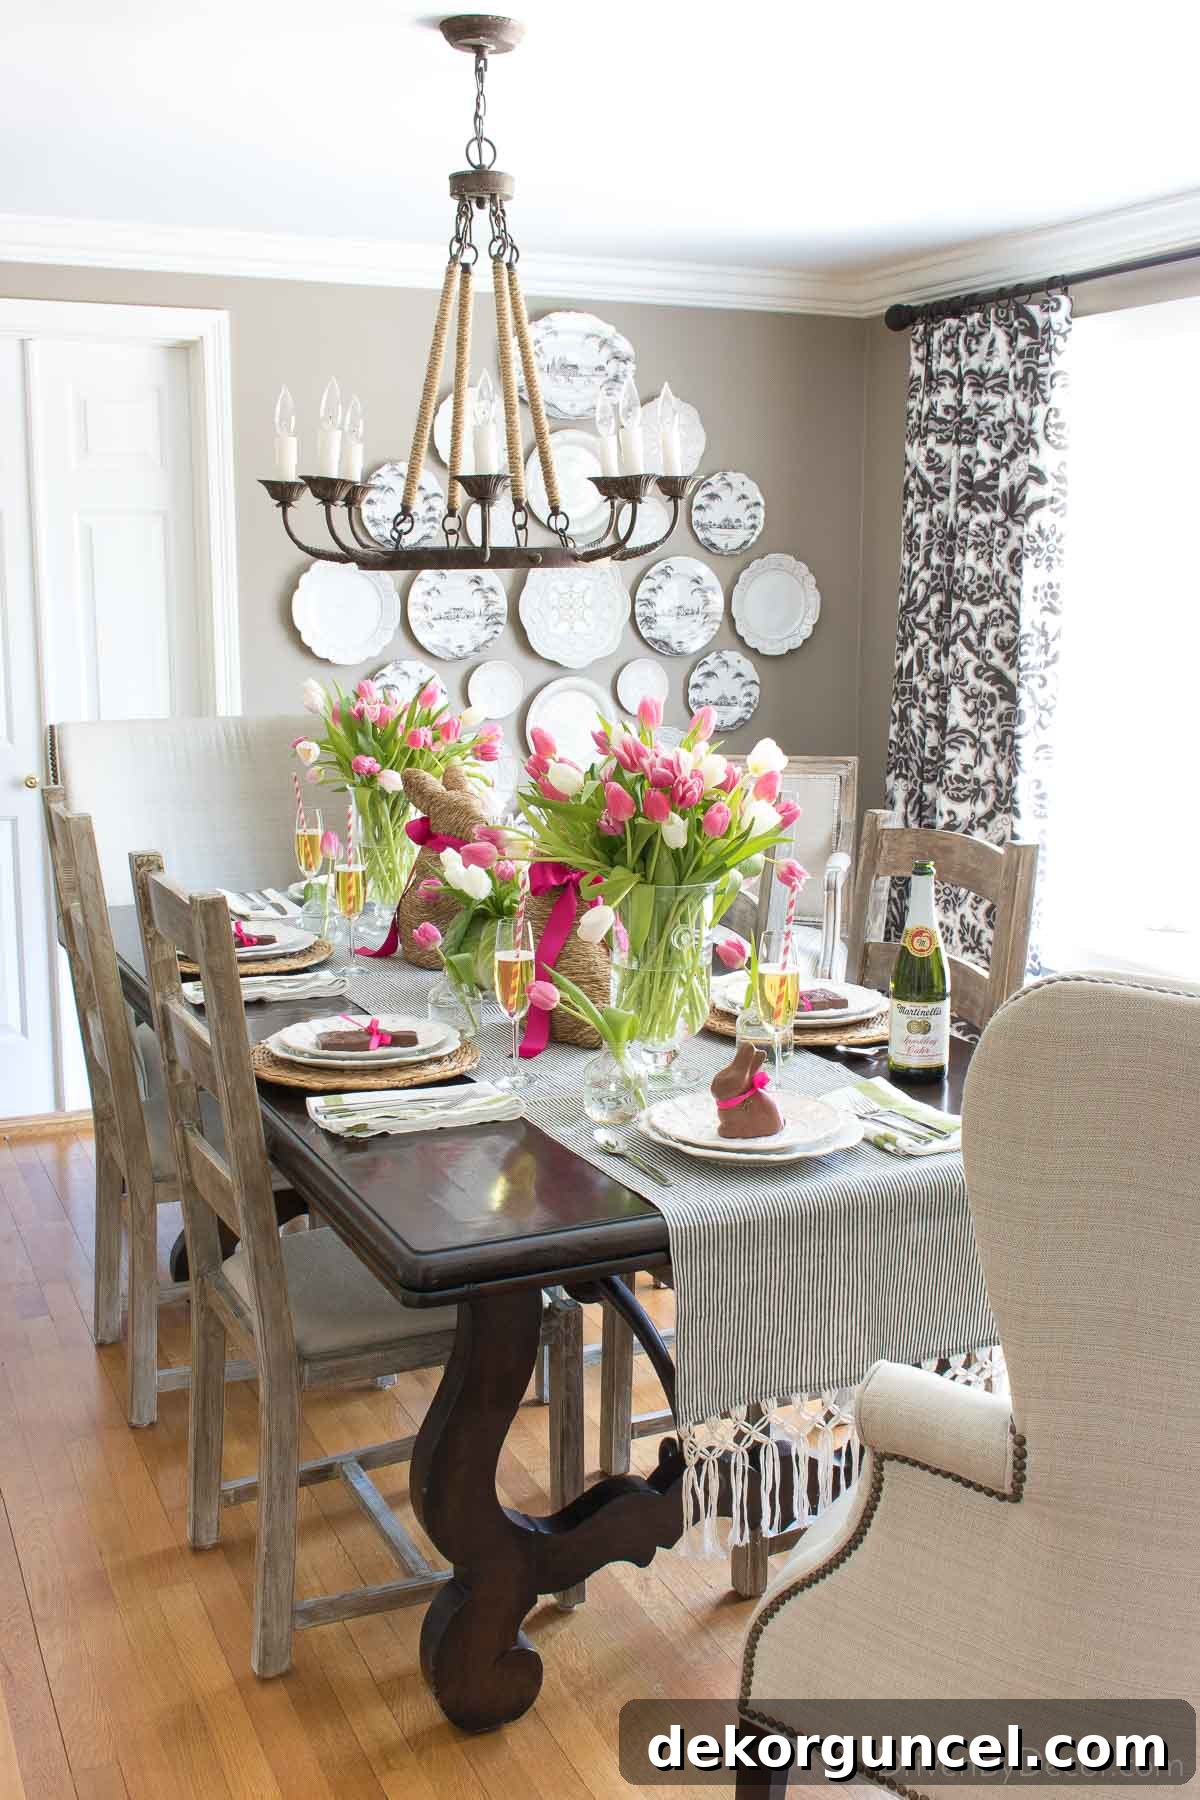
To ensure your tulips remain fresh and vibrant throughout your Easter celebration, here’s a pro tip: once you bring them home, trim about an inch off the bottom of their stems at an angle. This increases the surface area for water absorption. Remember to change the water every few days, and your beautiful blooms should last a full week, if not longer. For this display, I chose to place my tulips in a pair of {these versatile hurricane vases}, which are my absolute go-to for showcasing cut flowers due to their classic elegance and stability.
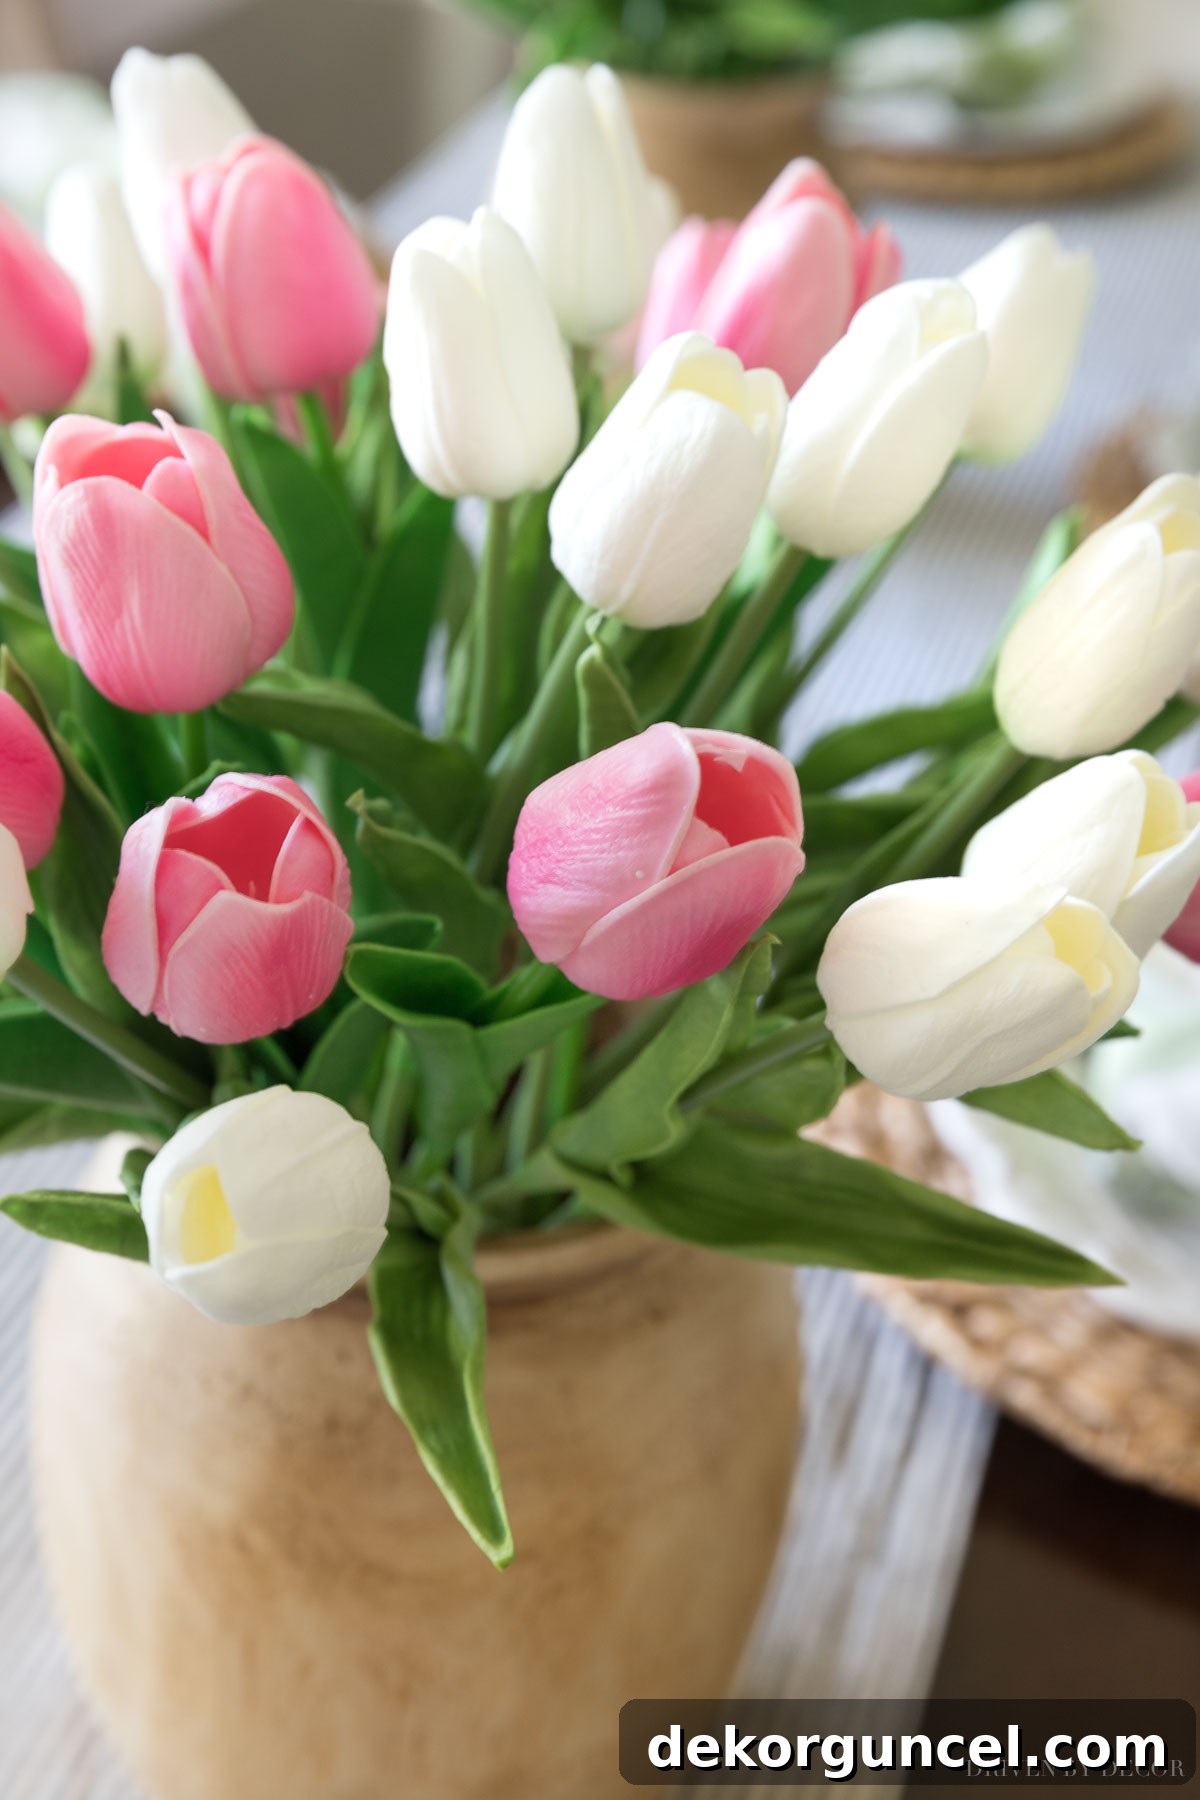
If you’re seeking a more permanent solution that offers beauty year after year, consider investing in high-quality faux tulips. These can be a fantastic option for a consistent spring aesthetic. I’ve personally used a combination of {these lifelike faux pink tulips} alongside {these incredibly realistic faux white tulips} for a spring table, and I can attest to their remarkably authentic appearance. They blend seamlessly with real flowers and add a touch of everlasting charm to your decor.
2. Elevate Your Floral Display by Lining a Vase with Fresh Lemons
Ready to take your floral centerpiece to an entirely new level of sophistication and freshness? This clever technique uses the vibrant color and natural beauty of lemons to create a truly unforgettable display. The secret? Lining your vase with bright, cheerful lemon slices! This simple addition instantly transforms a standard floral arrangement into a striking focal point that exudes springtime vitality and a touch of unexpected elegance.
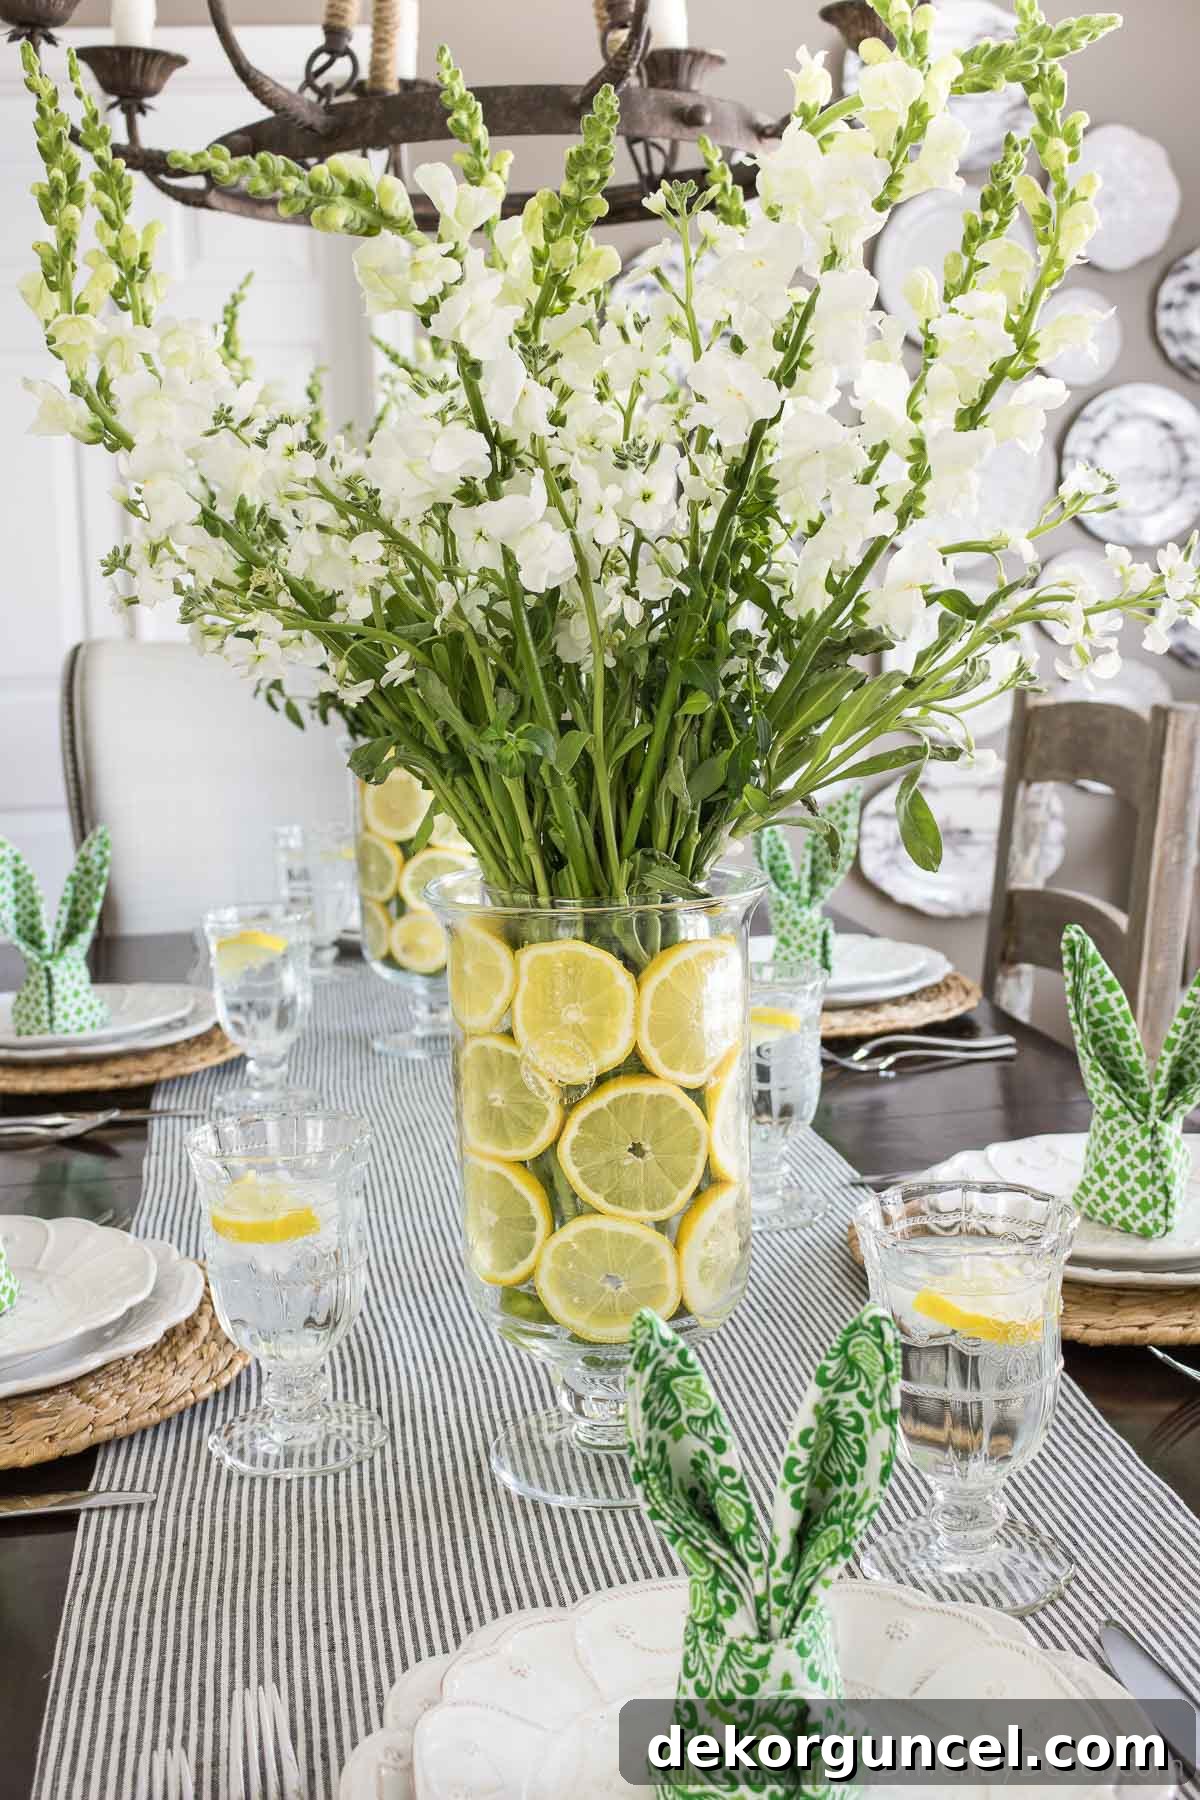
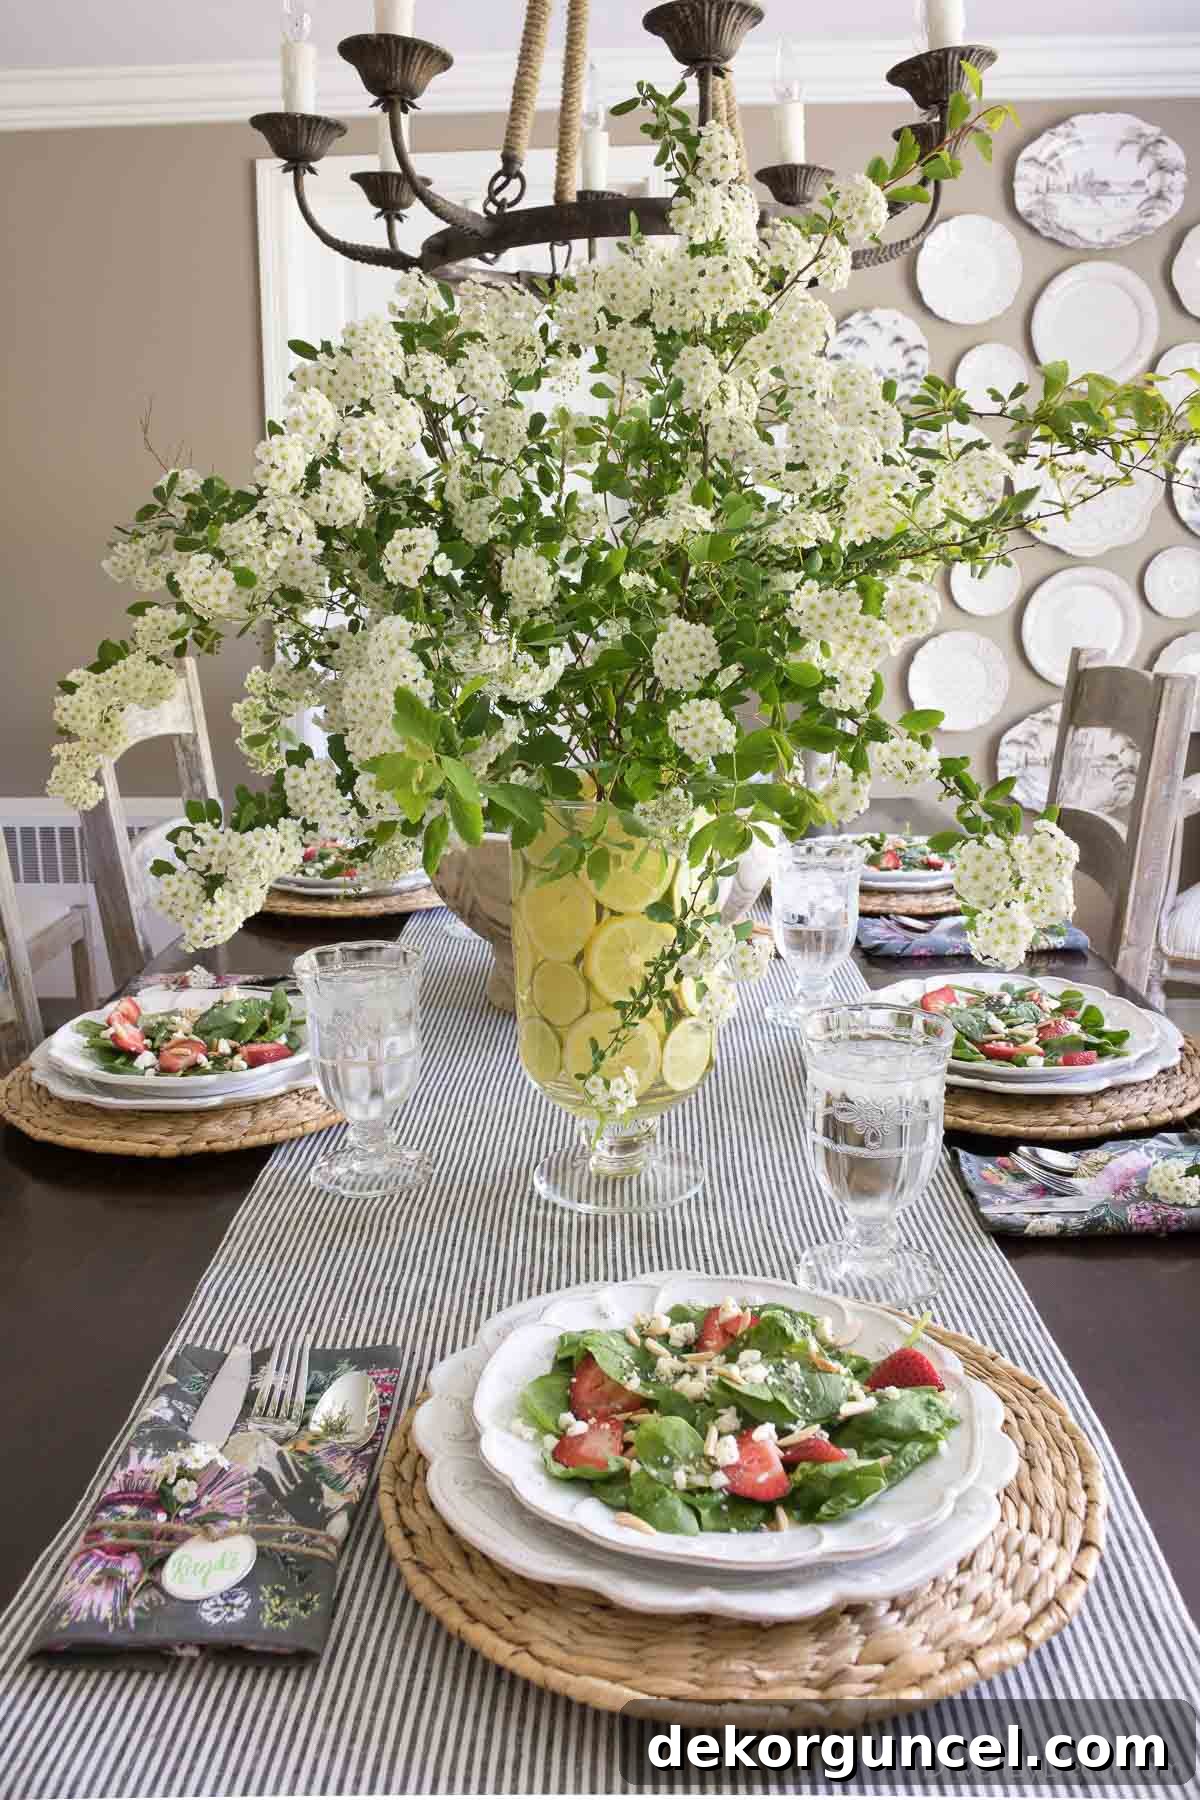
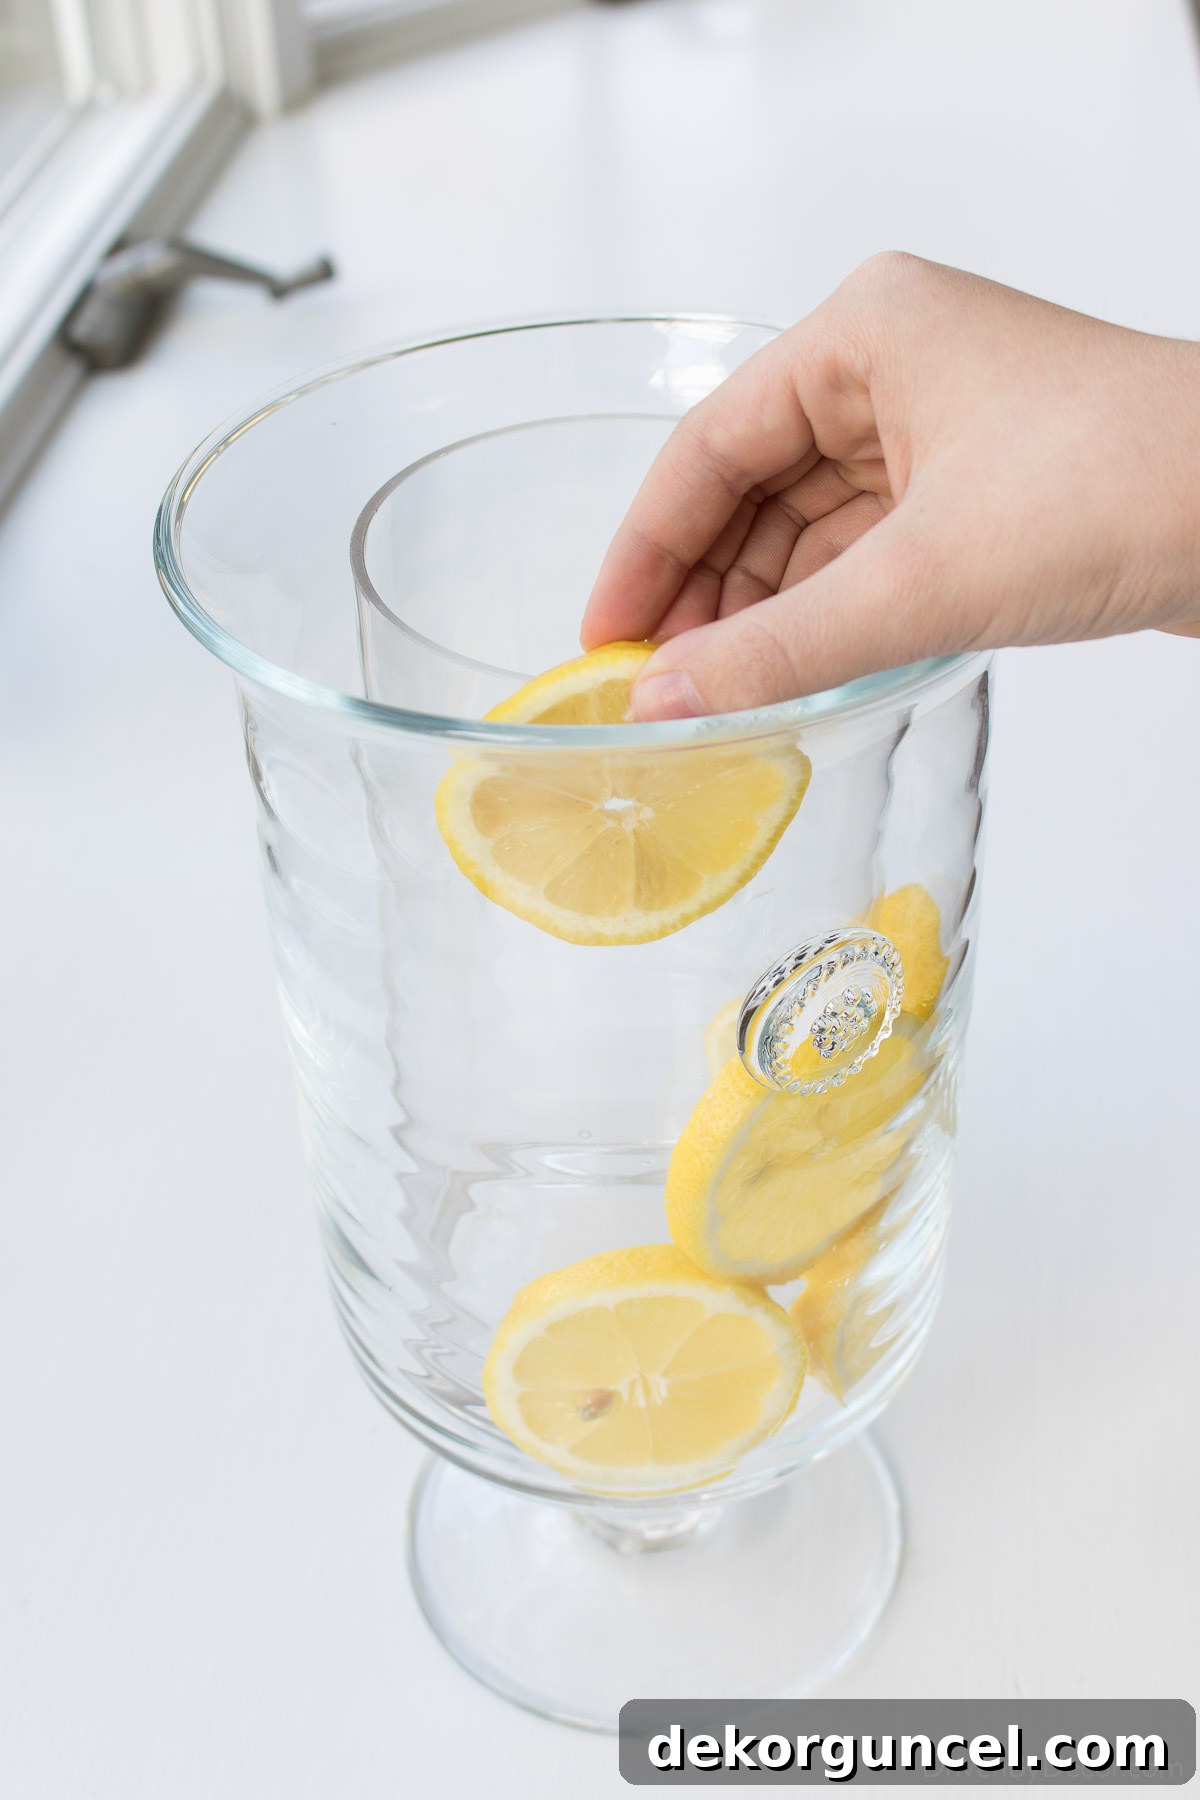
There’s a clever little trick to achieving this polished look, as you don’t want your beautiful lemon slices just floating haphazardly among your flowers. The key is to employ a “vase within a vase” technique! This genius method ensures that the lemon slices are snugly sandwiched between the two layers of glass, creating a neat and consistent pattern, rather than drifting loosely. Furthermore, this separation is crucial because it keeps the water holding your flowers completely separate from the lemons. This prevents the acidity of the lemons from prematurely wilting or damaging your delicate blooms, ensuring both elements remain fresh and beautiful. For my stunning centerpieces, I utilized a simple glass vase, similar to {this one}, which measured approximately 8 inches high and just under 4 inches in diameter. This inner vase was then perfectly nestled inside {this elegant hurricane vase}, creating the ideal cavity for the lemons.
Once your two vases are perfectly nested, the fun begins! Simply slice a few lemons to a consistent thickness that allows them to fit snugly in the gap between the two vases. Starting at the base, meticulously layer them around the perimeter, working your way up until you reach the top edge of the inner vase. The goal is to create a vibrant, continuous wall of lemon slices that looks both appealing and orderly.
After the gap between your two vases is completely filled with bright lemon slices, carefully add water to cover them. This step is important as it prevents the lemons from drying out and helps them maintain their fresh, vibrant appearance for longer. Finally, add water and your chosen flowers to the inner vase, and voilà! You’re done! This technique is not only super easy to execute but consistently proves to be a crowd-pleaser, adding a refreshing and unexpected touch to any Easter or spring table.
3. Discover Unique Decor in Your Grocery Store’s Veggie Aisle
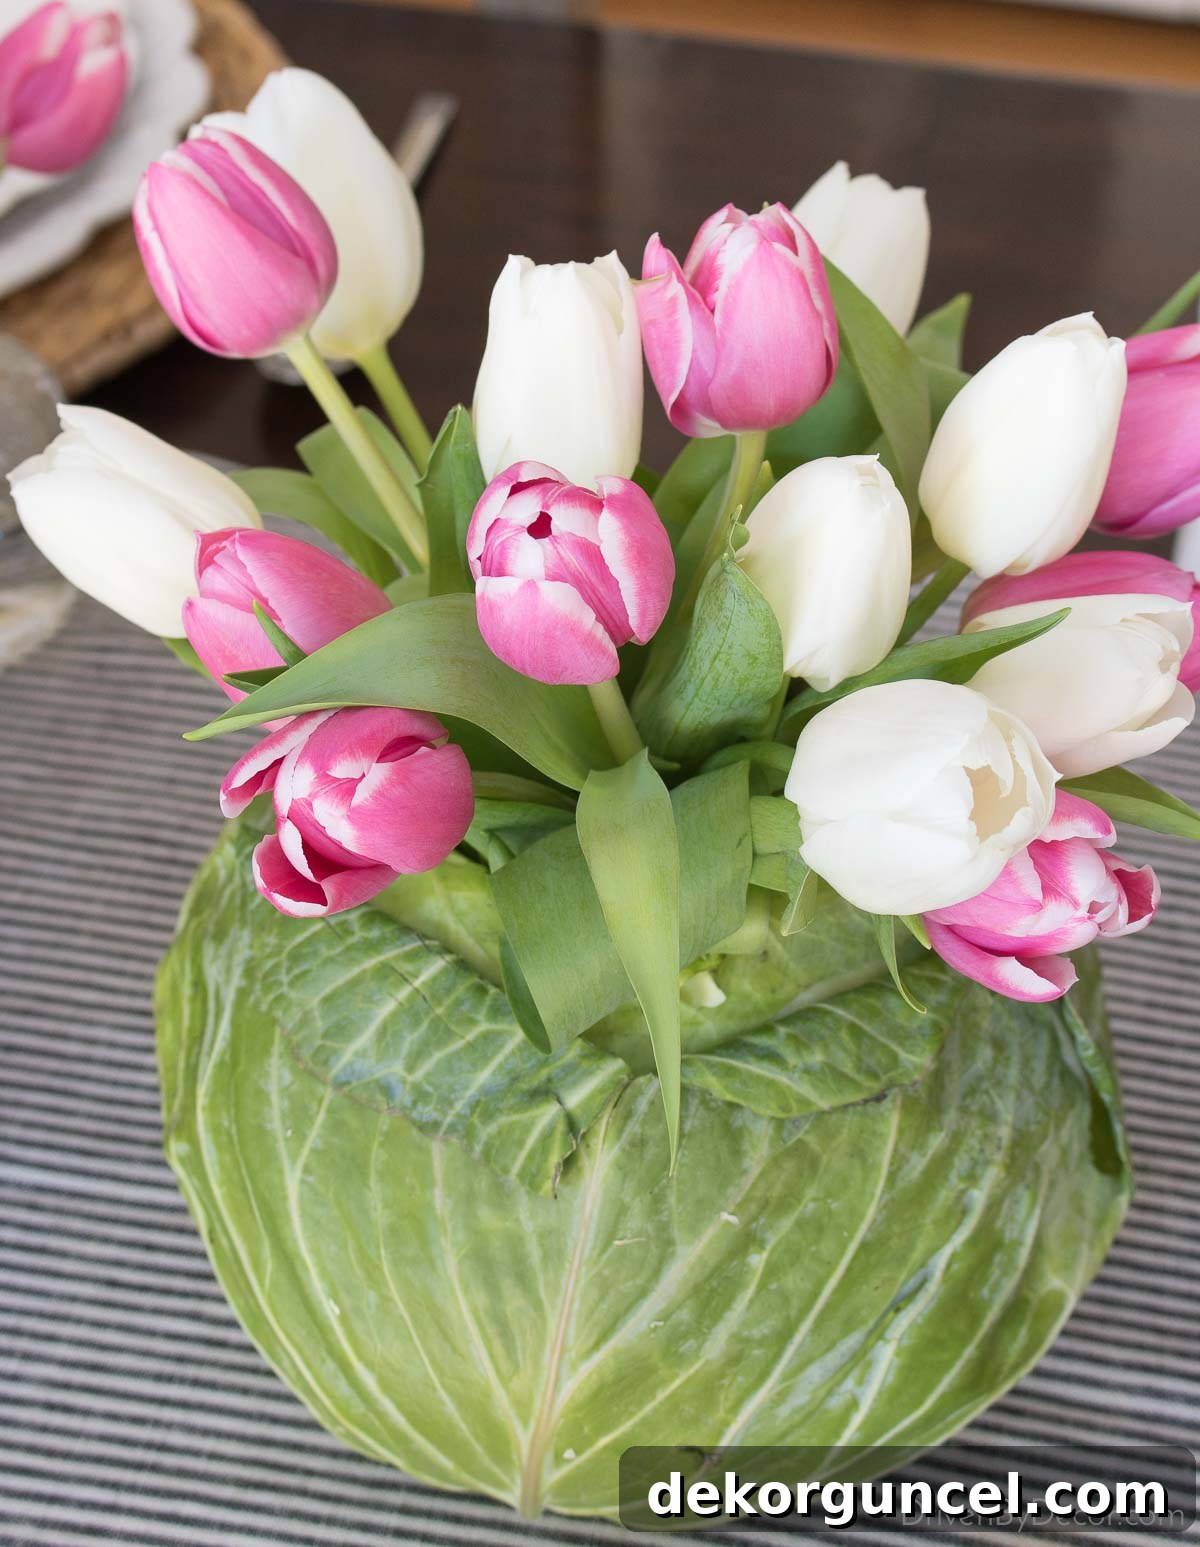
Looking for another wonderfully creative and incredibly charming centerpiece idea that’s sure to spark conversation? Venture beyond the floral section and explore your grocery store’s vegetable aisle! You might be surprised at the hidden potential there. For a truly unique Easter “vase,” consider hollowing out a crisp, fresh cabbage. Its natural texture and beautiful green hues provide an unexpectedly rustic yet elegant foundation for your spring blooms.
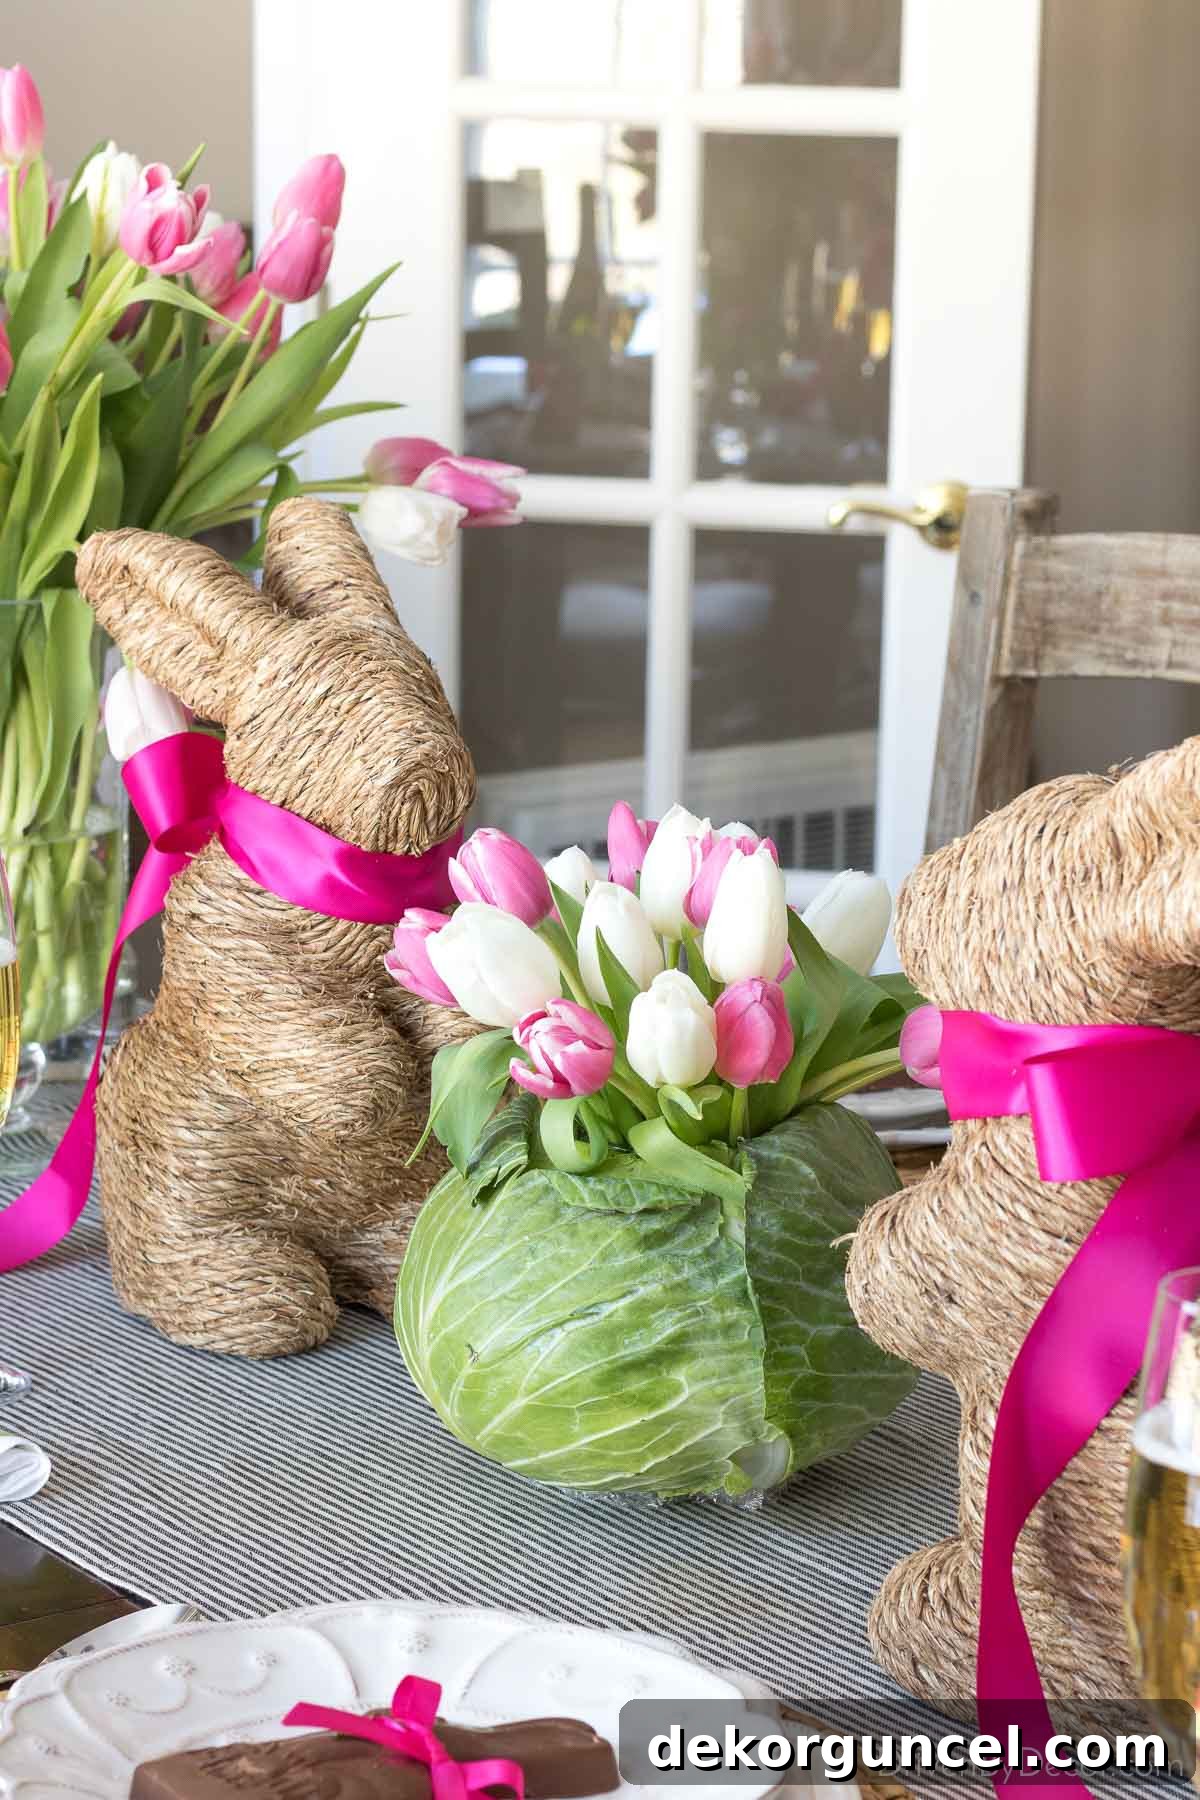
Creating this delightful cabbage vase is surprisingly simple and requires minimal effort! First, select a glass jar, a small vase, or even a short drinking glass that will fit comfortably inside the cabbage. The size of your glass vessel will dictate how much cabbage you need to remove. Next, using a sharp knife, carefully cut a deep circle around the top of the cabbage. Ensure this circle is slightly wider than the glass vessel you intend to use. Then, using your knife and perhaps a spoon, begin to hollow out the cabbage. Continue scooping out the inner leaves and core until the opening is deep enough for the top of your glass vase to sit just below the top edge of the cabbage. This creates a natural, organic look, making the cabbage appear as though it’s naturally holding the flowers.
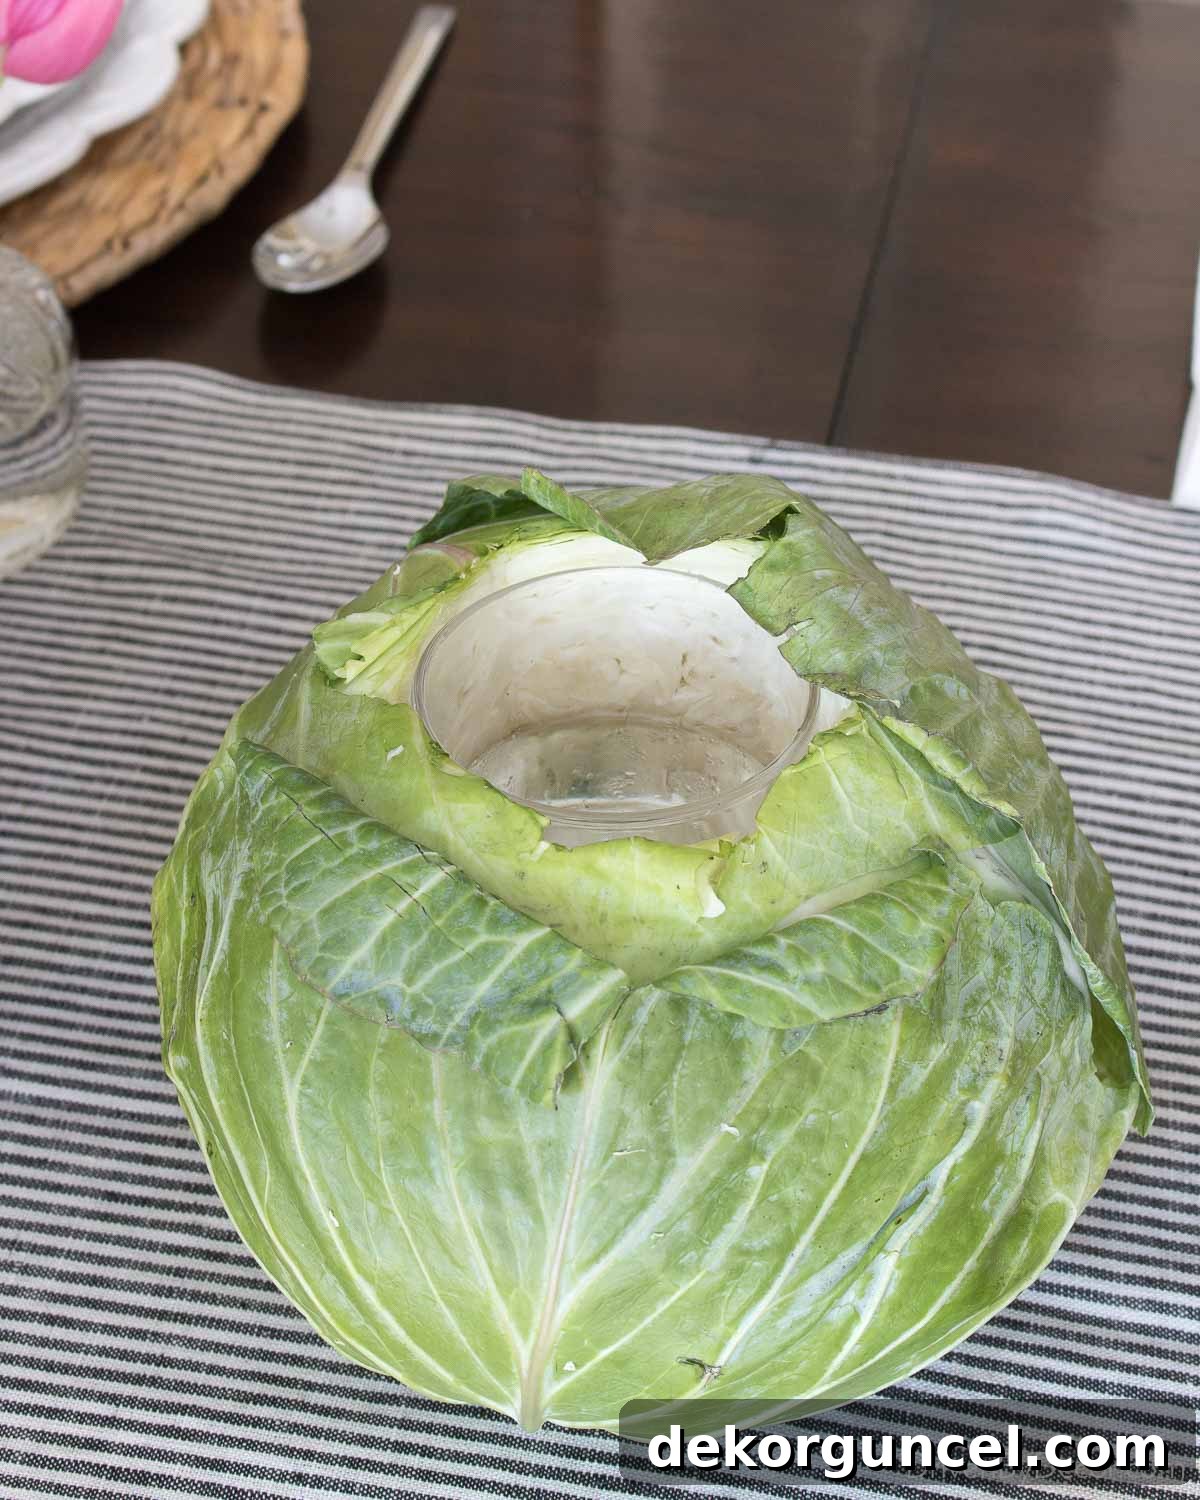
To protect your table runner or tablecloth from any potential moisture or stains from the cabbage, I recommend placing a small piece of clear plastic wrap or a saucer underneath the cabbage. Once secure, simply fill the nested glass vase with water and arrange your chosen tulips inside. This entire process takes a mere ten minutes to complete, yet the result is an utterly charming and unexpected centerpiece that will undoubtedly become the talking point of your Easter table! It’s an inventive way to incorporate natural elements and a touch of garden-fresh whimsy into your holiday decor.
4. Delight Your Guests with Chocolate Bunnies as Edible Place Cards
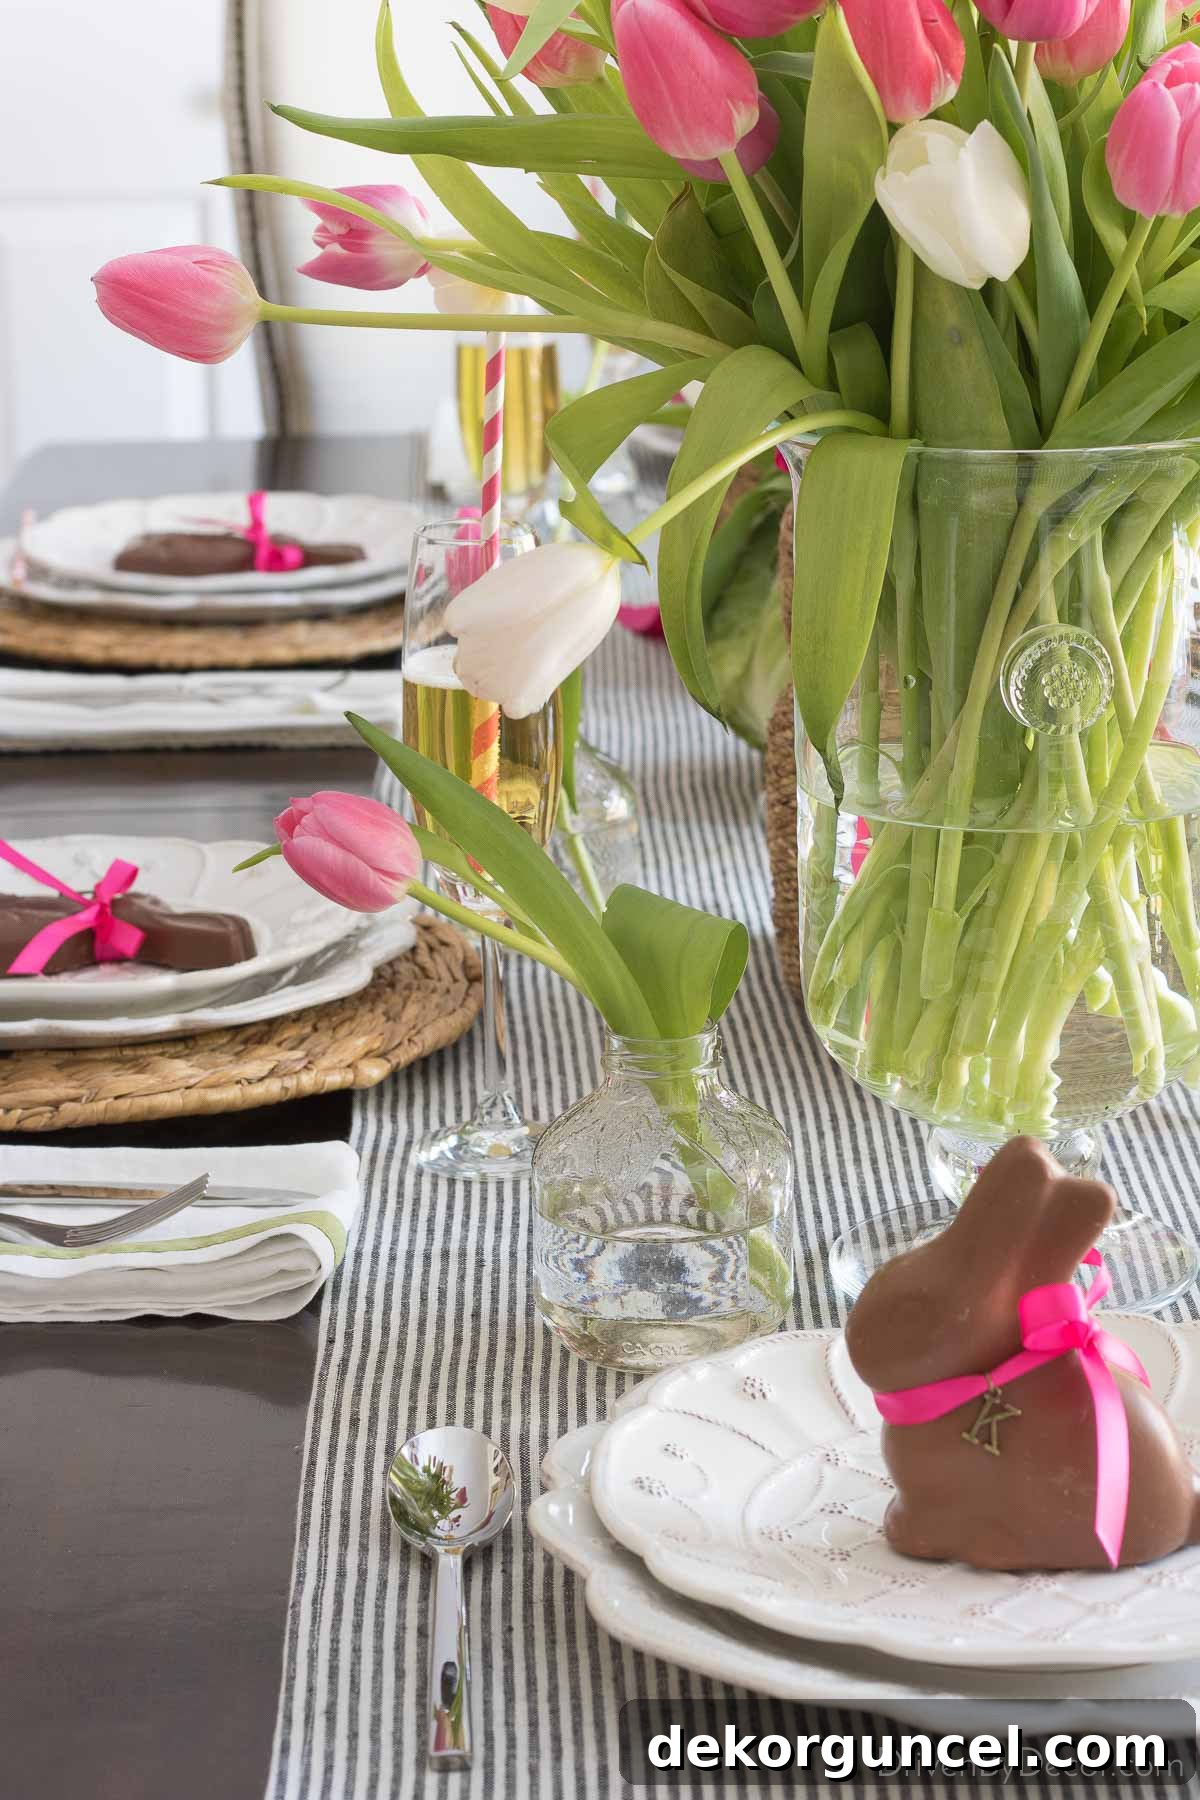
Inject a dose of pure joy and personalized charm into your Easter place settings by using adorable chocolate bunnies as edible place cards. This idea is a delightful fusion of decor and treat, guaranteed to bring smiles to every guest’s face. For this particular setup, I decorated each place setting with a lovely chocolate bunny (another fantastic find from the grocery store!). Around its neck, I tied a pretty pink ribbon, to which I attached a small charm featuring the first initial of the person who would be seated there. After all, who could resist an edible place card that’s both decorative and delicious?
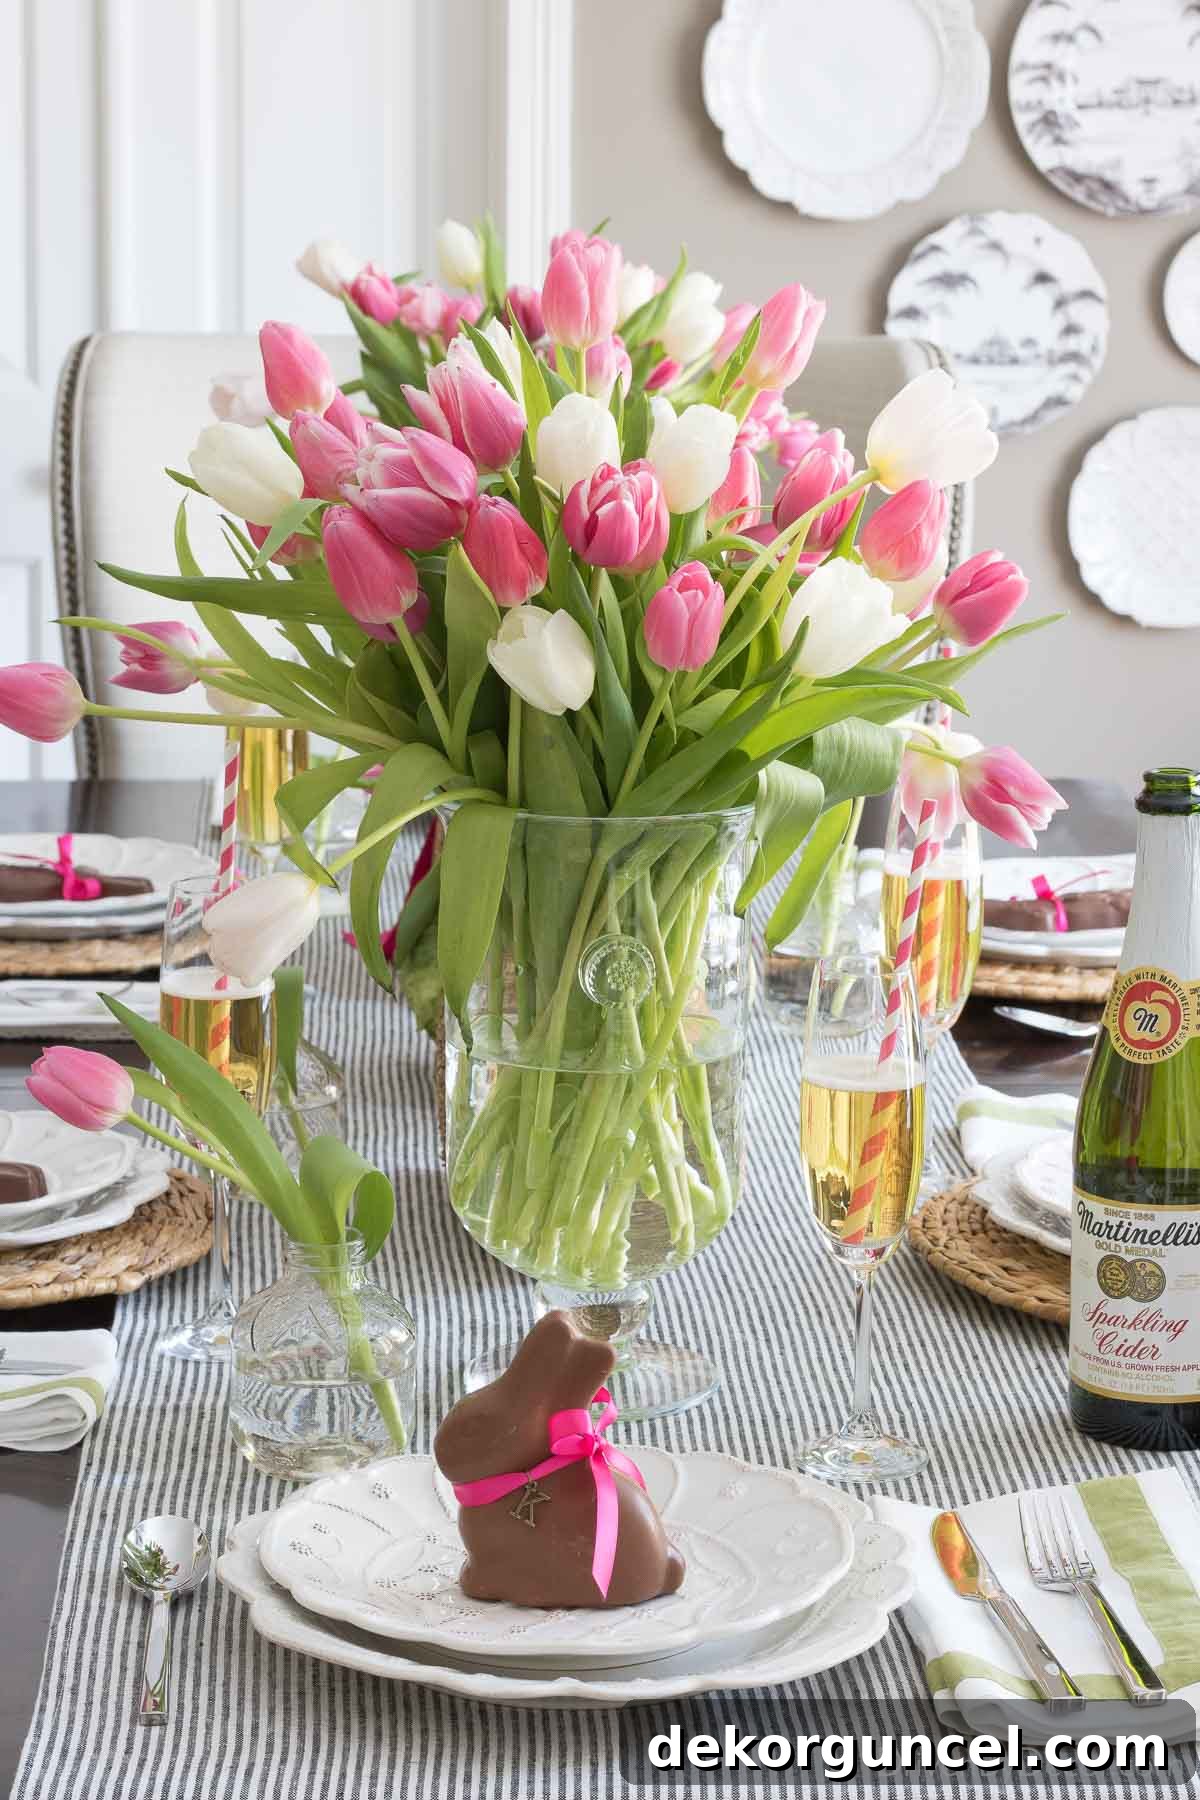
While everyone at our particular Easter gathering had a different first initial, you can easily adapt this idea if you have guests with the same initial. Simply tie on two letters for first and last names, or even first and middle names, to ensure everyone knows their designated spot. I was fortunate to have these charming brass letter charms readily available in our craft room stash, but you can effortlessly find similar options online {here} or {here}. Alternatively, for a simpler yet equally elegant approach, just use the ribbon alone to add a touch of color and texture. For my table, I thoughtfully placed unwrapped Lindt chocolate bunnies on the plates at the ends of the table, offering a plump, inviting treat:
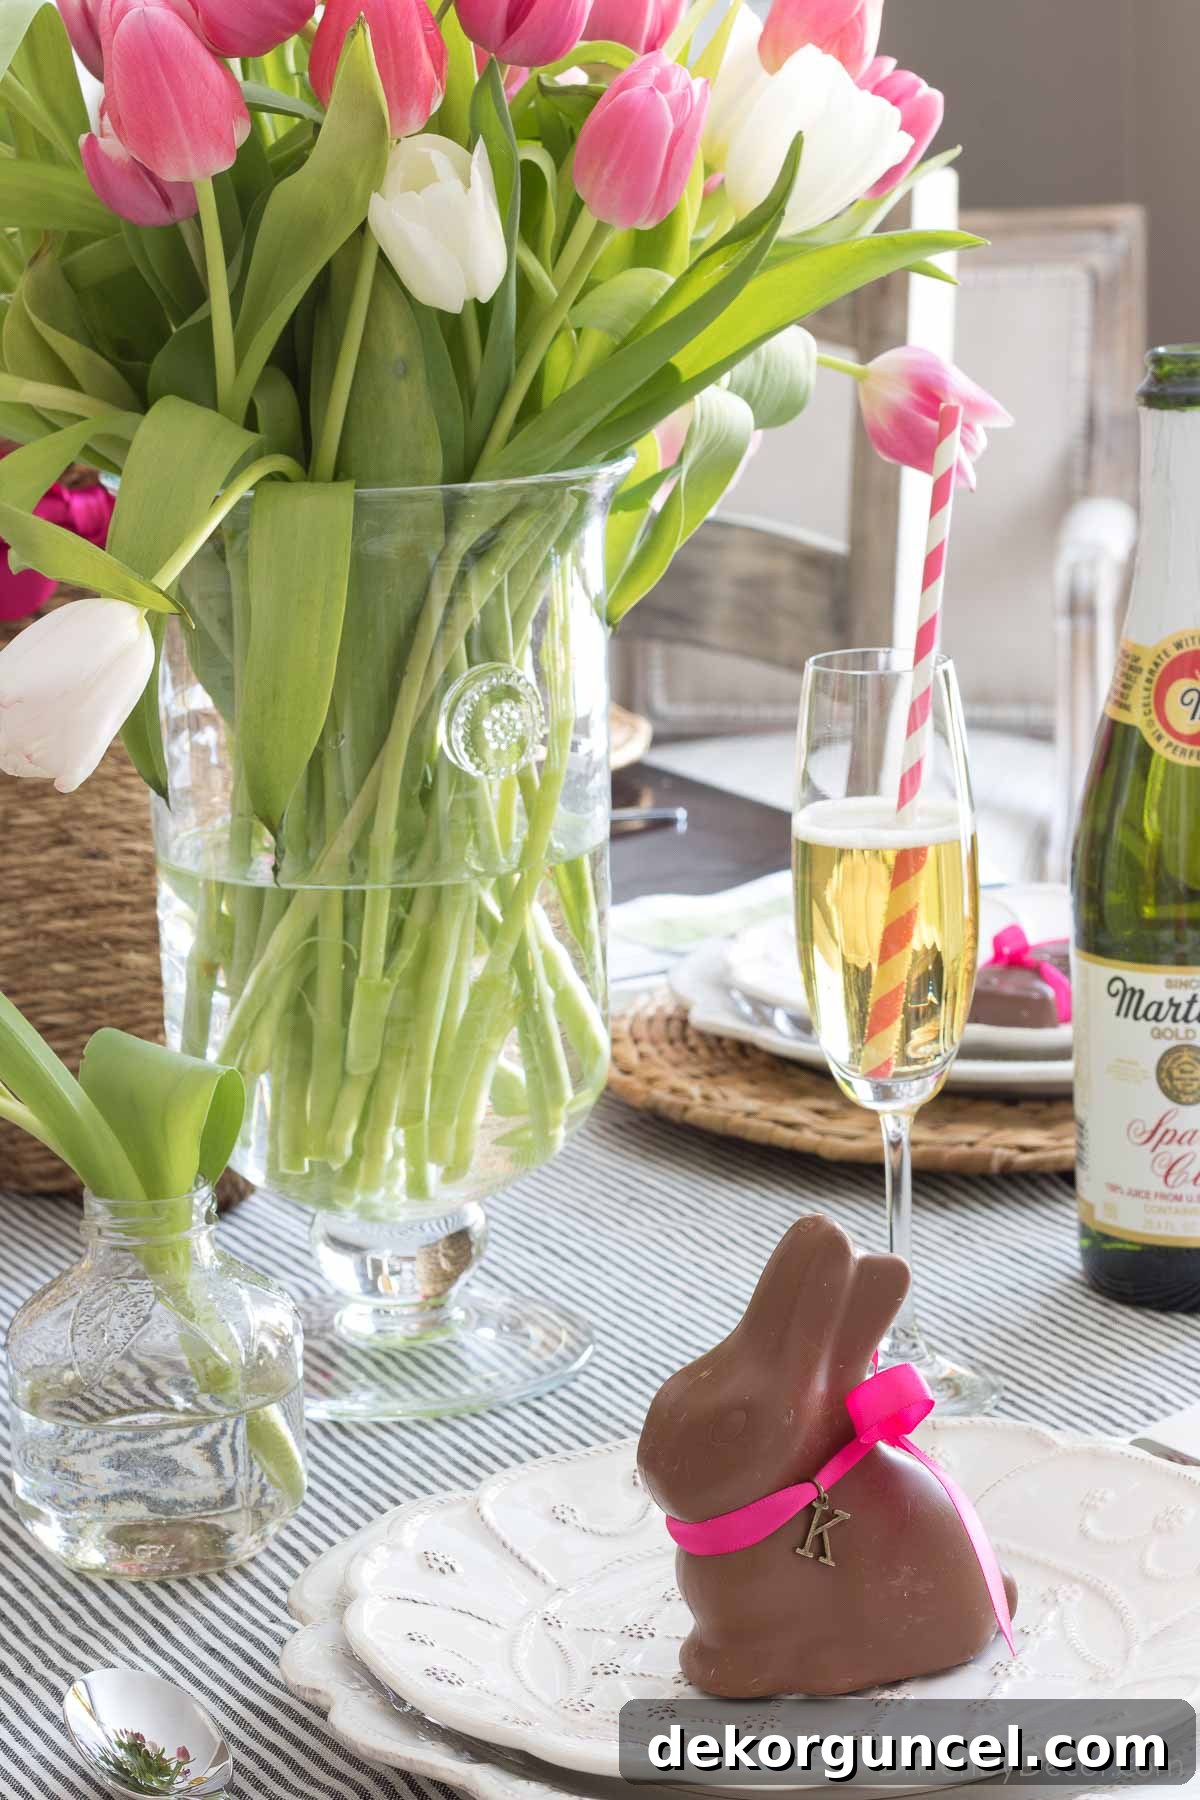
and opted for charming, flatter chocolate bunnies for the place settings along the sides, ensuring variety and visual interest:
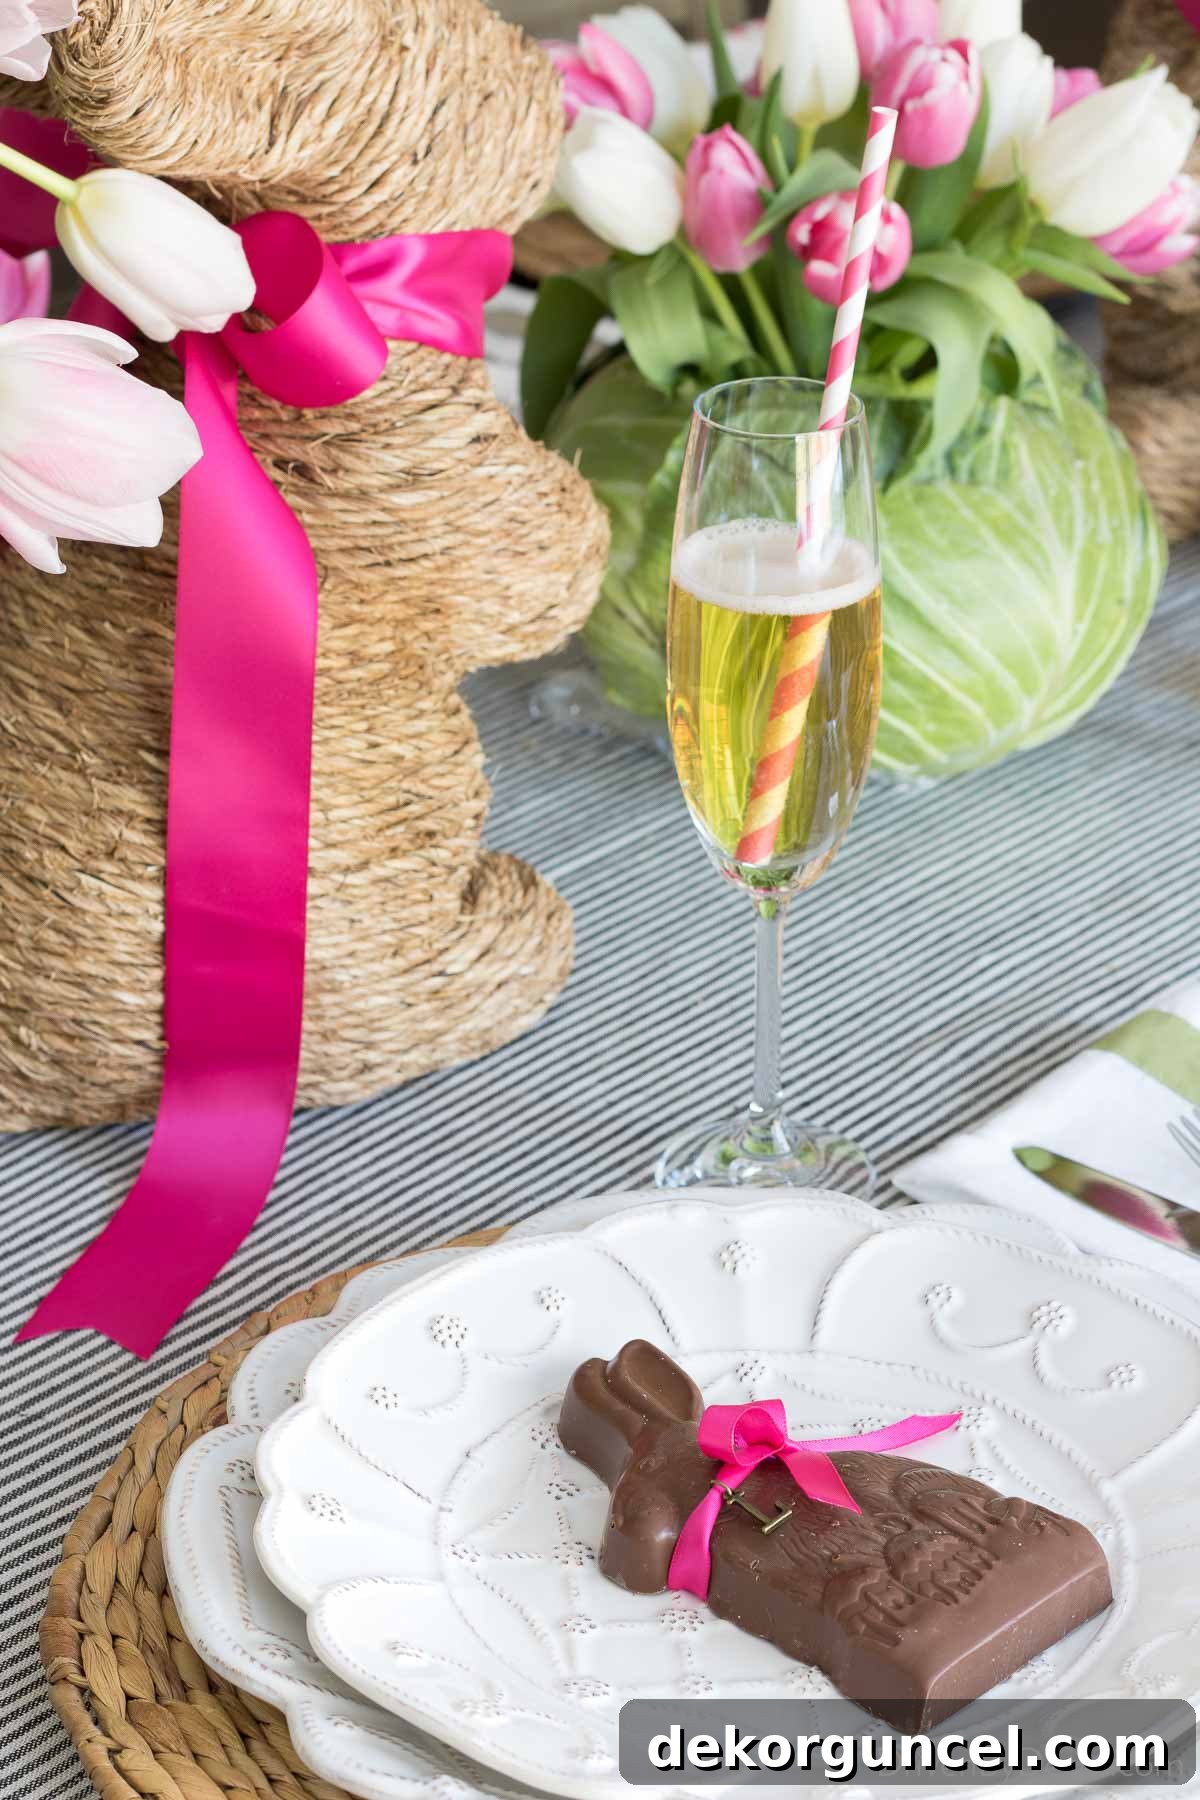
If you have any children attending your Easter gathering, there’s absolutely no doubt that these yummy bunnies will be a monumental hit! And let’s be honest, I don’t think the adults will be complaining either – everyone loves a sweet surprise and a personal touch at their seat.
5. Repurpose Mini Apple Juice Bottles for Charming Individual Vases
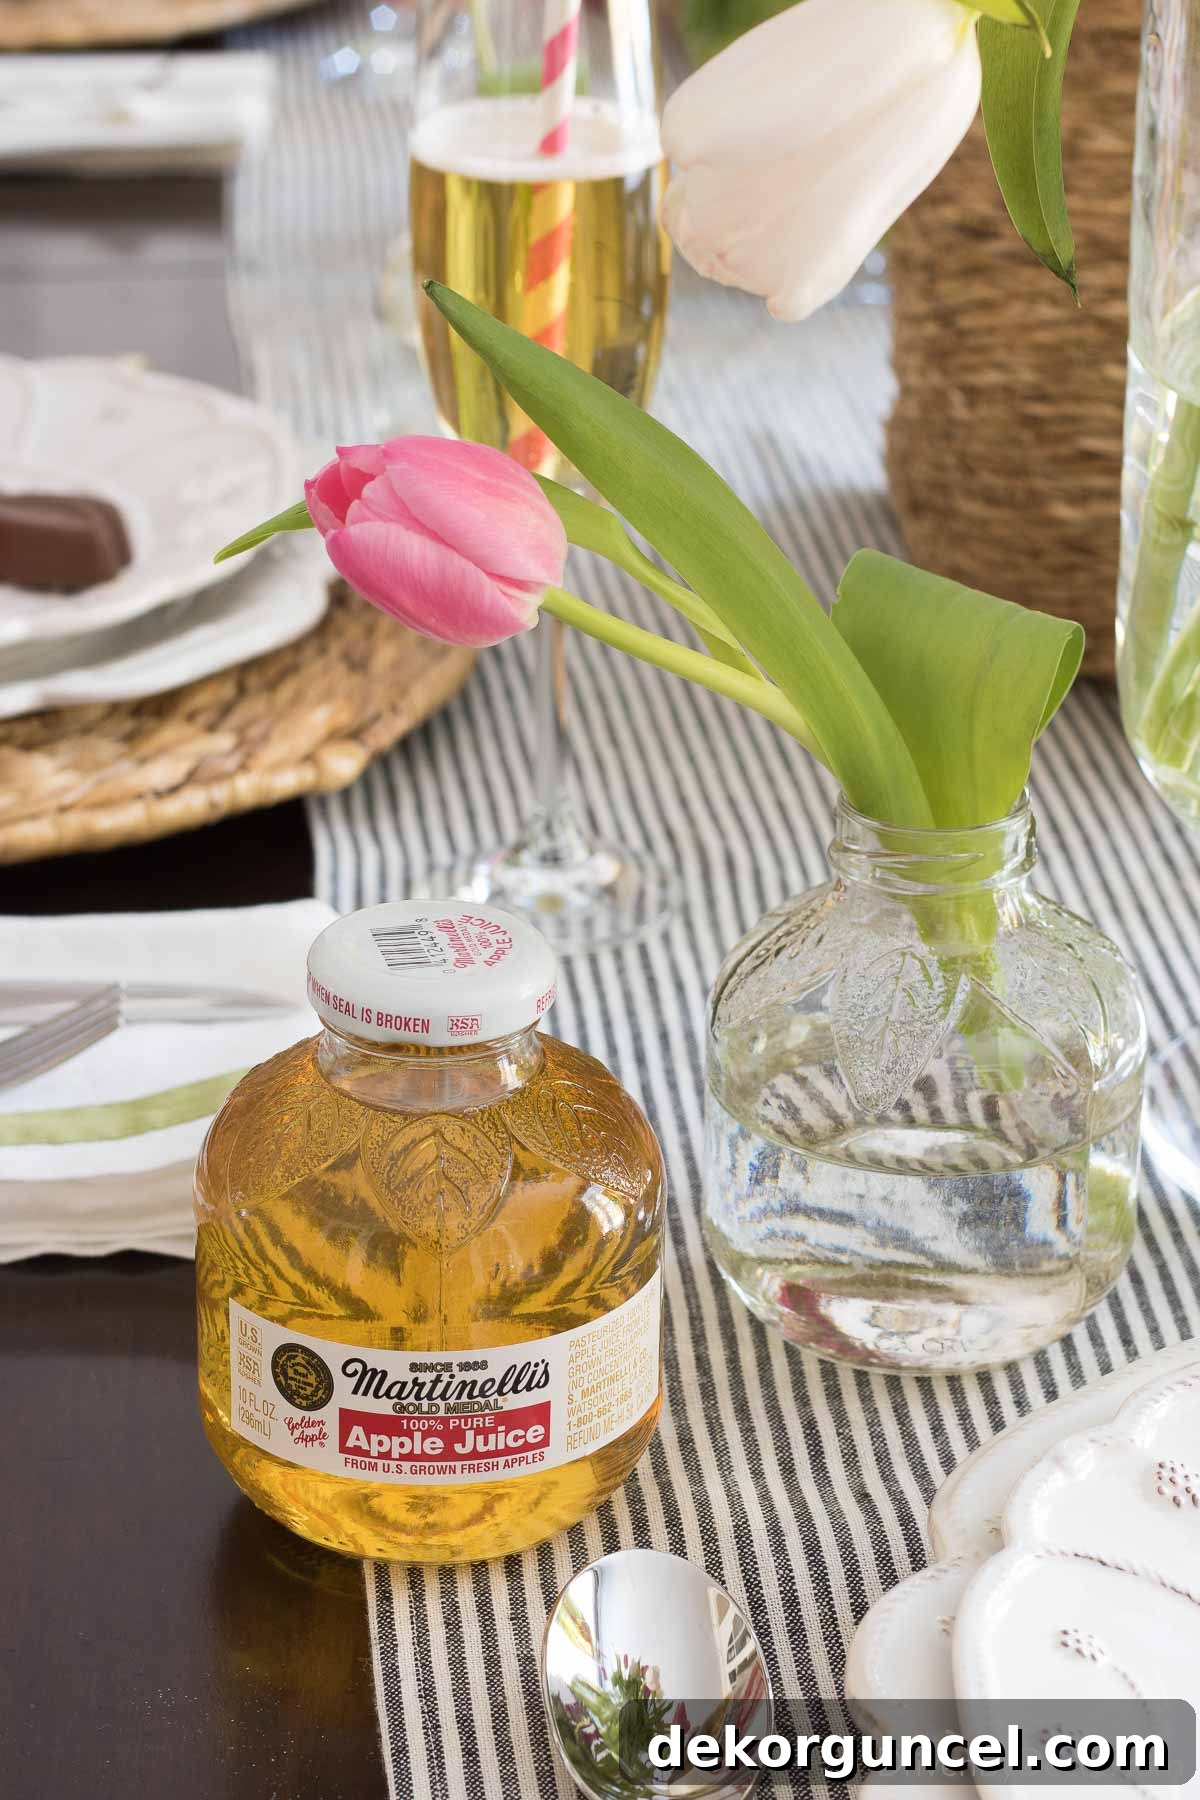
Adding another layer of sweet, personalized elegance to your Easter table is effortless with this clever repurposing idea. Place a small vase holding a single, delicate tulip at each place setting. This subtle touch serves as the perfect little filler for that often-bare space above your plates, adding height, color, and a thoughtful detail that truly elevates the overall table design. It’s a simple gesture that makes each guest feel specially catered to.
And the absolute best part about these charming individual vases? They’re practically free! Well, technically, you do have to pay for the apple juice that comes in them, but chances are you’re already purchasing juice at the grocery store anyway, right? The key is to grab single-serve Martinelli’s apple juice bottles. Once consumed, simply pour the juice into a pitcher for a refreshing breakfast beverage. Then, soak the empty bottles to loosen and peel off the labels. For any stubborn printed expiration dates or remaining sticky residue, a dab of Goof Off works wonders, leaving you with perfectly clean, clear mini vases. They are incredibly cute and a wonderfully sustainable way to add a personal floral touch to each guest’s spot!
6. Infuse Whimsy and Charm with Festive Striped Straws
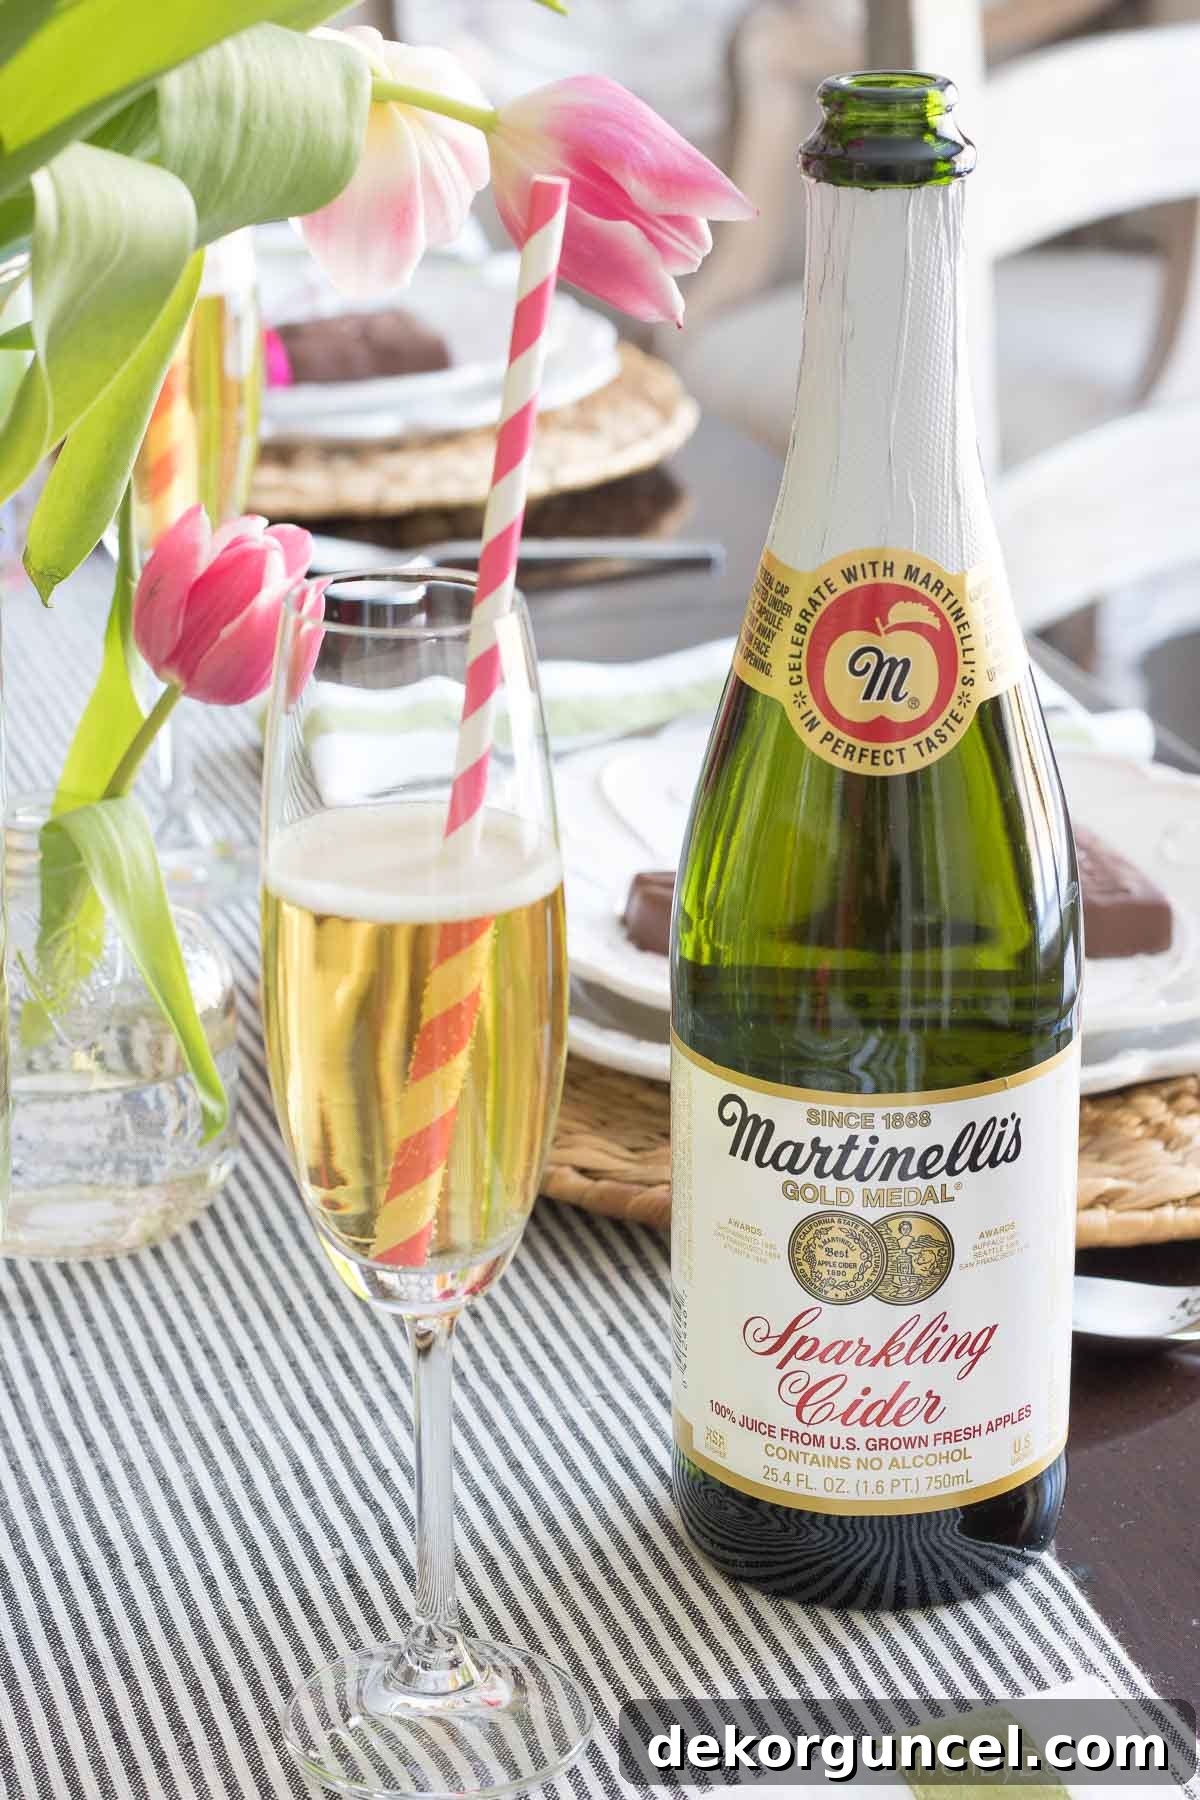
Sometimes, the smallest details make the biggest impact, transforming an ordinary setup into something truly special. For your Easter table, consider elevating your drink presentation by serving beverages in special glasses adorned with cheerful striped paper straws. This simple addition instantly infuses a playful touch and a sense of whimsy, adding an extra layer of festive fun to your celebration. It’s a subtle yet effective way to reinforce your theme and brighten the mood.
You can easily find straws similar to the ones I used {here}, but the beauty of this idea is the sheer variety available. There are countless other color combinations, patterns (think polka dots, chevron, or even subtle floral designs), and materials to choose from, allowing you to perfectly match your straws to your overall Easter decor scheme. Whether you opt for classic pastels, bold brights, or elegant metallics, these delightful straws are a guaranteed way to add a celebratory flourish to every sip.
7. Shop Your Own Home for Creative Easter Decor Additions
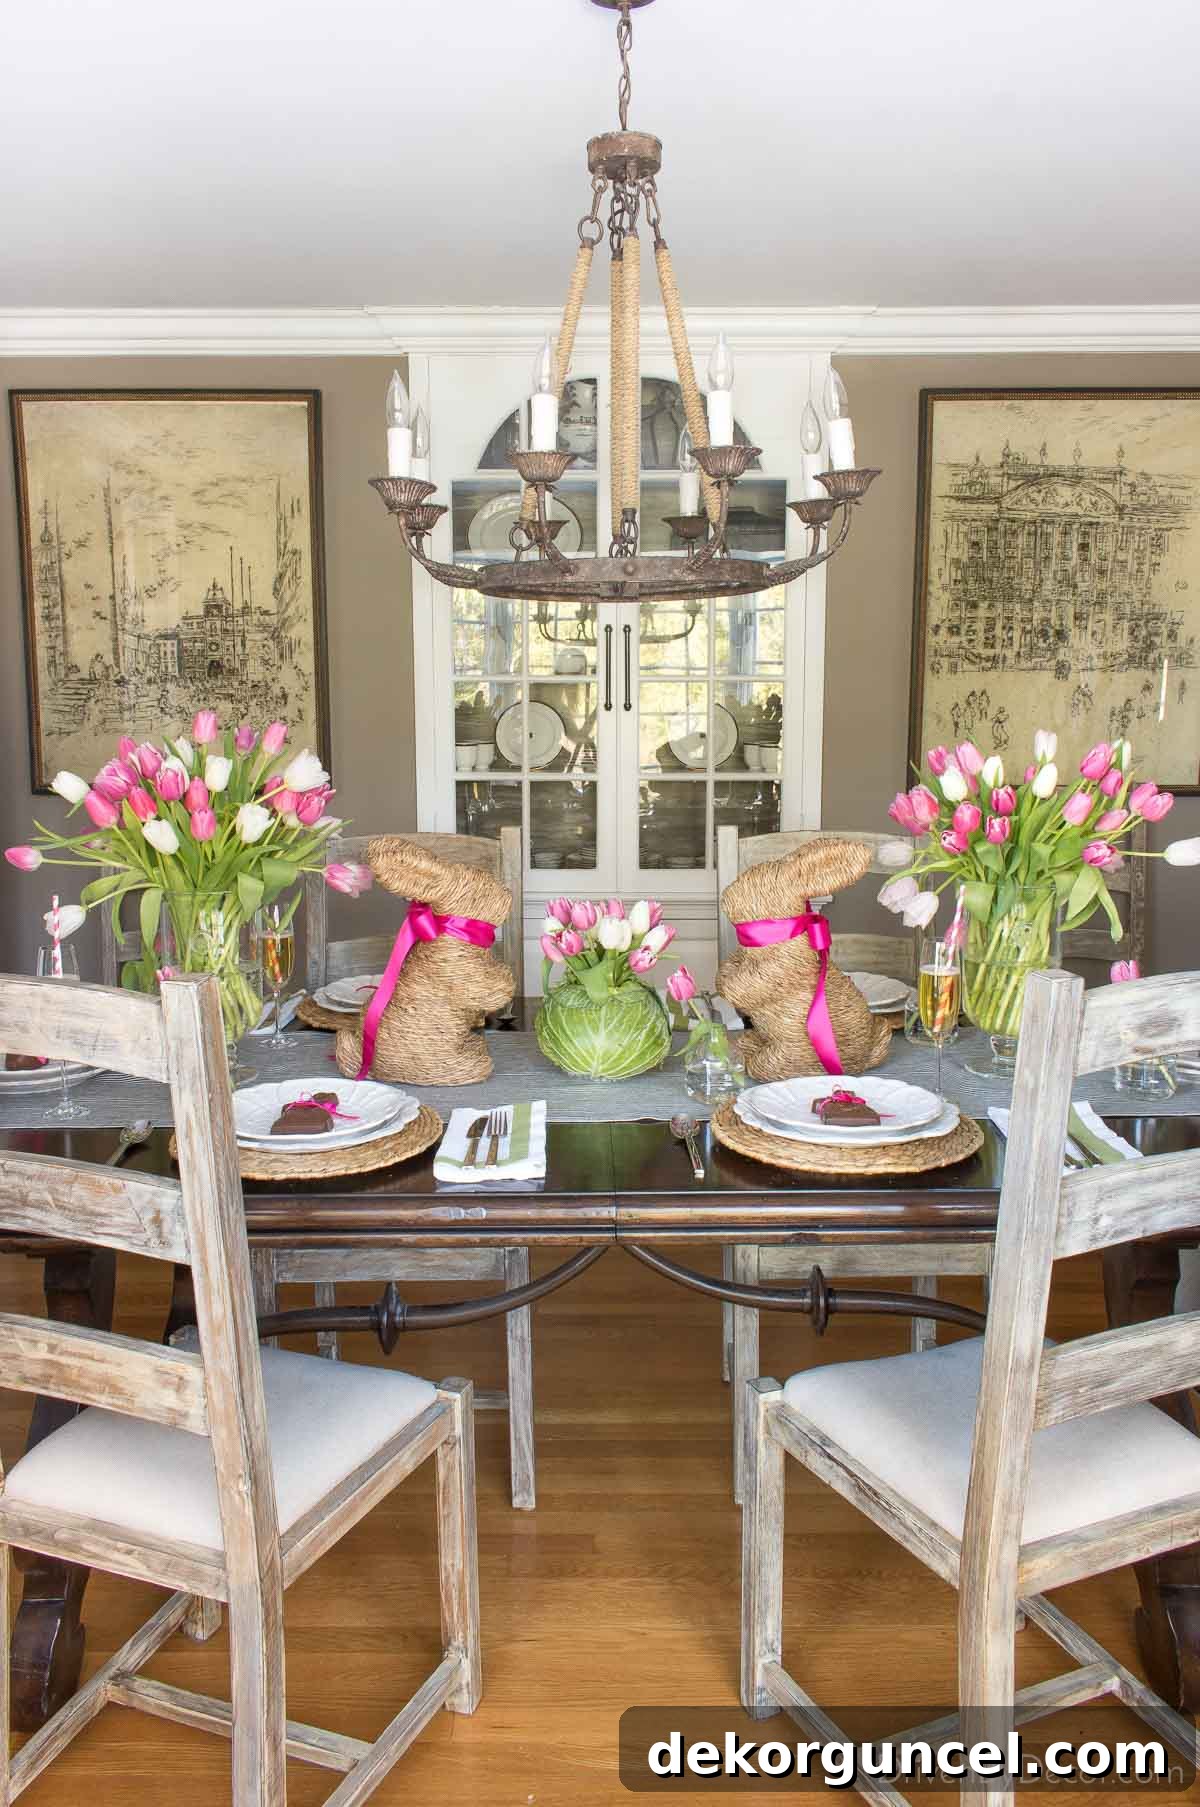
Before you rush out to purchase new Easter decorations, take a moment to “shop your house”! You might be pleasantly surprised by the treasures you already possess that can be repurposed or artfully arranged to enhance your Easter table. This approach is not only incredibly budget-friendly but also allows you to infuse your decor with a personal touch and existing pieces that hold sentimental value. Almost all of us have some cute Easter bunny figurines or other spring-themed accents stored away. Simply placing these beloved items in the center of the table, perhaps nestled among a few bunches of fresh tulips, can instantly create a cohesive and charming display. For my table, I added two delightful twine bunnies that I had carefully saved in my decorating stash from a previous Easter – aren’t they just adorable?
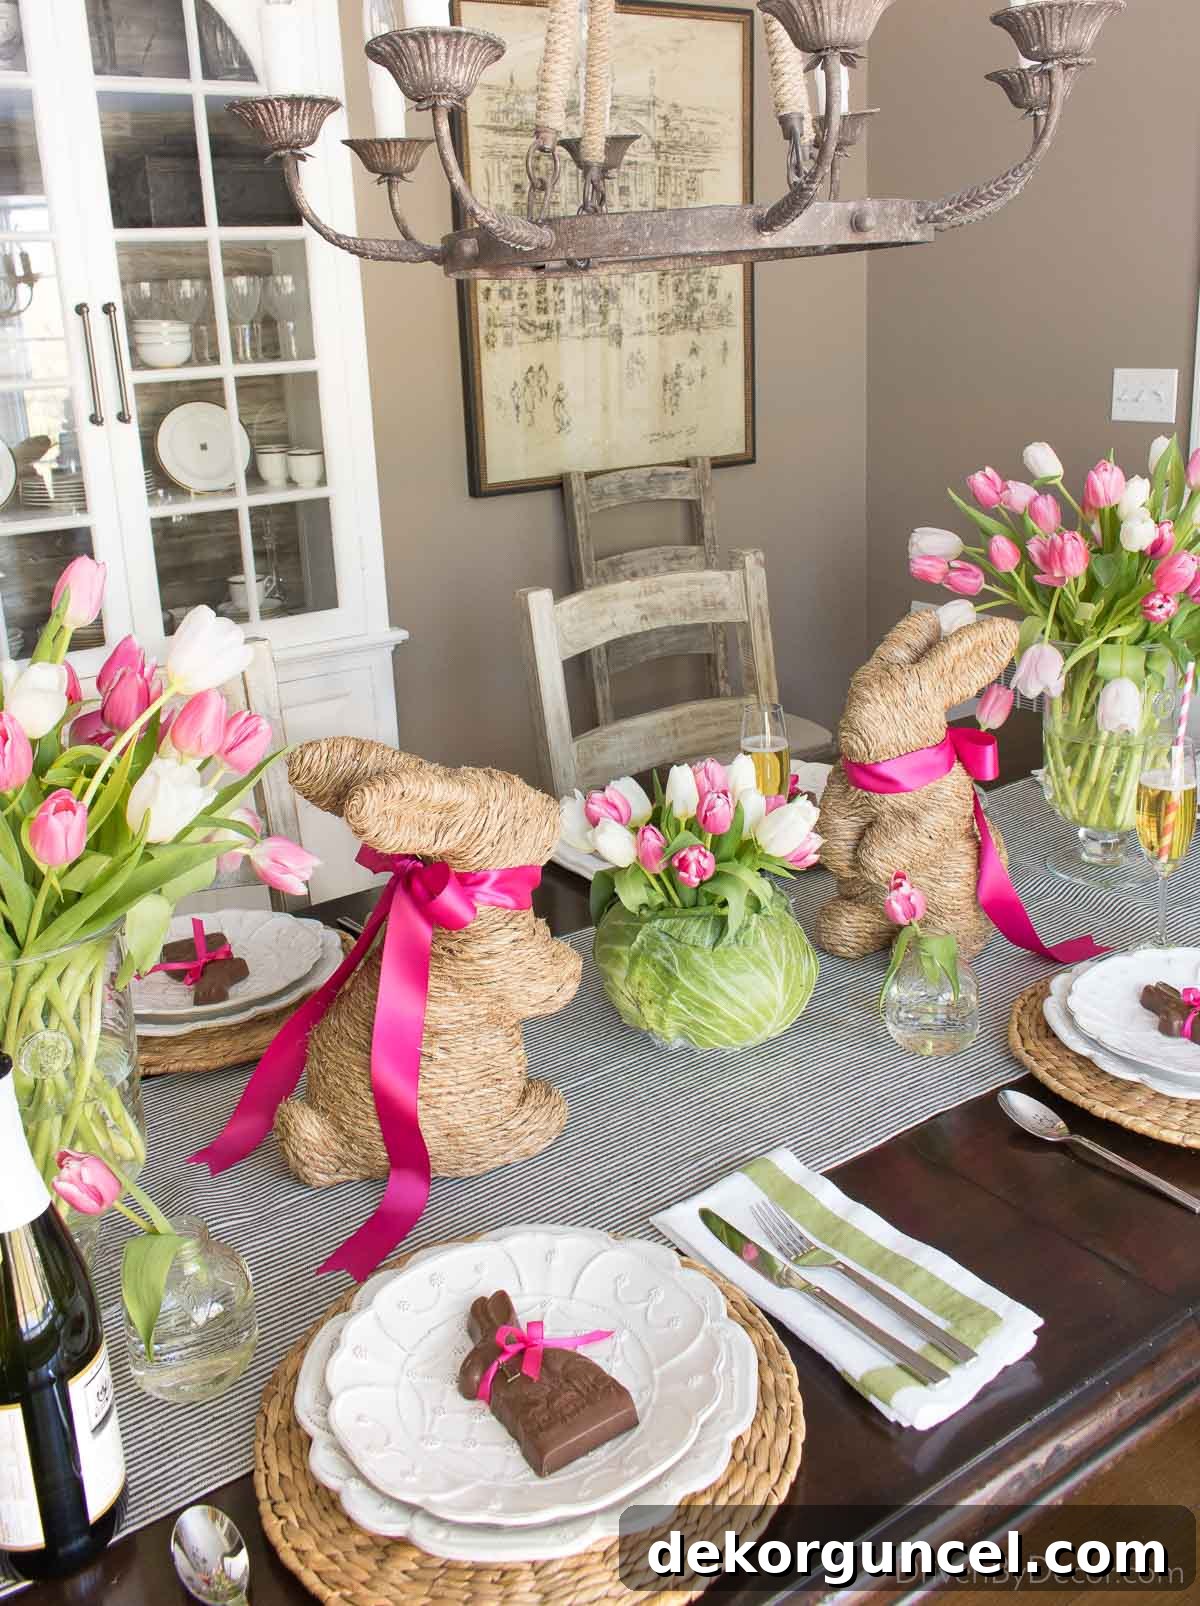
To further personalize these existing pieces and introduce a pop of color that complements the overall table scheme, I tied delicate bows on the twine bunnies using a beautiful 1 ½ inch pink ribbon. This small detail instantly elevated their appearance and integrated them seamlessly into the pastel palette of the table.
Beyond twine, consider other charming bunny options you might already own or want to acquire. {These elegant stone Easter bunnies} or {these rustic wood bunnies}, for instance, would also make wonderful additions. They are versatile enough to be used as beautiful Easter decorations around your home leading up to the holiday and then easily transition to become the delightful focal point for your Easter dinner centerpiece. The key is to thoughtfully curate and arrange what you already have, allowing your home’s unique character to shine through.
8. Elevate Your Table Setting with Creative Napkin Folds
Napkins are far more than just a functional item on your table; they present an exciting opportunity to add a touch of personality, elegance, or playful whimsy to your Easter decor. There’s a myriad of fun and creative ways you can fold your napkins to instantly elevate your place settings, including the ever-popular and utterly charming bunny fold! This simple trick can transform an ordinary linen into an adorable, thematic accent that delights your guests.
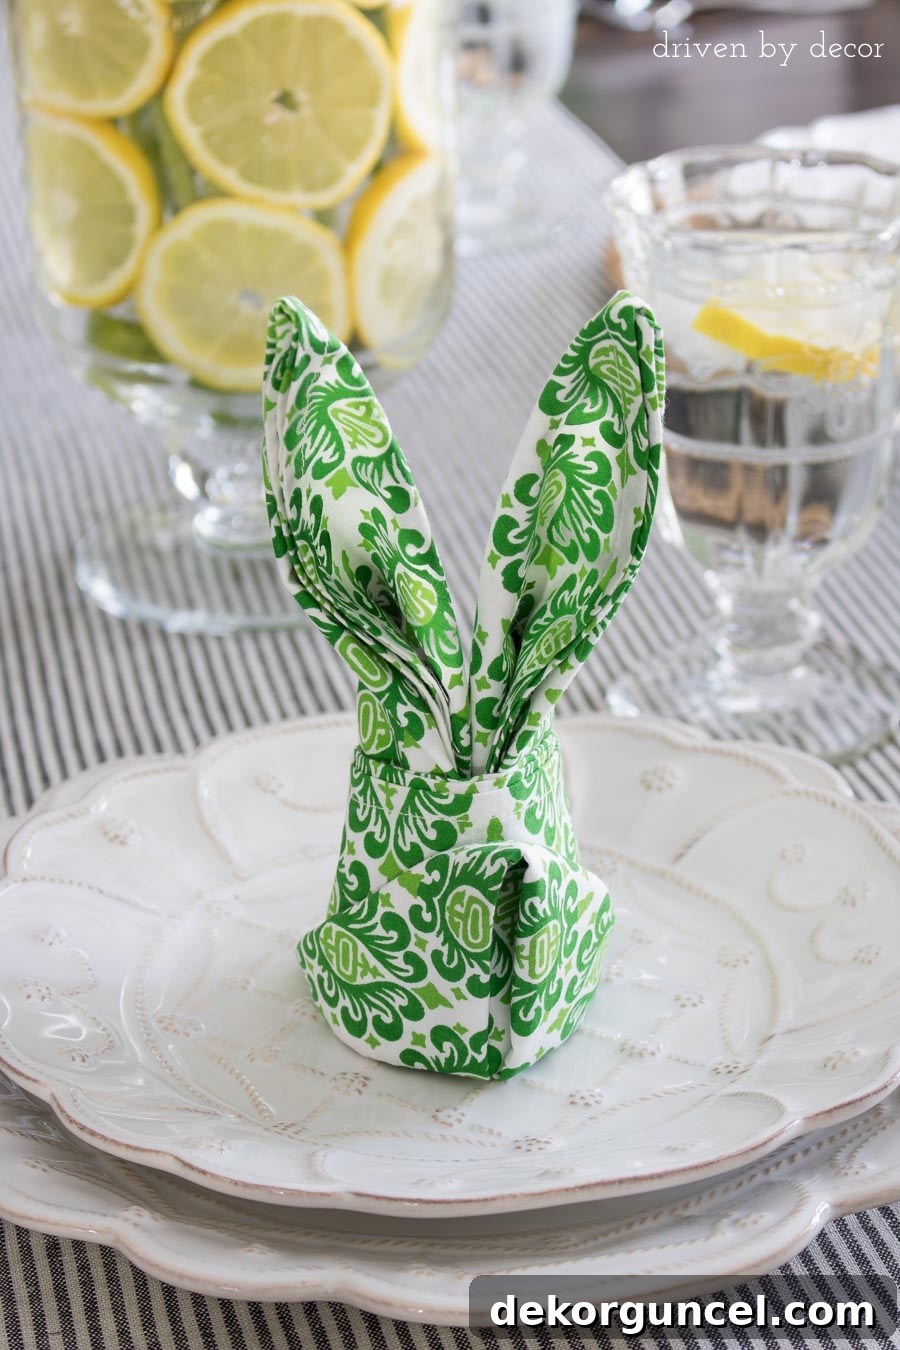
When I set out to master the bunny napkin fold, I experimented with several different tutorials. The instructions I found {here} yielded the most consistent and aesthetically pleasing results. For an extra neat finish, I used a small bobby pin to discreetly clip the two ends of the napkin together at the back, ensuring the bunny ears stood upright and held their shape beautifully. I made sure to place the pin on the inside, where it remained completely out of sight. For the best outcome, I highly recommend using larger napkins – mine were 20 inches – and opting for fabrics that are a bit stiffer, such as crisp cotton or linen, as they hold their form much better than softer, floppier materials.
If your vision for your Easter table leans more towards sophisticated elegance rather than playful cuteness, there’s an equally simple yet stunning option for styling your napkins. A favorite technique for achieving a chic and refined look is to simply tie your napkins in a loose, graceful knot. This method adds a touch of understated charm and texture to your place settings, as beautifully demonstrated with this exquisite Easter table setup. It’s a clean, modern approach that speaks volumes without being overly elaborate, perfect for a more formal or minimalist aesthetic.
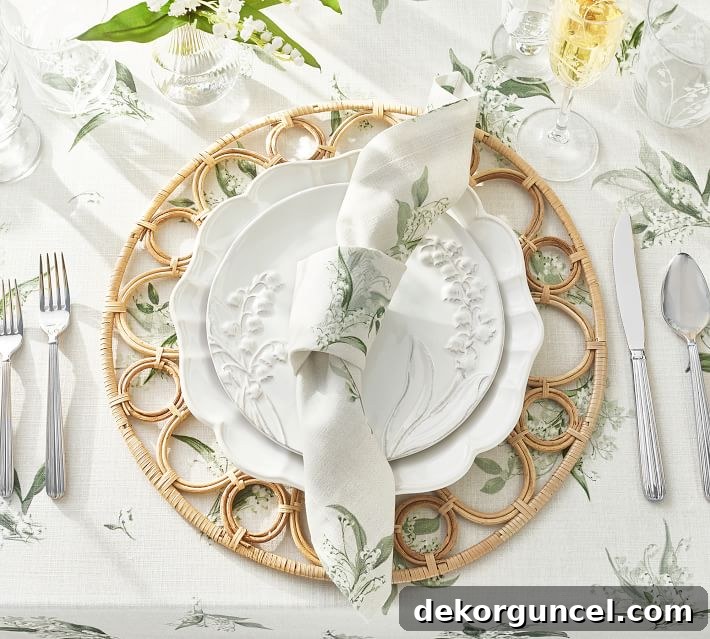
Sources: Tablecloth | Rattan charger plate | Scalloped dinner plate | Lily of the valley salad plate | Napkin | Flatware
I sincerely hope that these simple yet impactful Easter table decor ideas have inspired you to add one or two special touches to your own celebration this year! Creating a beautiful table doesn’t have to be complicated or expensive; it’s all about thoughtful details and a touch of creativity. Remember, the goal is to craft an inviting atmosphere where cherished memories can be made around good food and even better company. If you’re new here and have enjoyed these decorating tips, please consider signing up to get notified of new decorating, DIY projects, and seasonal posts delivered right to your email inbox {here}. And as you continue to infuse your home with the joyous spirit of spring, don’t forget to check out my post on truly beautiful spring wreaths for your front door {here} – the perfect welcoming statement for the season!
XO,
