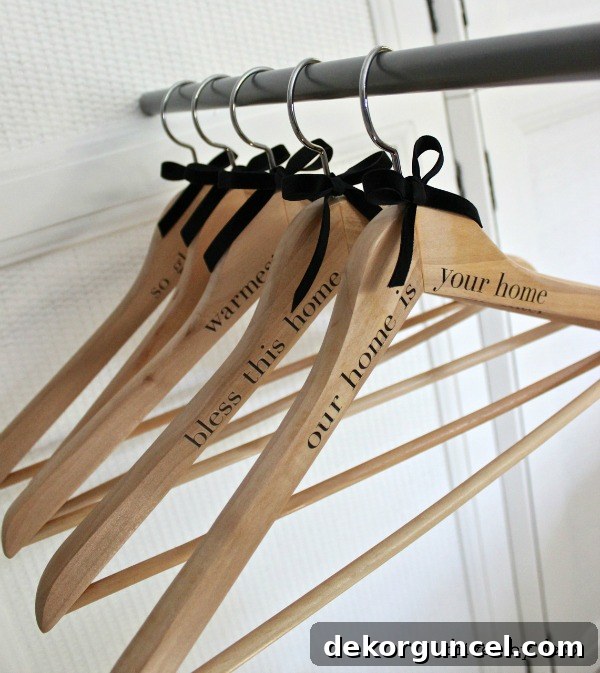
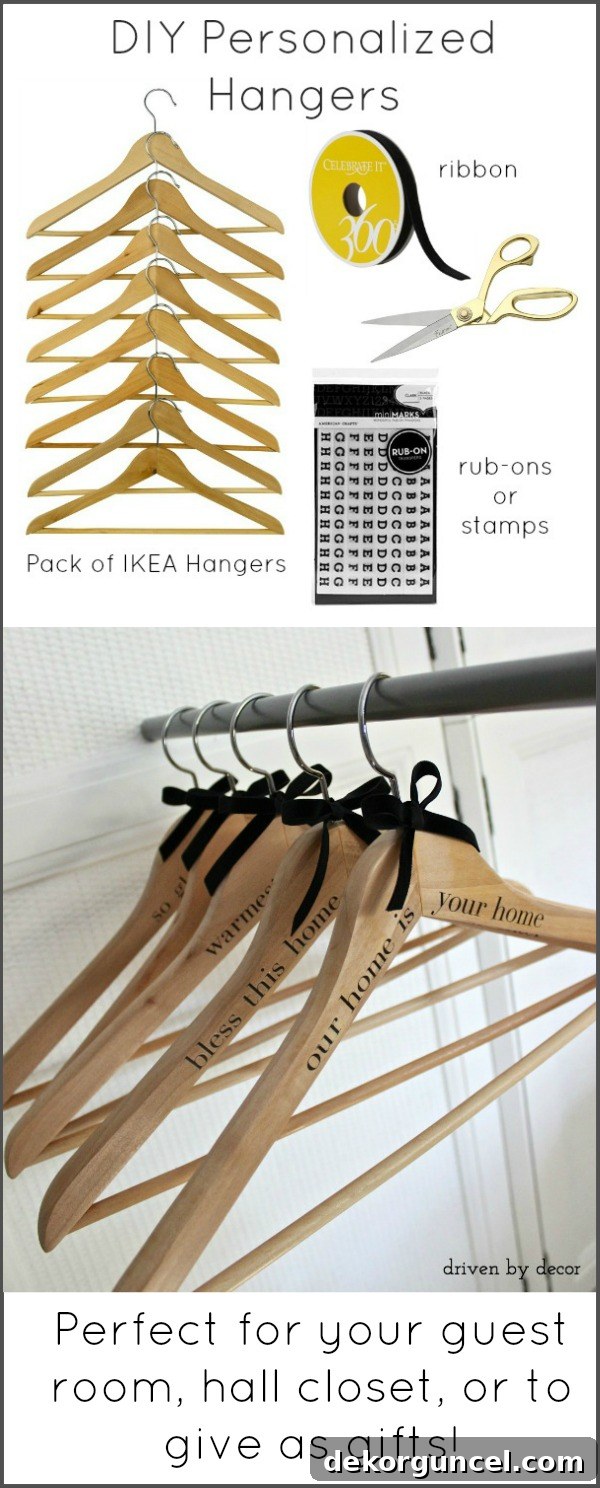
Creating a truly welcoming atmosphere for guests is an art form, and it often comes down to the smallest, most thoughtful details. As someone who frequently hosts loved ones, I’ve discovered that elevating the guest experience doesn’t require grand gestures, but rather intentional touches that convey warmth and care. One such simple yet impactful upgrade I recently made was transforming ordinary wooden hangers into personalized keepsakes for our guest room closet. This DIY project not only enhanced the aesthetic appeal of the space but also added a heartfelt touch that makes every visitor feel genuinely special and cherished. Beyond their utility in a guest room, these custom hangers also make incredibly charming and unique gifts, perfect for bridesmaids, new homeowners, or anyone who appreciates a touch of bespoke elegance.
The Art of Hospitality: Why Personalized Hangers Make a Difference
In the realm of home decor and guest accommodation, personalization speaks volumes. While a comfortable bed and fresh linens are fundamental, it’s the subtle nuances that elevate a stay from good to exceptional. Personalized hangers are more than just functional items; they are a statement of hospitality. They communicate to your guests that you’ve thought about their comfort and experience, extending a warm invitation beyond mere words. Imagine your guests opening the closet to find a hanger with a heartfelt message or their initial—it’s an instant mood-lifter and a memorable detail they’re sure to appreciate. This thoughtful addition can transform a simple guest room into a boutique-like experience, leaving a lasting impression long after their departure.
Beyond the Guest Room: Versatility of Personalized Hangers
While my initial inspiration for these personalized hangers stemmed from our frequent guest visits, their utility and charm extend far beyond a single room. These custom creations are remarkably versatile, making them ideal for various applications around your home or as incredibly thoughtful gifts:
- Wedding Gifts: A set personalized with “Bride,” “Groom,” their names, or the wedding date makes for an exquisite and practical present that can be used for the wedding day attire and cherished for years to come.
- Bridesmaid/Groomsman Gifts: A personalized hanger for each member of the wedding party is a beautiful gesture, perfect for hanging their special day outfits and serving as a lasting memento.
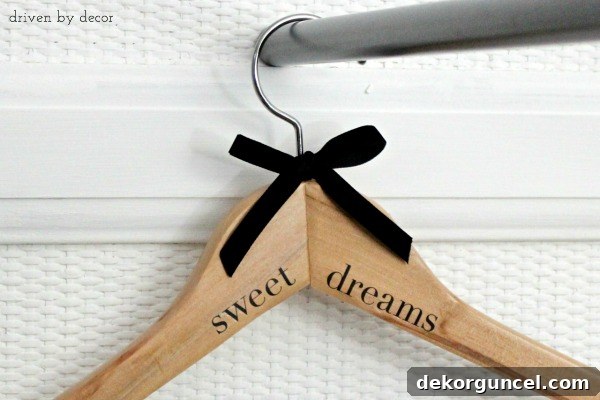
- Baby Shower Gifts: Customizing smaller wooden hangers with a baby’s name, “Sweet Dreams,” or “My First Outfit” creates an adorable and practical gift for new parents.
- Housewarming Presents: For friends moving into a new home, a set of hangers with a family initial or a welcoming phrase is a unique and appreciated housewarming gift.
- Holiday or Birthday Gifts: Monograms, inside jokes, or clever sayings can tailor these hangers to specific individuals, making them incredibly personal and memorable for any occasion.
- Hallway Closets: Extend the welcoming vibe to your entryway by having personalized hangers ready for visitors’ coats, demonstrating your attention to detail throughout your home.
- Photography Props: For photographers, especially those specializing in weddings or fashion, personalized hangers add a professional and elegant touch to product or attire shots.
DIY Personalized Hangers: A Step-by-Step Guide
Creating these personalized hangers is a wonderfully simple and rewarding DIY project that requires minimal supplies and crafting experience. It’s an ideal weekend craft that delivers maximum impact. Here’s how you can make your own:
Gather Your Materials:
- Inexpensive Wooden Hangers: The foundation of your project! Look for sturdy, smooth wooden hangers without too many imperfections. I sourced mine from IKEA initially, but many retailers offer excellent options. Amazon has several highly-rated inexpensive wood hanger options {here} that are perfect for this project. Consider hangers with notches for strappy garments or a bar for trousers, depending on their intended use.
- Rub-On Letters/Transfers: This is where the magic happens! Select a pack of rub-on letters in a font style and size that you love. Craft stores are an excellent source for a wide variety of designs. As a reference, my tallest letters were about ½ inch, offering clear visibility without overwhelming the hanger. While the exact ones I used are no longer available, there are countless beautiful options to choose from.
- Transfer Tool or Popsicle Stick: Most rub-on letter kits include a small tool for application, often a flat plastic stick or a wooden popsicle stick. If not, a coin or the back of a spoon works just as well.
- Craft Knife or Scissors: For precisely cutting out your chosen letters.
- Ruler or Measuring Tape (Optional but Recommended): For ensuring even spacing and alignment of your letters.
- Painter’s Tape (Optional): To temporarily hold letters in place while planning your layout.
- Satin or Grosgrain Ribbon (Optional): To add charming decorative bows.
- Clear Acrylic Sealer Spray (Optional, but Recommended for Durability): A matte or satin finish spray can protect your rub-on letters from wear and tear, especially if the hangers will see frequent use.
The Personalization Process:
- Plan Your Layout: Before applying anything permanently, carefully cut out the individual letters or words you wish to use. Arrange them on your hanger to visualize the spacing and alignment. This step is crucial for achieving a professional and balanced look. Use a ruler to ensure your text is centered or evenly spaced, and painter’s tape can temporarily hold letters if you’re working on a longer phrase.
- Apply the Rub-On Letters: Once you’re satisfied with your layout, take one letter at a time. Position it precisely where you want it on the hanger, sticky-side down. Using your transfer tool (or popsicle stick), firmly and evenly rub over the entire surface of the letter. The key is to apply consistent pressure to ensure every part of the letter transfers to the wood.
- Slow and Steady Removal: After rubbing, carefully and slowly peel back the transparent backing of the rub-on letter. If you notice any part of the letter hasn’t transferred, gently lay the backing back down in its exact original position and rub that specific area again. Repeat this process for all your chosen letters until your message is complete. Patience is key here to avoid tearing or incomplete transfers.
- (Optional) Add Decorative Bows: If you wish to add an extra touch of elegance, tie small bows with your chosen ribbon around the neck of each hanger. This adds a beautiful embellishment and can complement your room’s decor.
- (Optional) Seal for Durability: For long-lasting results, especially if these hangers will be frequently used or given as gifts, apply a thin, even coat of clear acrylic sealer spray over the personalized area. This will protect the rub-on letters from chipping, scratching, and general wear. Allow ample drying time as per the product instructions.
Inspiring Phrases for Your Personalized Hangers
The beauty of this project lies in its customizability. The phrases you choose can set the tone for your guest room or make a gift truly unique. Here are some ideas:
For the Guest Room:
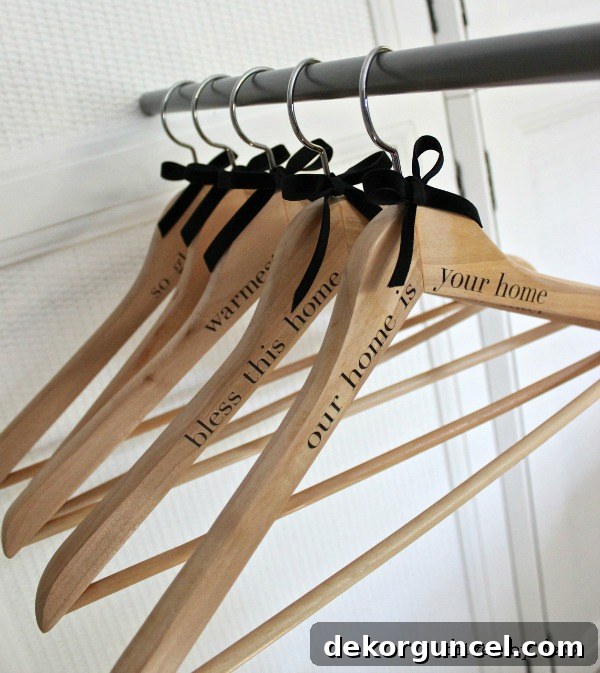
our home is your home
sweet dreams
warmest welcome
so glad you’re here
bless this home and all who enter
welcome home
make yourself at home
enjoy your stay
your comfort matters
For Wedding & Bridal Party Gifts:
The Bride
The Groom
Bridesmaid [Name]
Mr. & Mrs. [Last Name]
[Wedding Date]
For Baby & Child Gifts:
[Child’s Name]
Sweet Baby
For General Gifting or Personal Use:
[Monogram/Initial]
Happy Birthday [Name]
Closet Goals
Fashion Finds
[An inside joke or meaningful quote]
The Long-Term Verdict and an Alternative Solution
It’s always satisfying when a simple DIY project stands the test of time. As an update, I’m delighted to report that my personalized hangers have held up beautifully for over six years now! The rub-on letters have remained perfectly intact, showing no signs of peeling or fading despite regular use. This longevity truly underscores the quality and durability of this simple craft, making it one of my all-time favorite easy DIYs that delivers lasting joy and functionality.
However, I understand that DIY isn’t everyone’s cup of tea, or perhaps you’re pressed for time. The good news is that you don’t have to miss out on the charm of personalized hangers! There are TONS of incredibly cute and professionally made options available for purchase. If you prefer to buy rather than DIY, you can explore a fantastic selection of {here} for personalized hangers that are ready to go. These pre-made options offer a wide range of styles, fonts, and customization possibilities, ensuring you’ll find the perfect set for your home or as a thoughtful gift.
Maximizing Closet Space: A Bonus Tip
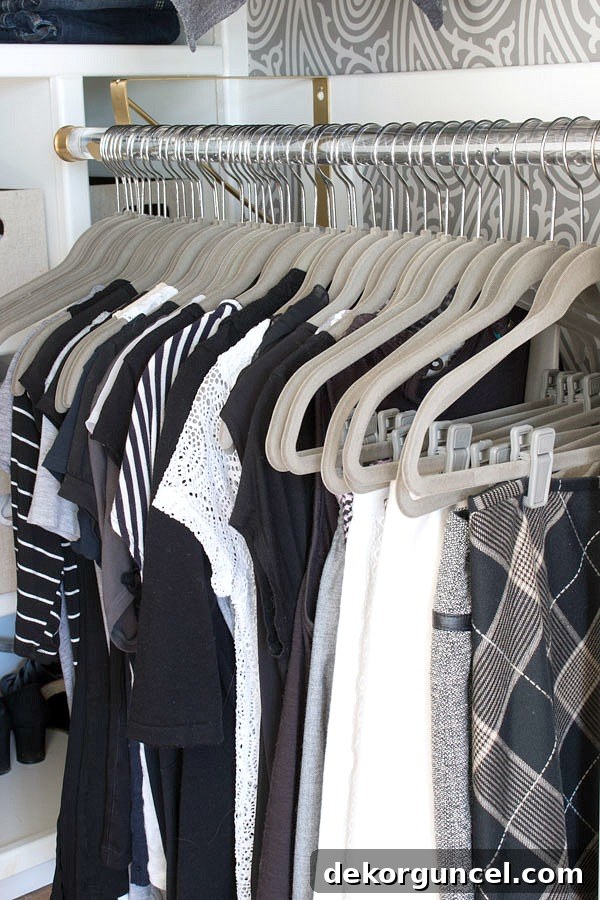
On a related note, while these wooden hangers are fantastic for guest rooms and special occasions, if you’re looking to optimize space in your own closet, especially if it’s on the smaller side like mine, I swear by {these slim huggable hangers}. They are a game-changer for fitting twice the clothes into the same amount of space, making them an invaluable tool for efficient home organization and closet decluttering.