
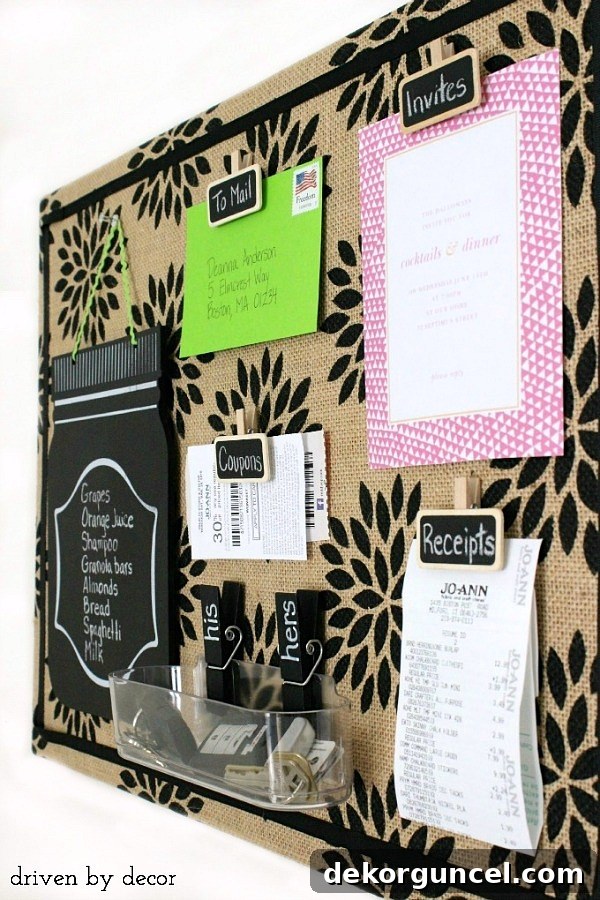
Transform your space and conquer clutter! Learn how to create a stunning DIY burlap bulletin board with this easy-to-follow guide.
Do you ever feel like your kitchen counter or island acts as a magnet for paper clutter? Receipts, coupons, grocery lists, permission slips – they all seem to pile up, creating an overwhelming mess that detracts from the beauty and functionality of your home. If you’re nodding along, you’re not alone. The constant battle against overflowing paperwork is a common household challenge, and it often leaves us searching for stylish yet practical organization solutions. This is precisely why I embarked on a journey to create a simple, yet incredibly effective, burlap bulletin board. Not only has it become an indispensable tool for keeping my kitchen tidy and organized, but it also adds a charming, rustic-chic touch to my home decor. It’s proof that functional items can also be beautiful!
Crafting this personalized bulletin board was a surprisingly straightforward and enjoyable project, perfect for anyone looking to add a touch of DIY charm to their home without a major time commitment. The satisfaction of turning a plain cork board into a custom piece of art that actively helps manage daily clutter is truly rewarding. Ready to banish paper piles and inject some organized elegance into your living space? Let’s gather our materials and dive into the creative process!
Essential Supplies for Your Burlap Bulletin Board Project
Before we begin transforming your plain cork board into a personalized organizational masterpiece, it’s crucial to ensure you have all the necessary tools and materials at hand. Having everything ready before you start will make the process smooth and enjoyable. Here’s a detailed list of what you’ll need:
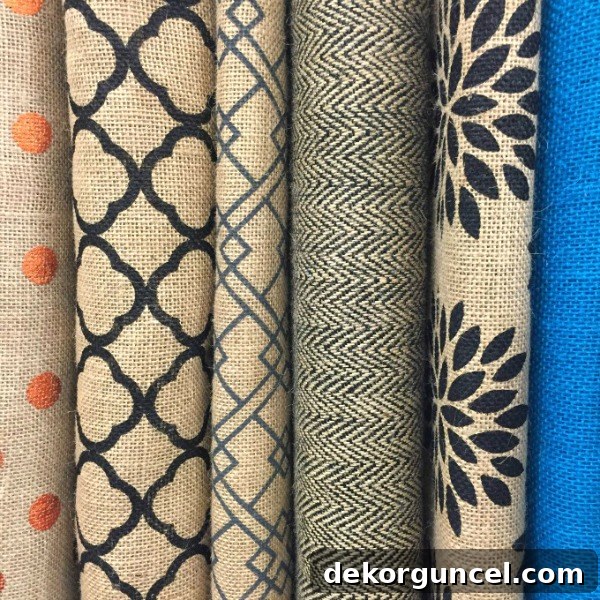
- Patterned Burlap: This is where you can truly let your personality shine! Burlap comes in an incredible array of patterns, colors, and textures, ranging from subtle neutrals to vibrant prints. I discovered an abundance of fantastic choices at Jo-Ann Fabrics, offering everything from geometric designs to charming floral motifs. Consider a pattern that complements your existing decor or one that adds a delightful pop of color to your space. The beauty of patterned burlap is its ability to instantly elevate a simple cork board into a designer-look accessory.
- Thick, Unframed Cork Board: The foundation of your project. The size will depend on your specific needs and the available wall space. Mine measured a versatile 17″ x 23″, which is ideal for a kitchen or entryway. Opt for a cork board that is relatively thick, as this will provide a robust base for stapling and ensure durability. An unframed board allows for a seamless, custom fabric wrap.
- Sharp Scissors: Essential for clean, precise cuts through your burlap fabric. A good pair of fabric scissors will make this step much easier.
- Light Duty Staple Gun with Staples: A light-duty staple gun, such as the one linked, is perfect for this type of project. It provides sufficient power to secure the burlap firmly to the cork board without being overly cumbersome. Ensure you have an ample supply of staples ready.
- ⅜″ Grosgrain Ribbon: This ribbon will serve as a beautiful, professional-looking border for your finished bulletin board. Grosgrain ribbon is durable and holds its shape well. Choose a color that coordinates harmoniously with your patterned burlap, adding a polished edge and hiding any raw burlap edges.
- Glue Dot Runner: A glue dot runner provides a quick, clean, and mess-free way to apply adhesive, particularly useful for attaching the ribbon border. It creates an instant bond without the drying time of liquid glue.
- High Temperature Hot Glue Gun: A hot glue gun is invaluable for securing corners and providing extra hold where needed, especially for the ribbon border. A high-temperature gun ensures a strong, lasting bond. Make sure to have extra glue sticks on hand.
Step-by-Step Guide to Covering Your Cork Board with Burlap
Now that you have all your supplies, let’s get started on the transformation! This process is straightforward, but taking your time with each step will ensure a professional and beautiful finish.
-
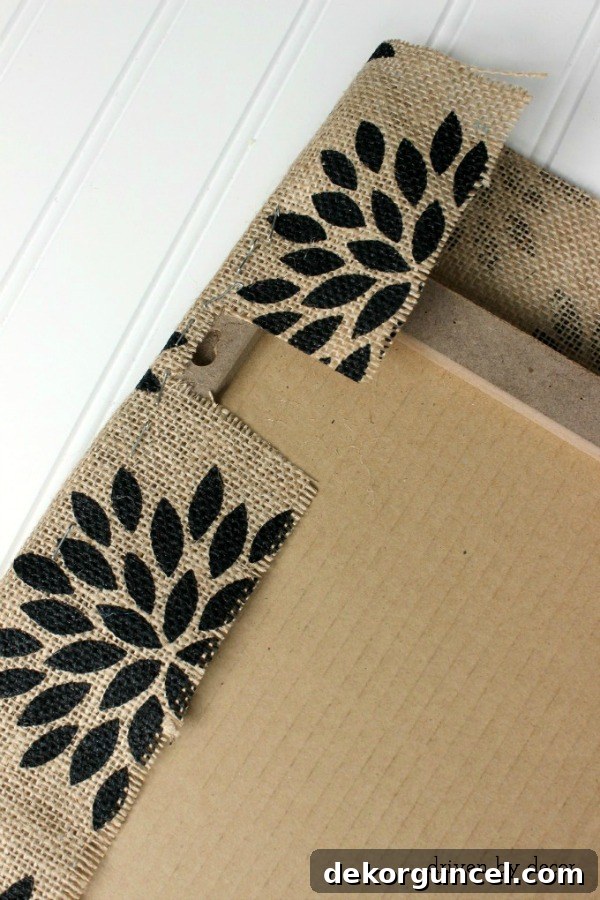
Prepare Your Burlap: Begin by laying your chosen patterned burlap fabric face-down on a clean, smooth, and flat surface. This ensures the pattern is correctly oriented when you flip the board over. Next, carefully place your cork board face-down directly in the center of the burlap. For optimal coverage and ease of stapling, you’ll need to cut your piece of burlap generously. A good rule of thumb is to make it approximately 5 inches wider and 5 inches longer than your cork board on all sides. For instance, if your cork board measures 17″ x 23″, you should cut your burlap piece to a dimension of 22″ x 28″. This extra allowance provides ample fabric to wrap around the edges and secure firmly to the back of the board, preventing any fraying or short-pulls later on.
-
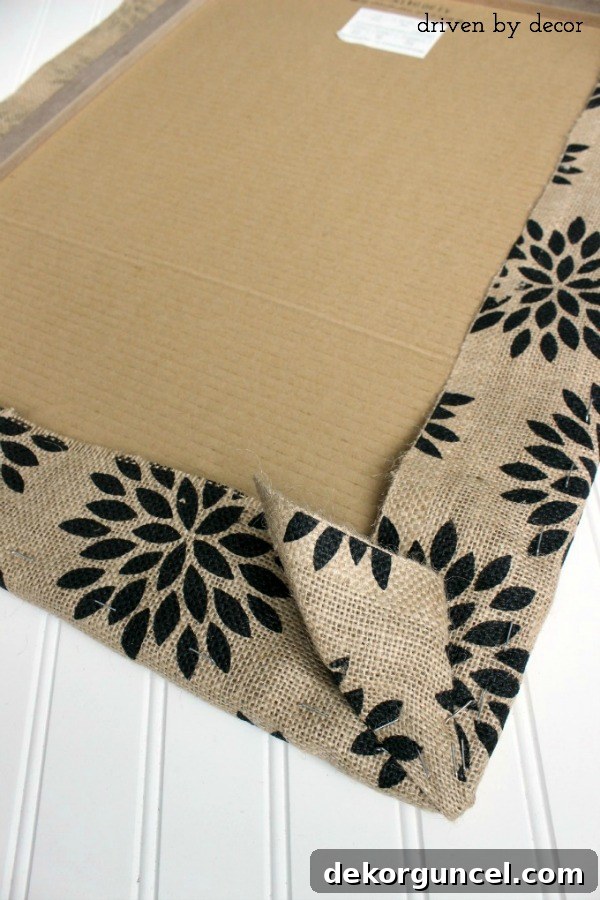
Secure the Burlap with Staples: Starting with one of the longer sides, gently pull the burlap taut around the edge of the cork board and begin stapling it to the back. Work your way down the length of the board, placing staples every 2-3 inches. The key here is to maintain consistent tension as you go. Pulling the burlap firmly but not excessively tight will ensure a smooth, wrinkle-free finish on the front. Repeat this process for the opposite long side, again pulling the fabric taut. Then, move on to the shorter sides, stapling the burlap securely in the same manner. This sequential approach helps distribute tension evenly across the entire board.
-
Address Hanging Holes: Many cork boards come with pre-drilled holes or designated areas for hanging hardware. As you staple the burlap, be mindful of these spots. When you encounter a hanging hole, simply use your scissors to carefully notch out a small section of burlap around it. This ensures that the holes remain accessible for mounting your bulletin board once it’s complete. Staple closely around these notched areas to keep the burlap neatly in place.

-
Mastering the Corners: The corners are often the trickiest part, but with a little patience, you can achieve a clean, professional fold. It’s best to tackle the corners only after you have stapled the burlap along the entire length of both sides of the board. Once the sides are secure, take each corner piece of burlap. Fold it neatly, pulling it tightly towards the center of the board’s back. This creates a crisp, mitered-like corner on the front. Secure the folded corner firmly with your staple gun. You may need a couple of staples to ensure it lies perfectly flat and doesn’t unravel. Repeat this for all four corners.
-
Final Touches on the Back: After all the burlap is stapled down, run your hand over the back of the board. If any staples are sticking up slightly, which can happen, simply use a small hammer to gently tap them down until they are flush with the cork board. This ensures that the back is smooth, preventing scratches on your wall and giving a much neater appearance. Now, the exciting part – flip your board over! Take a moment to admire your handiwork. You’ve just transformed a basic cork board into a custom, stylish piece of decor!

Adding a Decorative and Polished Ribbon Border
To give your newly covered patterned burlap cork board an exquisite, finished look and to neatly conceal any visible staple lines or raw edges on the side, adding a coordinating grosgrain ribbon border is the perfect touch. This step truly elevates the bulletin board from a simple DIY project to a refined piece of home decor.
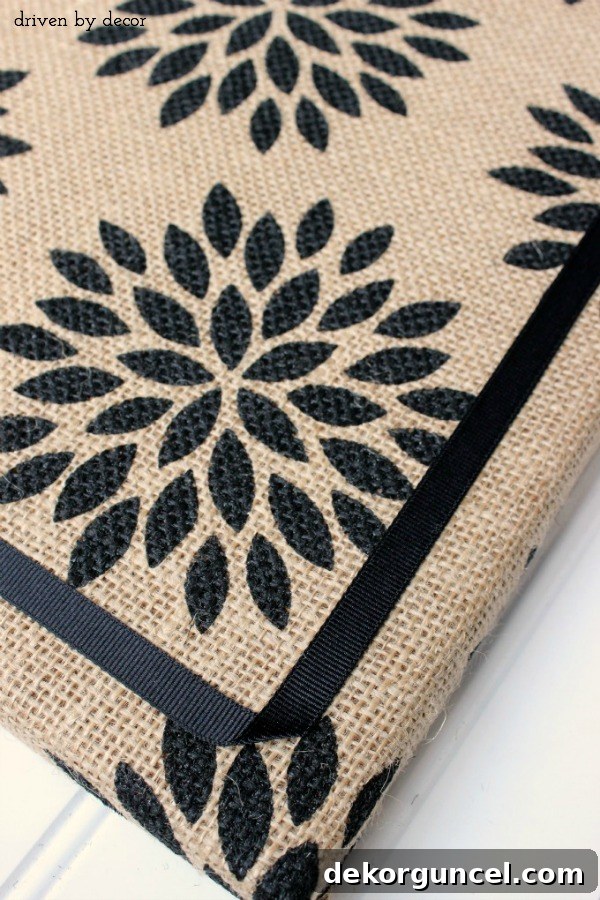
Start by selecting a grosgrain ribbon that beautifully complements the pattern and colors of your burlap. Lay out your ribbon and your glue dot runner. A glue dot runner is fantastic for this purpose because it provides an instant, clean, and strong bond without the mess or drying time of liquid adhesives. Apply a line of glue dots to one side of your ribbon. To ensure a perfect fit, work in sections, applying glue dots along a length of ribbon that is about 2 inches shorter than the side of your cork board you’re currently working on. This slight reduction helps manage the ribbon around corners and allows for a clean finish.
Begin attaching the ribbon about 1 inch in from the edge of your board. Carefully lay the glue-dotted ribbon down, pressing it firmly onto the burlap along the edge. Take your time to ensure the ribbon is straight and evenly placed. As you approach a corner, stop about an inch before it. Then, gently flip your ribbon over to start on the next side. This creates a clean fold at the corner. Repeat the process of applying glue dots and laying down the ribbon for each side. For added security and to ensure your corners lay perfectly flat and stay in place, dab a small dot of hot glue from your high-temperature hot glue gun right at each corner where the ribbon overlaps. This provides an extra strong, invisible hold, cementing the polished look of your bulletin board.
Customizing Your Bulletin Board for Ultimate Organization
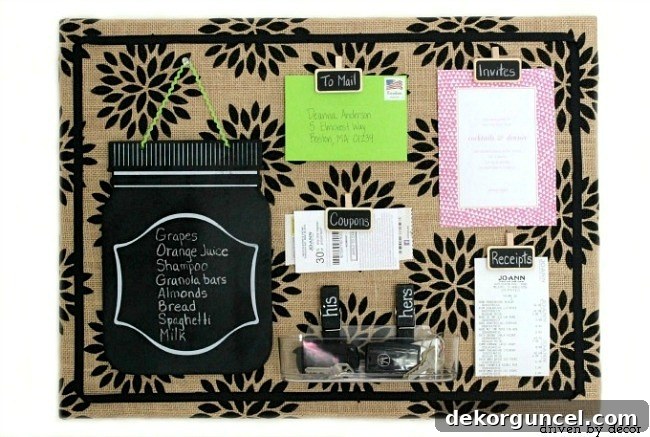
Now comes the most exciting part: personalizing your patterned burlap bulletin board with all sorts of clever organizational goodies! The true magic of a custom bulletin board lies in its ability to adapt to your specific needs, and the right accessories can make all the difference in keeping your life neat and streamlined. I’ve always found traditional thumbtacks to be a bit cumbersome, and frankly, I dislike putting holes in important invitations, cherished photos, or documents. My preferred solution is a system that allows for easy clipping and unclipping, preserving your precious papers.
My go-to method involves creating versatile clips that offer both functionality and charm. I simply use a hot glue gun to attach ordinary thumbtacks to the back of small decorative items. For this project, I opted for adorable chalkboard clothespins and equally charming mini chalkboards with clips. The thumbtack allows you to easily push the clip into the cork board, while the clip itself holds your items securely without damage. It’s a simple hack that makes a huge impact on usability and aesthetics.
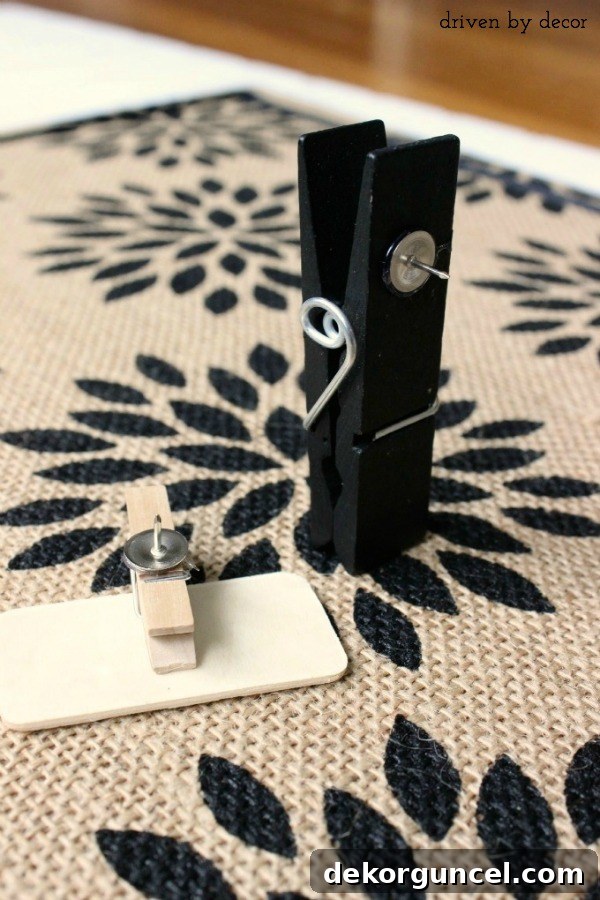
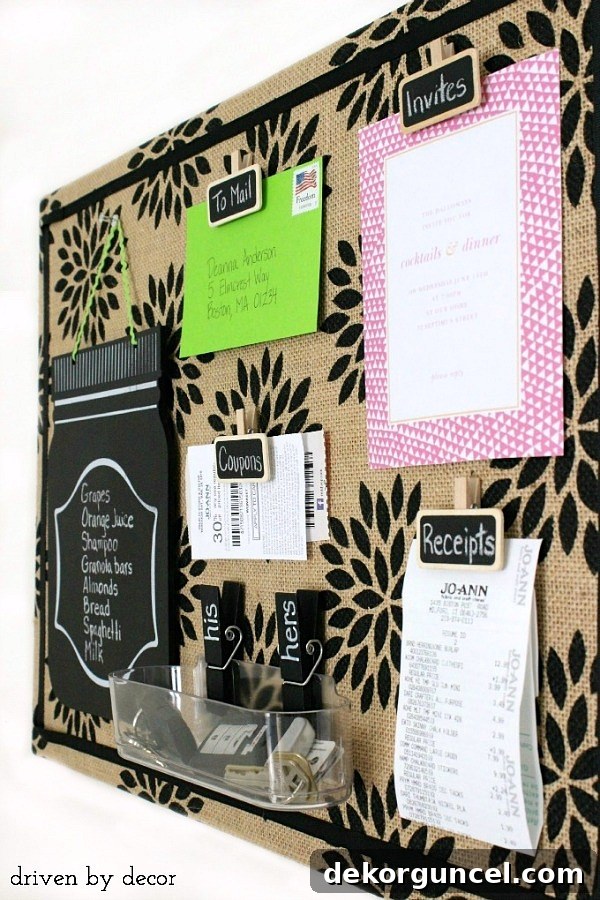
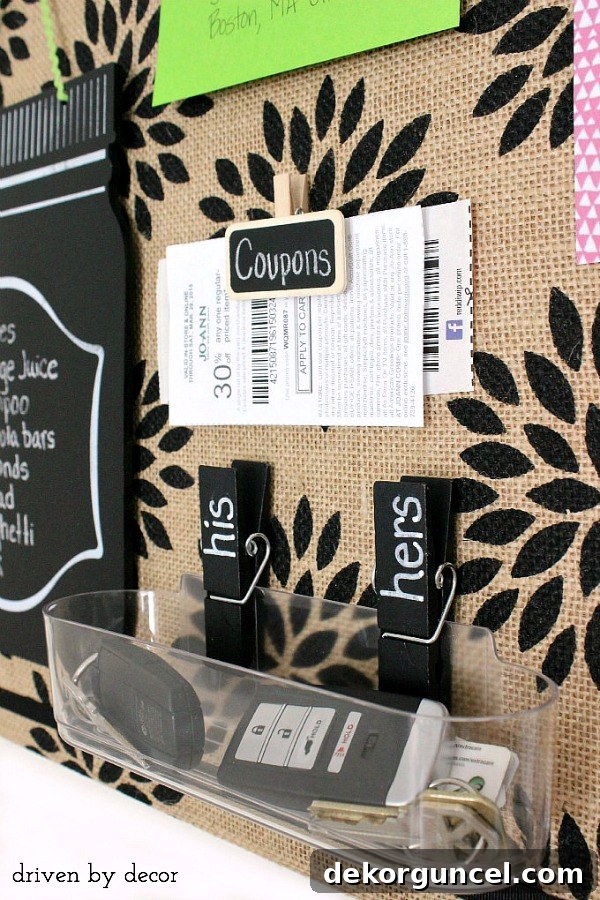
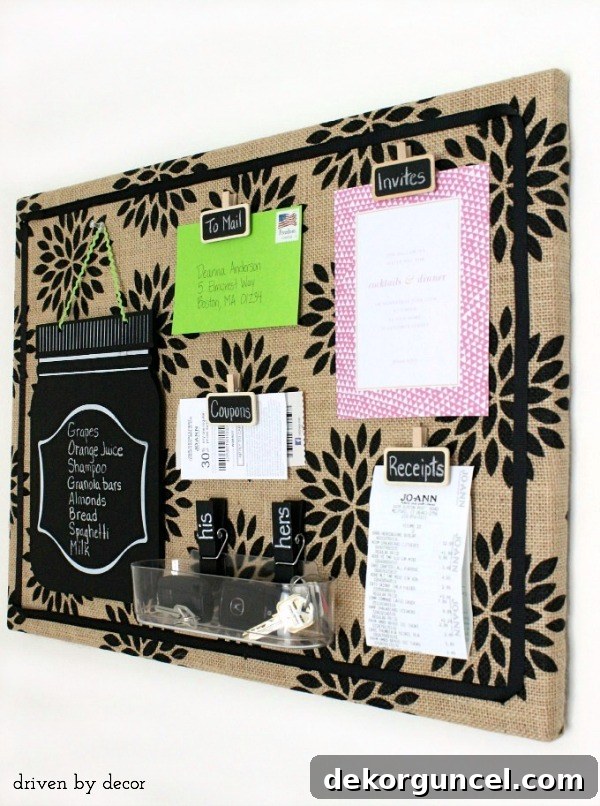
To further enhance the organizational power of my board, I incorporated a clear caddy, perfect for those everyday essentials. Using two of the DIY chalkboard clothespins, I clipped on this clear caddy. It’s perfectly positioned to serve as a convenient drop-off point for car keys, sunglasses, or other small items as soon as we walk in the door. No more frantic searches for keys before heading out!
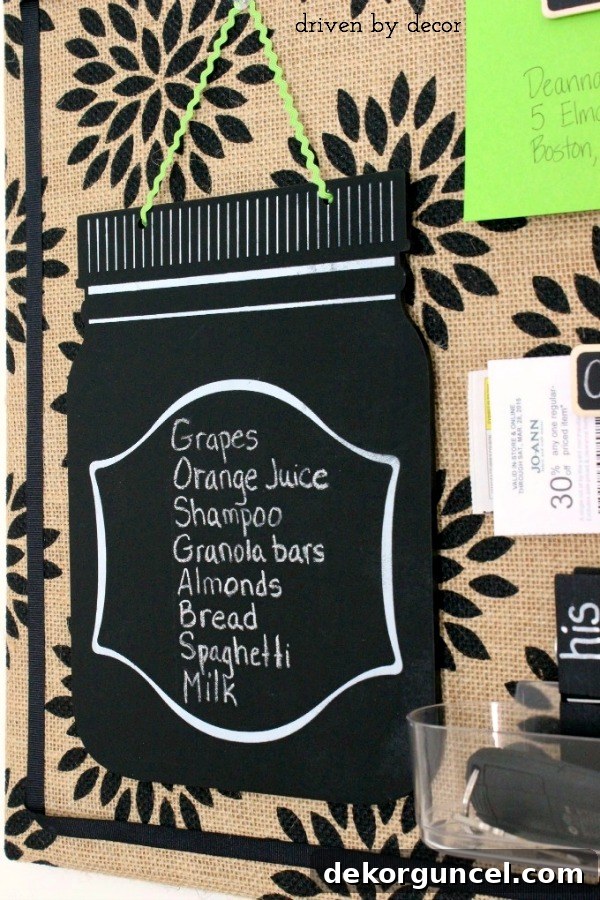
Another delightful addition is a mason jar chalkboard plaque, which I found at Jo-Ann’s. This charming piece is incredibly versatile – it can be used to keep a running grocery list, ensuring you never forget an item, or it can serve as a central spot for family members to jot down quick notes, reminders, or messages to each other. To integrate it seamlessly with my board’s aesthetic, I replaced the rustic twine hanger it originally came with a thin, coordinating ribbon, adding a subtle touch of color and elegance.
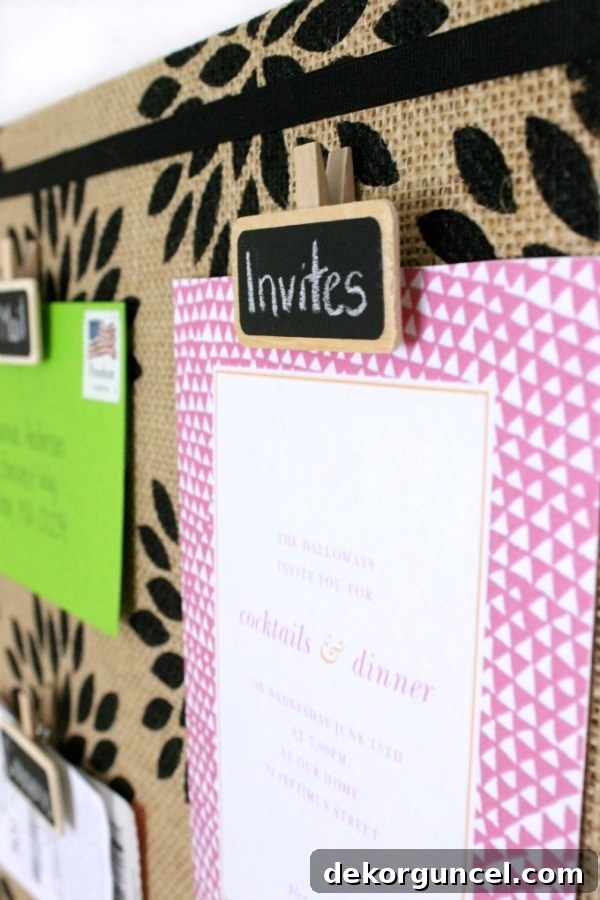
Finally, I utilized the remaining chalkboard clothespin clips to organize various paper items that typically contribute to counter clutter. Receipts, coupons, event invitations, and outgoing mail now have a designated, easily accessible home. The beauty of these chalkboard clips is their re-writable surface; you can label them for specific categories (e.g., “To Do,” “Mail Out,” “Groceries”) and easily erase and update as needed. This flexibility makes them an incredibly practical tool for dynamic household management.
The Transformative Power of a Simple DIY Project
This DIY patterned burlap bulletin board has truly been a game-changer in our kitchen, serving as an effective and attractive clutter-tamer. My only regret is that I didn’t get around to making it sooner! The transformation from a cluttered island to an organized, inviting space has been incredibly satisfying. I discovered the perfect spot for my new bulletin board on an empty wall in the kitchen, strategically placed right by the door to the garage. This location is ideal for quick grab-and-go moments – whether I need to snag my car keys, grab any letters that need mailing, or remember a coupon before heading out the door for errands. It brings a sense of calm and efficiency to our daily routine, making those rushed mornings a little less chaotic.
What’s even better is that there’s still plenty of wall space left for a future project or two. Perhaps another decorative piece or a small shelf to complement the board’s functionality. The possibilities for creative home organization are endless!
Hope you all have a great week and are inspired to tackle your own home organization projects!
