
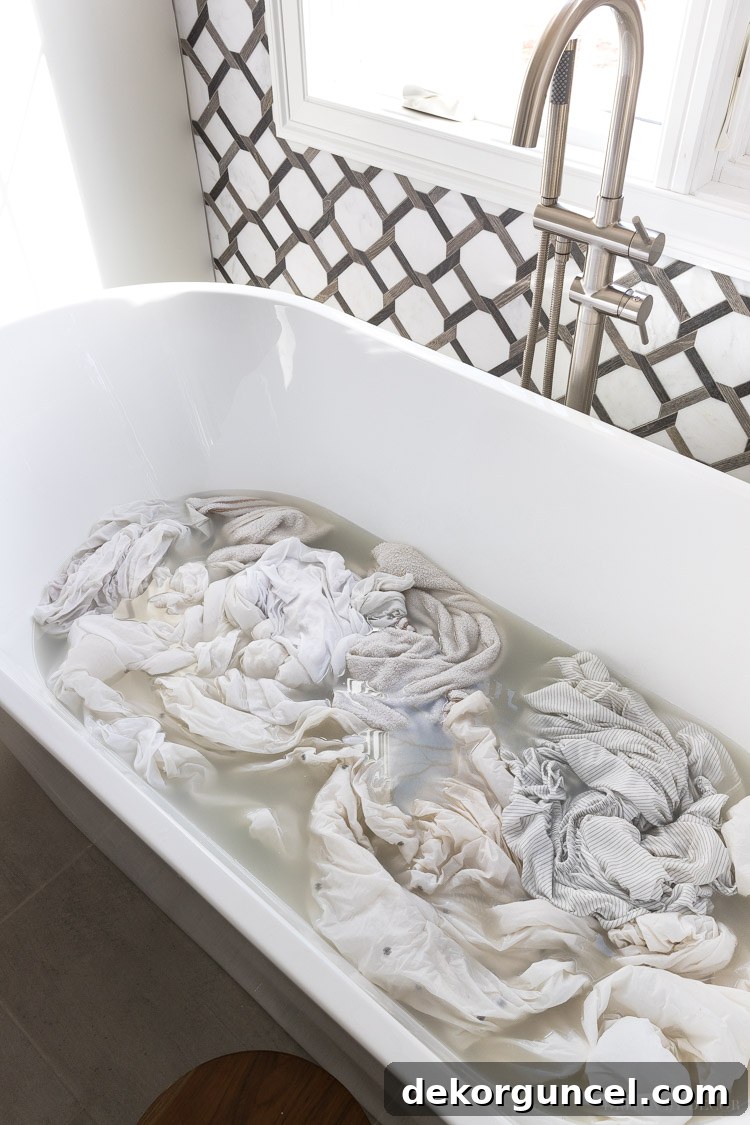
Have you ever wondered if your “clean” laundry is truly clean? The answer might surprise and even shock you. I discovered the magic of laundry stripping late last year, and after witnessing the incredible amount of grime and residue that came out of our sheets and towels, I was absolutely hooked! It’s an incredibly simple process, yet the results are profoundly satisfying and honestly, a little addictive. Today, I’m thrilled to share the ultimate laundry stripping recipe and a detailed, step-by-step guide to help you achieve the cleanest laundry you’ve ever had. Get ready to transform your linens and textiles!
(Please note: This post includes affiliate links, meaning if you make a purchase through these links, I may earn a small commission at no extra cost to you. For a full disclosure statement, please refer to our disclosure page.)
What Exactly is Laundry Stripping and Why Do You Need It?
Over time, even regularly washed clothes and linens accumulate an invisible but persistent build-up of residue. This isn’t just dirt; it’s a cocktail of body oils, sweat, dead skin cells, hard water minerals, excess laundry detergent, and fabric softener. These residues cling to fabric fibers, leading to a host of common laundry woes: dullness in whites, faded colors, stiffness in towels (making them less absorbent), and lingering odors that even fresh detergent can’t mask. Laundry stripping is a revolutionary deep-cleaning method designed to meticulously strip away all these accumulated layers, revealing truly clean, refreshed, and revitalized fabrics.
The sheer amount of “nastiness” you’ll see extracted from your seemingly clean laundry during the stripping process is often both astonishing and a little horrifying. It’s a testament to how much hidden grime can reside within our everyday textiles. Essentially, it involves soaking your laundry for several hours in a powerful yet simple solution, followed by a quick wash and dry. This method goes far beyond what a conventional wash cycle can achieve, making it an essential practice for maintaining the longevity and freshness of your most used linens and clothing.
The Science Behind the Strip: How It Works
Laundry stripping isn’t just a random mix of ingredients; there’s a specific chemical process at play that makes it so effective. The magic lies in creating a highly alkaline environment in hot water, which works synergistically to break down and loosen the stubborn residues embedded in your fabrics. Here’s a brief look at how the key ingredients contribute:
- Borax: Known as sodium borate, Borax is a natural mineral compound that acts as a powerful laundry booster. It helps to soften hard water, allowing detergents to work more effectively, and it raises the pH level of the water, which helps in breaking down dirt, grease, and tough stains.
- Washing Soda (Sodium Carbonate): This ingredient is even more alkaline than Borax. Washing soda is a fantastic degreaser and stain remover. It excels at emulsifying oils and cutting through grime, making it indispensable for dissolving the greasy residues from body oils and fabric softeners.
- Powdered Laundry Detergent: While you’re stripping “clean” laundry, the powdered detergent isn’t just for cleaning; it provides surfactants that help suspend the loosened dirt and oils in the water, preventing them from redepositing onto your fabrics. Powdered detergents are often more effective in hot water applications for heavy-duty cleaning.
When combined with hot water, these ingredients create a potent solution that systematically breaks down the chemical bonds of the accumulated gunk, releasing it from the fabric fibers and into the water. This process results in the dramatic, often brown or grey, water that is a clear indicator of the deep cleaning taking place.
The Ultimate Laundry Stripping Recipe for Sparkling Clean Fabrics
The laundry stripping formula is surprisingly simple, relying on a specific ratio of three key ingredients. For a standard bathtub filled approximately halfway with hot water, you’ll need:
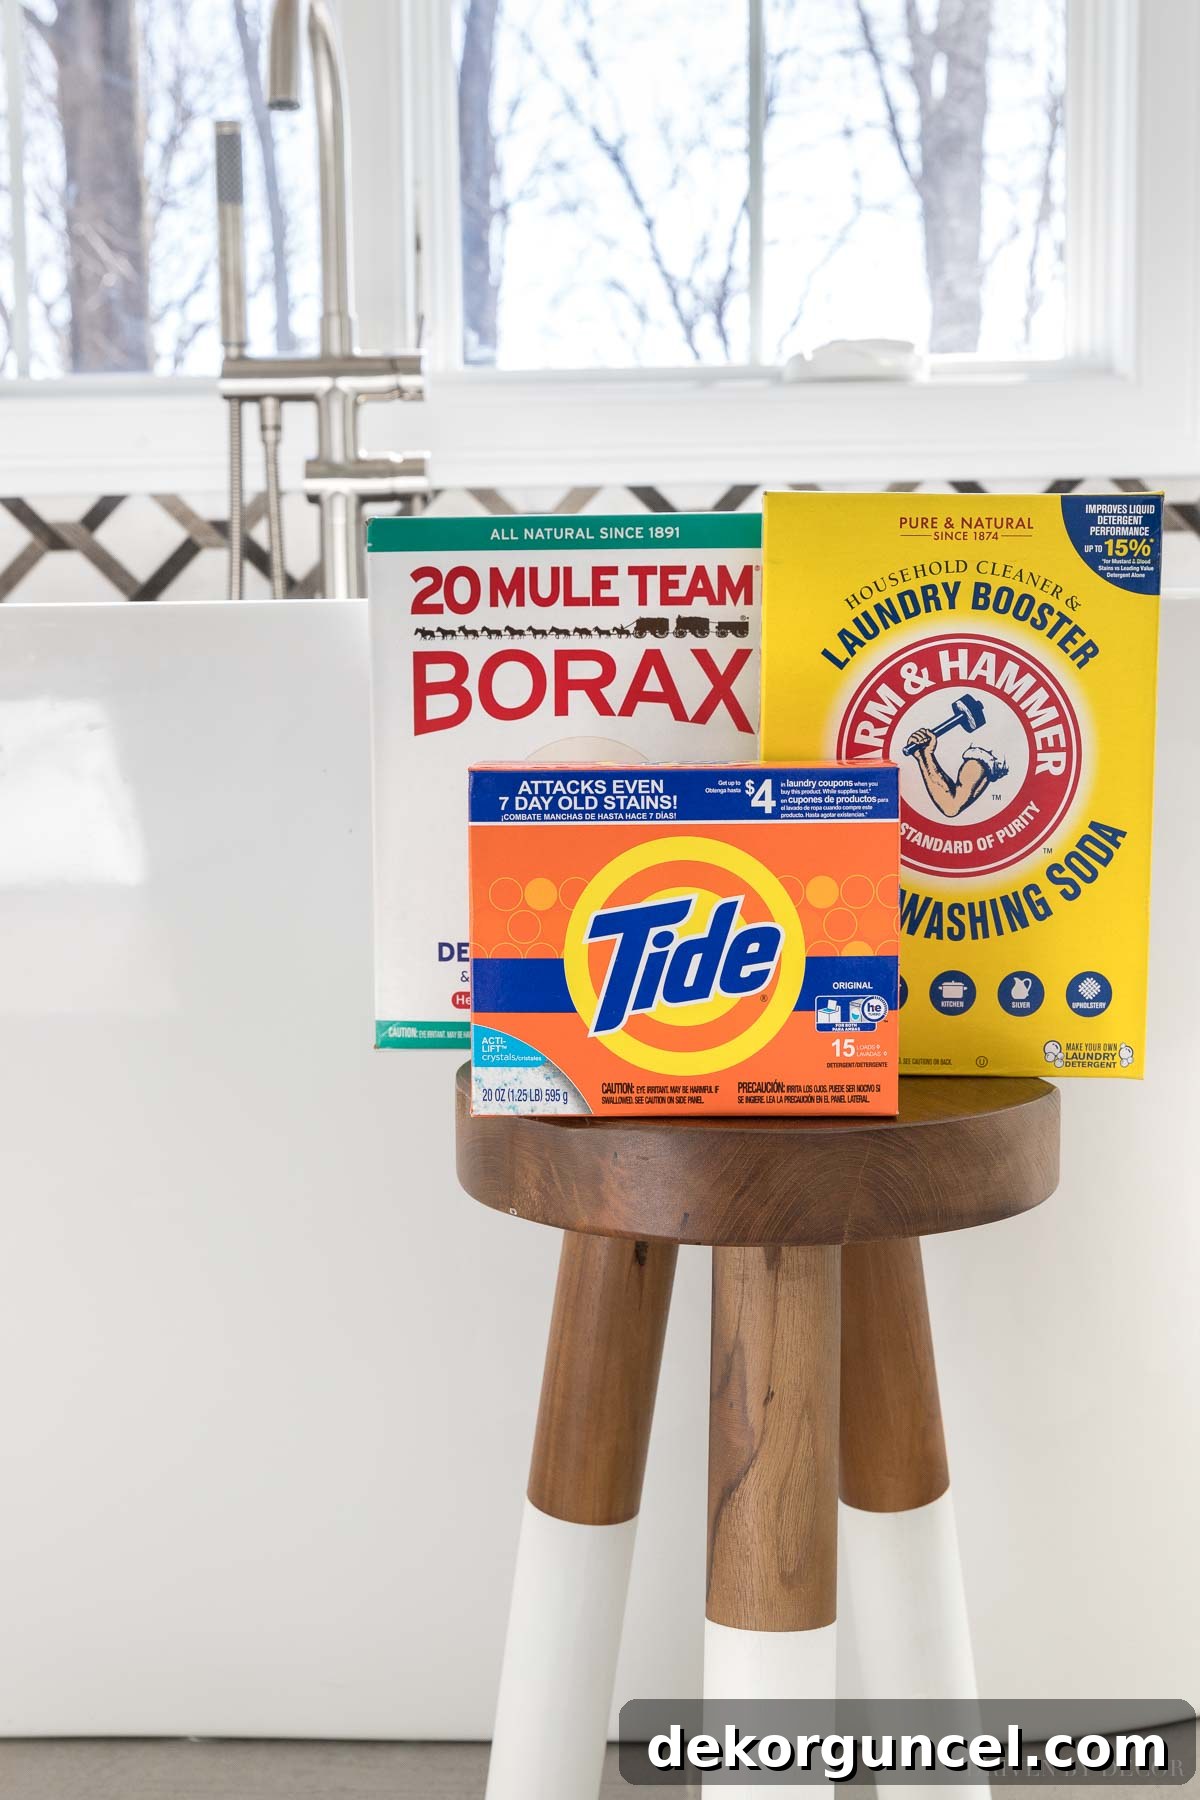
The addition of Calgon, a water softener, is highly recommended if you live in an area with hard water. Hard water contains minerals that can exacerbate residue build-up and make detergents less effective. While it can sometimes be difficult to find in stock, if you can get your hands on it and your water supply is hard, it will significantly enhance the stripping process. For those without excessively hard water, or if Calgon is unavailable, the core three-ingredient recipe will still deliver impressive results.
How to Strip Your Laundry: A Step-by-Step Guide for Maximum Cleanliness
1. Identify and Gather the Items Ready for a Deep Clean
The first crucial step is to select the items that will benefit most from stripping. Towels, sheets, and workout clothes are prime candidates because they frequently absorb body oils, sweat, and are often treated with fabric softeners that can lead to residue. However, anything machine washable in hot water is fair game! Think about dingy whites, faded light-colored clothes, pet bedding covers, microfiber cloths that have lost their efficacy, or even cloth diapers. If an item has been heavily used, frequently sweated in, or just feels less fresh or absorbent than it used to, chances are it has a significant build-up of detergent, oils, and other human residues.
It’s important to remember that you’ll be stripping items that are already “clean” from a normal wash cycle – which makes the outcome all the more astounding! Just like regular laundry, sort your items by color to prevent dye transfer, especially since you’ll be using hot water. Avoid stripping delicate fabrics, wool, silk, or anything that explicitly states “cold wash only” or “do not machine wash” on its care label.
For my demonstration, I’m tackling a set of sheets, some older towels that have developed a subtle, unpleasant smell when wet (a true test for my sensitive nose!), and my daughter’s duvet cover:
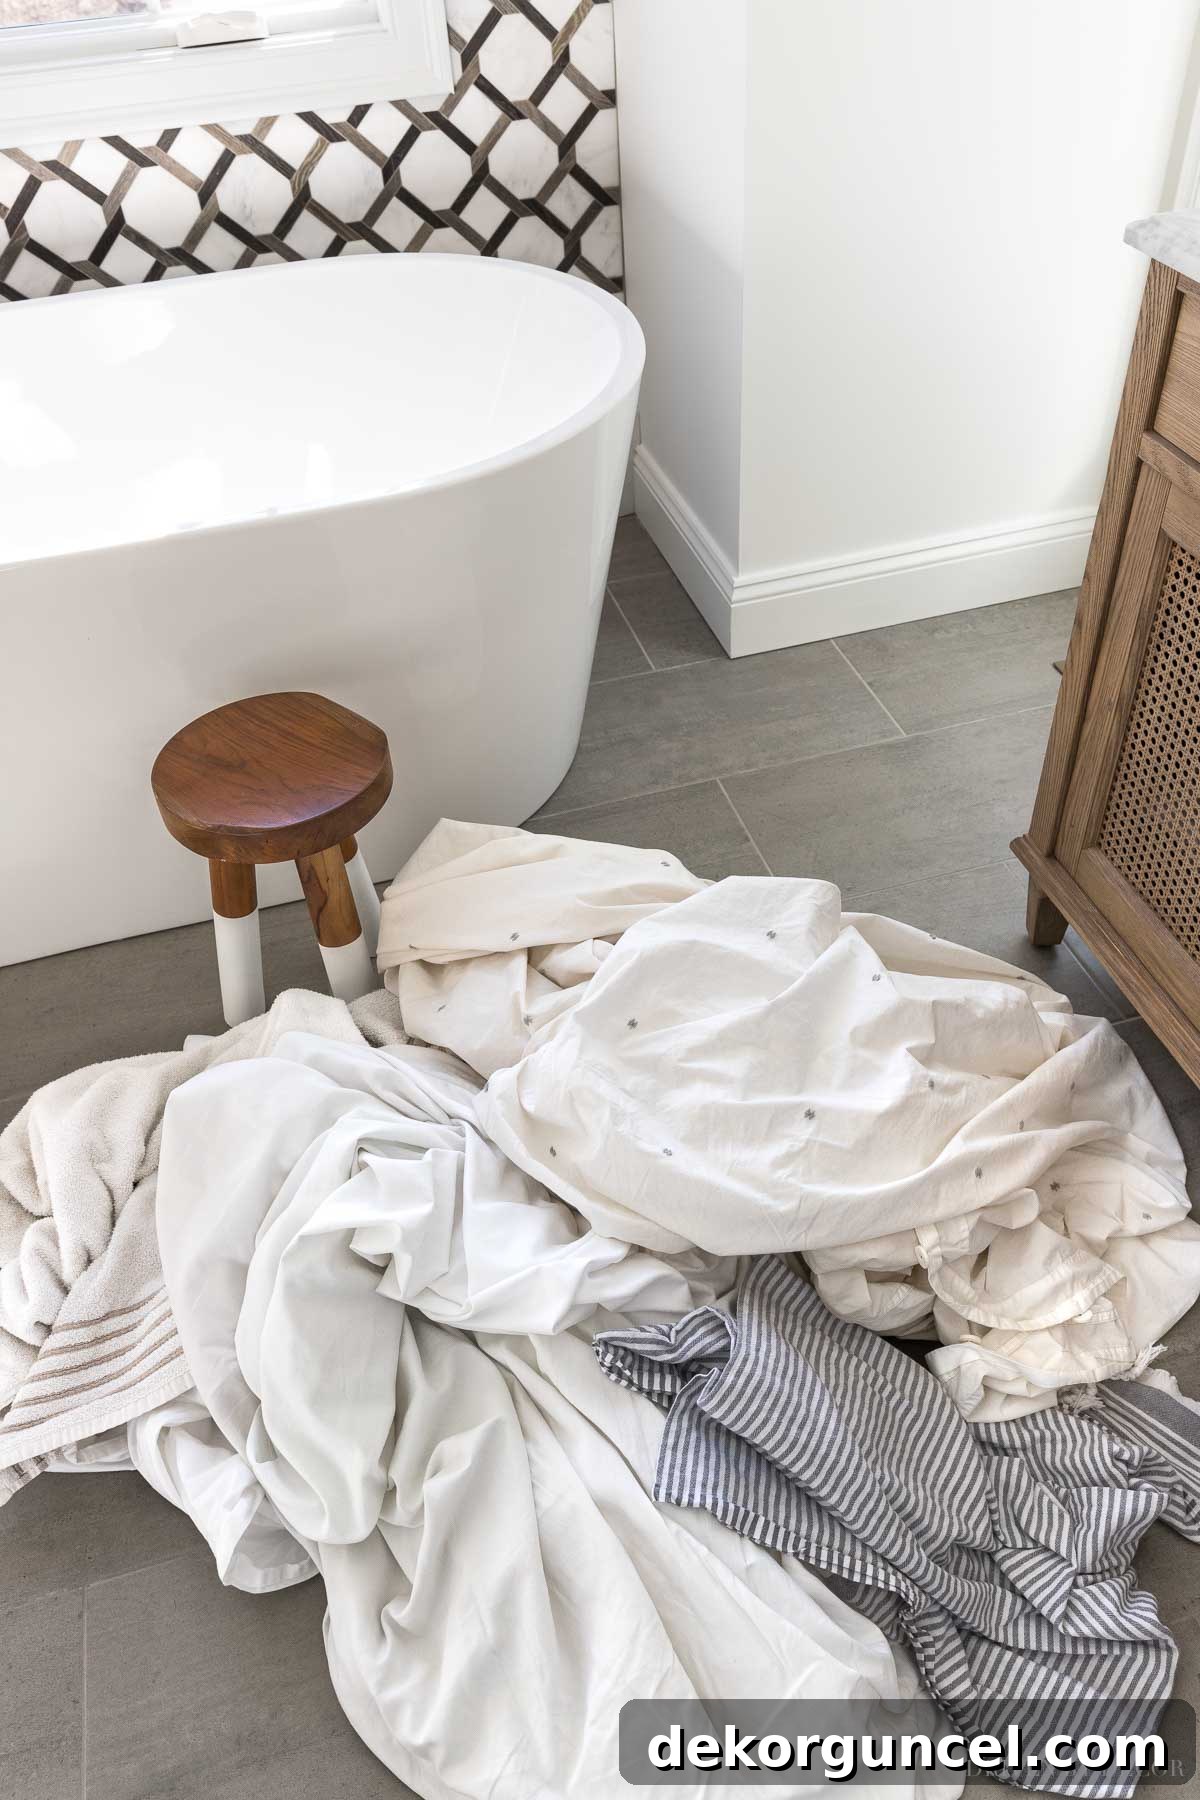
The duvet cover, in particular, presents a significant challenge. My daughter often kicks off her top sheet, leaving the duvet cover to bear the brunt of everyday wear. Over time, it has developed discolored spots that even powerful bleach hasn’t been able to fully restore to a pristine white. This will be an excellent benchmark for the stripping process.
2. Prepare Your Soaking Vessel: Tub, Sink, or Washer
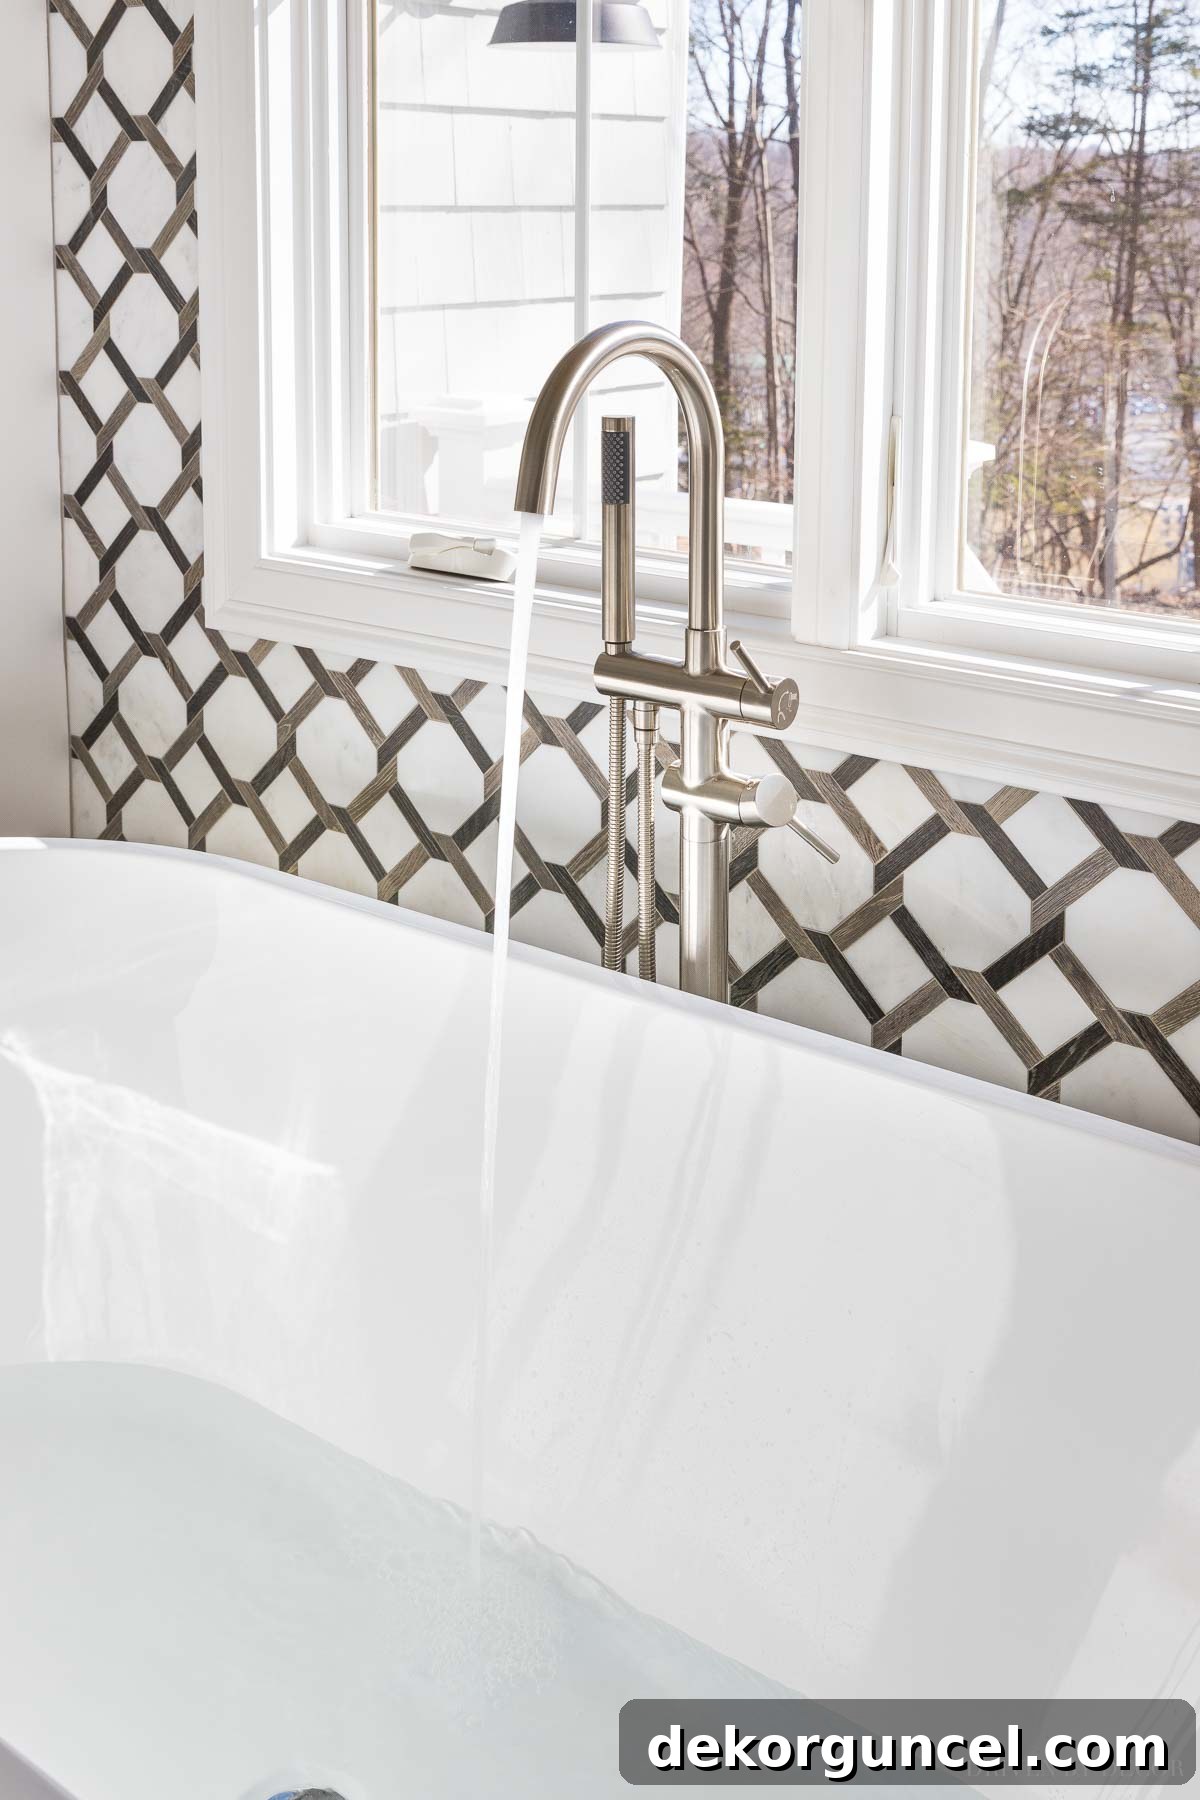
The most common and effective vessel for laundry stripping is a clean bathtub. Fill your bathtub about halfway with the hottest water possible from your tap. The water level should be sufficient to fully submerge all the items you plan to strip without overflowing. For a large soaking tub like mine, I find that filling it about one-third full is usually enough. Before filling, give your tub a quick rinse or wipe down to ensure it’s clean and won’t add any extra grime to your laundry.
If you don’t have a bathtub, or if you’re only stripping a small batch, a large sink can work, but be mindful that it will be occupied for several hours. Alternatively, a top-loading washing machine can be used; simply fill it with hot water, add the ingredients, and allow the items to soak before proceeding with the wash cycle. Front-loading machines are generally not suitable for the soaking phase due to their design, so if you have one, consider using a large plastic bin or bucket instead.
3. Mix Your Powerful Solution: Add the Stripping Ingredients
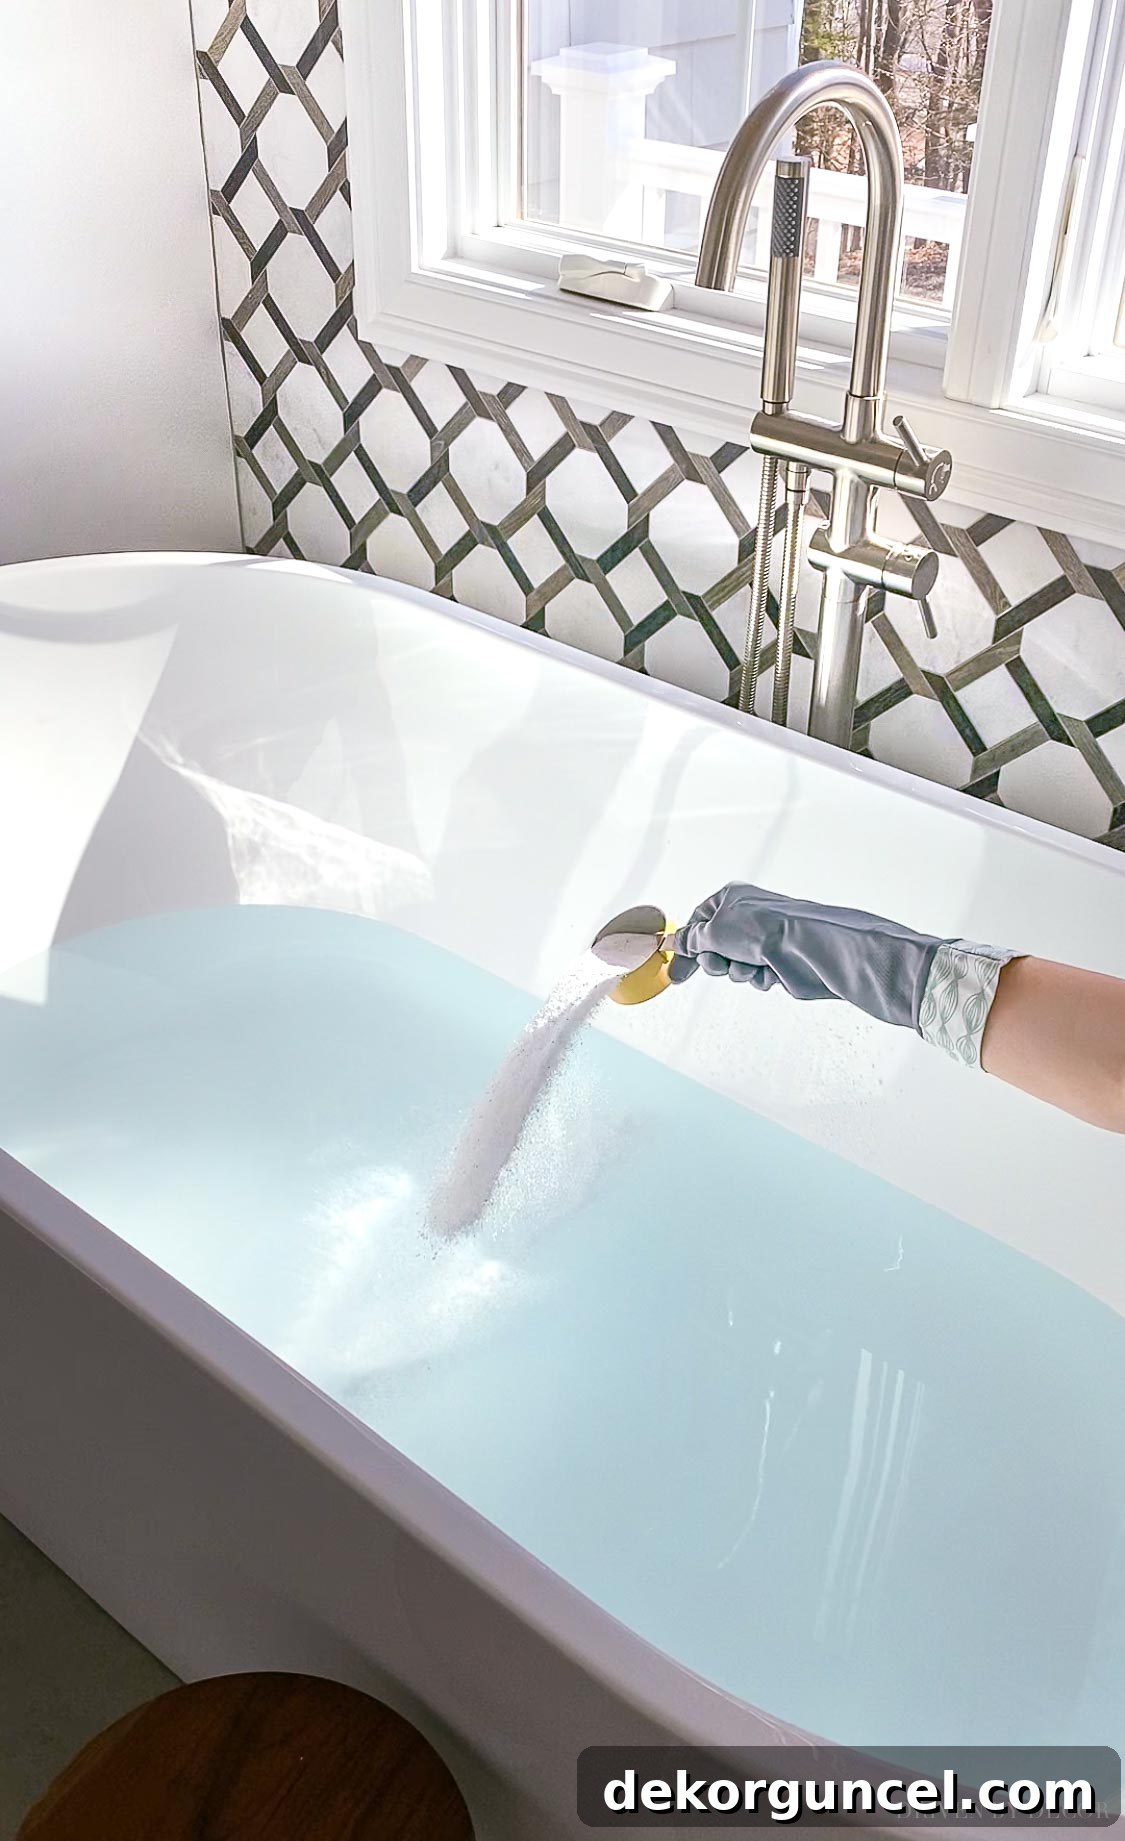
Once your soaking vessel is filled with hot water, it’s time to add the stripping agents. Carefully sprinkle the Borax, washing soda, and powdered laundry detergent directly into the water, following the recipe ratio provided above. If you’re using Calgon for hard water, add that in now as well. Stir the water vigorously to ensure all the powders fully dissolve and are thoroughly mixed. This is critical for the ingredients to activate properly and work their magic.
Safety Tip: Always wear protective gloves when handling these cleaning agents, especially when mixing them into the hot water. The ingredients are powerful and can be irritating to bare skin. Ensure good ventilation in your space during this step and throughout the soaking process.
4. Submerge Your Laundry, Stir, and Witness the Transformation
Gently submerge all your chosen laundry items into the hot stripping solution. Make sure everything is fully saturated and submerged. Give them a good stir to help the solution penetrate the fibers. Now, the waiting game begins. You’ll want to let your items soak for a minimum of 5-6 hours. During this time, periodically return to the tub (every hour or so) and stir the laundry around. This agitation helps to dislodge more build-up and circulate the powerful cleaning solution.
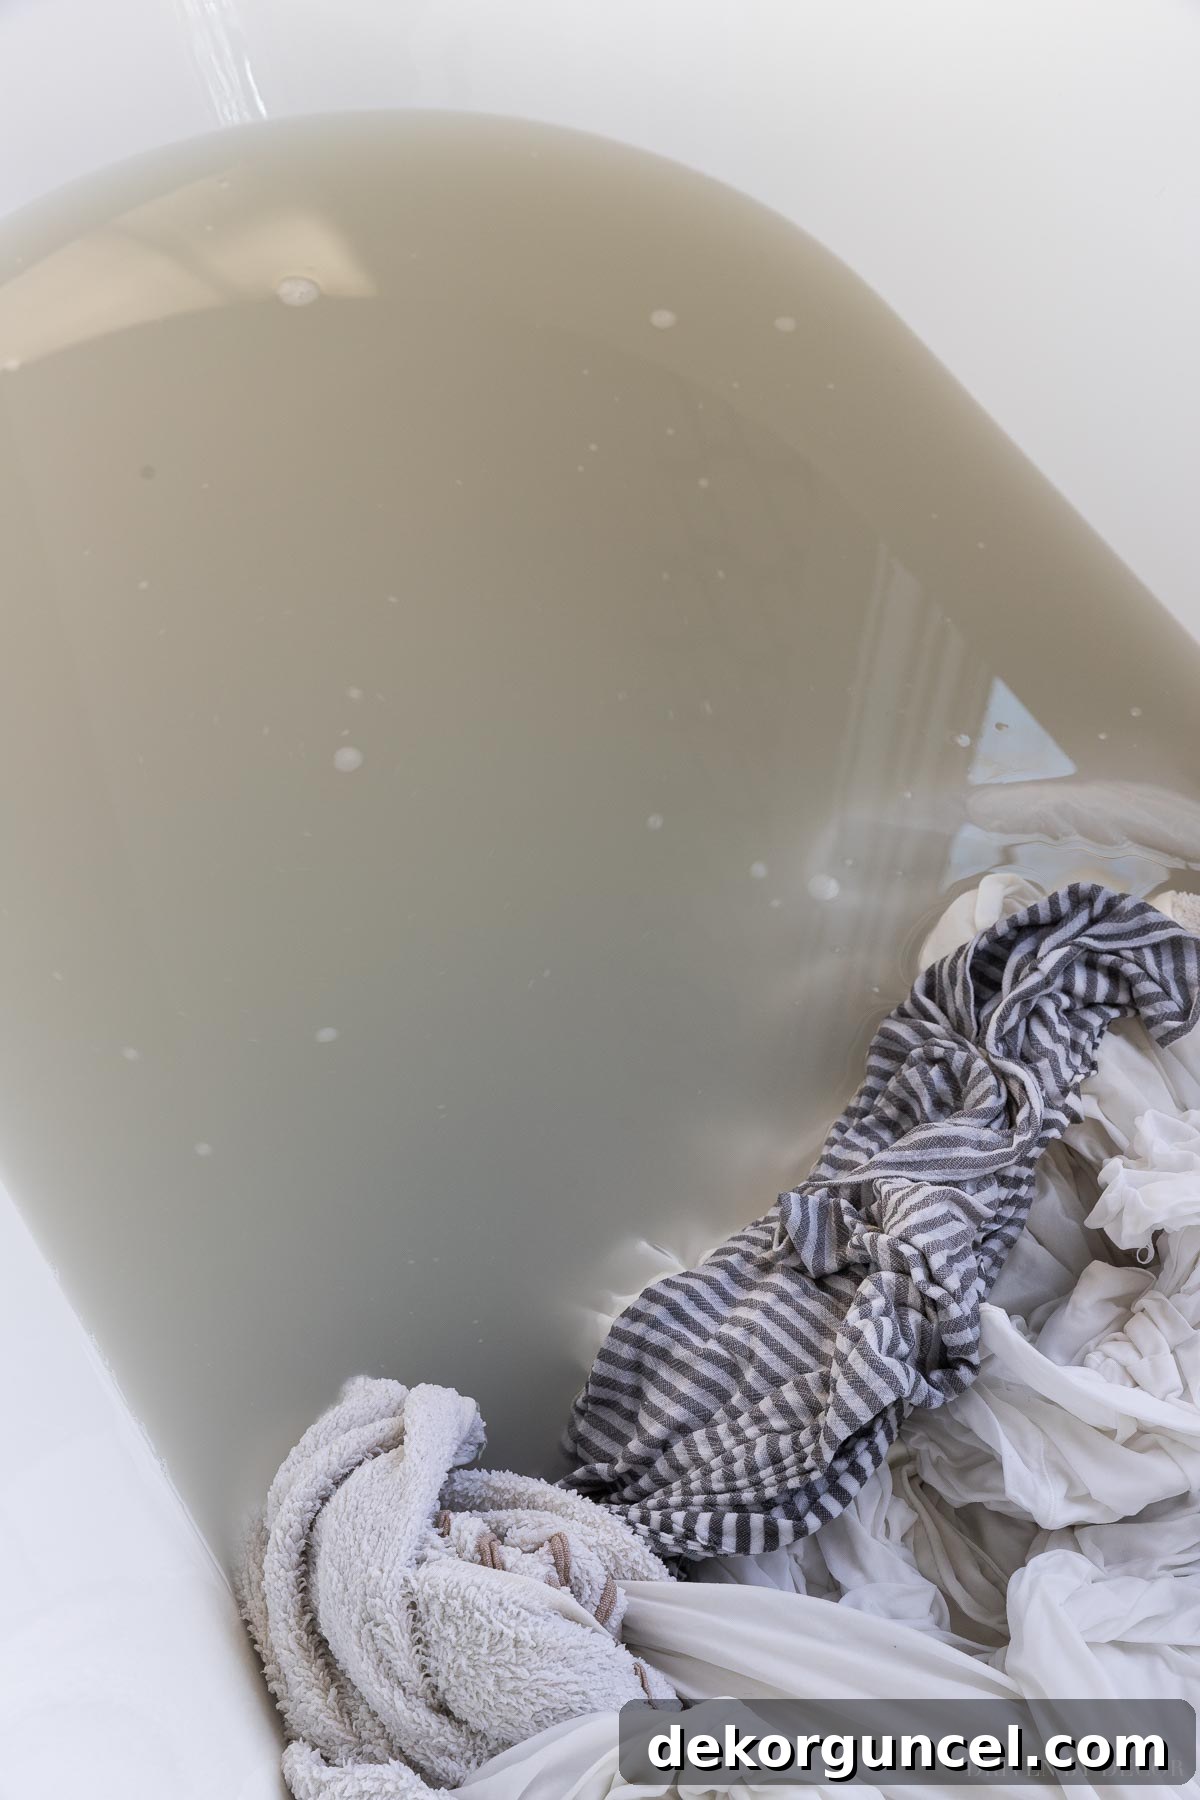
This is where the truly horrifying (and fascinating) part comes in. As the hours pass, you will observe the water in your tub steadily transforming from clear to a murky, disgusting shade of brown, grey, or even black. This is the visual proof that the stripping process is working – all that accumulated body oil, soap scum, detergent residue, and hard water minerals are being pulled directly from your “clean” fabrics and suspended in the water.
Here’s a visual diary of my own stripping experience:
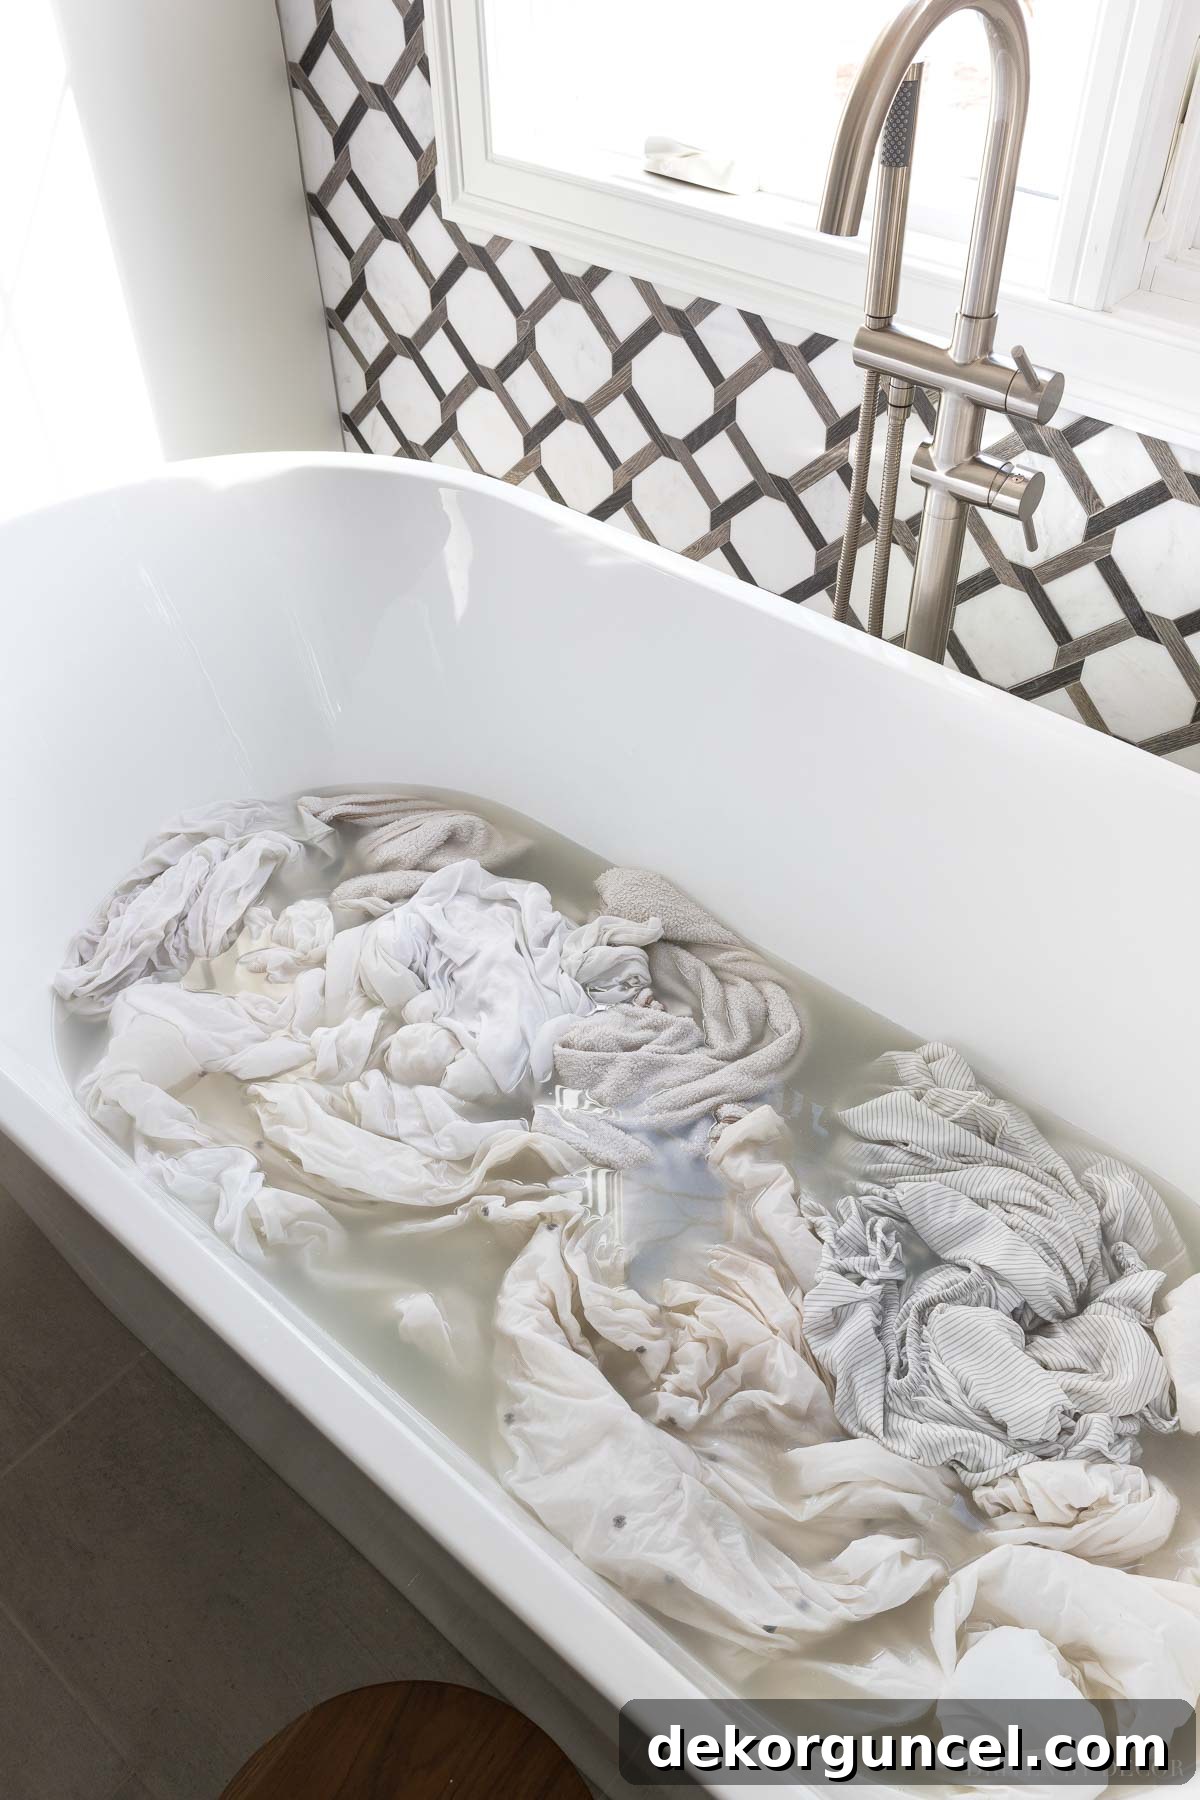
Just one hour in, and the water is already showing its true colors!
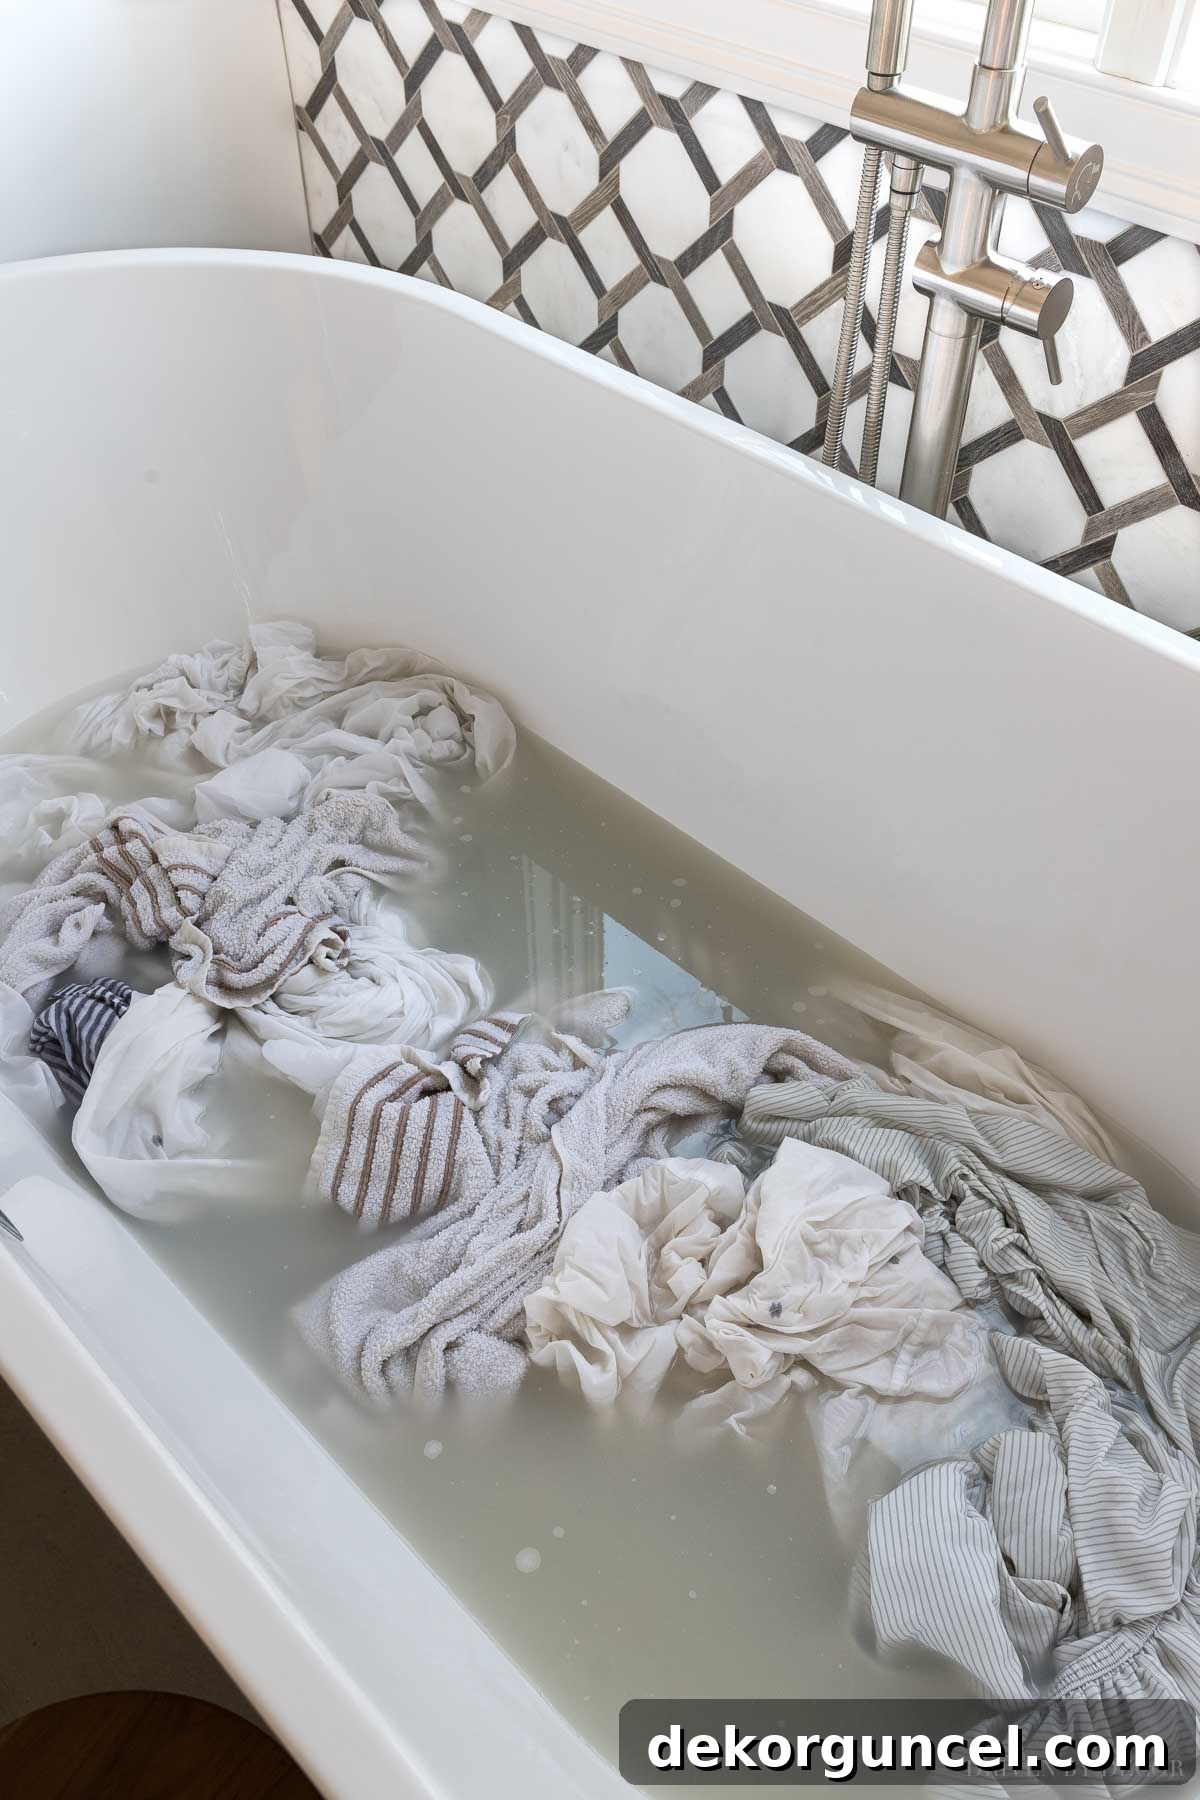
After three hours, the depth of the grime is truly unsettling.
And this was at the very end, after a full five hours of soaking. I deliberately pulled the clothes back so you could fully appreciate the astonishing nastiness – it’s truly gross! And remember, this came from laundry that was supposedly already clean!
5. Final Rinse and Dry: Completing the Transformation
Once the soaking time is complete and you’ve marveled at the murky water, it’s time for the final steps. Carefully drain the bathtub, allowing all the dirty water to empty. Then, one by one, remove your laundry items and gently squeeze out the excess water. Be prepared for the items to feel heavy with water; a good squeeze helps reduce the load on your washing machine.
Transfer the stripped laundry directly into your washing machine. Run a full wash cycle using no additional detergent. This is crucial! The goal now is to thoroughly rinse away all the loosened residue and the stripping solution from your fabrics. I highly recommend following up with an extra rinse cycle to ensure every last trace of the gross stuff is completely flushed out. You want your laundry to come out feeling genuinely clean, without any lingering residue from the stripping solution.
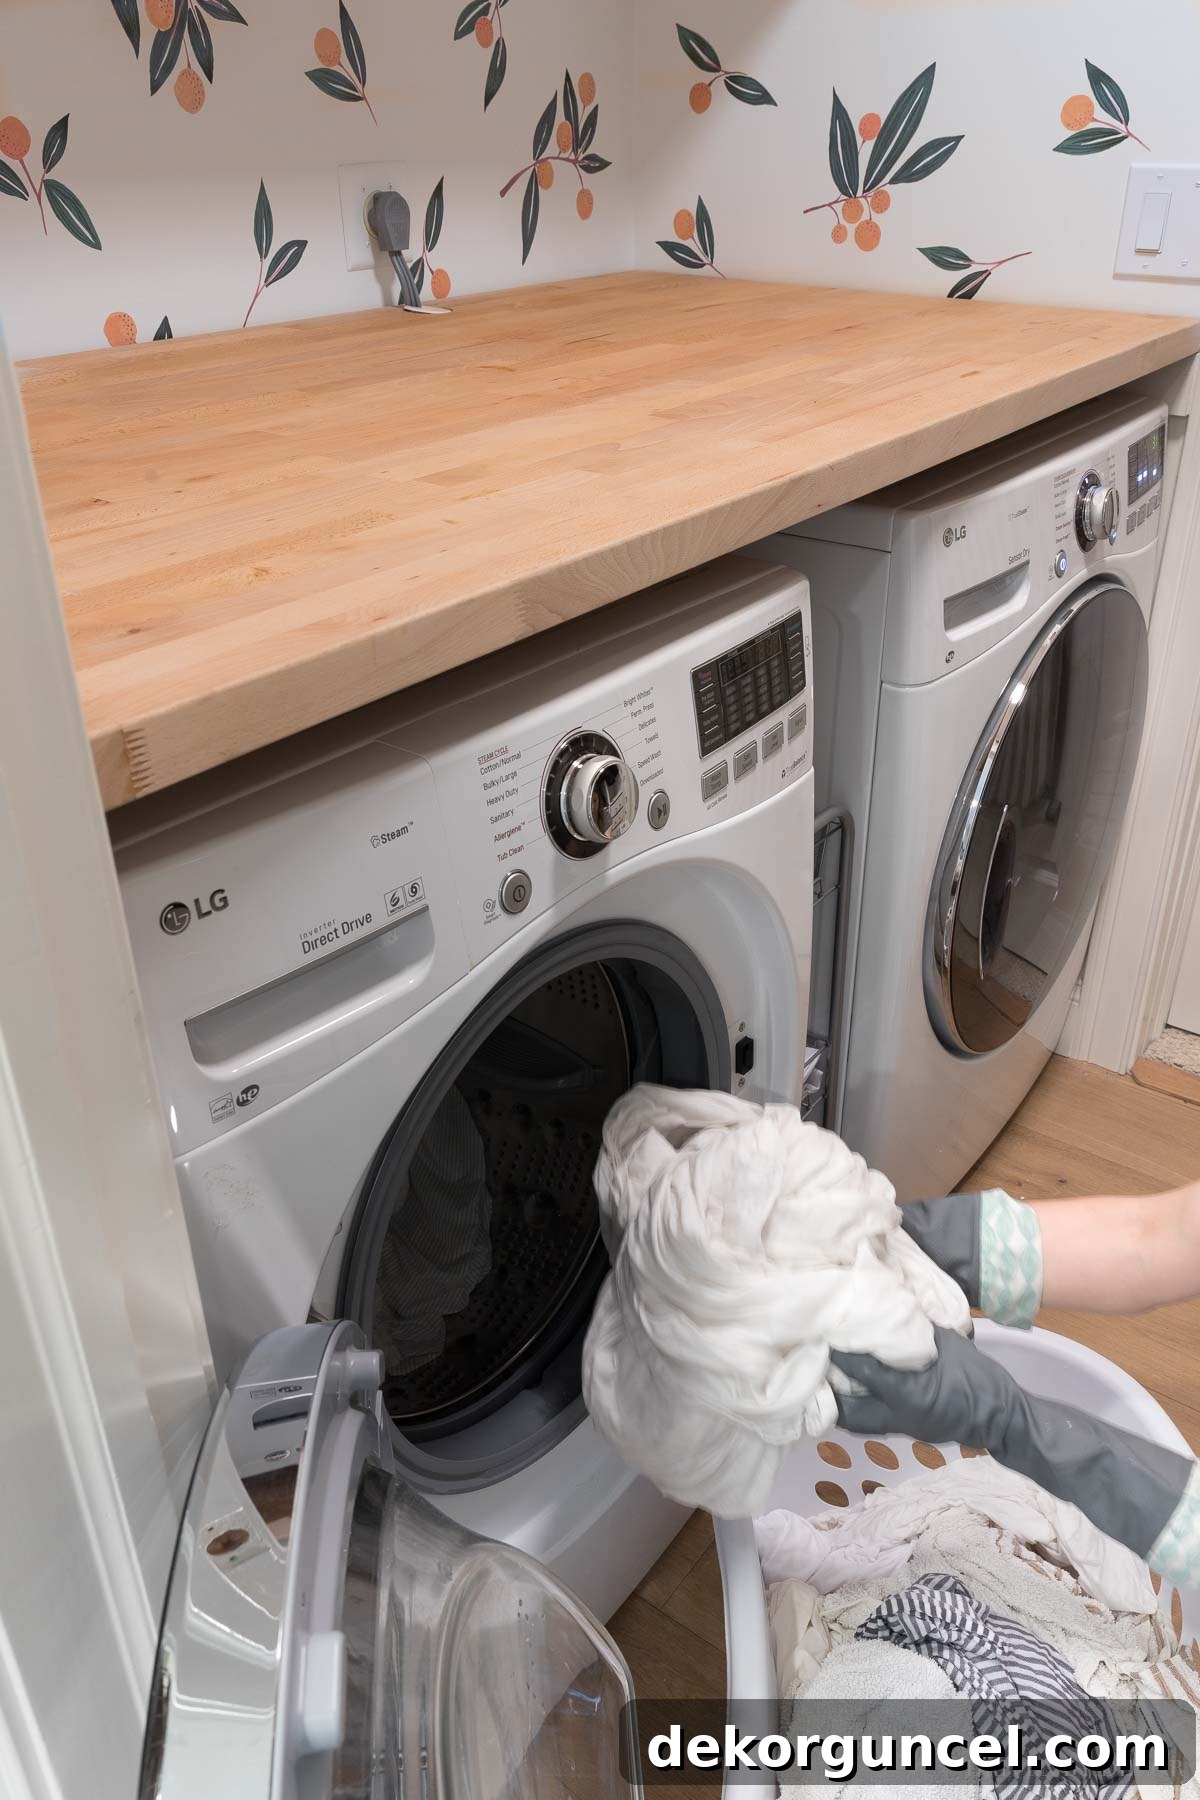
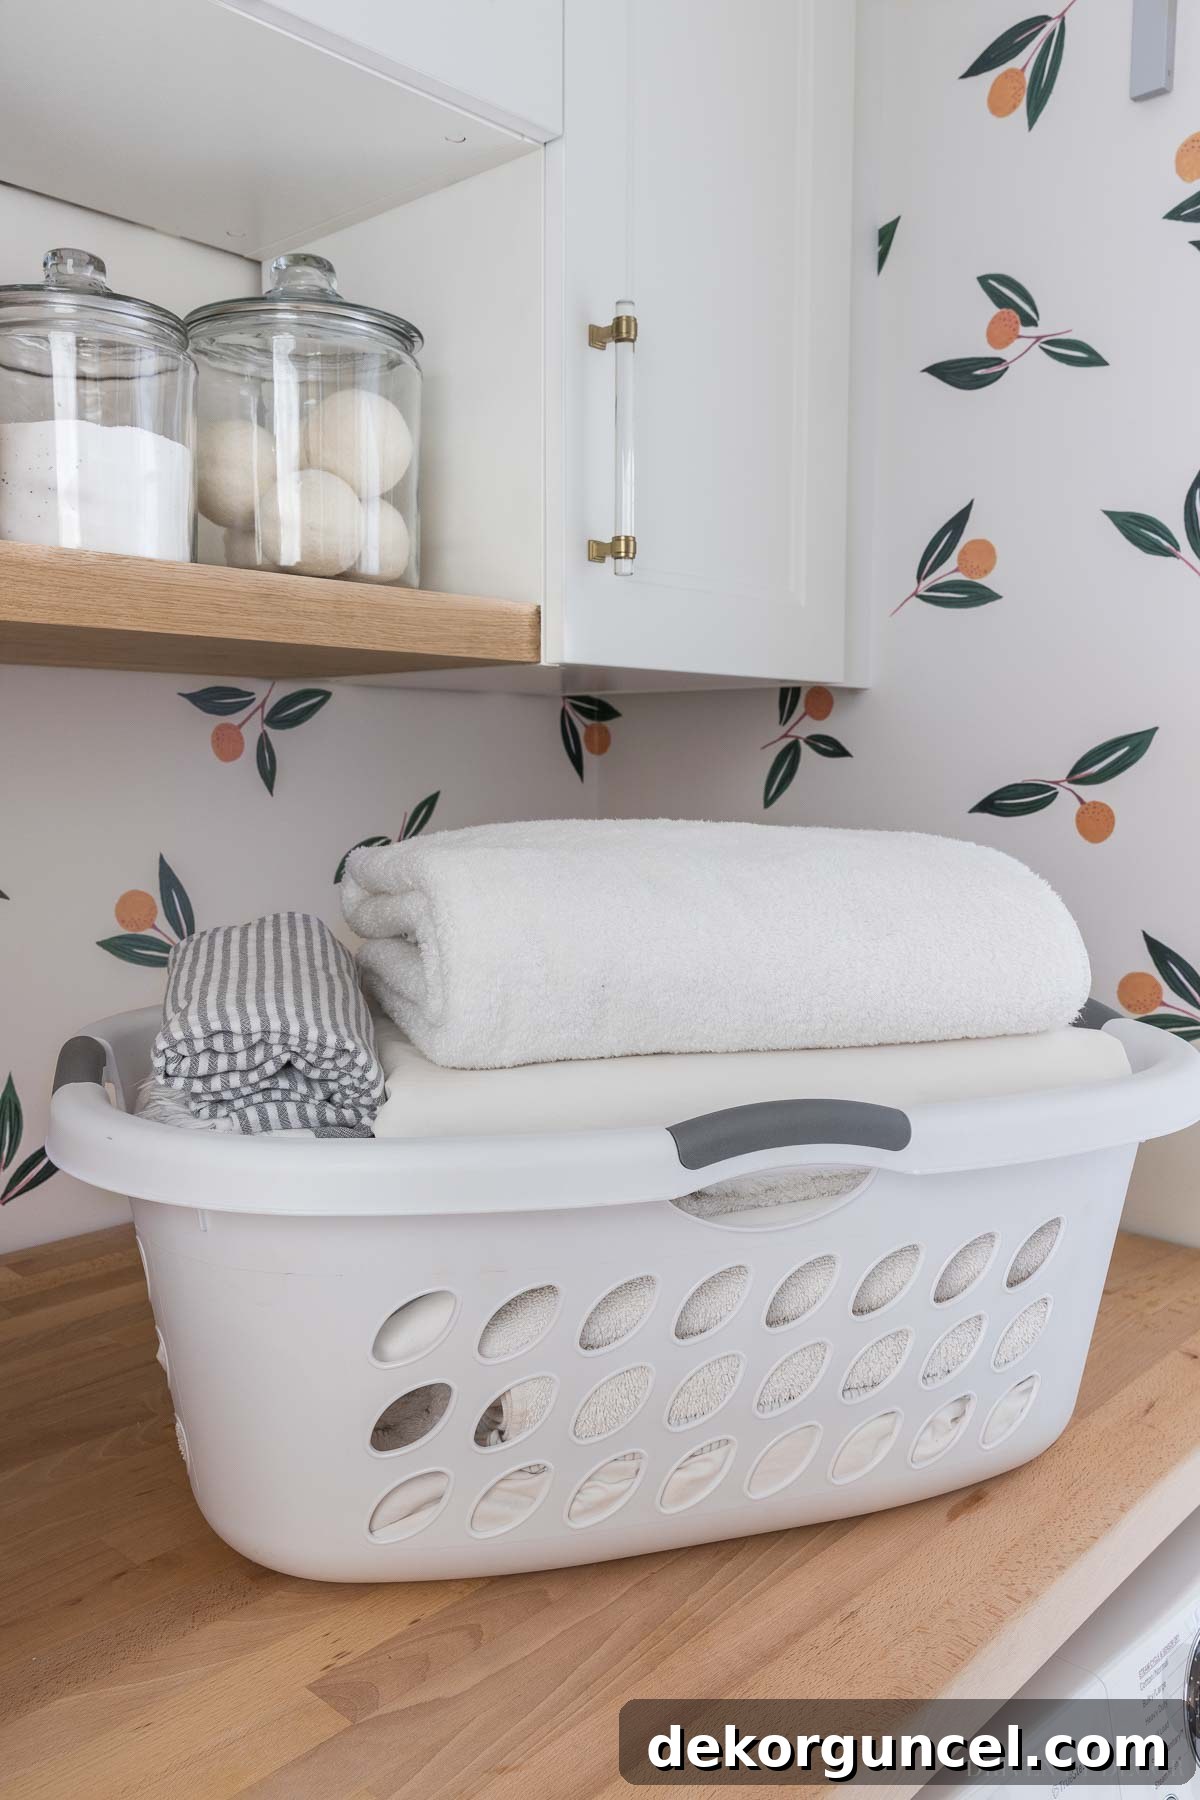
Finally, transfer your laundry to the dryer and dry as usual, according to the fabric care instructions. Prepare to be absolutely amazed at the results! You’ll notice a remarkable difference in the appearance, feel, and smell of your once dull and dingy items.
Unveiling the Results: A Deeper Clean You Can See and Feel
So, how did my batch of laundry fare after undergoing the stripping process? The results were undeniable and incredibly satisfying. Everything looked noticeably whiter and brighter. I observed a significant difference, especially with the set of sheets I stripped. When my daughter returns home from college, she’ll be greeted by a bed that is cleaner than clean, truly pristine:
 Bedroom Sources: Pendant light | Bench | Duvet cover | Bed skirt | Blue fringe end pillows | White tassel pillows | Lumbar stripe pillow | Lamp | Grasscloth wallpaper (Powder Blue) | Headboard, nightstand, & art prints are no longer available
My towels, which previously had a subtle yet persistent funk when wet, passed my sensitive nose sniff test with flying colors – they smelled genuinely fresh and clean, without any artificial fragrances. As for my daughter’s duvet cover, while it didn’t miraculously restore all the severely discolored areas to their original super-white state (a task even bleach couldn’t accomplish), it significantly whitened them up, making a noticeable improvement. I was incredibly happy with these results, considering the stubbornness of the stains. If you try laundry stripping, please let me know how it works out for you! I’d love to hear about your experience and transformations.
Tips for Success & Frequently Asked Questions
To ensure you get the best results from your laundry stripping efforts, consider these additional tips and answers to common questions:
- How often should you strip laundry? Generally, it’s not something you need to do every week. Stripping your laundry every few months, or whenever you notice items becoming dull, stiff, less absorbent, or developing persistent odors, is usually sufficient.
- Can I strip colored clothes? Yes, you can strip colored items, but it’s crucial to sort them by color just as you would for a regular wash to prevent dye transfer. Always test a small, inconspicuous area first if you’re unsure about colorfastness. Avoid stripping brand new colored items, as they are more likely to bleed.
- Is it safe for all fabrics? Laundry stripping is best suited for durable, hot-water-safe fabrics like cotton, linen, and synthetic blends often found in towels, sheets, and activewear. Avoid using this method on delicates, wool, silk, rayon, or anything that requires cold water or hand washing, as the hot water and strong alkaline solution can damage these fibers.
- What if the water isn’t getting dirty? If you’ve followed all the steps and your water isn’t turning murky, it could mean your items don’t have a significant amount of build-up (lucky you!). Alternatively, ensure your water is as hot as possible, as temperature is key for activating the ingredients.
- Ventilation is Key: Always ensure your space is well-ventilated during the stripping process, especially when mixing the powders, to avoid inhaling strong fumes.
Laundry stripping is a powerful tool in your cleaning arsenal, offering a way to truly reset your fabrics and restore them to their former glory. It’s a simple process that yields incredibly satisfying and visible results, making your everyday linens feel brand new again.
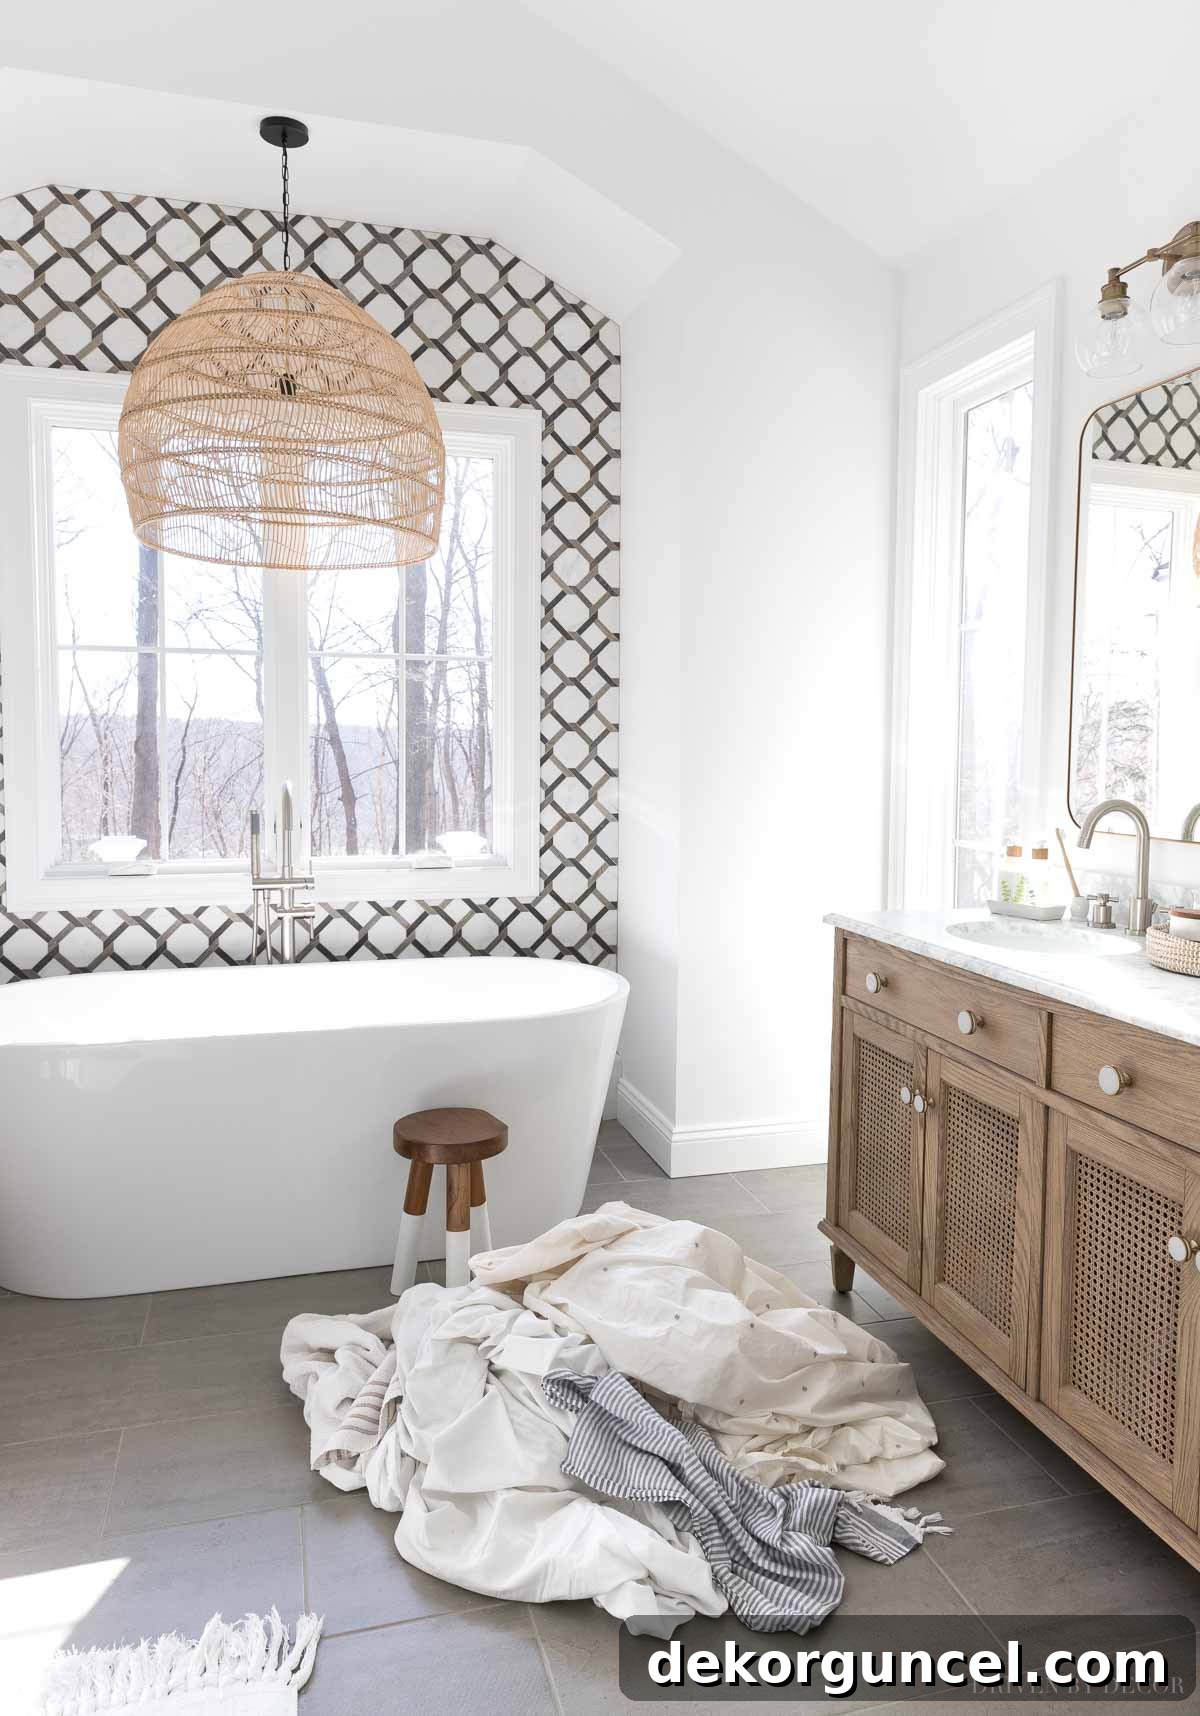
For any new visitors to our site, if you’re curious about more details or sources for anything in our master bathroom, you can find a complete reveal here:
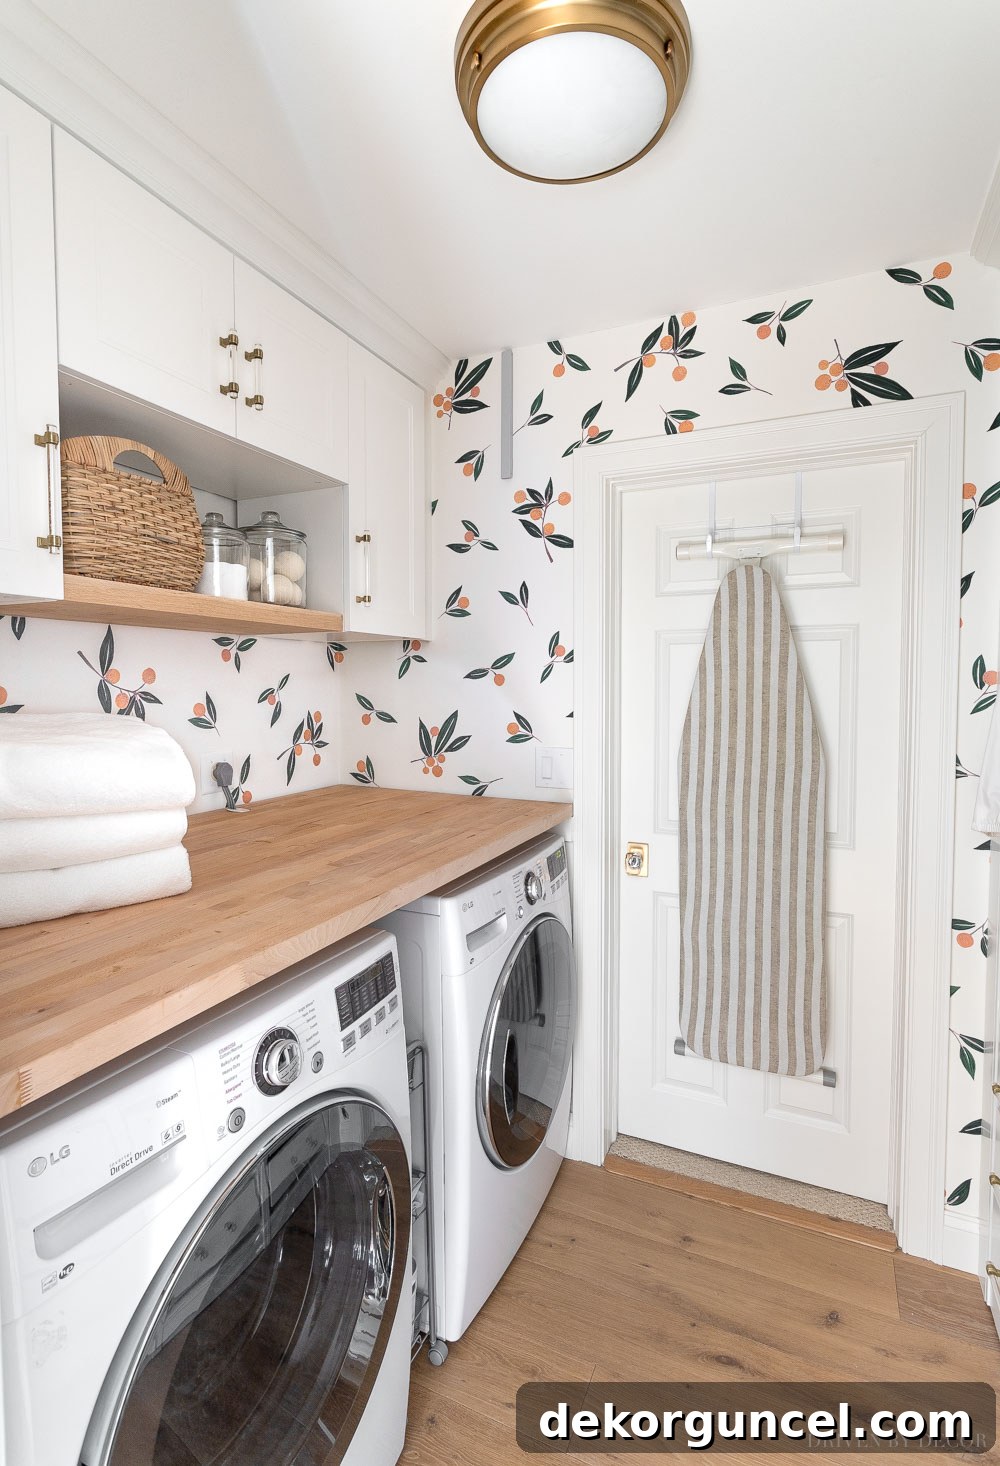
And for those interested in our organized and stylish laundry space, you can get all the details on our IKEA laundry room here:
And be sure to check out some of my other favorite cleaning posts for more helpful tips:
How to Deep Clean Your Washing Machine {Click Here}
The Best Way to Clean Stainless Steel Appliances {Click Here}
Shark vs. Dyson Cordless Vacuum Face-Off: Which One Reigns Supreme? {Click Here}
XO,
