
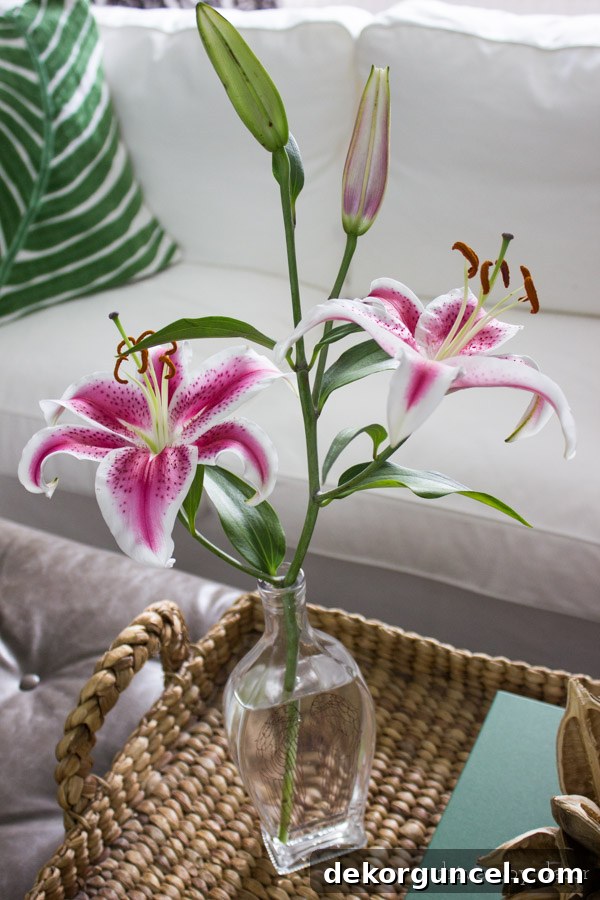
Transform Ordinary Glass Bottles into Stunning Vases: Your Ultimate Guide to Removing Labels and Print
Do you ever find yourself gazing at beautiful blooms, wishing you had the perfect vessel to display their natural elegance? Perhaps your home, like mine, often overflows with the vibrant colors and sweet fragrances of freshly cut flowers, whether from your garden, a thoughtful gift, or a spontaneous grocery store pick-up. While I possess an abundance of large vases, pitchers, mason jars, and even ginger jars, I consistently find myself lacking smaller, more intimate options for single stems or delicate bouquets. This recurring dilemma led me to a wonderfully simple, incredibly rewarding, and completely free solution: upcycling glass bottles.
Instead of purchasing new vases, why not transform something you already have into a unique and personalized decor piece? This guide will walk you through the surprisingly easy process of turning everyday glass bottles, like those from liquor, vinegar, or even sparkling water, into charming flower vases. Not only is this an excellent way to add character to your home, but it’s also a fantastic eco-friendly project that champions sustainability and creativity.
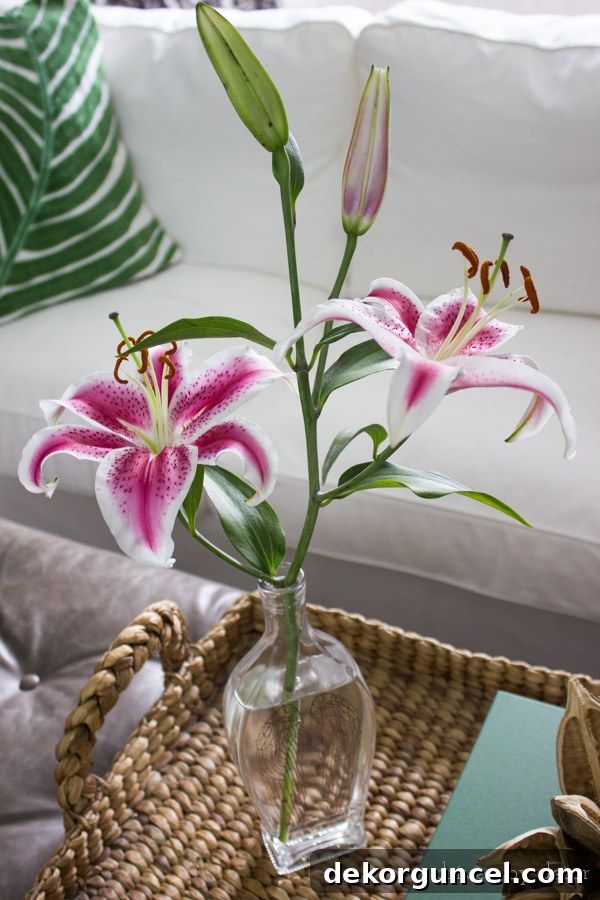
The Inspiration: Finding Hidden Potential in Your Home
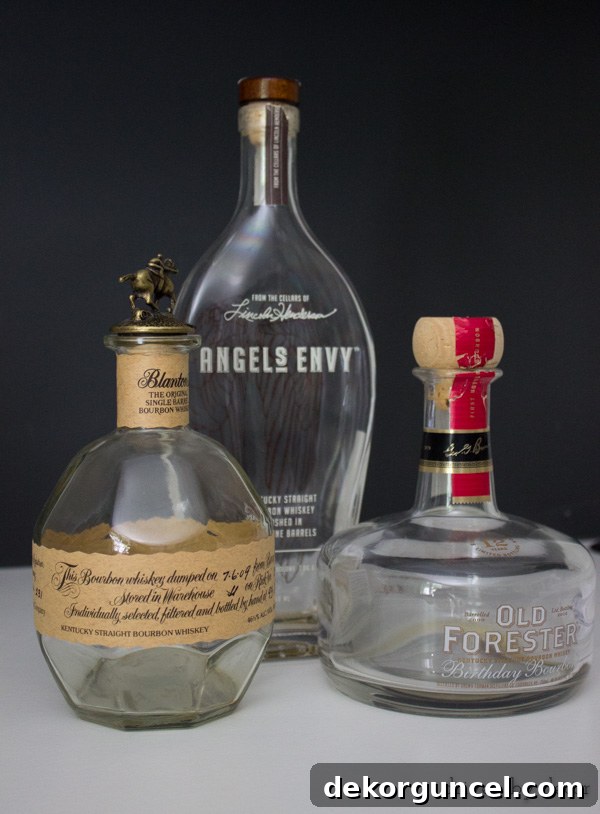
My journey into DIY glass bottle decor began with a glance into our liquor cabinet. Having recently acquired a few elegant decanters from estate sales and thrift shops, I had a collection of appealing empty bottles just waiting for a new purpose. It struck me then: these beautifully shaped glass containers were perfect candidates for elegant bud vases. For those who don’t partake in spirits, fear not! Many other glass bottles offer similar aesthetic appeal. Consider the chic designs of gourmet vinegar bottles, robust apple cider containers, or even the slender silhouettes of sparkling water and olive oil bottles. The key is to look beyond the original contents and appreciate the bottle’s form, potential, and inherent beauty.
Gather Your Simple Supplies
Before diving into the transformation, ensure you have these common household items on hand. You’ll be surprised how few specialized tools are needed for this satisfying project:
- Glass Bottles: Your chosen candidates for transformation (liquor, vinegar, sparkling water, etc.).
- Warm Water: For initial soaking and cleaning.
- Dish Soap: To help break down labels and grime.
- Apple Cider Vinegar (ACV): The star ingredient for removing printed lettering from glass.
- Small Bucket or Basin: Large enough to submerge your bottles.
- Scrubber or Sponge: For gentle scrubbing.
- Paper Towels or Soft Cloth: For wiping and drying.
- Optional: Lighter Fluid or Goo Gone: For stubborn adhesive residue from labels.
- Optional: Razor Blade or Scraper: For extremely persistent labels (use with caution).
Step-by-Step Guide: How to Remove Labels and Print from Glass Bottles
Step 1: The Initial Soak – Tackling Labels with Ease
The first hurdle in transforming your bottles is often removing the paper labels. Fortunately, this is usually the simplest part. Begin by emptying and thoroughly rinsing your chosen bottles. Then, fill a sink or large basin with warm water and a generous squirt of dish soap. Submerge your bottles completely and let them soak for at least 30 minutes, or even a few hours for very stubborn labels. The warm, soapy water works wonders in dissolving the adhesive, allowing most labels to simply slide off with minimal effort. This initial soak is crucial for softening the paper and glue, setting the stage for easier removal.
Step 2: Conquering Stubborn Adhesive Residue
Once the main label is off, you might encounter some sticky residue left behind. Don’t worry, this is common and easily dealt with. For most sticky spots, a quick wipe with a paper towel dampened with a bit of lighter fluid (or a product like Goo Gone) works wonders. Apply a small amount, let it sit for a minute, and then rub the residue away. Always ensure you’re in a well-ventilated area when using lighter fluid and wash the bottle thoroughly with soap and water afterward to remove any chemical traces. This step ensures your bottles are perfectly clean and smooth, ready for the next phase of transformation.
Step 3: The Apple Cider Vinegar Magic – Removing Printed Lettering from Glass
This is where the real magic happens, especially if your bottles feature baked-on painted lettering or designs that don’t peel off like traditional labels. After experimenting with various solutions, I discovered an incredibly effective and surprisingly simple method: a one-hour soak in apple cider vinegar. The acetic acid in ACV acts as a gentle yet powerful solvent, breaking down the integrity of the print without damaging the glass itself.
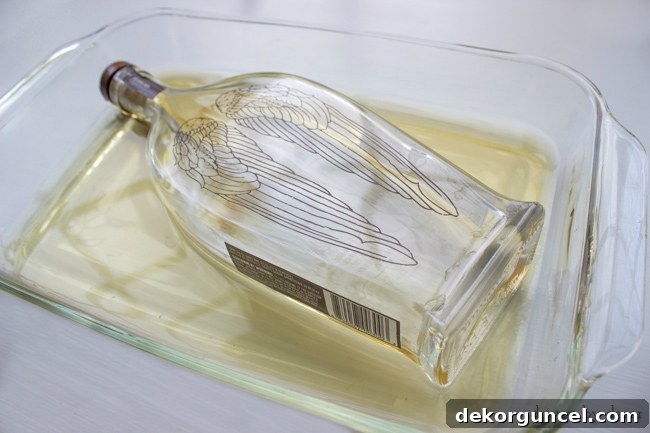
To perform this step, find a container large enough to completely submerge the parts of your bottle with the print you wish to remove. Pour in undiluted apple cider vinegar until the lettering is fully covered. Let the bottles soak for approximately one hour. You might be tempted to leave them longer, but I’ve found an hour to be perfectly sufficient for most types of print. The key is full submersion to allow the acid to work evenly across the design.
Step 4: Effortlessly Wiping Away the Print
After the apple cider vinegar soak, remove your bottles from the solution. You’ll likely notice that the print looks a bit softer or more susceptible. Now, with a damp cloth or a soft sponge, gently wipe or scrub the lettering. You’ll be amazed at how easily most of the white or colored print comes off! It almost feels like erasing. For more stubborn areas, a little extra elbow grease or another short soak might be beneficial.
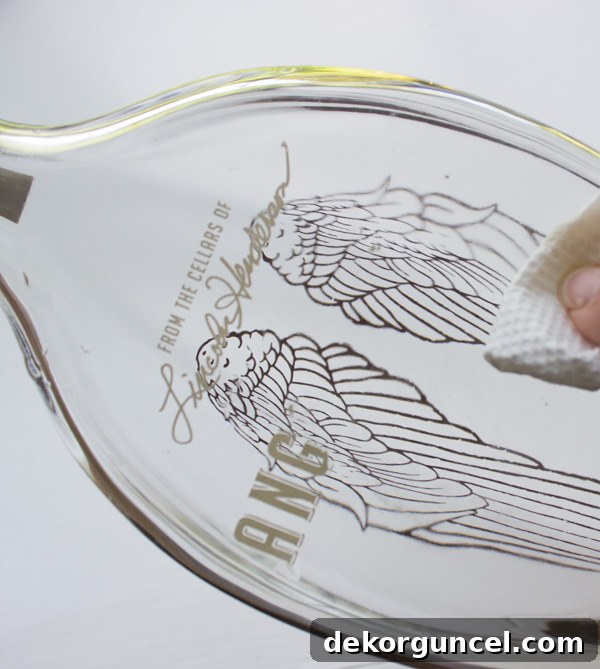
An important note: some bottles have lettering that is an outline in a darker color, or even slightly etched into the glass. While the main painted portion, especially white, tends to wipe away easily, the darker outline or etched effect might remain. Personally, I find this adds unique character and a touch of vintage charm to the vase. However, if your goal is a completely clear, pristine bottle, choose those with solid, all-white or easily removable colored lettering. A quick test on a small, inconspicuous area can help manage expectations.
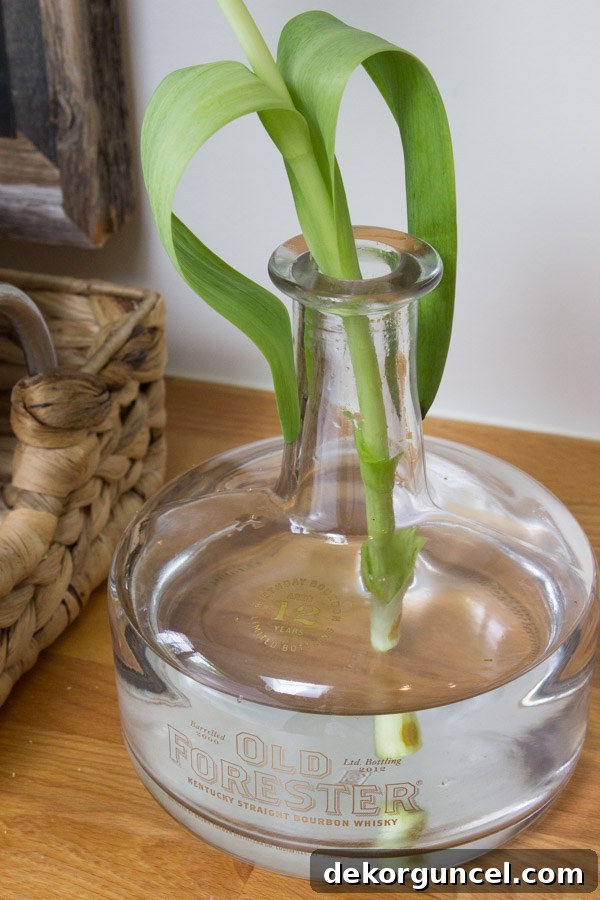
Step 5: The Final Rinse and Polish
Once all the print is removed to your satisfaction, give your newly transformed bottles a thorough wash with warm water and dish soap. This removes any lingering apple cider vinegar smell or residue. Dry them completely with a clean towel, and then admire your handiwork! You now have a beautiful, custom-made glass vase, ready to hold your favorite blossoms.
Styling Your Upcycled Glass Vases: Ideas for Every Room
The beauty of these DIY glass bottle vases lies not just in their creation, but in their versatility. They are perfect for displaying single stems, small bouquets, or even just adding a touch of minimalistic elegance to any space. Here are some ideas for incorporating them into your home decor:
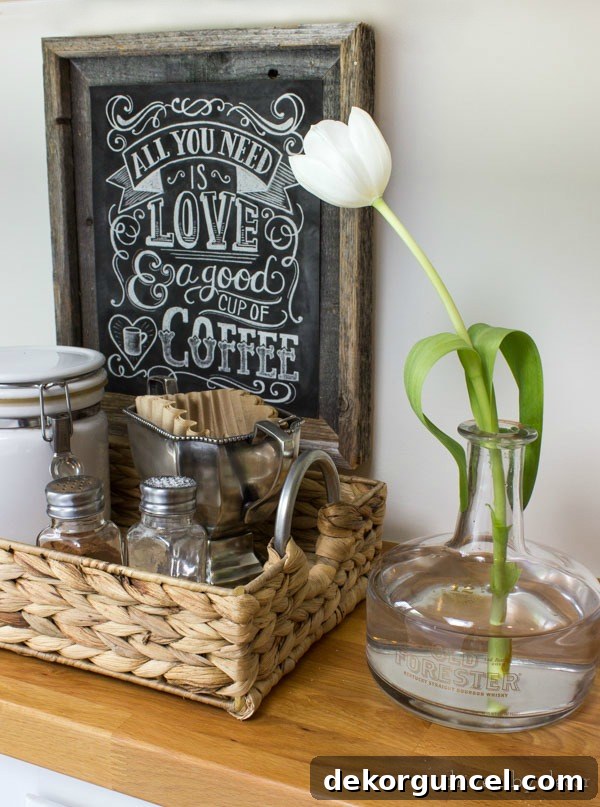
- Kitchen Countertop Charm: Place a small vase with a fresh sprig of herbs or a single bloom next to your coffee station. It adds a lovely organic touch to a functional area. My own has found a home on the butcher block area next to our kitchen coffee station, adding a subtle pop of color.
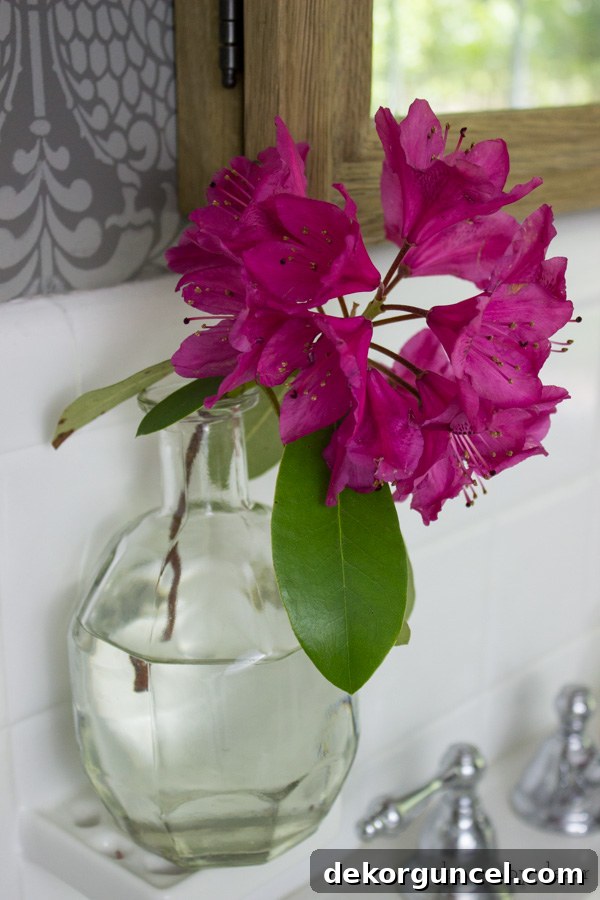
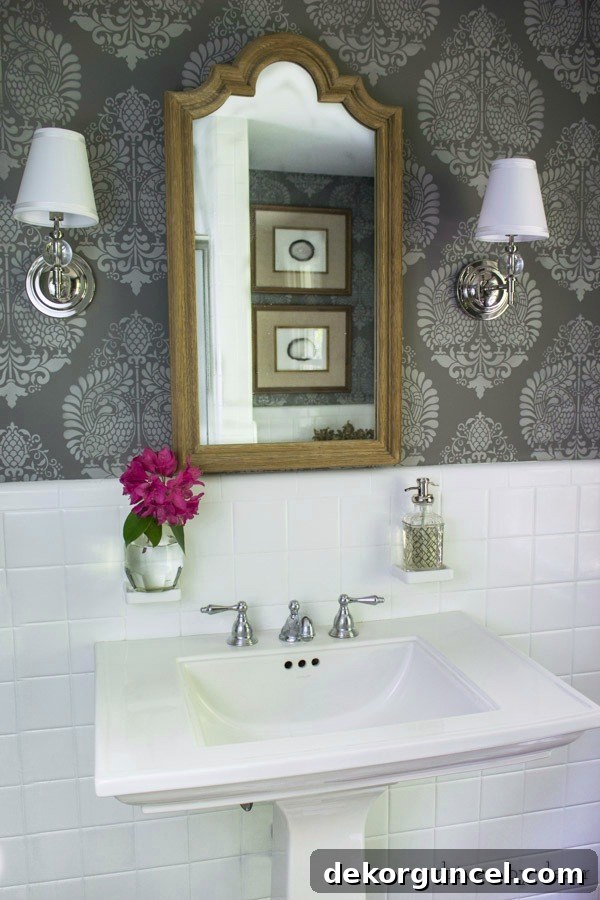
- Powder Room Perfection: Elevate your powder room or guest bathroom with a delicate bud vase. It’s a simple way to make the space feel more inviting and thoughtful. One of my creations sits happily in our powder room, nestled in what was once an ugly toothbrush holder, now a charming vase stand.
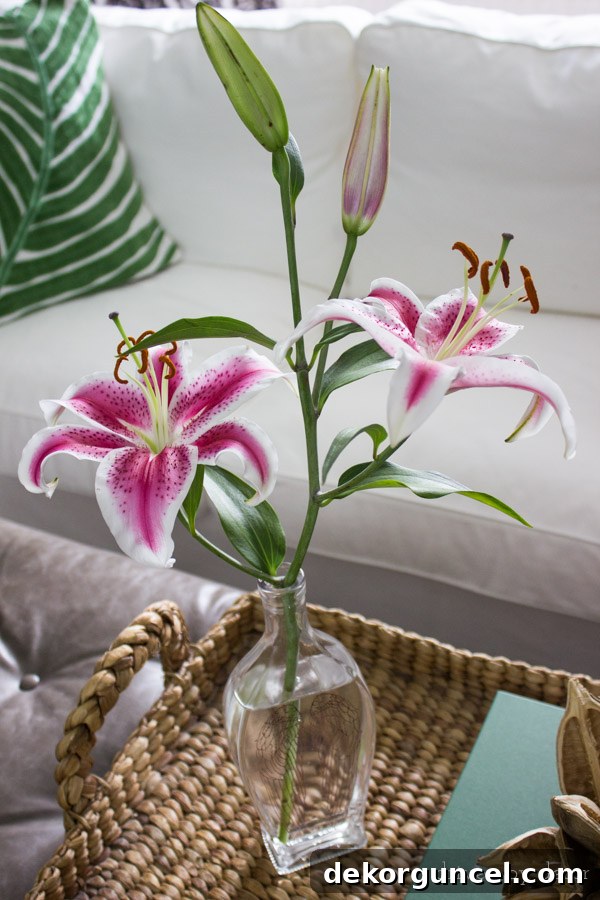
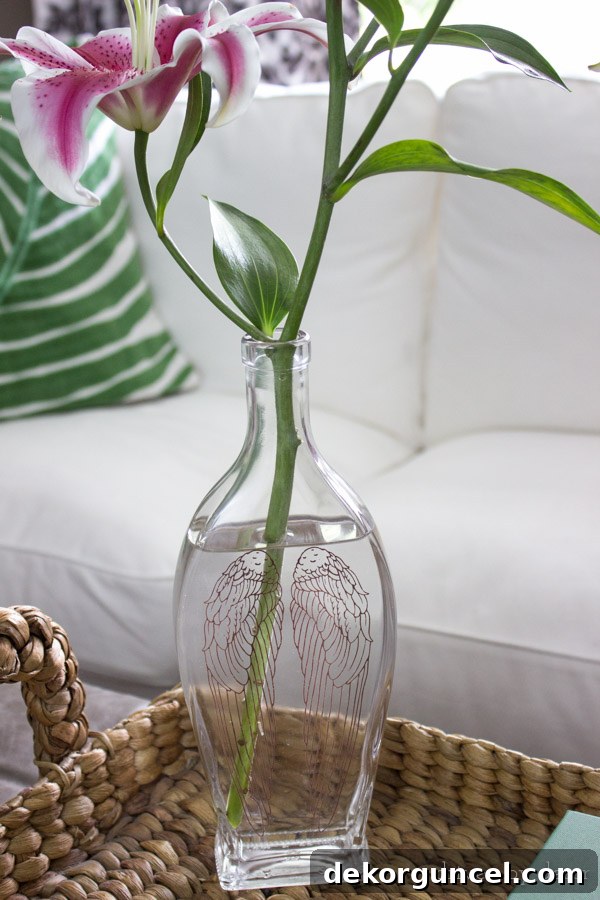
- Living Room Focal Points: On a coffee table, ottoman, or bookshelf, a unique glass vase can serve as a conversation starter. Choose a bottle with an interesting shape or subtle etching for added character. My favorite, adorned with delicate angel wings, now graces the ottoman in our living room, a truly sweet addition.
- Beyond Flowers: These bottles aren’t just for flowers! Consider using them to hold diffuser reeds for a fragrant touch, display fairy lights for ambient lighting, or even organize small office supplies like pens and brushes.
- Groupings and Vignettes: For a more impactful display, group several different-sized and shaped upcycled bottles together. You can fill them with varying heights of flowers or simply leave some empty for an artistic, sculptural arrangement.
Embrace Sustainable Decor with Upcycled Glass Bottles
This simple DIY project is more than just a creative outlet; it’s a step towards more sustainable living and thoughtful home decor. By repurposing glass bottles that would otherwise be discarded, you’re reducing waste and giving new life to beautiful objects. You’re creating unique, budget-friendly pieces that reflect your personal style and add warmth to your home. So go ahead, clip those beautiful flowers from your yard, or pick up a fresh bouquet, and give them the elegant home they deserve in your own handmade upcycled vase. The possibilities are endless, and the satisfaction of creating something beautiful from scratch is truly unmatched.
Happy crafting, and enjoy the beauty you bring into your home!
