
Achieve Flawless Walls: The Essential Guide to Painting Over Wallpaper Glue
Unlock the secret to perfectly smooth walls when repainting after wallpaper removal. This crucial first step makes all the difference!
Wallpaper can transform a room, adding character, texture, and a unique aesthetic. As an avid renovator and decor enthusiast, I genuinely appreciate the beauty it brings. However, my affection for wallpaper often takes a hit when it comes to removing the dated, often stubborn, patterns left by previous homeowners. Having tackled countless wallpaper removal projects across multiple homes, I’ve learned that no matter how meticulously you strip away old paper, some residual wallpaper glue inevitably remains on the walls.
This seemingly minor oversight can lead to a major headache: if you attempt to paint directly over these lingering glue remnants, the moisture in the paint reactivates the adhesive. The result? Unsightly bumps, streaks, and an uneven texture that can ruin an otherwise perfect paint job. This frustrating scenario is easily preventable with the right preparation.
In this comprehensive guide, I’ll walk you through a step-by-step process designed for success, from efficiently removing old wallpaper to applying that final, beautiful coat of paint. We’ll cover everything you need to know to ensure your walls are pristine and ready for their fresh new look. Let’s dive in and transform those walls! (This post includes affiliate links – a full disclosure statement is available here)
The First Step: Efficiently Removing Wallpaper
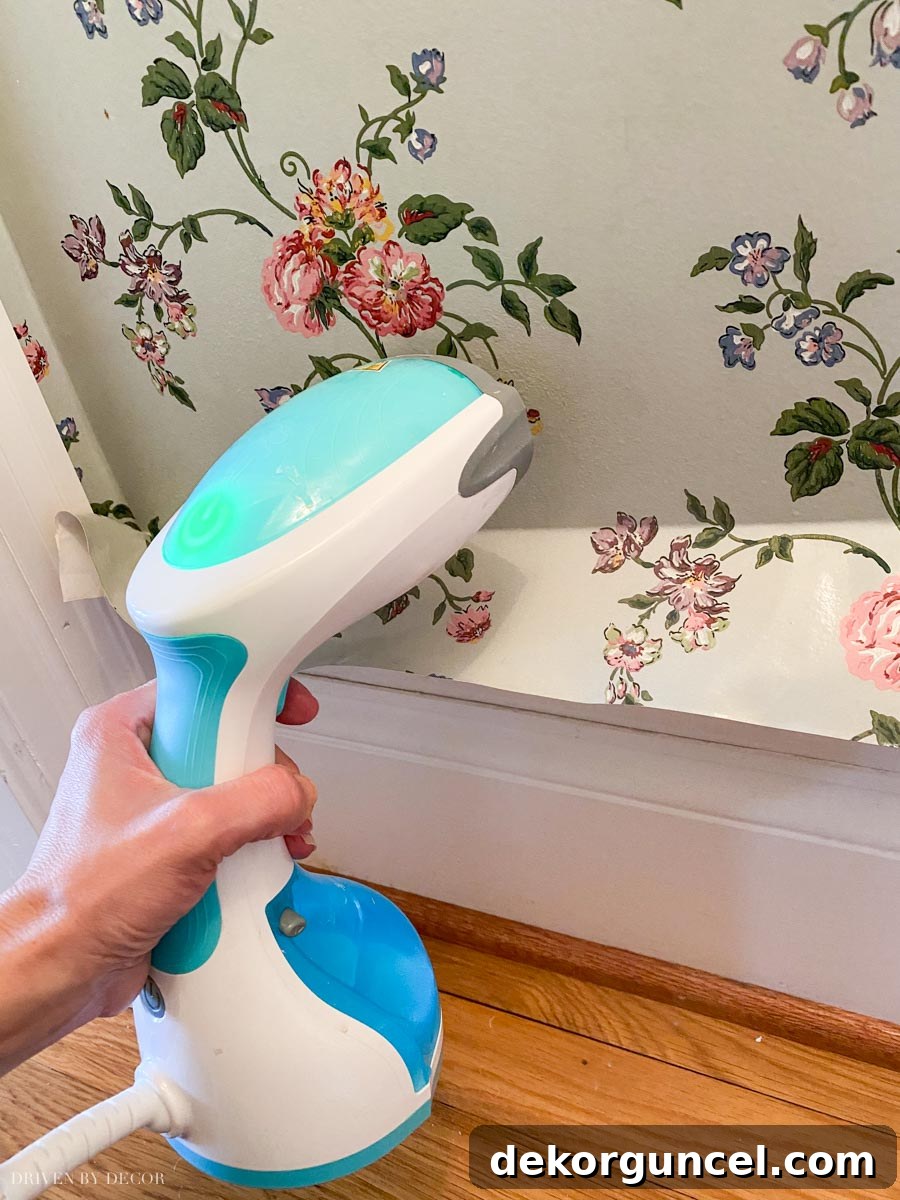
The journey to smooth, paint-ready walls begins with thorough wallpaper removal. While there are various methods, my preferred technique involves using steam. You can opt for a dedicated wallpaper steamer, such as this highly-rated model, which effectively penetrates and loosens old adhesive. However, my personal favorite tool for this task is a handheld portable clothes steamer, like this versatile steamer I use. Its compact size and maneuverability allow me to easily alternate between steaming directly on top of the paper and working it underneath, ensuring the most efficient and complete removal.
Before you begin steaming, it’s often helpful to lightly score the wallpaper. This allows the steam or removal solution to penetrate the paper more effectively, reaching the adhesive underneath. A wallpaper scoring tool, typically a roller with small teeth, can be gently rolled over the entire surface. Be careful not to press too hard, as you want to avoid damaging the drywall beneath. Once scored, apply the steam in sections, holding the steamer head against the paper until it starts to loosen. Then, use a broad putty knife or wallpaper scraper to gently lift and peel the paper away. Work in small sections, taking your time, and re-steam as needed for stubborn areas.
For a more in-depth look at the steaming method and other wallpaper removal options, including chemical strippers and enzymatic solutions, please refer to my detailed post on how to remove wallpaper. After all the old wallpaper has been successfully stripped away, an absolutely critical next step is to scrub your walls to eliminate as much residual glue as possible. A simple sponge and warm water often suffice for this task. However, if you encounter extensive or particularly thick layers of glue on the walls, dampen the surface first, then use a putty knife to carefully skim across the wall. This helps to remove the bulk of the excess adhesive before you proceed with a more thorough scrubbing.
It’s important to remember that even if the walls feel smooth to the touch after scrubbing, microscopic particles of glue can still remain. This isn’t a flaw in your cleaning; it’s simply the nature of older wallpaper adhesives. These unseen remnants are precisely what necessitate the next crucial stage in our preparation process.
The Ultimate Protection: Sealing Your Walls Properly
Even after meticulous scrubbing and rinsing, it’s almost guaranteed that some invisible, residual wallpaper glue will cling to your walls. Trust me, years of experience have taught me this. If you were to start painting over wallpaper glue at this stage, the water in your paint would reactivate these stubborn glue remnants, leading to unsightly bumps, bubbles, and a patchy finish that will completely undermine your hard work. This is the nightmare scenario we are determined to avoid.
The solution that has proven incredibly effective for me in dealing with this persistent problem is a specialized “problem surface sealer.”
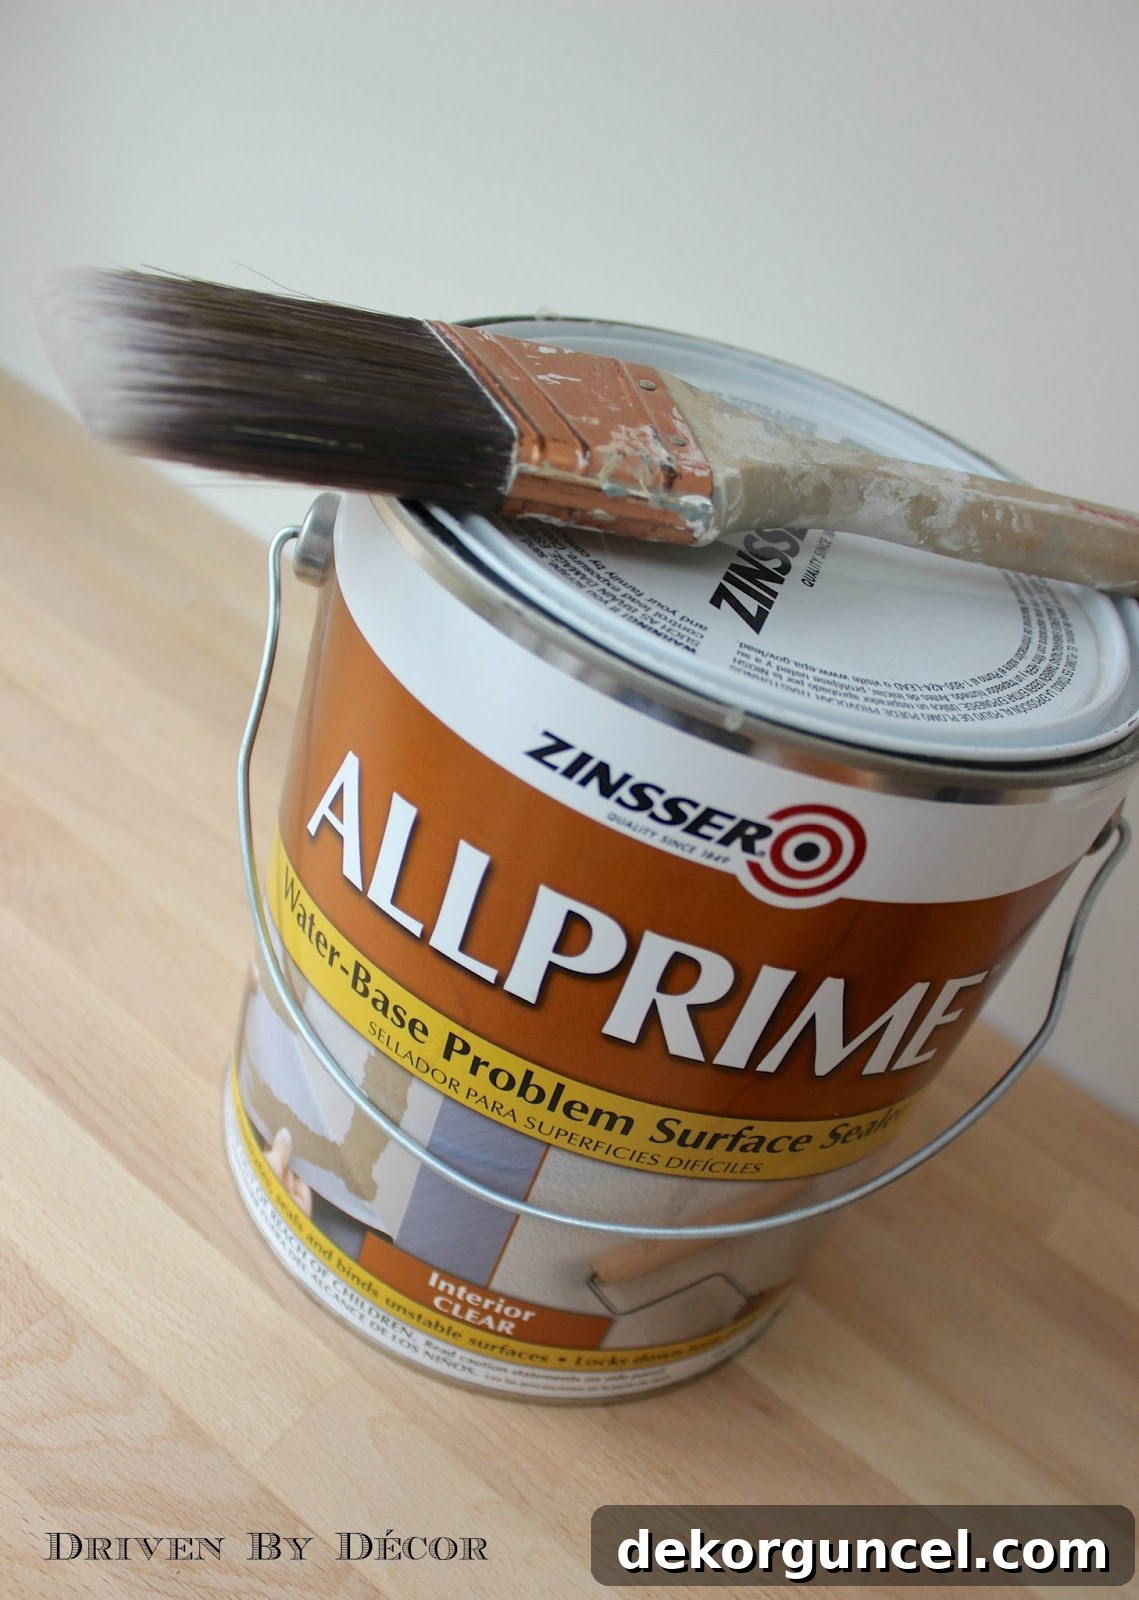
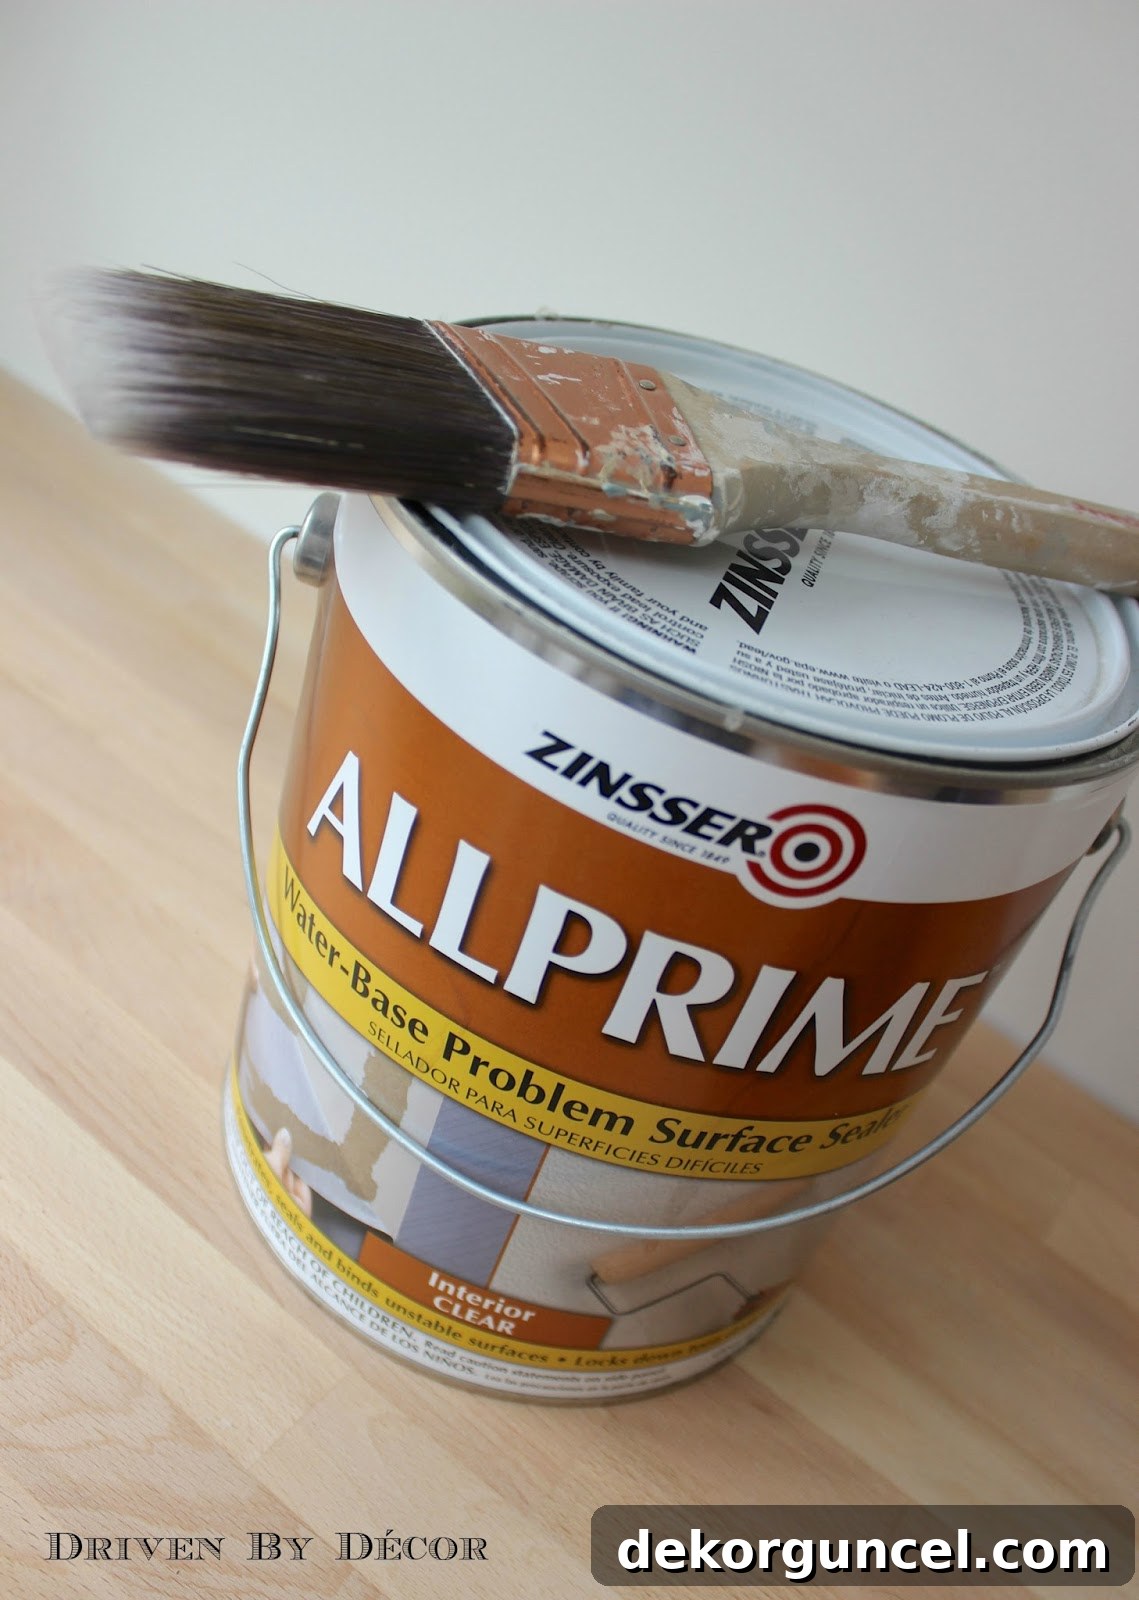
After you’ve thoroughly scrubbed the walls and allowed them to dry completely, I highly recommend a light sanding with fine-grit sandpaper (around 150-220 grit) to further smooth any rough areas or tiny glue particles. This step creates an ideal surface for the sealer. Following this, apply a coat of a high-quality water-based problem surface sealer. My go-to product is Zinsser ALLPRIME Water-Base Problem Surface Sealer. (Please note: Zinsser ALLPRIME is typically available at Benjamin Moore dealers. It is essentially the same formulation as Gardz Problem Surface Sealer, which you can conveniently purchase online here).
These specialized problem surface sealers perform several crucial functions, making them indispensable for post-wallpaper projects. First and foremost, they effectively seal in any residual glue. This creates a non-reactive barrier, preventing the glue from being reactivated by subsequent coats of paint or primer. The result is a beautifully smooth, uniform surface that accepts paint flawlessly, free from any lumps or texture issues.
Beyond locking down residual adhesives, another vital benefit of a problem surface sealer is its ability to seal peeling and cracked drywall. Removing stubborn wallpaper can sometimes cause minor damage, leaving behind small areas where the top layer of drywall paper has peeled, or where the gypsum core is slightly exposed. These spots, if left untreated, would absorb paint differently, leading to “flashing” or an uneven sheen. A problem surface sealer penetrates these damaged areas, consolidating the loose paper and creating a stable, uniform surface ready for patching and painting. This prevents further peeling and ensures a consistently smooth finish across your entire wall.
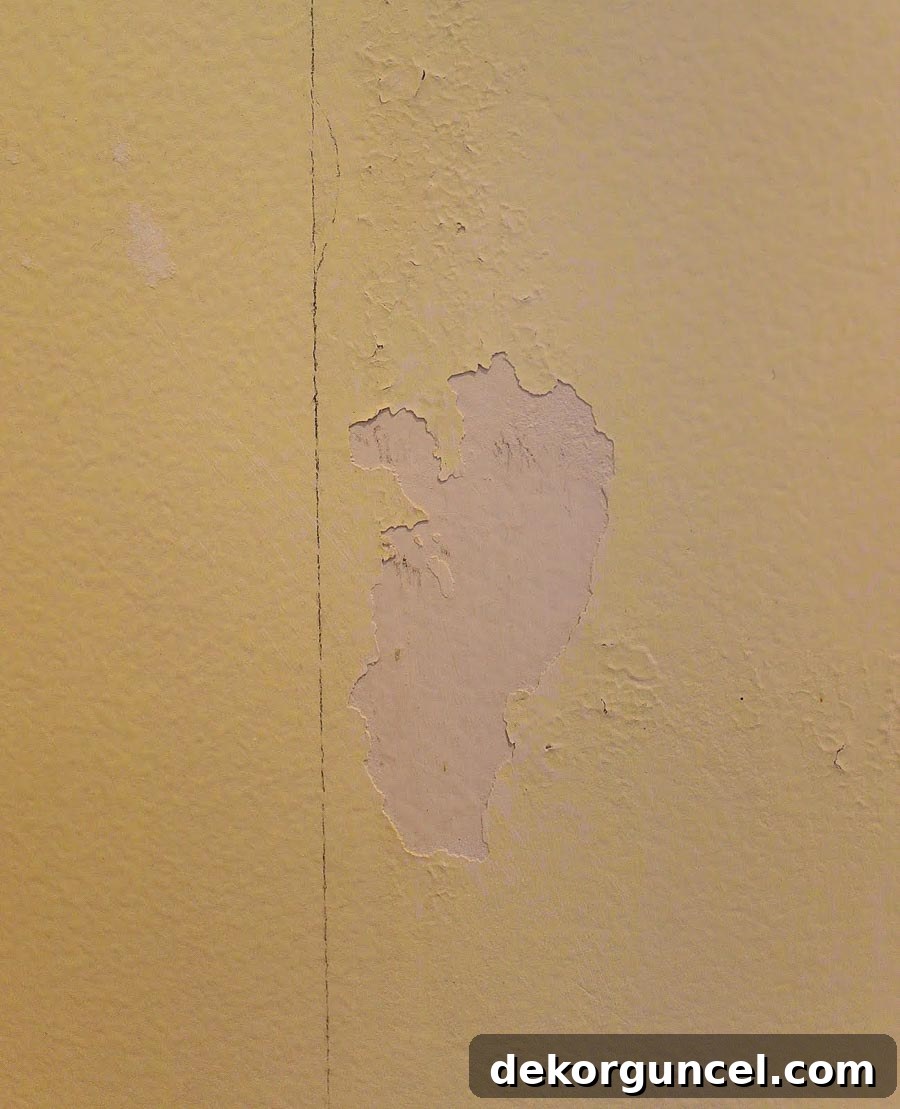
Once these compromised spots are covered with a layer of problem surface sealer, they will be perfectly prepared for patching. After the patching compound dries and is lightly sanded, these previously damaged areas will soon become completely unnoticeable under fresh paint.
While an oil-based primer is sometimes suggested as an alternative for sealing wallpaper glue, I strongly advocate for one of the water-based problem surface sealers for several compelling reasons. Firstly, I generally dislike working with oil-based products. Cleanup is significantly more involved, requiring mineral spirits or paint thinner rather than simple water for brushes, rollers, and other supplies. Furthermore, oil-based paints and primers typically emit a strong, lingering odor and often contain high levels of volatile organic compounds (VOCs), which can be unpleasant and unhealthy to work with, especially indoors.
The second major reason for my preference is drying time. Oil-based primers tend to take a considerably longer time to dry and cure, often requiring several hours or even overnight before you can proceed to the next step. In contrast, the water-based problem surface sealers I recommend are remarkably fast-drying, often dry to the touch in as little as an hour. This allows you to complete your project more efficiently, reducing downtime and getting you closer to your beautifully finished walls much quicker.
Application is straightforward: use a roller for large areas and a brush for edges and corners. Apply a thin, even coat, ensuring full coverage. Allow it to dry completely as per the manufacturer’s instructions, and then inspect your walls. You’ll notice an immediate difference in the uniform appearance and feel of the surface.
Final Steps: Painting or Re-Wallpapering Your Walls
The true secret to achieving a stunning, professional-looking paint job lies almost entirely in the quality of your preparation work. By meticulously removing wallpaper, thoroughly scrubbing the walls, and critically, applying a specialized problem surface sealer, you have laid the groundwork for unparalleled success. If you’ve also taken the time to patch any minor cracks, divots, or drywall damage after sealing, your walls are now perfectly primed and ready for their final finish.
For those embarking on a painting project, I encourage you to consult my detailed post on how to paint a room. This resource provides an exhaustive list of all the tools and supplies you’ll need, along with a comprehensive step-by-step tutorial to guide you through the entire painting process, ensuring a smooth and even application. Remember, two thin coats of paint are almost always better than one thick coat, and always allow adequate drying time between applications.
What if your plan is to replace the old wallpaper with a fresh new design? The same meticulous preparation steps apply, ensuring your new wallpaper adheres perfectly and lasts for years. For expert advice on hanging your own wallpaper, refer to my post on wallpaper installation, which offers ten helpful tips for achieving a beautiful and professional finish. Proper surface preparation is just as vital for wallpaper adhesion as it is for paint.
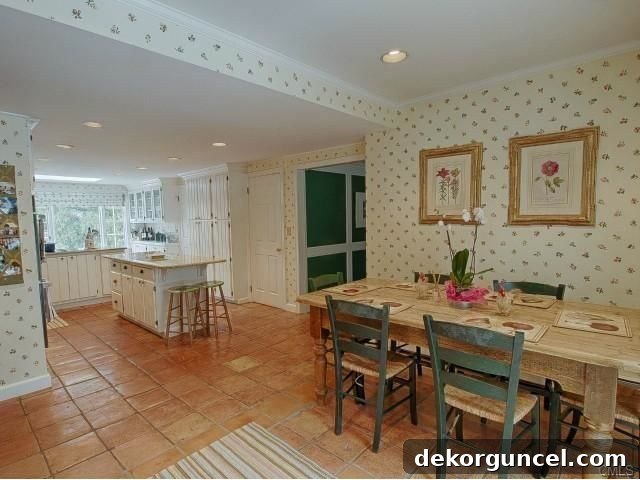
While the entire process of wallpaper removal and wall preparation can certainly be a lot of work, I can assure you that the effort is absolutely worth it in the end. The transformation and satisfaction of seeing smooth, beautifully finished walls are immense. In our previous home, we undertook the extensive task of removing wallpaper from room after room, including the particularly dated floral wallpaper that adorned our kitchen:
This is that very same space after we completed our kitchen remodel, which involved carefully stripping all the wallpaper and repainting the walls with the fresh and timeless Benjamin Moore Cloud White:
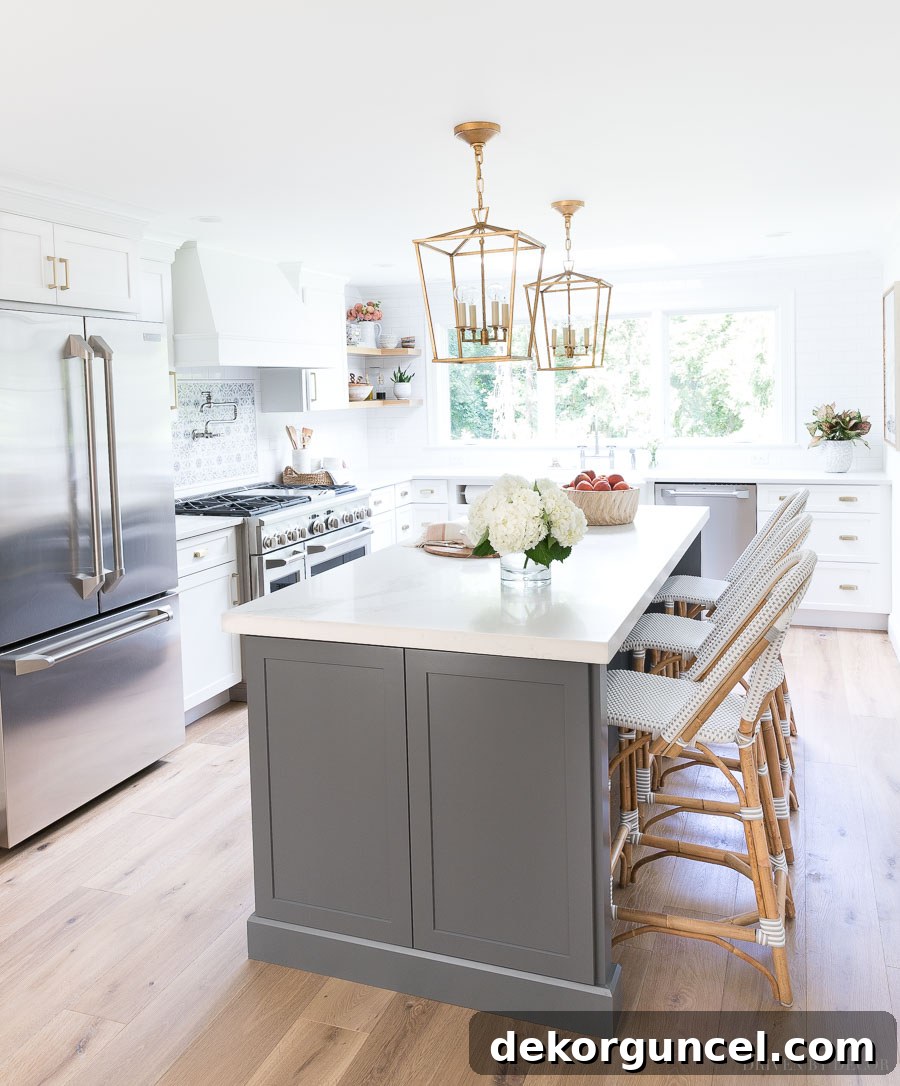
For many more details, inspiring photographs, and sources for everything you see, be sure to check out my comprehensive post on our kitchen remodel “before” and “after”. And for a full tour of the rest of our beautiful Connecticut home, you can explore it here. Remember, proper preparation is the foundation of any successful home improvement project. Good luck with your project – your beautifully smooth walls await!