
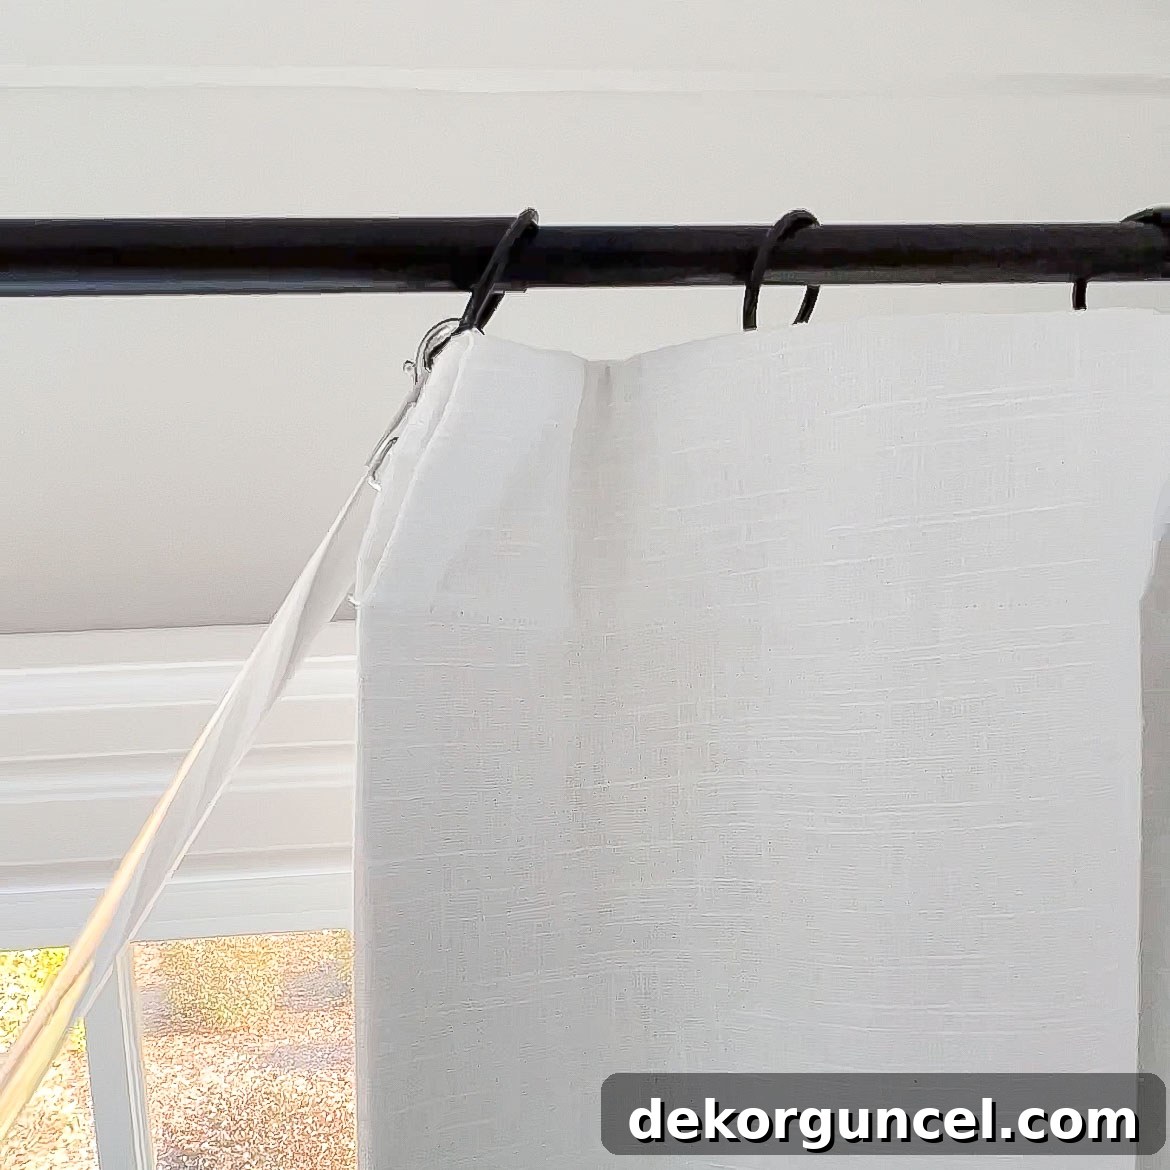
Transform Your Drapes: The Ultimate Guide to Fixing Stuck Curtain Rings on Telescoping Rods
There’s nothing quite like the frustration of trying to smoothly open or close your curtains, only to have the curtain rings snag, catch, and stubbornly refuse to glide over the joint of your telescoping rod. If you’ve experienced this common household annoyance, you’re certainly not alone! This article dives deep into the most popular and effective solutions designed to smooth out those problematic joints on telescoping curtain rods, ensuring your curtain rings glide effortlessly every single time. I’ve personally tested the leading products on the market, comparing their ease of installation, aesthetic impact, and overall performance. Get ready to discover the secrets to a seamless curtain experience, including the game-changing solution that worked best for me!
(This post includes commissionable links; for more information, see my full disclosure statement {here})
For those arriving from Instagram, all the featured products and links are conveniently gathered below for quick access. Dive into the details on how to achieve perfectly gliding curtains and elevate your home’s functionality and style!
Quick Links to the Glide Tape & Acrylic Wands Featured in My Instagram Reel
Find the exact glide tape that I used on my curtain rods {HERE}
Find my exact clip-on acrylic wands {HERE} – if out of stock, {these acrylic wands} look identical
Find my exact light blue kitchen eat-in curtains {here} (mine are the 40″ W x 95″ H in Dusty Blue sold as a pair). Such a great price!
Find the exact aged brass ¾″ curtain rods in our bay kitchen window {here}. I connected them with {these corner brackets} and used {these ¾″ rings}
Continue reading for detailed information on glide tape installation, my personal testing results, and other crucial details to achieve perfectly functioning curtains…
The Common Frustration: Why Do Curtain Rings Get Stuck?
Telescoping curtain rods are a popular choice for many homeowners, and for good reason. They offer incredible flexibility in length, making them a cost-effective alternative to custom-sized rods. This adjustability is a huge advantage, especially when you need to fine-tune your rod’s length to perfectly fit your window, or perhaps reuse it in a different space. However, despite their undeniable convenience, telescoping rods come with one significant drawback: the dreaded “stuck” curtain ring. This common issue arises at the telescoping joint, the point where the smaller diameter rod slides into the larger one. This creates an uneven surface, a subtle bump that’s just enough to halt your curtain rings in their tracks, often with a jarring stop and an irritating rattle. It disrupts the smooth flow of your drapes and can quickly turn a simple act of opening curtains into a mini wrestling match.
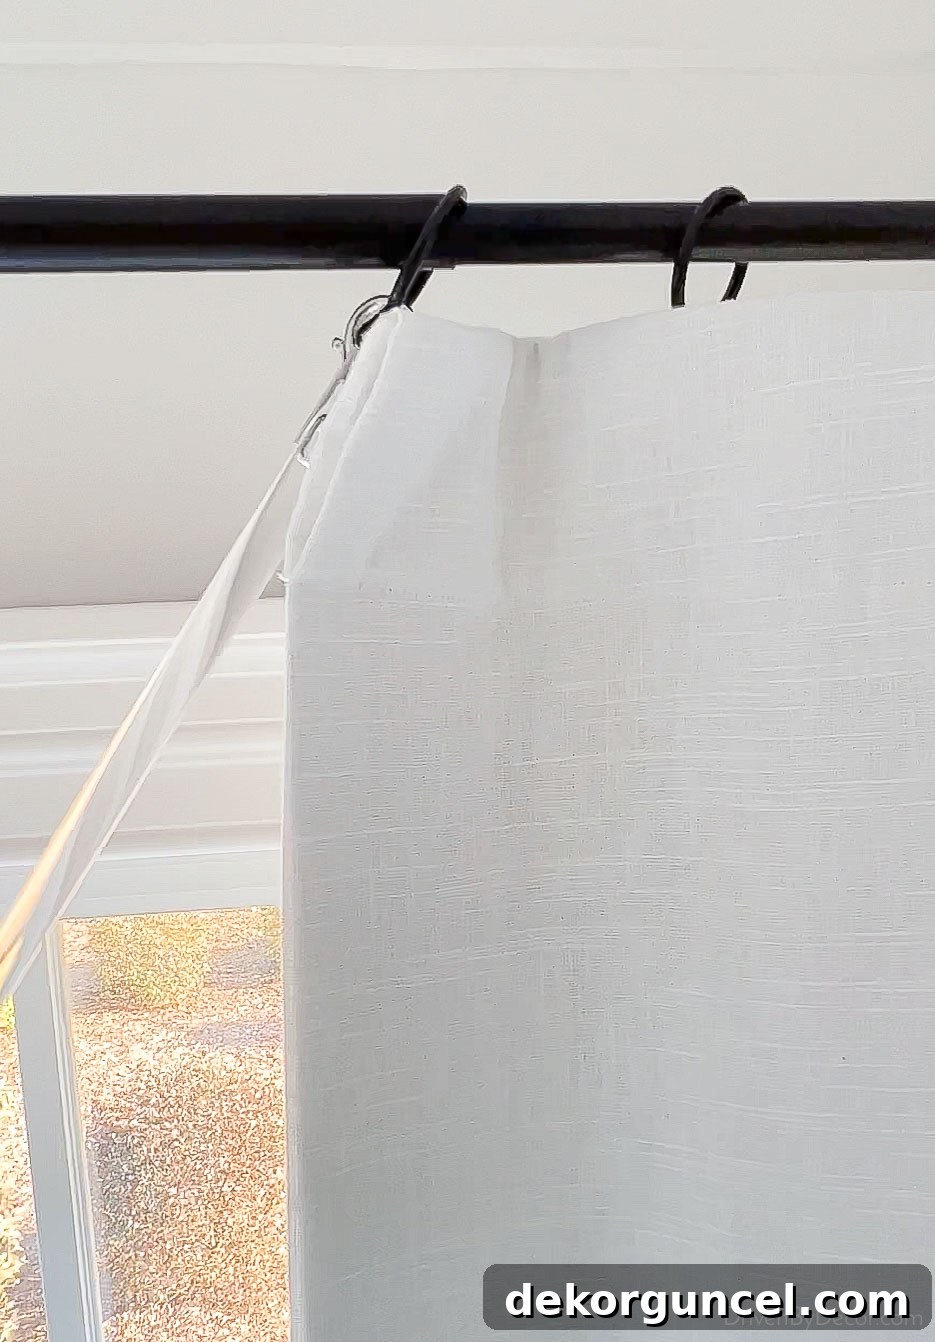
The friction created by this joint can even damage your curtain rings or the delicate fabric of your drapes over time. Recognizing this widespread problem, I embarked on a mission to find the most effective and elegant solutions. I tested two of the most popular products designed to smooth out these curtain rod joints: curtain ring glide tape and curtain joint ramps. My goal was to discover which method truly delivers on its promise of effortless curtain movement. Here’s a detailed breakdown of what I found and which product emerged as the clear winner…
Curtain Ring Glide Tape: The Game-Changer for Smooth Curtains
Let’s jump straight to the solution that delivered unparalleled results and truly transformed my curtain experience: {this curtain ring glide tape}. This ingenious product is a thin, clear strip of plastic, equipped with adhesive on one side, and conveniently comes in a roll. It’s designed to create a continuous, low-friction surface along the entire length of your curtain rod, effectively eliminating the problematic joint that causes rings to stick. The material is typically ultra-high molecular weight (UHMW) polyethylene, known for its exceptional slickness and durability, making it perfect for this application.
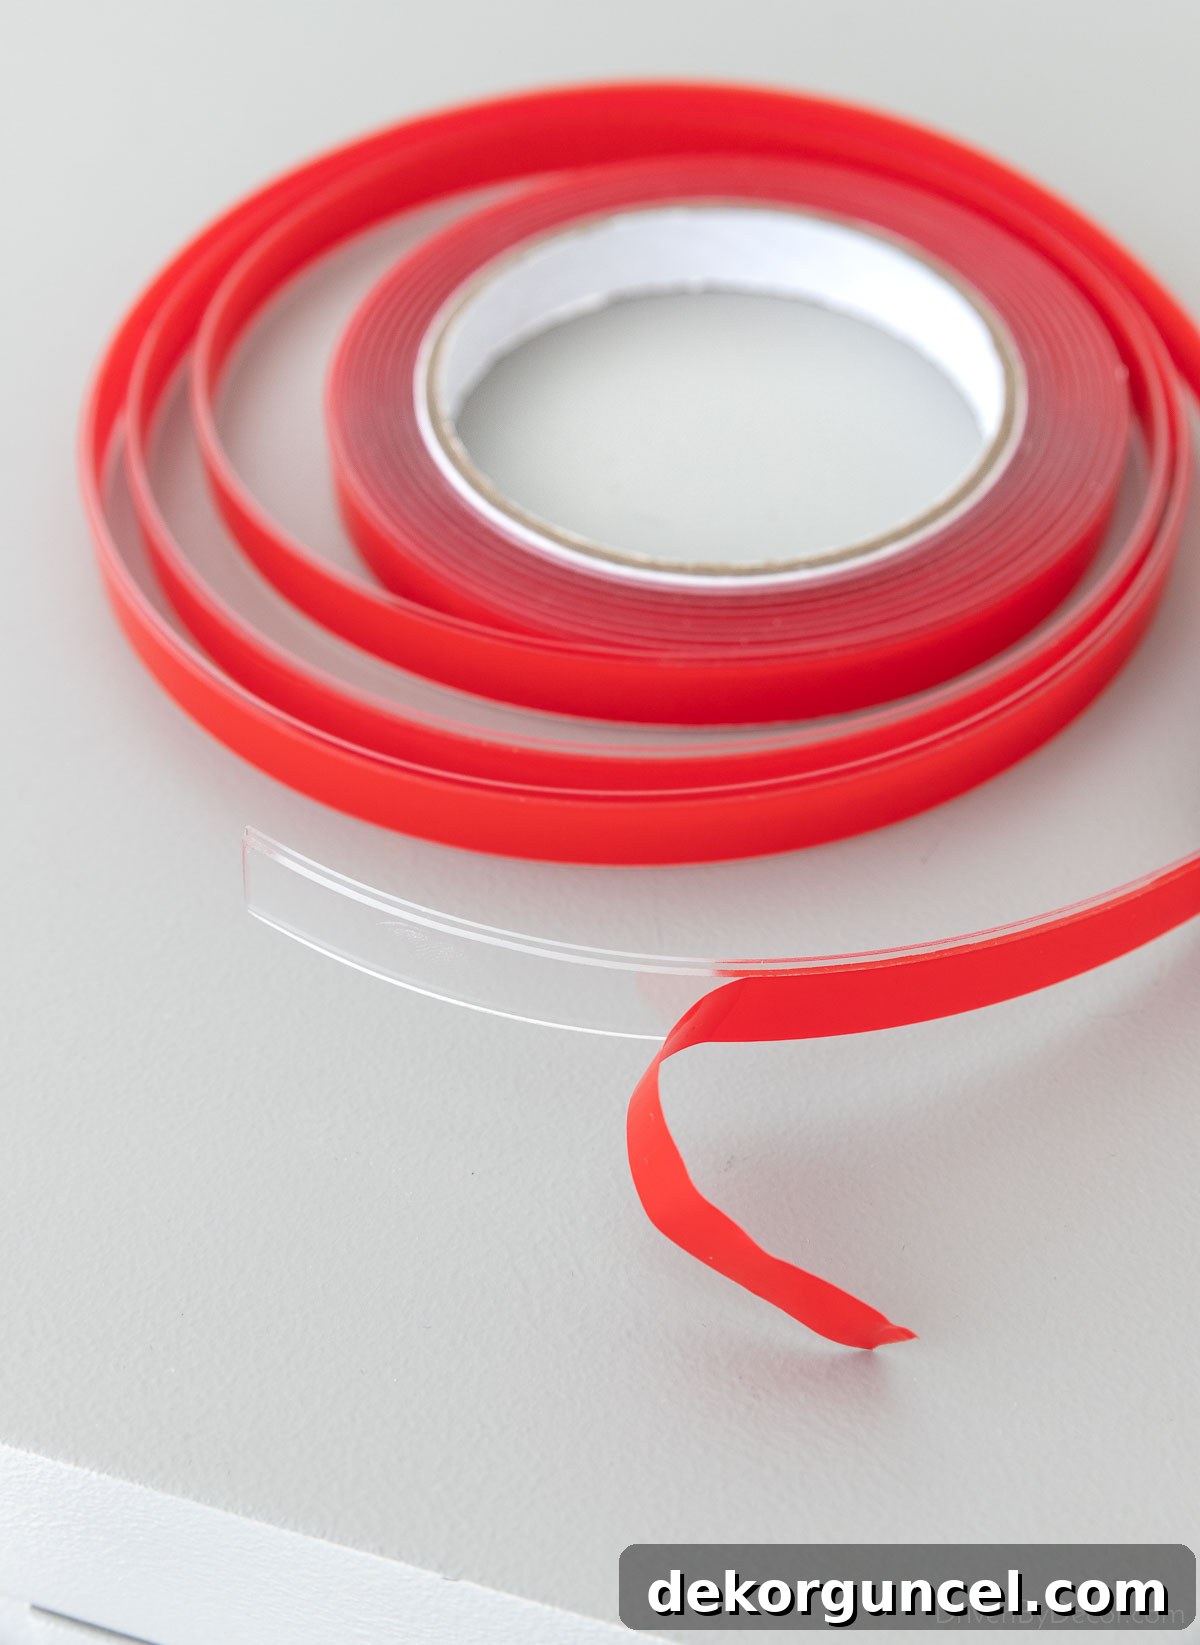
Effortless Installation for Lasting Results
The installation process for the glide tape is remarkably simple and straightforward, making it an accessible DIY project for anyone. Before you begin, a crucial first step is to perform a small test: apply and then carefully remove a small piece of the tape on an inconspicuous part of your curtain rod. This ensures that the adhesive won’t damage the finish of your rod. In my experience with a metal rod, it worked perfectly without any issues. Even if there were minor finish removal upon future detachment, that section could easily be rotated to the back, out of sight. It’s also vital to adjust your curtain rod to its exact desired length before applying the tape. Once the tape is in place, adjusting the rod’s length becomes impossible without removing or replacing the tape, which you’ll want to avoid for long-term effectiveness.
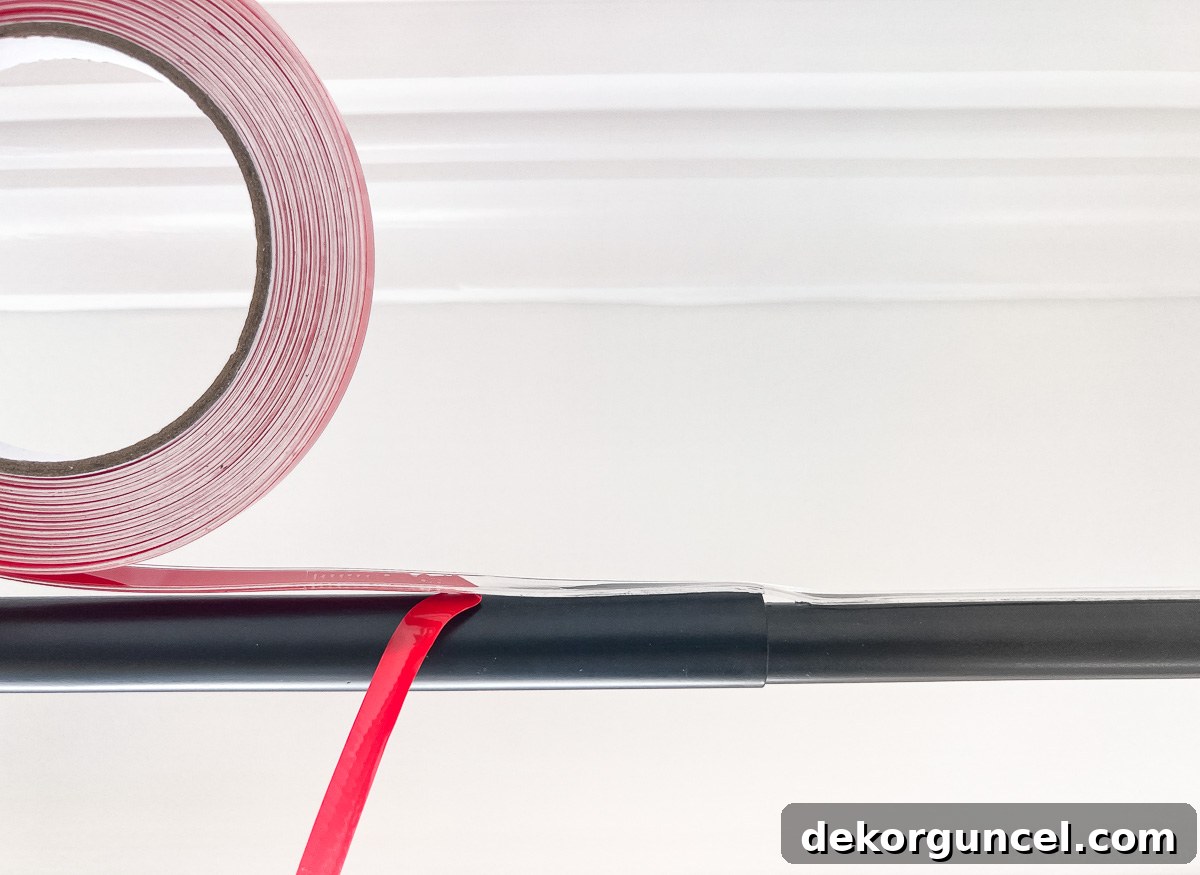
Once your rod is at the perfect length and you’ve confirmed adhesive compatibility, the next step involves cleaning. Use the provided alcohol wipe (or your own rubbing alcohol and a clean cloth) to thoroughly clean the top surface of your rod. This removes any dust, grease, or residue that could compromise the tape’s adhesion, ensuring a strong and lasting bond. After cleaning, simply peel off the backing and carefully stick the tape along the entire length of the curtain rod. It’s important to cover the entire rod, not just the junction, to ensure a consistent, smooth glide from end to end. This comprehensive application prevents any new friction points from forming and guarantees an even flow.
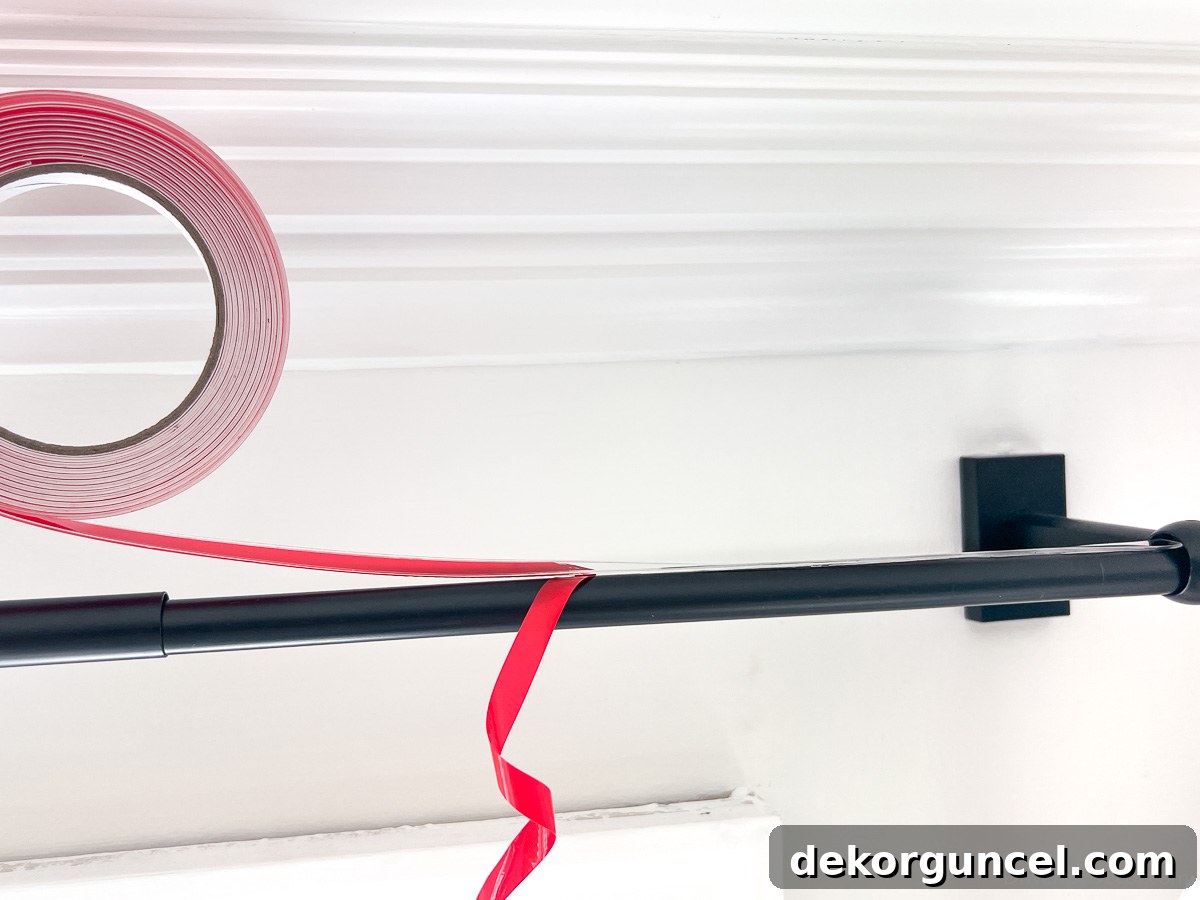
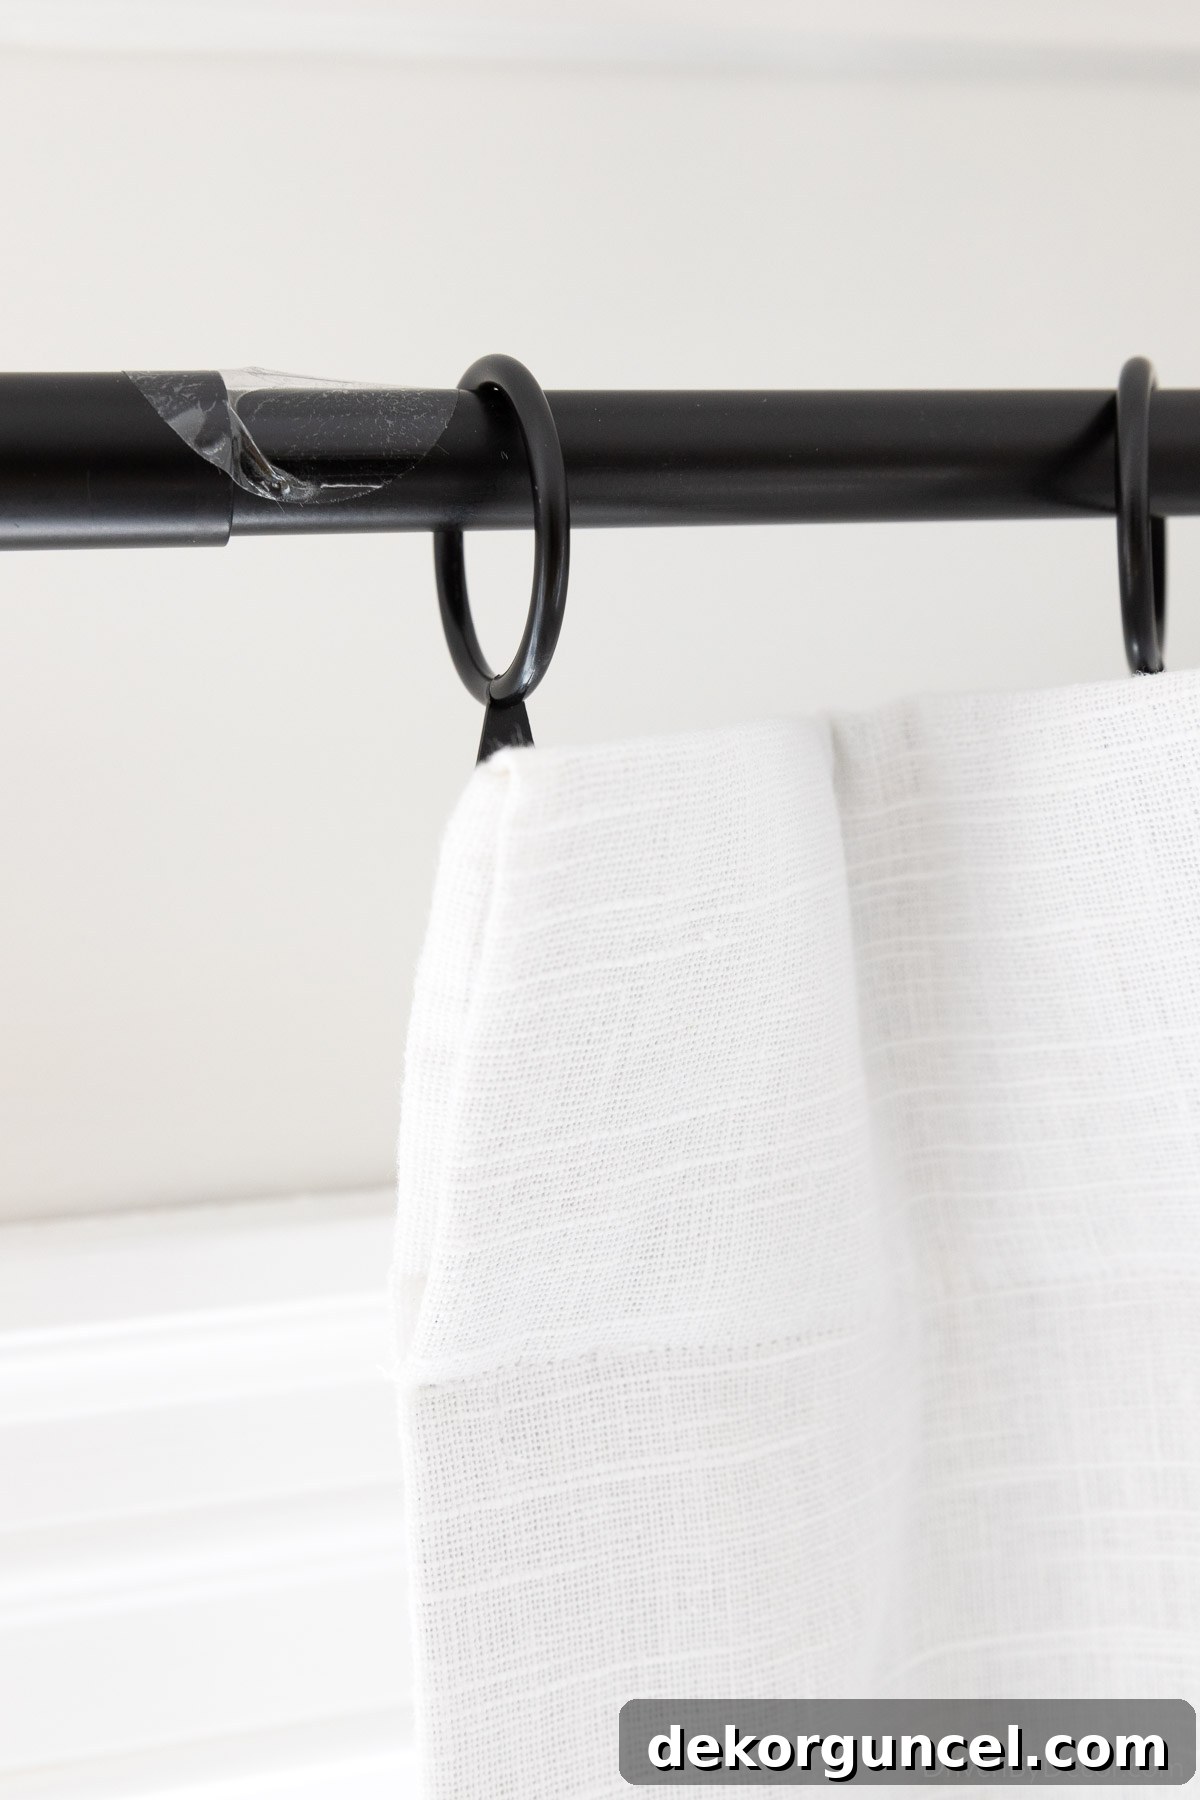
As you meticulously apply the tape along the rod and guide it over the telescoping joint, you’ll immediately notice how it creates a remarkably smooth, continuous surface. The tape effectively bridges the gap and levels out the difference in diameter, transforming that formerly problematic bump into an undetectable transition. This seamless bridge is precisely what allows your curtain rings to glide unimpeded.
Achieving Invisibility and Enhanced Functionality
During my testing, I discovered a clever tip to make the glide tape even less noticeable. Instead of applying it directly on the very top center of the rod, try positioning the tape slightly more toward the back of the rod. When viewed from below, the tape becomes almost entirely invisible, maintaining the aesthetic integrity of your curtain rods. Crucially, this subtle adjustment does not compromise the performance; the rings still glide just as effectively. This discreet application ensures that your elegant curtain rods remain the focal point, not the functional tape.
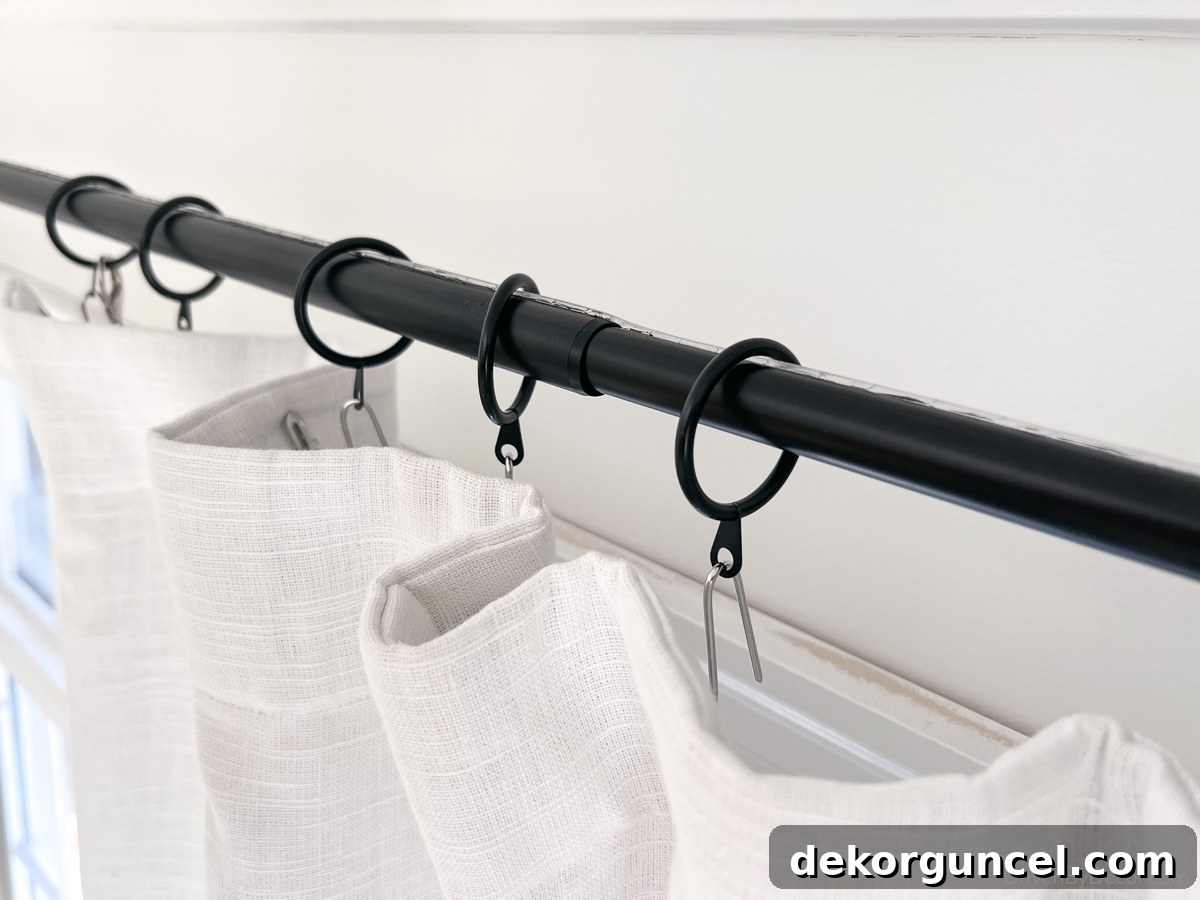
The moment of truth arrived after the glide tape was firmly stuck along the entire length of the rod. My curtain rings, which once struggled and snagged, now glided right over that telescoping joint with unparalleled ease and fluidity! It was a truly transformative experience. An unexpected but welcome bonus was the significantly quieter operation. The days of noisy, clanking curtain rings were over; now, they move back and forth across the rod with a satisfying, almost silent swoosh. Without a doubt, the curtain ring glide tape is a winning solution that delivers both functional superiority and improved aesthetics.
Enhance Your Curtain Experience with Acrylic Wands
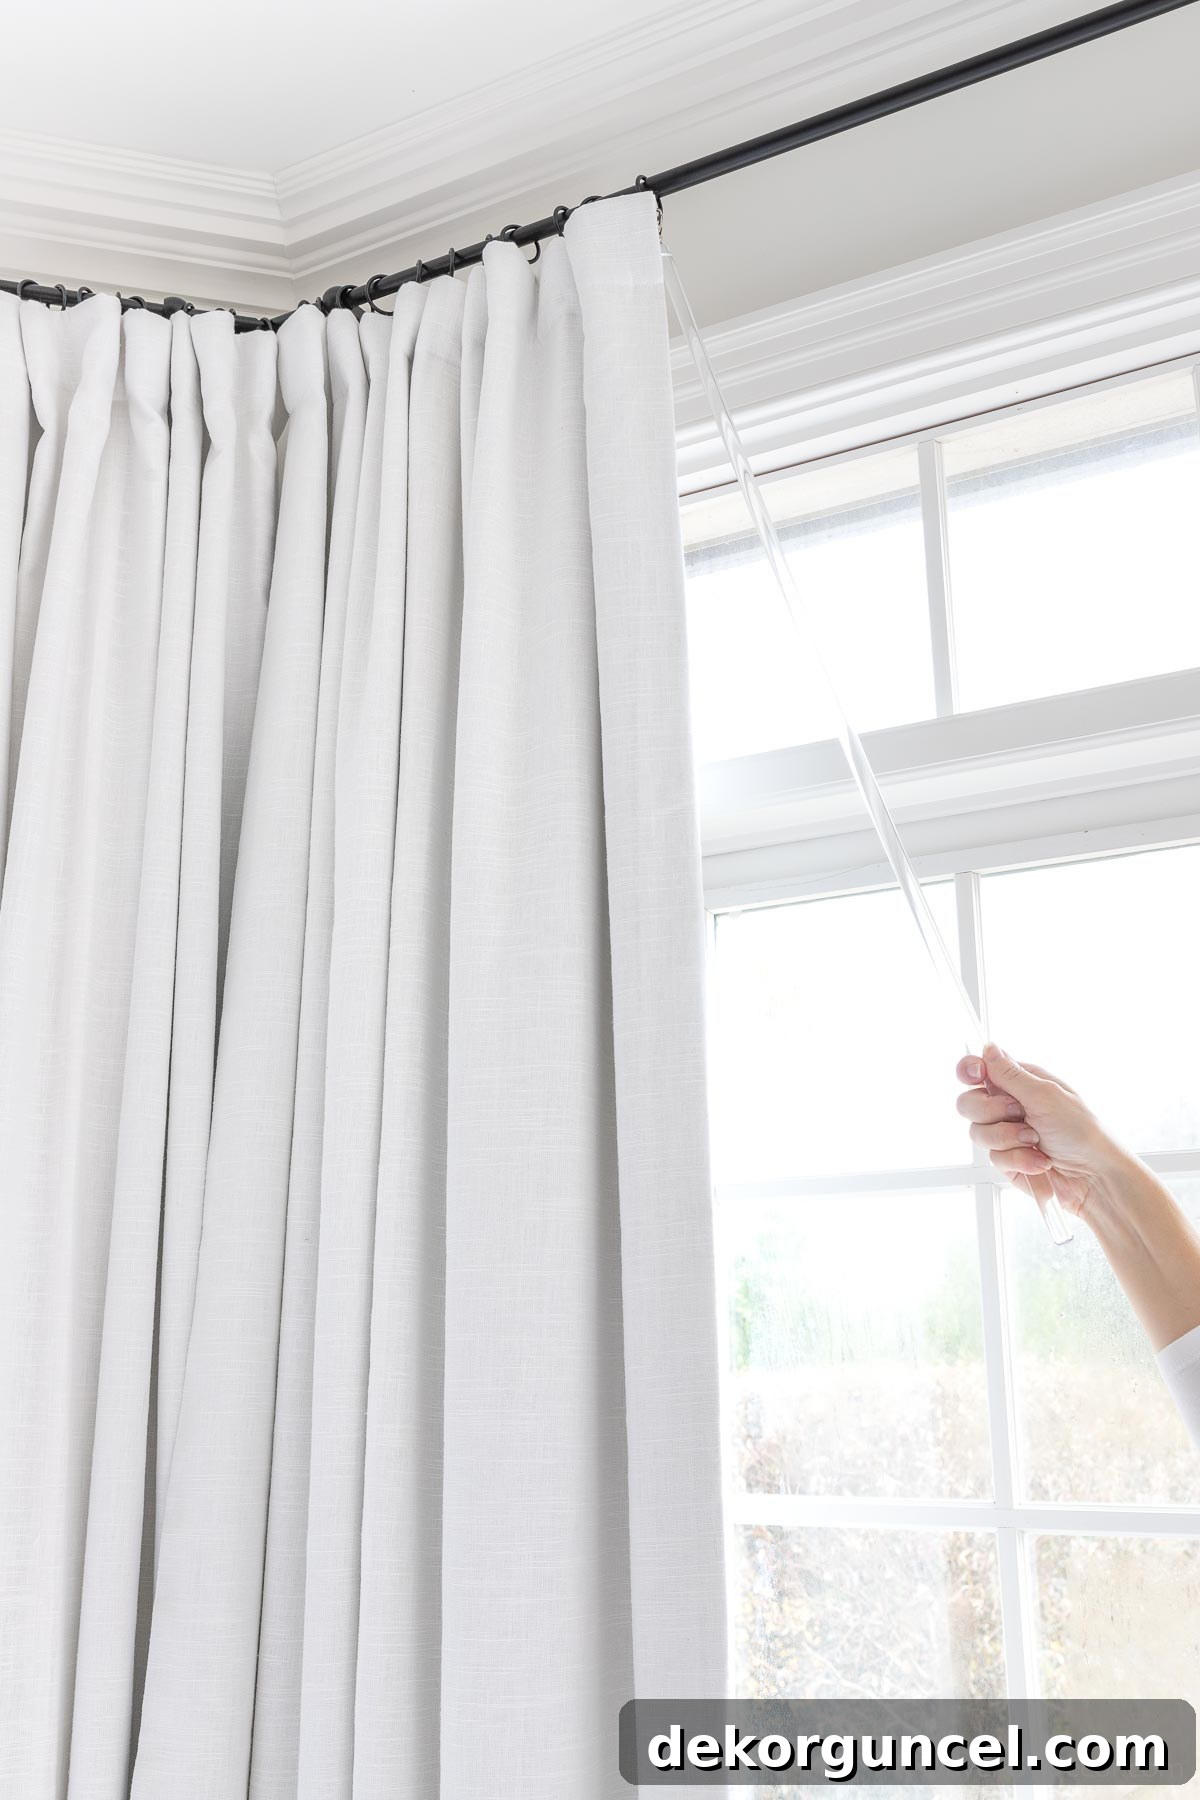
While the glide tape works wonders for the rod itself, combining it with {these curtain wands} (or {these similar ones}) truly completes the ultimate curtain experience. These simple yet effective acrylic wands attach discreetly to the inside curtain ring on each drape, providing a convenient handle for opening and closing your curtains. They are an absolute must-have, especially if you have tall drapes like mine, or light-colored fabrics that are susceptible to staining over time from the natural oils and dirt on hands. The wands eliminate the need to directly touch the curtain fabric, preserving its pristine condition and extending its lifespan.
Using these wands in conjunction with the glide tape elevates the entire process. No more struggling to reach high drapes, no more fingerprints on delicate fabrics, and absolutely no more stuck rings. With this dynamic duo, your curtains will glide back and forth like butter, operating with a smoothness and elegance you never thought possible. It’s a small investment that yields significant dividends in convenience, longevity, and overall satisfaction.
Curtain Rod Joint Ramps: A Clever Concept with Limitations
In my quest for the perfect solution, I also put {these curtain rod joint ramps} to the test. Initially, I had high hopes for this product, even thinking it might be the winning solution due to its innovative concept. The idea behind joint ramps is quite clever: they are essentially round stickers with a built-in plastic “ramp” designed to ease the transition at the telescoping rod joint. The ramp is intended to provide a gentle incline, allowing curtain rings to roll smoothly over the height difference without snagging.
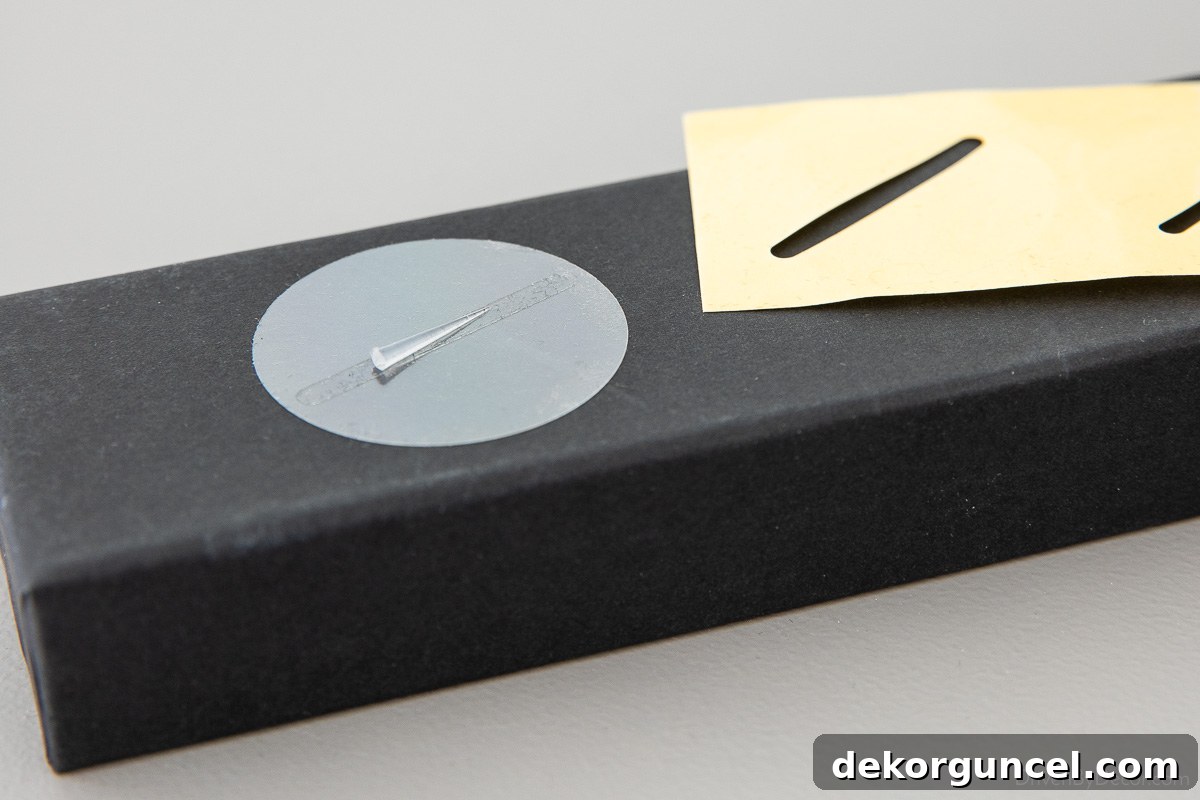
However, my initial impression was slightly dampened by the product packaging. The ramps arrived in a box lined with a black velvety fabric, which, while visually appealing, unfortunately shed tons of tiny black fuzzies onto the adhesive side of the stickers. This meant extra care was needed during application to ensure a clean, dust-free surface, which was a minor but notable inconvenience.
Application and Real-World Performance
Applying the curtain rod joint ramps is fairly straightforward. After cleaning your rod thoroughly, you simply butt the higher, ramped part of the sticker directly against the telescoping joint. Then, you press the adhesive sticker down firmly against the rod to secure it in place. I had envisioned this as a relatively invisible solution, blending seamlessly with the rod. However, in practice, the visual outcome was not as refined as I had hoped. The ramps were quite noticeable once applied, creating a distinct visual interruption on the rod:
When it came to testing their effectiveness, I found that the joint ramps did improve the situation; my curtain rings were now able to get over the joint, which was an improvement from before. However, the movement was not nearly as easy or smooth as it was with the glide tape. The rings still tended to catch slightly right at the point where the ramp began, creating a less-than-fluid transition. This subtle snagging also raised concerns about long-term durability, as I got the feeling that constant friction at that specific point could cause the ramp sticker to lift or peel over time. Furthermore, as mentioned, the ramps were significantly more visible than the clear glide tape, detracting from the sleek appearance of the rod. While the joint ramps did offer a functional improvement, they proved to be only an “okay” solution, lacking the effectiveness and discreet aesthetics of the rod tape. I believe these joint ramps might be adequate for curtains that are opened and closed only occasionally, where absolute smoothness isn’t a top priority. But for everyday use, especially in high-traffic areas, the superior performance and near-invisibility of the glide tape made it the unequivocal winner.
Key Takeaways and Tips for Perfectly Gliding Curtains
After thorough testing, the conclusion is clear: for truly smooth, quiet, and effortless curtain movement over telescoping rod joints, **curtain ring glide tape** is the superior solution. Its ability to create a seamless, low-friction surface along the entire rod transforms the user experience, making daily curtain operation a pleasure rather than a chore. Combined with a quality **curtain wand**, you can ensure your drapes glide silently and remain pristine for years to come.
For those of you who have struggled with the persistent issue of snagging curtain rings on your telescoping rods, I sincerely hope this detailed guide provides the clarity and solution you’ve been searching for. Don’t let a minor design flaw in your hardware diminish the beauty and functionality of your window treatments. A small investment in the right solution can make a world of difference.
Further Resources for Your Window Treatment Projects
If you’re looking to delve deeper into the world of curtains and rods, I have more helpful resources for you. Understanding the nuances of curtain installation can significantly impact the overall look and feel of your room:
- For more information on selecting, buying, and hanging curtains, along with links to my favorite curtains and rods, be sure to check out my comprehensive post on how high to hang curtains. Proper height makes a dramatic difference!
- You might also find my detailed guide on how to measure for curtains to be incredibly helpful, ensuring you choose the perfect size for your windows every time.
Thank you for joining me on this journey to conquer common home décor frustrations. Your feedback and experiences are always welcome!
I’ll see you back on the blog soon!
XO,
