
Transform your living spaces with stunning vinyl wall decals! This comprehensive guide provides everything you need to know about choosing, applying, and even removing these versatile decorative elements. Discover how easy it is to add personality and style to any room, along with step-by-step instructions and creative ideas for your next DIY project.
While the chore of laundry may never be my favorite pastime, I’ve found that infusing our laundry room with a little cheer makes a significant difference. My latest project involved adorning the walls with charming tangerine vinyl wall decals, and the results have been nothing short of delightful! The application process was surprisingly simple and even enjoyable, offering an instant aesthetic upgrade. Should my taste evolve, these decals can be effortlessly peeled off without leaving any trace of damage on the walls, making them a perfect, low-commitment decorating solution.
Join me today as I unveil our beautifully refreshed space and share a complete guide to vinyl wall decals. You’ll learn where to find the exact tangerine decals I used, receive a detailed, step-by-step application tutorial, and understand the process of damage-free removal. This post is your ultimate resource for bringing the vibrant charm of vinyl wall decals into your own home! (This post includes commissionable links; for more information, please see my full disclosure statement {here}).
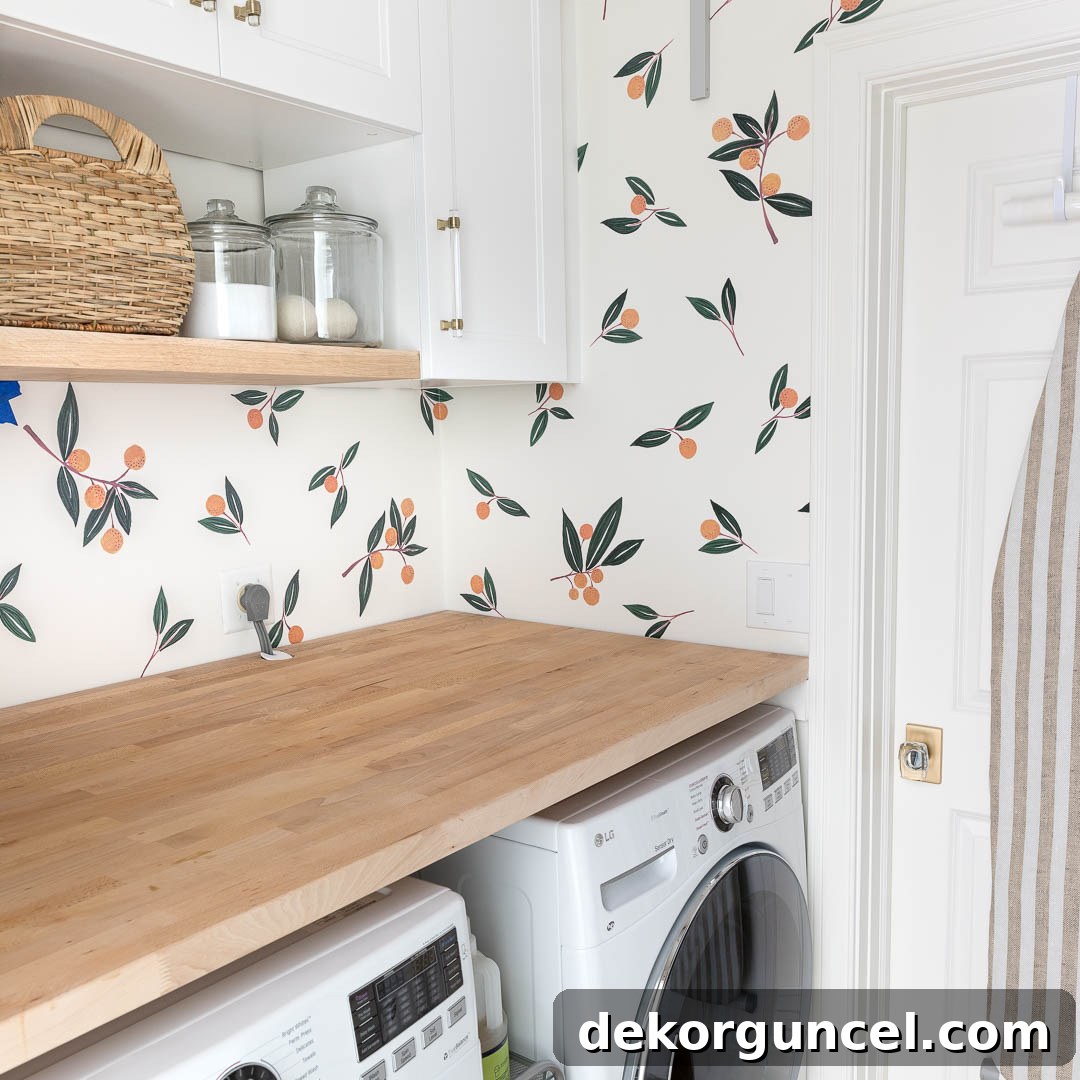
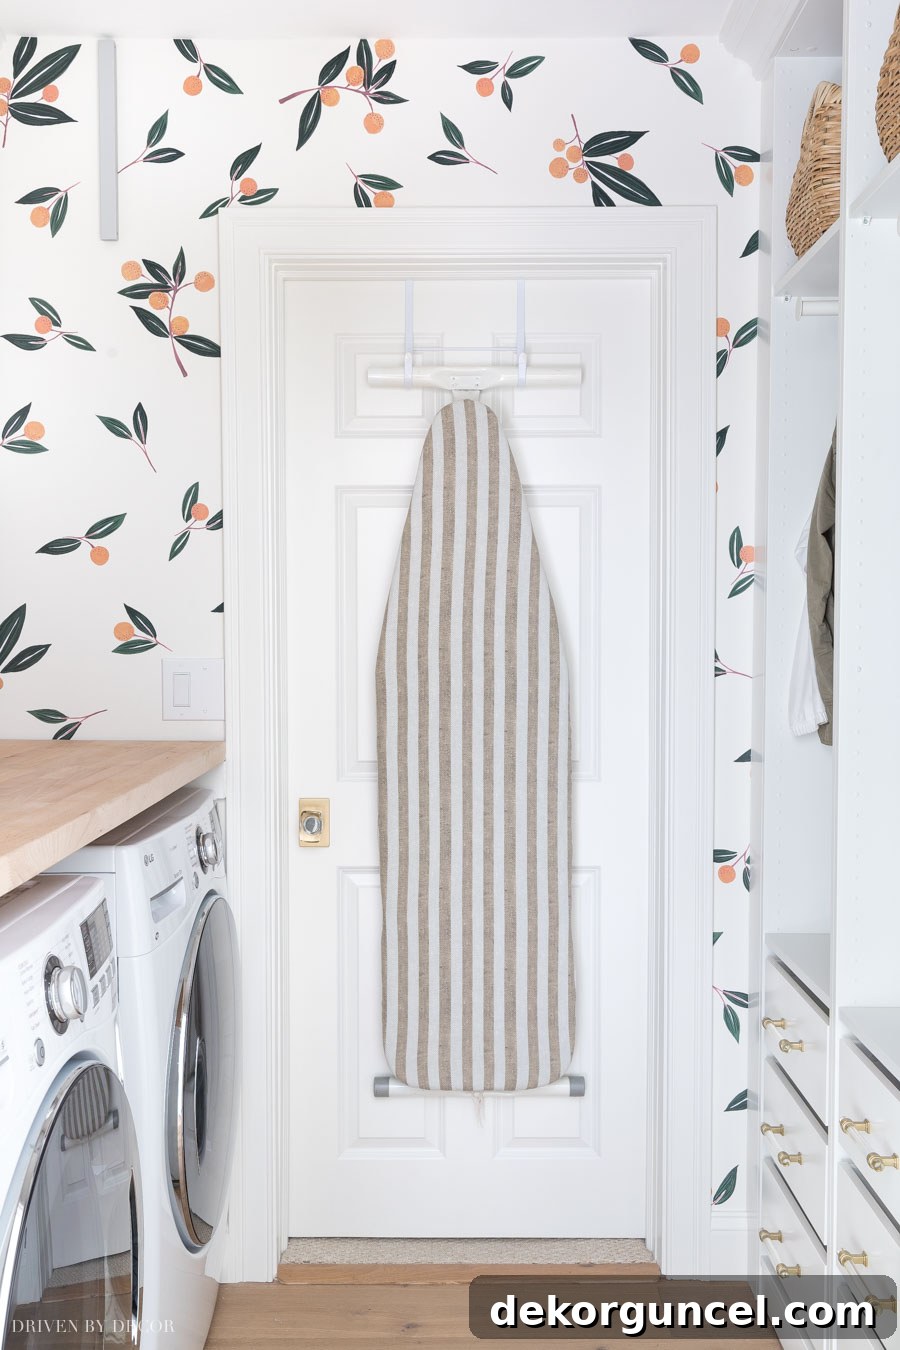
Let’s begin with a glimpse of our transformed space! After installing sleek new laundry room cabinets, the vinyl wall decals provided the ideal finishing touch, infusing the room with character and warmth. Here’s our now much-happier-feeling laundry room, playfully adorned with tangerines on the wall:
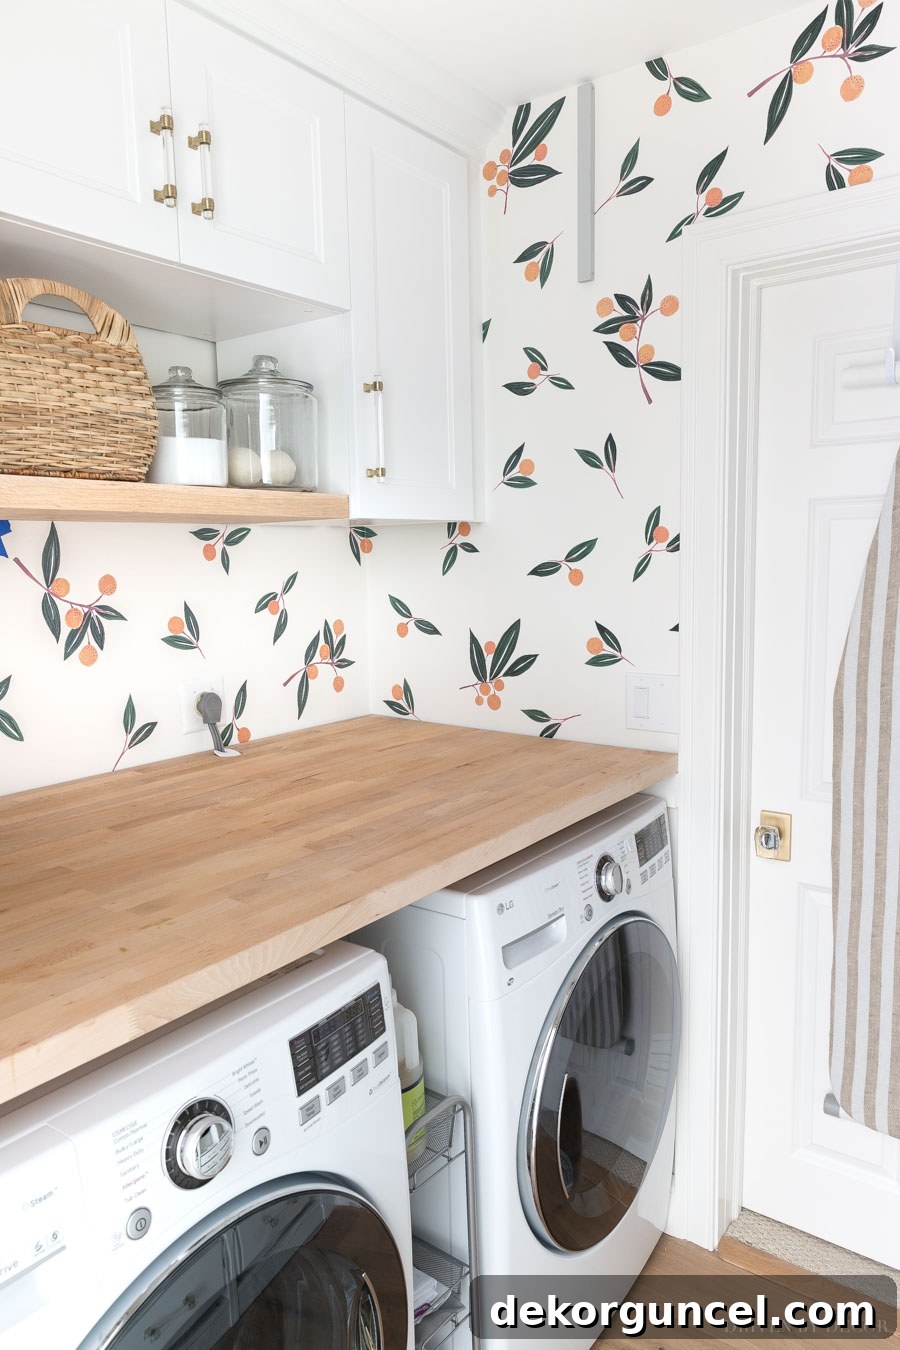
Isn’t it charming? Small spaces like laundry rooms, powder rooms, or even cozy nooks are ideal canvases for bold and unique design statements. Their limited wall area means you can add decals to the entire room affordably, and you can experiment with patterns or motifs that might feel overwhelming in a larger, more expansive setting. Decals offer an incredible opportunity to inject personality and a touch of whimsy without a significant investment of time or money.
Choosing the right design can completely transform the mood of these often-overlooked spaces. From playful fruits to sophisticated geometric patterns, the options are endless, allowing you to tailor the decor to your unique style. Plus, the temporary nature of vinyl decals means you can easily update your decor as your preferences change, keeping your home fresh and exciting.
Where to Find Your Perfect Vinyl Wall Decals
The delightful tangerine vinyl wall decals that brightened our laundry room were purchased {here}. Each order typically arrives as a convenient roll, packed with individual decals ready for application:
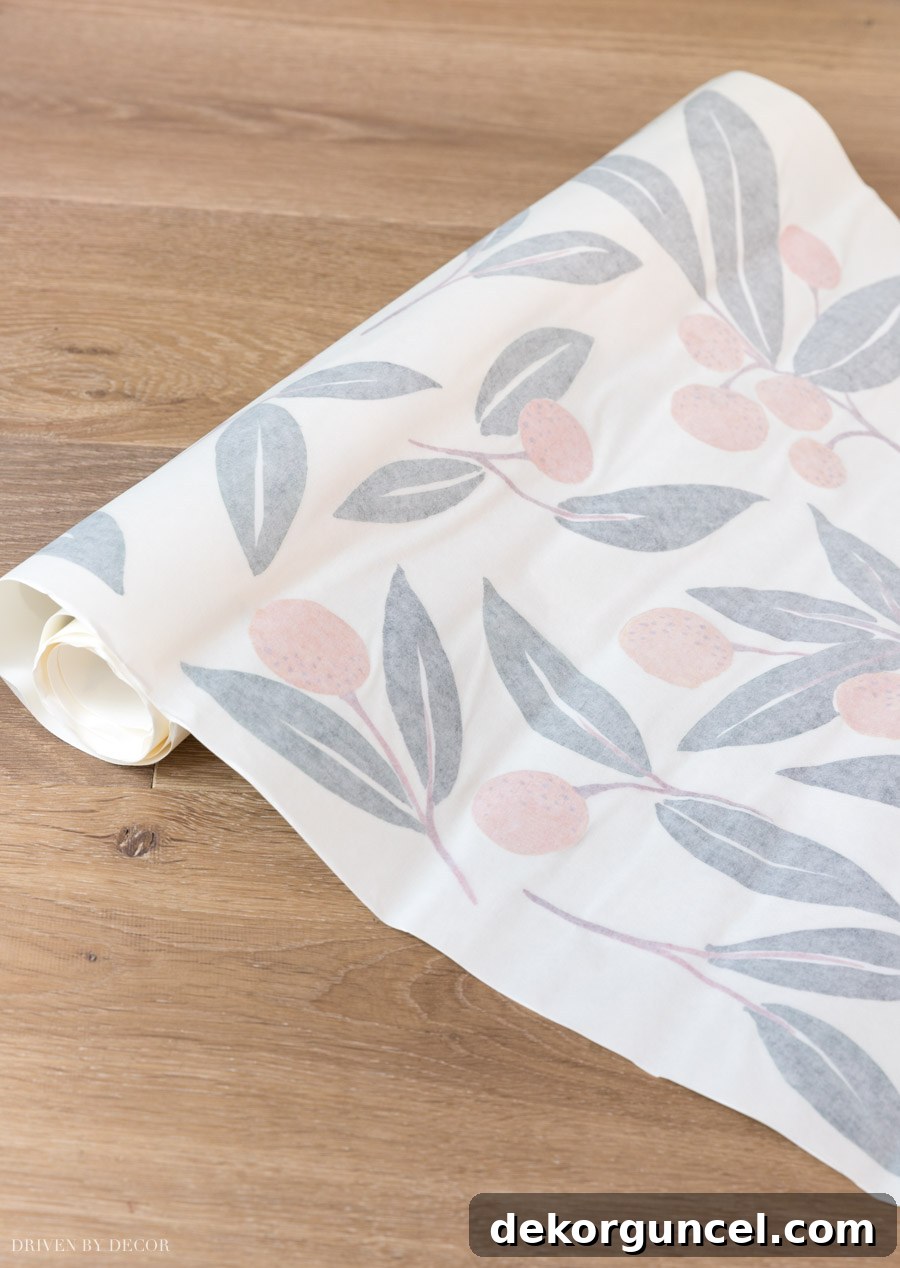
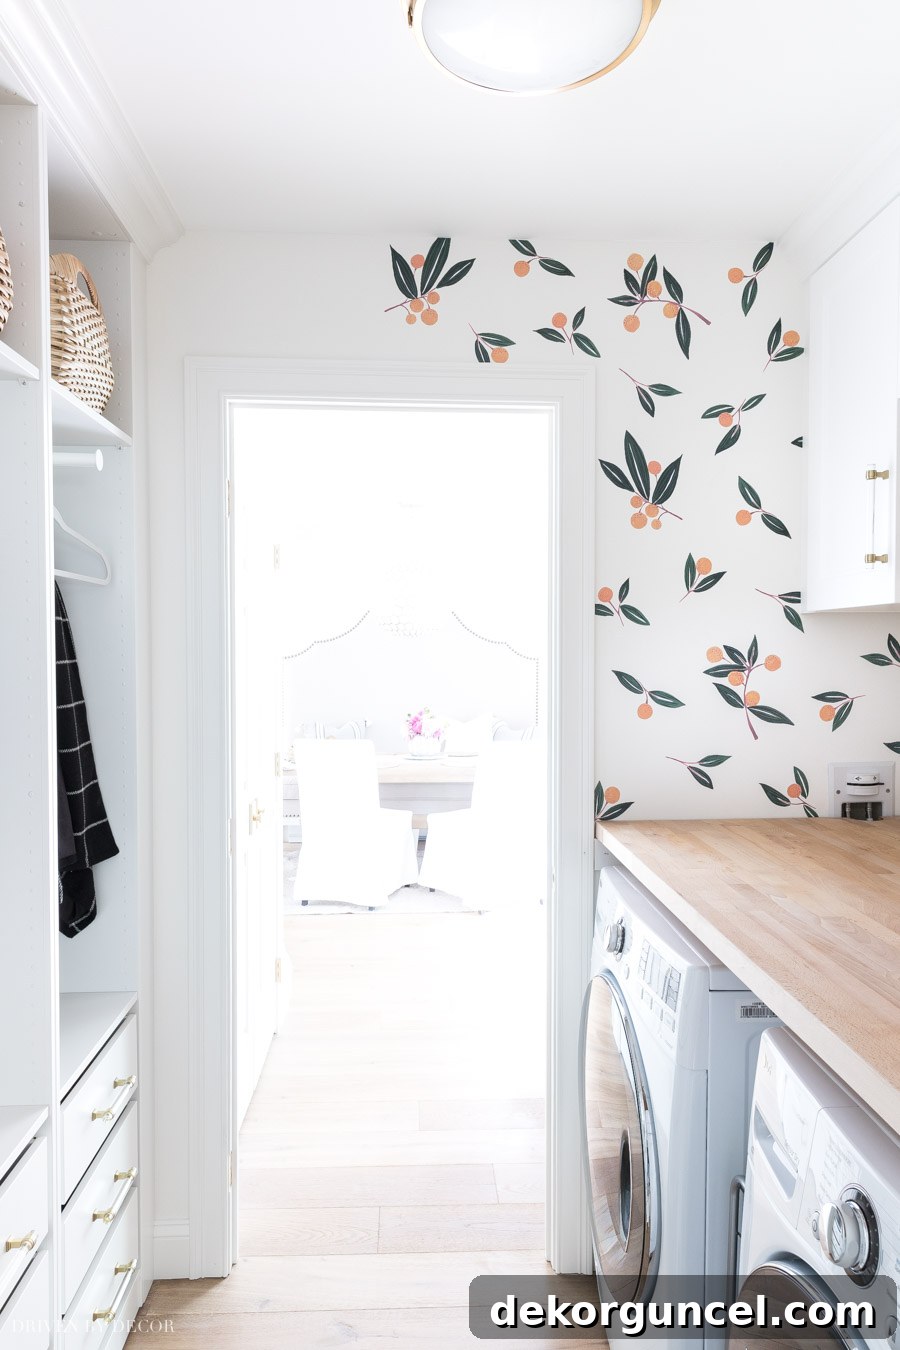
Determining the exact number of rolls needed can be a bit tricky, as it largely depends on your desired spacing and the overall density of the pattern you envision. Some prefer a sparse, minimalist look, while others aim for a dense, wallpaper-like effect. For my project, I initially ordered two rolls. However, I soon realized I had underestimated the surface area, particularly a small strip of wall tucked between two doors and our coat cubbies. This seemingly minor section required more decals than anticipated, leading me to order an additional roll to complete the transformation.
Having a few extra decals on hand is always a good idea for any touch-ups or future design tweaks. While I absolutely adore the cheerful tangerine design, the world of wall decals offers a vast array of other fantastic options. If you’re seeking inspiration, remember my previous post where I highlighted some of my top picks. Among them were these charming lemon vinyl wall decals, available {here}, which offer a similarly fresh and vibrant aesthetic:

Beyond fruit-themed options, you can explore an endless variety of styles, from sophisticated botanicals and intricate geometric patterns to playful animal motifs and abstract designs. Consider the existing color palette and decor of your room to select decals that complement and enhance the overall ambiance. Decals can introduce texture, color, and focal points, making them a powerful tool in any interior design arsenal. For a curated selection of other favorites, explore the options below:
Explore a wide array of beautiful and easy-to-apply vinyl wall decals to suit any decor style.
For a similar transformative effect, you might also consider peel and stick wallpaper. It offers a broader coverage pattern and can mimic traditional wallpaper without the permanence or mess. Check out my detailed guide on how to hang peel & stick wallpaper, where I share our experience with the wallpaper we applied in my girls’ room, for more insights and inspiration!
Do Vinyl Wall Decals Work on All Wall Surfaces?
Before you dive into the exciting world of wall decals, it’s crucial to consider your wall’s surface. Generally, vinyl wall decals are not recommended for highly textured walls. The uneven surface can prevent the decal from adhering properly, leading to peeling edges or an overall less-than-perfect finish. While some individuals have reported success on mildly textured walls, be aware that the application process will likely be more challenging and may require extra effort to ensure full adhesion.
Another critical factor is the state of your paint. Never apply decals to freshly painted walls. Paint needs adequate time to fully cure, which typically takes anywhere from two to four weeks, depending on the paint type and environmental conditions. Applying decals too soon can cause the paint to peel off with the decal upon removal, or prevent the decal from adhering correctly in the first place. Always ensure your walls are meticulously clean, dry, and free from lint, cobwebs, dust, or any other debris before beginning the application process. A clean, smooth surface is key to a flawless and long-lasting decal application.
A Step-by-Step Guide: How to Apply Vinyl Wall Decals Like a Pro
I’ve received numerous inquiries about the best method for applying vinyl wall decals, and I’m thrilled to walk you through a tried-and-true, step-by-step process. The good news is that this is an incredibly straightforward DIY project, achievable even for the most novice decorator! I experimented with a few different techniques, and the following method proved to be the most effective, ensuring a smooth, bubble-free, and perfectly positioned application every time.
Before you start, gather your tools: a pair of scissors, painter’s tape, a flat-edged tool like a plastic putty knife or an old credit card (often referred to as a squeegee), and optionally, a pencil and a ruler for precise trimming. With these simple items, you’ll be well-equipped to transform your walls with confidence and ease.
Step 1: Organize Your Decals
Begin by carefully cutting individual decals from the roll. Once separated, sort them into distinct piles based on their size, shape, and design. This preparatory step is invaluable for planning your layout and ensuring an even distribution of different elements across your wall. By having a clear visual of your available pieces, you can more easily create a balanced and aesthetically pleasing arrangement.
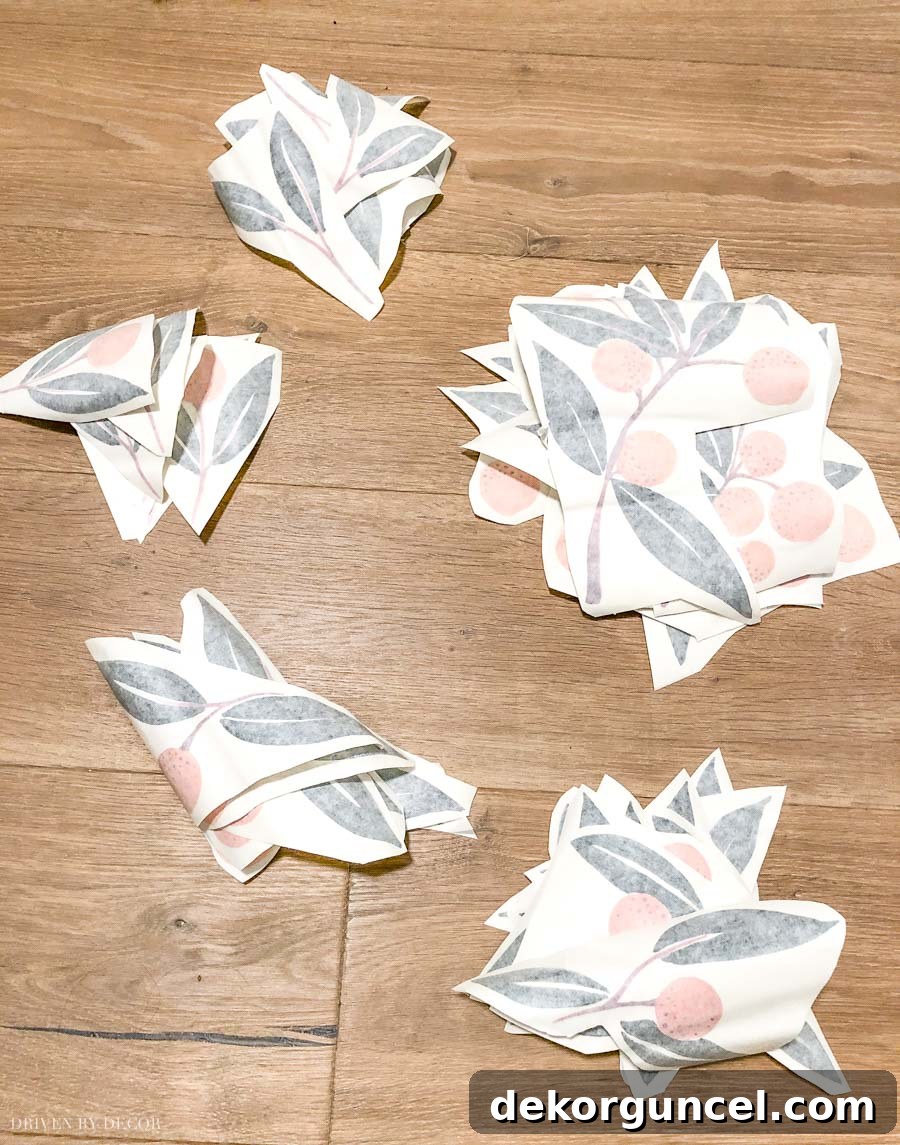
This initial organization helps you quickly grab decals from various piles, preventing a cluster of similar designs in one area and contributing to a more natural, organic flow. Think of it as pre-staging your design, making the actual application process much smoother and more efficient.
Step 2: Plan Your Layout with Painter’s Tape
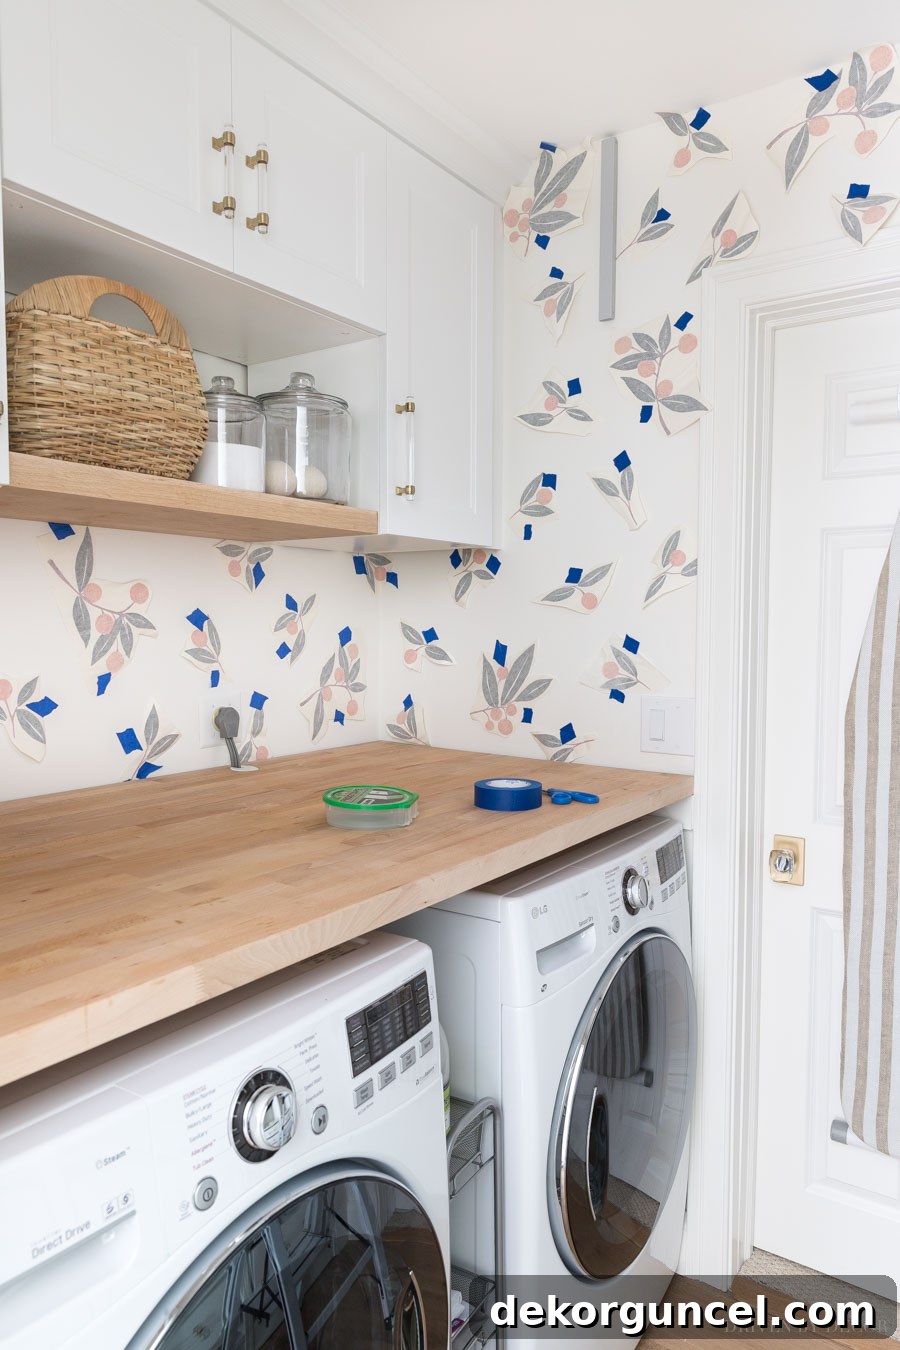
When I first started, I meticulously measured distances, but I quickly discovered that a more organic, “eyeballed” approach yielded equally, if not more, pleasing results and significantly sped up the process. There’s no absolute right or wrong distance between decals; it’s entirely a matter of personal preference and visual balance. For identical decals, rotate them in different directions to give each one a unique appearance and avoid a repetitive look.
Using painter’s tape like {this} is essential for temporarily positioning your decals without damaging your walls. Adhere all your decals to the wall using small pieces of tape, allowing you to freely adjust their placement. Notice how some of my decals intentionally overlap the door molding, countertop, ceiling, and cabinets. This technique creates a more natural, integrated look, as if the pattern extends beyond the wall’s confines. Don’t worry about the overlapping parts for now; I’ll show you how to trim them for a clean finish later.
Once all decals are taped up, step back and observe the entire layout. This vantage point allows you to assess the overall balance and make any necessary adjustments. Move decals around, add more where needed, or remove some until you’re completely satisfied with the arrangement. If you’re unsure, a fresh pair of eyes from a friend can offer valuable input!
Step 3: Prepare for Application with the Hinge Method
To ensure your decal adheres precisely where you’ve positioned it with tape, employ the “hinge method.” Carefully cut off approximately one-third of the decal’s backing paper from the end opposite where you’ve taped it to the wall. This creates a secure anchor point, preventing the decal from shifting during the initial application.
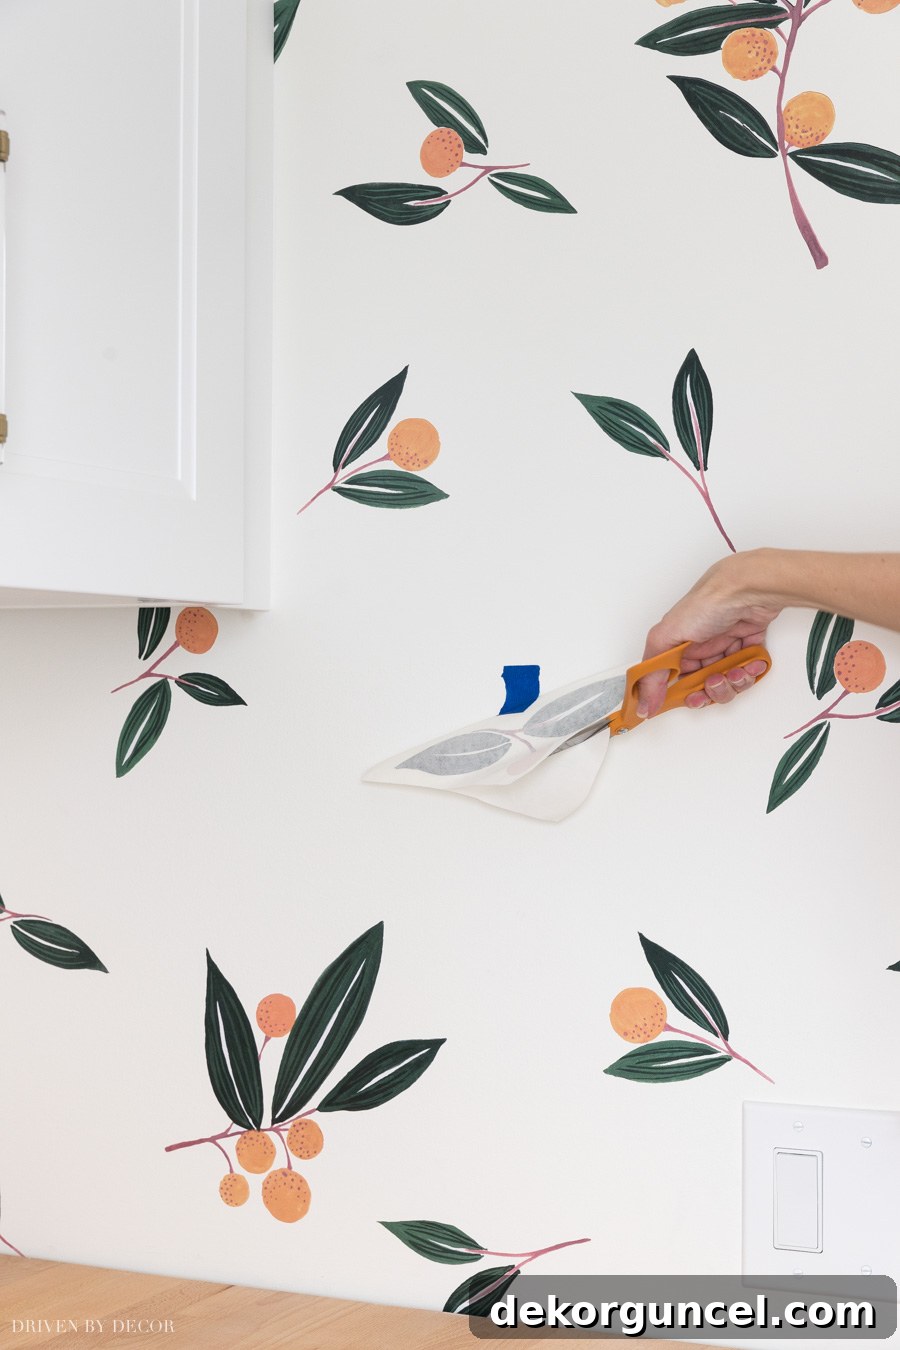
The hinge method is a simple yet incredibly effective technique for precise placement. By adhering only a portion of the decal initially, you maintain control and can easily make minor adjustments before committing the entire decal to the wall. This minimizes the risk of crooked application or trapped air bubbles, ensuring a professional-looking finish.
Step 4: Initial Adhesion with Your Hand
Once a section of the backing is removed, gently smooth the exposed portion of the decal onto the wall with your hand. Start from the center of the exposed area and work your way outwards, firmly pressing the decal against the surface. The goal here is to create an initial, secure bond and to eliminate any immediate air bubbles in this section.
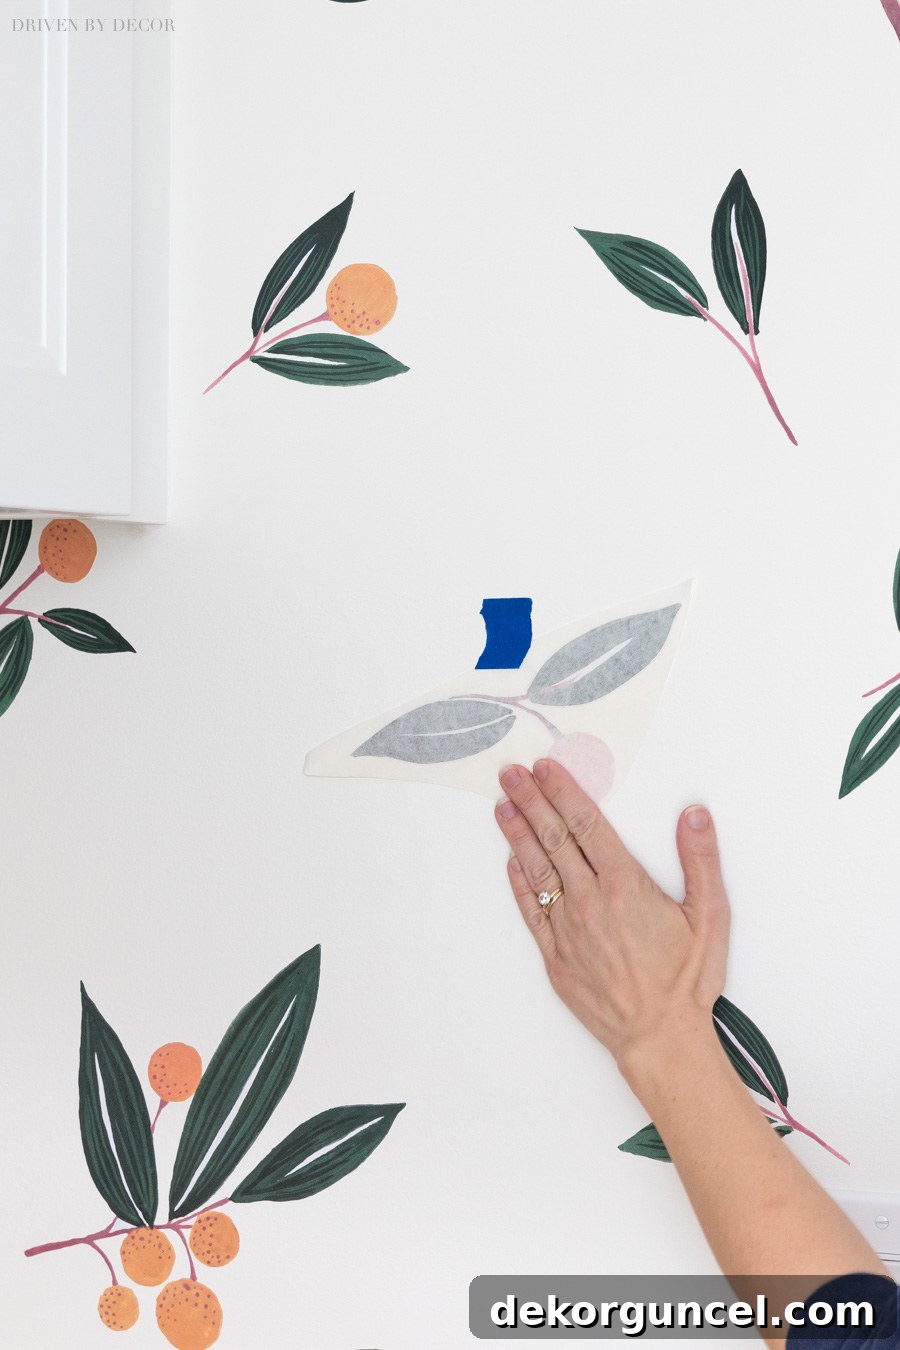
Using your hand for this step allows for a sensitive touch, helping you feel for any imperfections or bubbles beneath the decal. This preliminary smoothing sets the stage for the rest of the application, ensuring that the decal remains straight and flat as you proceed.
Step 5: Peel Off Remaining Backing
With the initial section firmly adhered, carefully remove the painter’s tape that was holding the decal in place. Then, gently fold the decal down, pulling the remaining backing paper away from the adhesive side. Work slowly and steadily to avoid creasing the decal or accidentally tearing it. Ensure the decal remains taut as you peel, preventing it from sticking to itself.
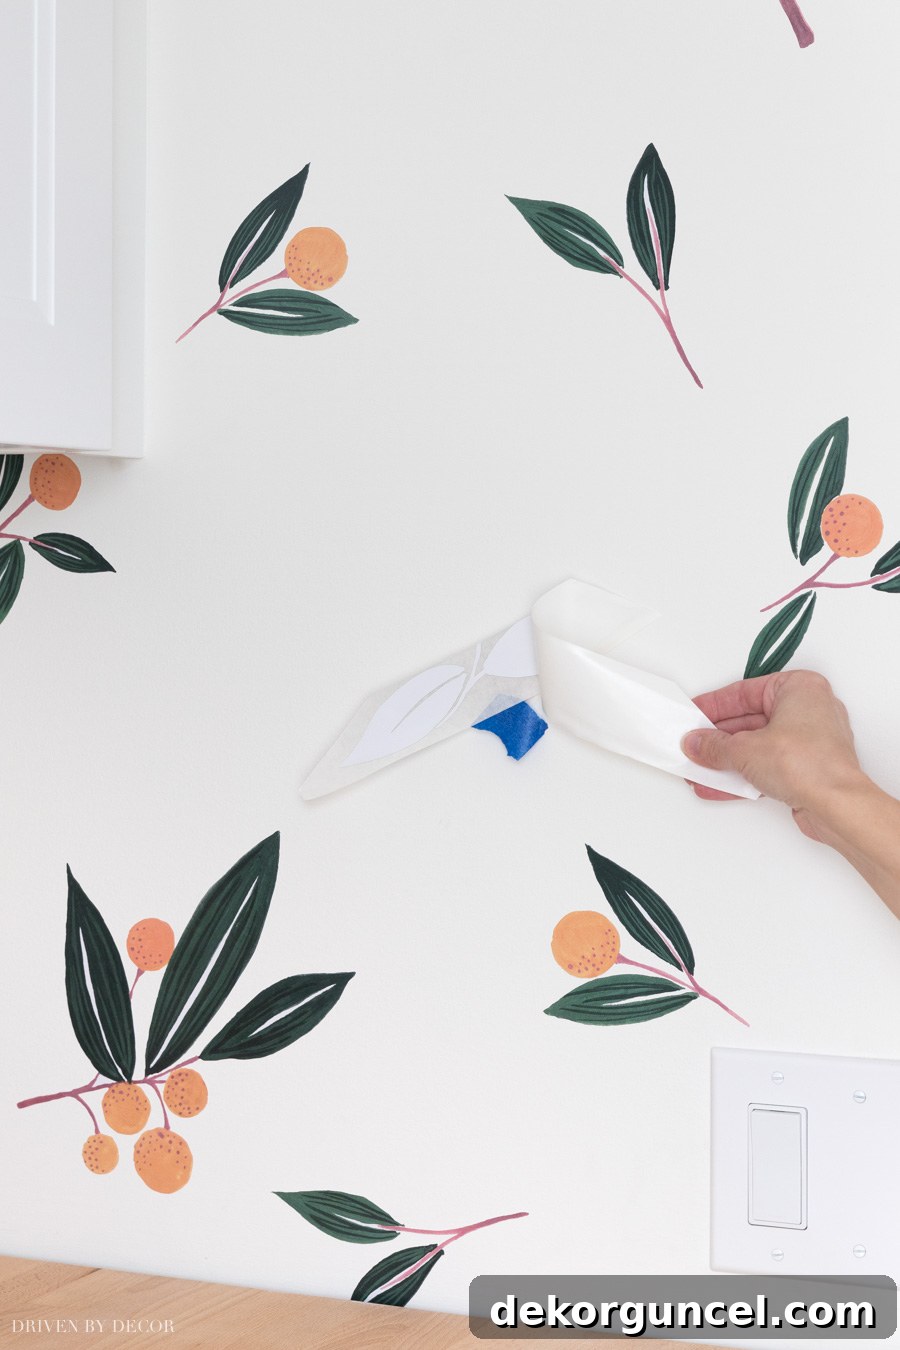
This step requires a delicate touch. Maintain a consistent, slow pace as you peel the backing. If you encounter any resistance, pause and gently encourage the backing to separate from the decal. Rushing this step can lead to frustration and potential damage to your decal, so take your time.
Step 6: Ensure Firm Adhesion with a Squeegee
Now, it’s time to firmly adhere the entire decal to the wall. Starting from the section already stuck down, use a flat-edged tool like a plastic putty knife like {this} or even a credit card, and systematically rub over the entire front surface of the decal. Apply consistent, firm pressure, working your way from the adhered portion towards the unadhered end. This action pushes out any trapped air bubbles and ensures a strong, even bond with the wall.
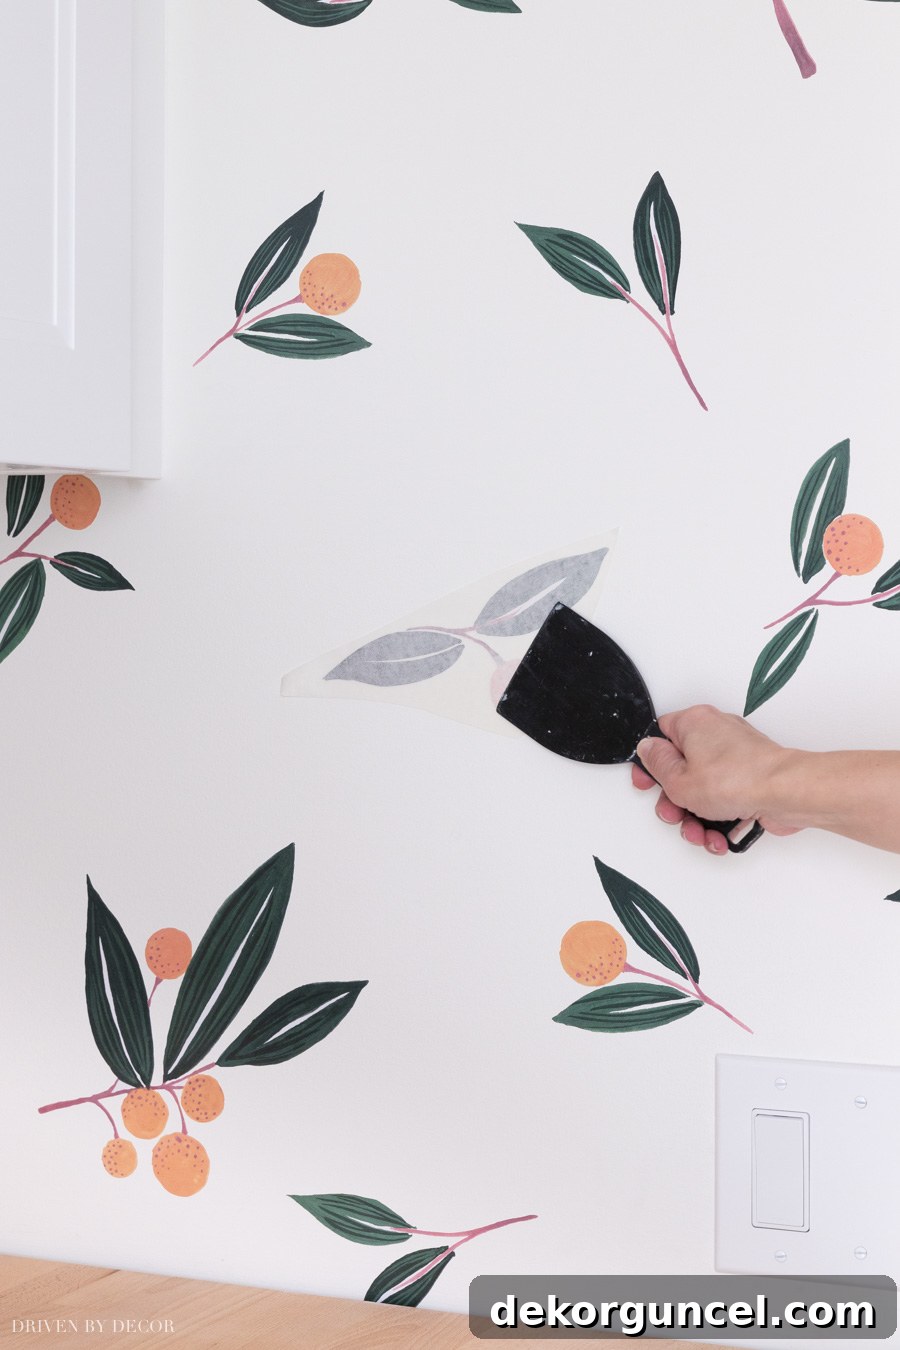
Work in small sections, overlapping your strokes to cover every inch of the decal. Pay particular attention to the edges and any intricate details to prevent lifting. This firm rubbing motion is crucial for activating the adhesive and creating a seamless, painted-on look. Listen for any crinkling sounds, which might indicate an air bubble, and gently work it towards the nearest edge.
Step 7: Reveal Your Design
For the final step, very slowly and carefully peel away the front transfer paper from the decal. Begin at one corner and pull the paper back at a sharp, almost 180-degree angle, flat against the wall. If any part of the decal begins to lift with the paper, stop, press that section back down with your squeegee, and try peeling again.
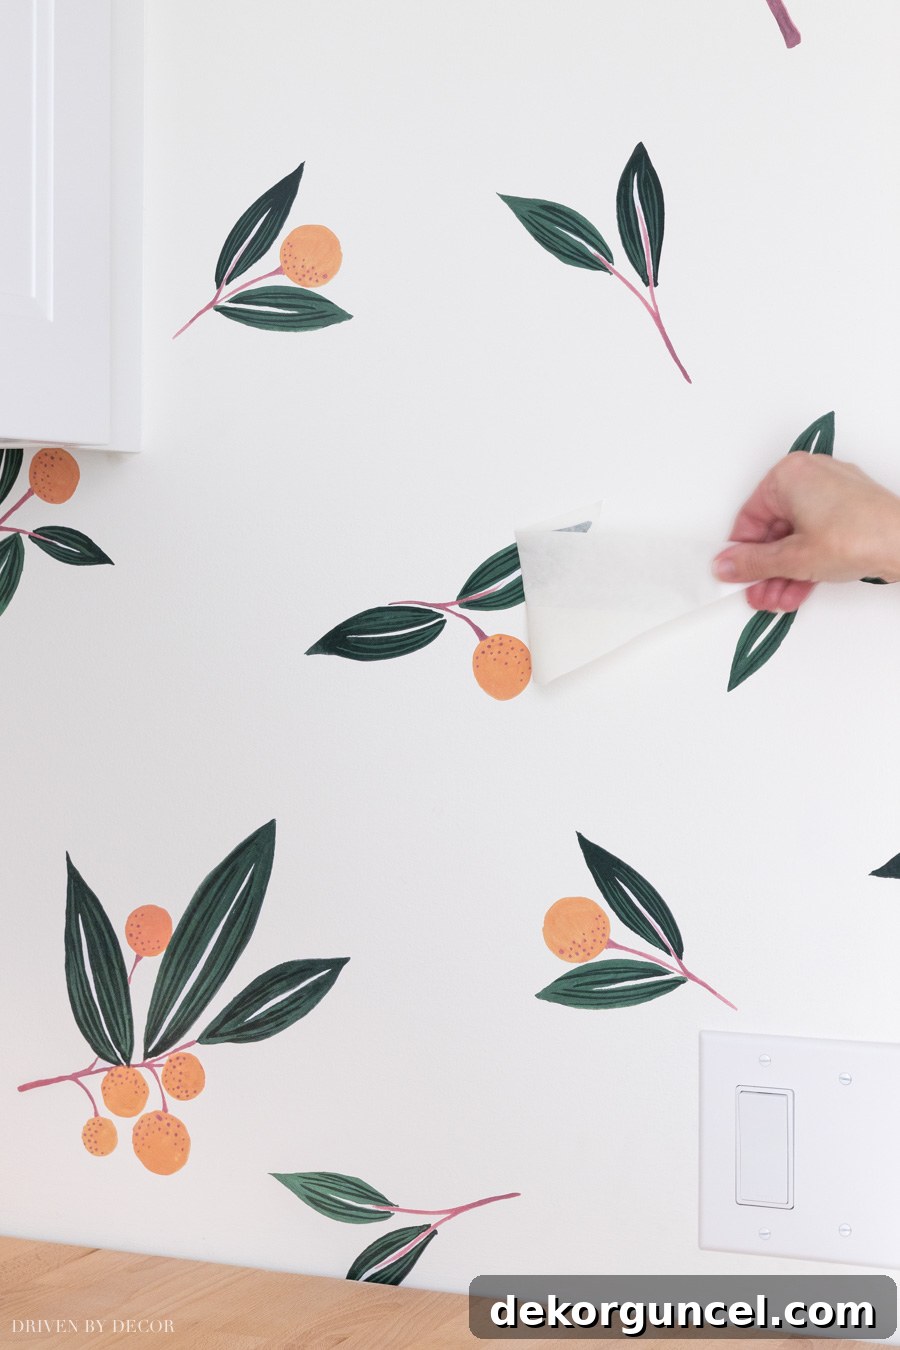
This slow and deliberate removal is key to a clean finish. Rushing can cause the decal to tear or stretch, compromising your hard work. Once the transfer paper is fully removed, stand back and admire your beautiful, newly decorated wall!
While seven steps might seem extensive, each step is quick, often taking about one minute per decal. You’ll find that the process flows smoothly, and you’ll be amazed at how quickly your space transforms!
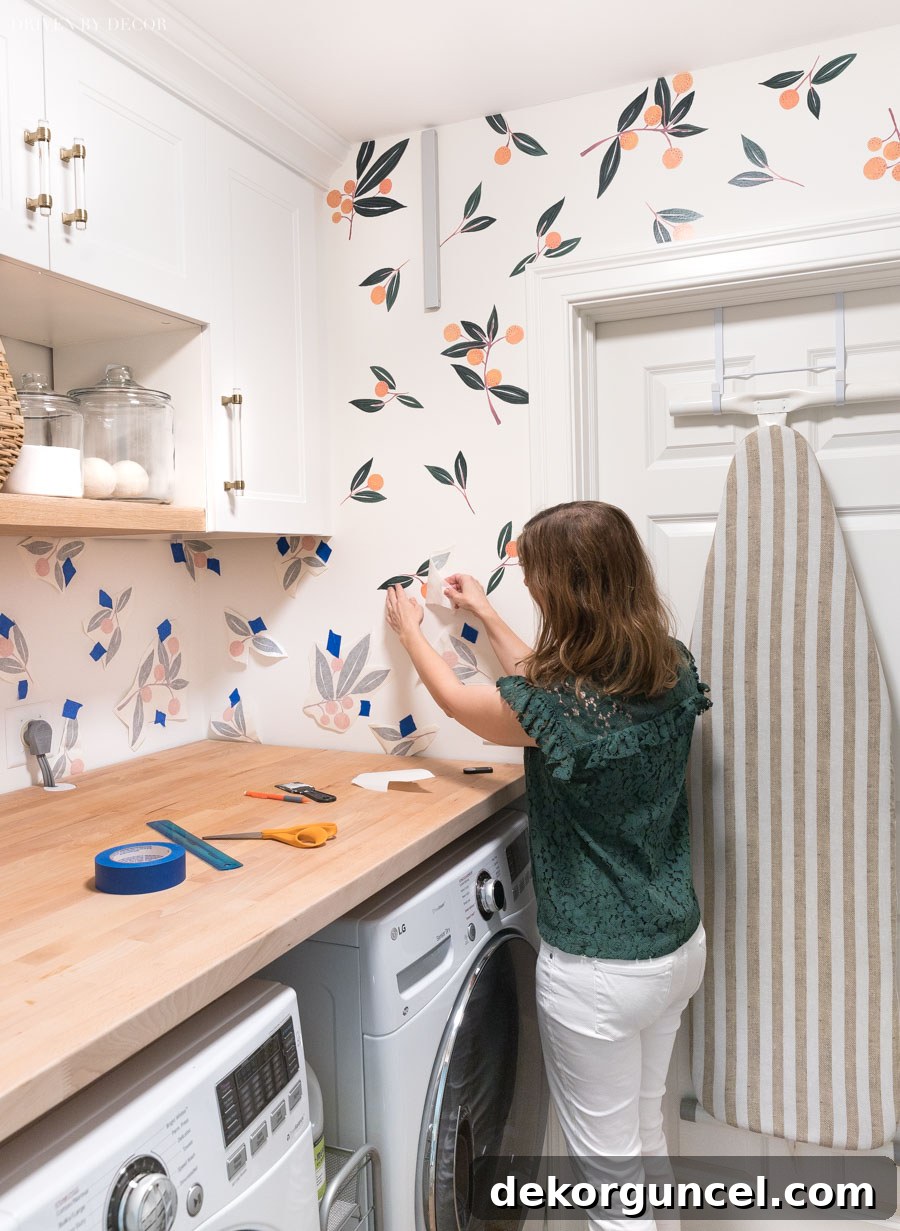
Now, let’s address those decals that extend beyond the edge of the wall, creating a natural, wallpaper-like effect. For a clean, professional finish, use a straight edge ruler to draw a faint pencil line where the decal meets the edge of the wall, molding, or other architectural features:
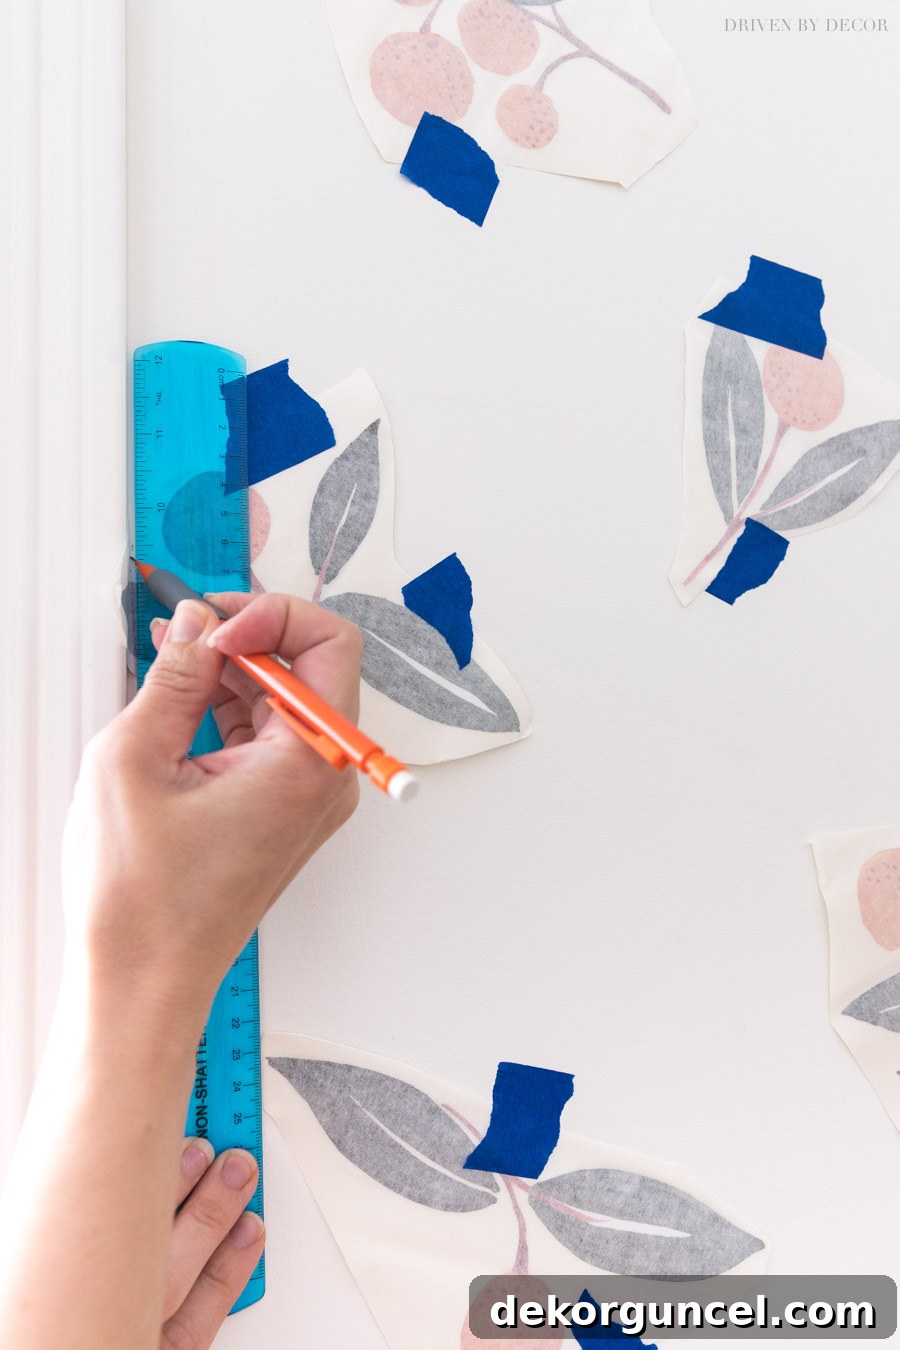
With the line marked, simply cut along it. You have two options here: you can cut the decal while it’s still lightly taped to the wall (using a sharp craft knife for precision) or you can carefully remove it, cut it on a flat surface, and then reapply. If you choose to remove it, make sure to use painter’s tape to mark its exact position so you can place it back perfectly.
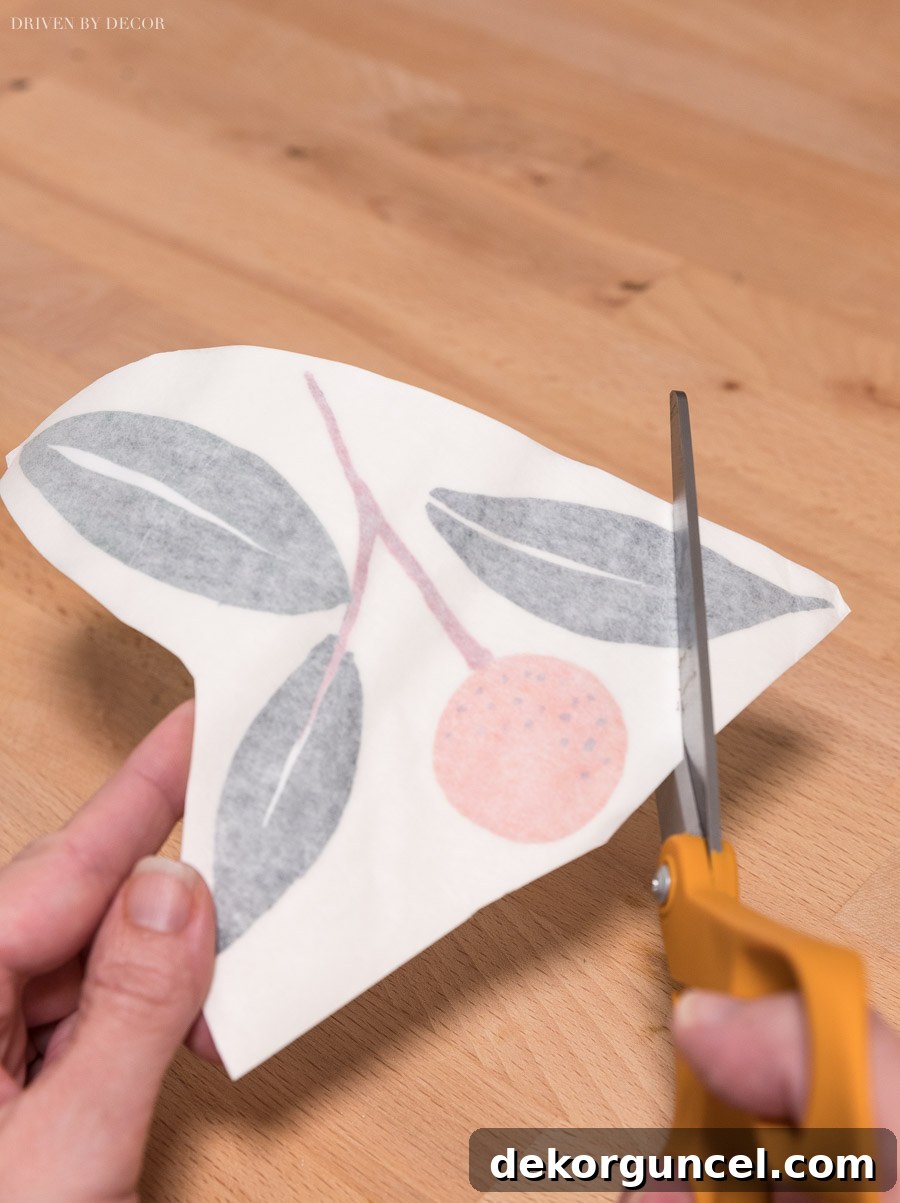
Once trimmed, apply the cut decal piece following the same hinge method: cut off about one-third of the backing from the newly cut side, stick it onto the wall at your marked spot, peel off the rest of the backing, use your squeegee tool to press it down firmly, and then remove the front paper.
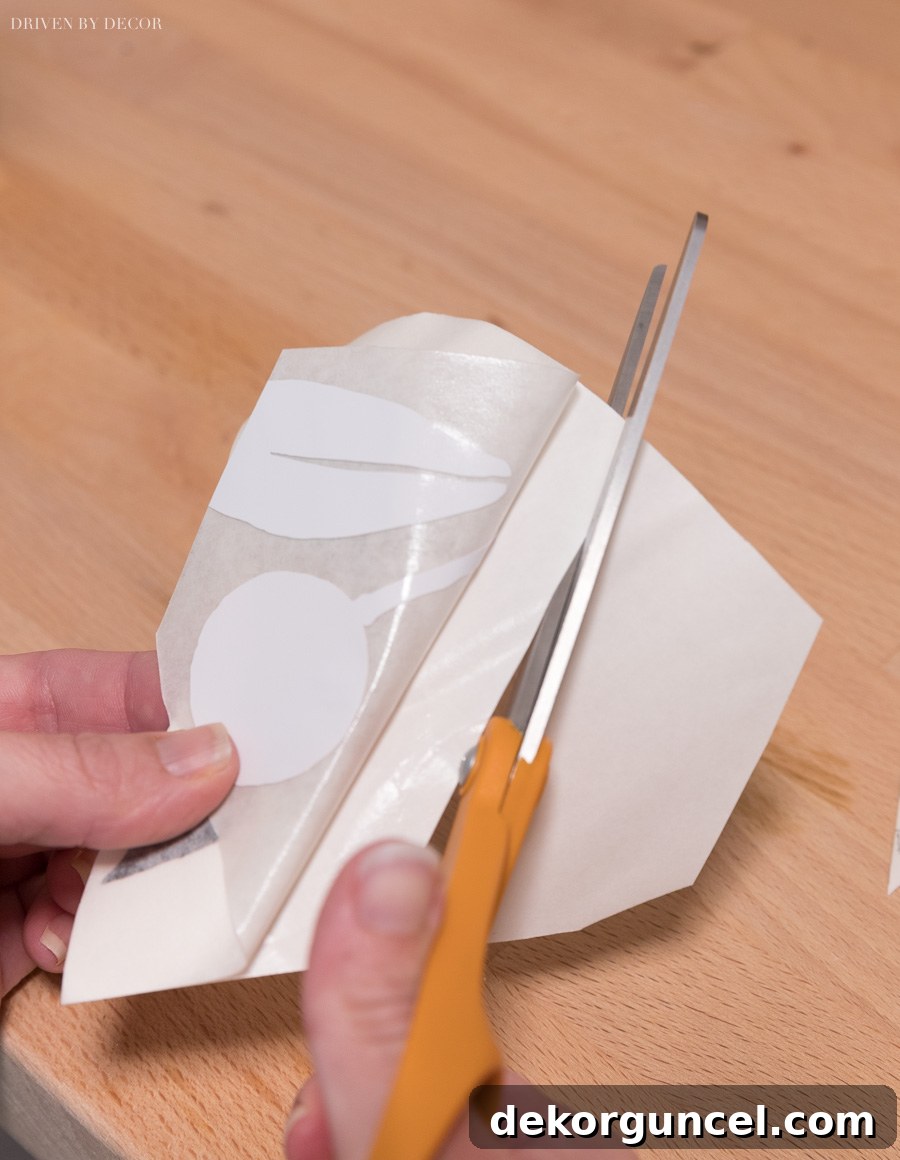
**Pro Tip:** Don’t discard those small cut-off pieces! As you complete your decal application, you might notice a few bare spots or awkward gaps, particularly near wall edges or around fixtures. These small scraps are perfect for filling in those areas, creating a truly seamless and custom look. For instance, observe the tiny slice of a leaf I strategically placed above the light switch in my laundry room – it’s these little details that make a big difference!
How to Effortlessly Remove Vinyl Wall Decals
One of the most appealing advantages of vinyl wall decals, especially when compared to traditional wallpaper, is their incredible ease of removal. Most decals can be peeled off just like any large sticker, without leaving residue or damaging your paint. Simply find an edge and slowly pull the decal away from the wall.
If you encounter a particularly stubborn decal or notice any resistance, a common trick is to use a hair dryer. Set it to a warm (not hot) setting and gently warm the decal for about 20-30 seconds. The warmth helps to soften the adhesive, making the decal more pliable and significantly easier to peel off. While vinyl decals are generally not designed for reuse once removed, I’ve personally had success reusing a couple of decals that I initially mispositioned during application. However, for most cases, assume they are single-use items.
I hope this comprehensive guide has answered all your questions and inspired you to consider the transformative power of vinyl wall decals for your own home! What do you think – is there a room, a piece of furniture, or even an unexpected spot in your home that could benefit from a splash of decal charm?
Don’t limit yourself to just walls! Think outside the box: vinyl wall decals can also be used to personalize furniture, accent windows, upgrade appliances, or even create unique headboards. For more inspiration, explore my post on wallpaper ideas – many of those creative applications can be achieved with versatile vinyl wall decals as well! And if you’re looking to maximize functionality in your laundry space, be sure to check out my laundry room storage ideas for my favorite small-space solutions.


Walls: Benjamin Moore Cloud White (flat) adorned with {these tangerine wall decals}
IKEA Laundry Room Cabinets | Countertop: IKEA Butcher Block | Lighting: Flush mount ceiling light
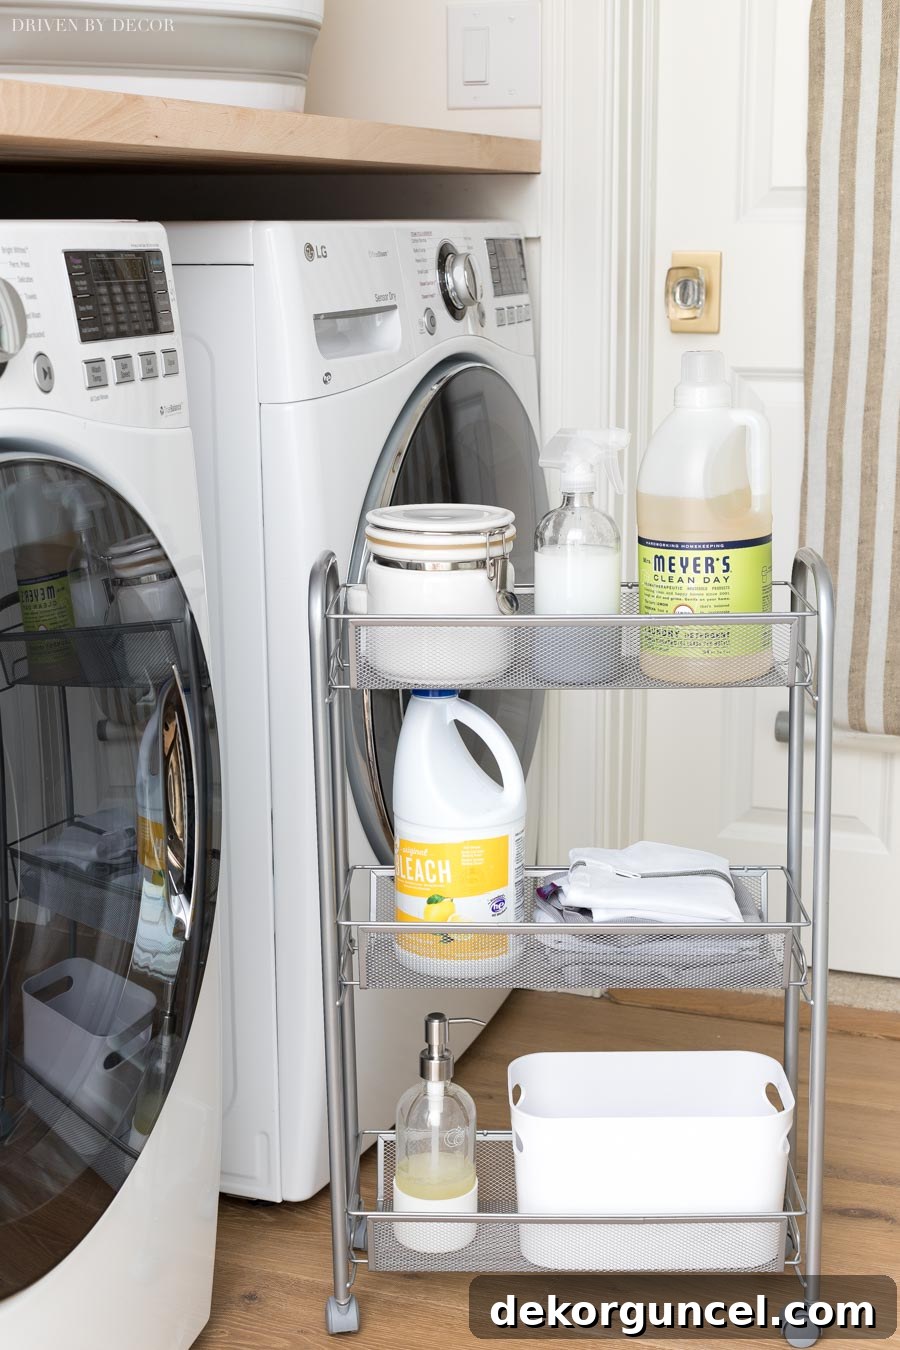
Accessories: Over the Door Ironing Board Hanger (similar) | Rolling cart between washer & dryer | Brass & Acrylic Cabinet pulls (Golden Champagne finish) | Glass Storage Jar