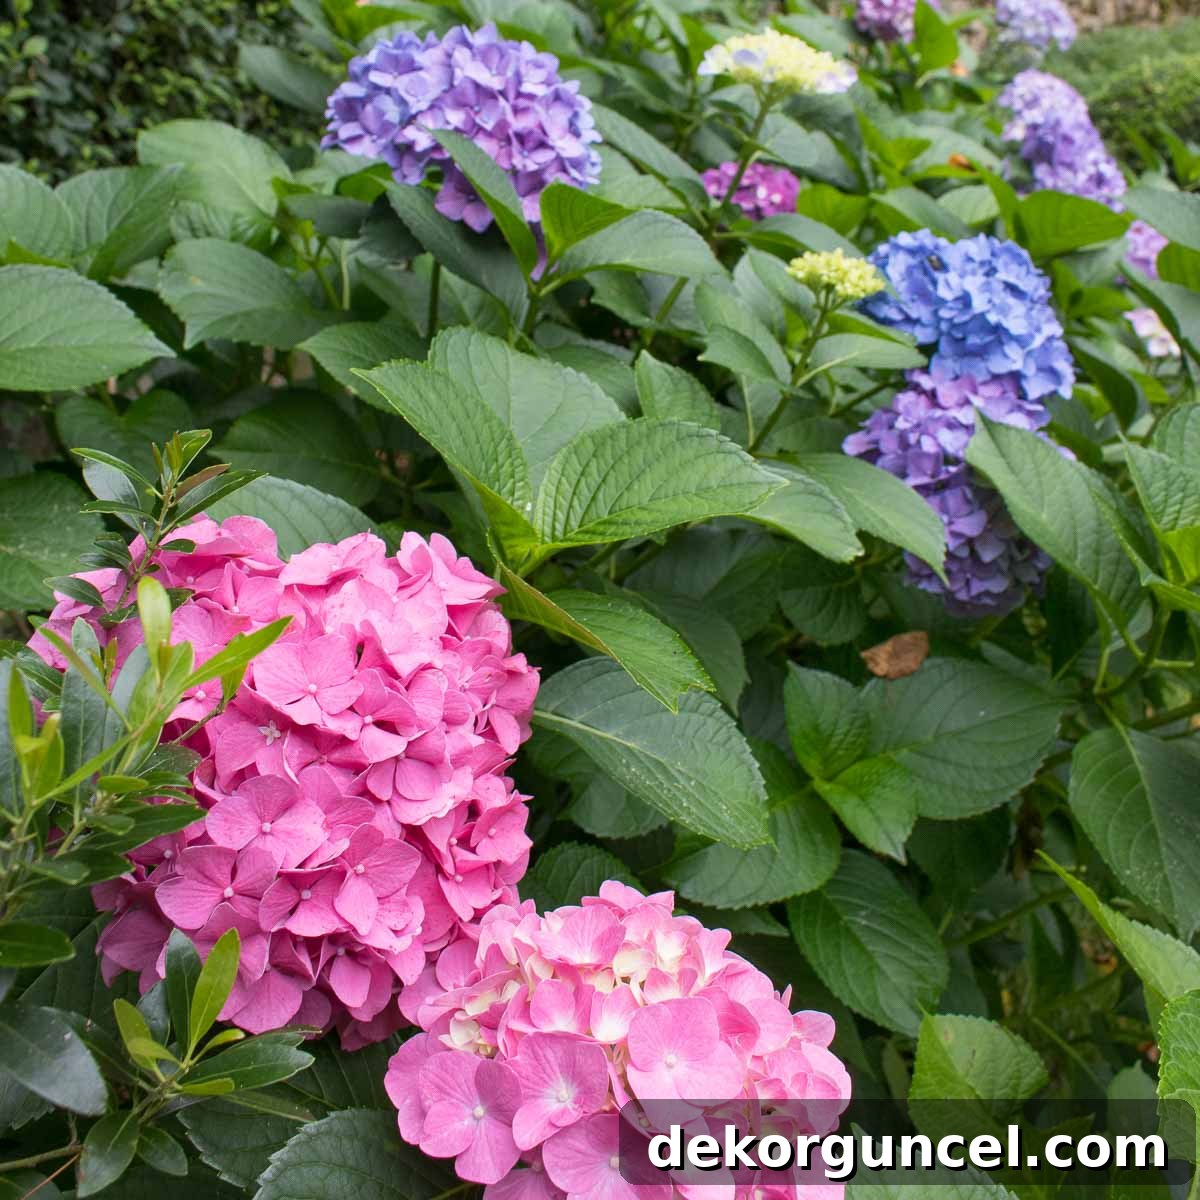
Welcome to the ultimate guide for successful hydrangea care! As someone who has cultivated numerous hydrangea bushes, I’ve gathered a wealth of experience and answered countless questions on keeping these magnificent plants thriving. Today, I’m excited to share a comprehensive resource packed with invaluable tips and tricks, covering everything from precise pruning techniques and influencing bloom colors to effective deer prevention and making your cut flowers last. Dive in to transform your garden into a vibrant showcase of hydrangeas!
Mastering Hydrangea Pruning: A Guide for Abundant Blooms
One of the most frequent inquiries I receive about hydrangea care revolves around pruning: when is the ideal time, and how much can you confidently trim? The truth is, the approach to pruning hydrangeas isn’t one-size-fits-all. It critically depends on whether your specific hydrangea variety blooms on old wood (stems grown in the previous year), new wood (growth from the current season), or a combination of both, like the popular Endless Summer series.
Pruning Hydrangeas that Bloom on Old Wood
For varieties that produce flowers on old wood, such as the classic Bigleaf Hydrangeas (*Hydrangea macrophylla*), which include the vibrant pink and blue mophead and lacecap types like those that graced our backyard,
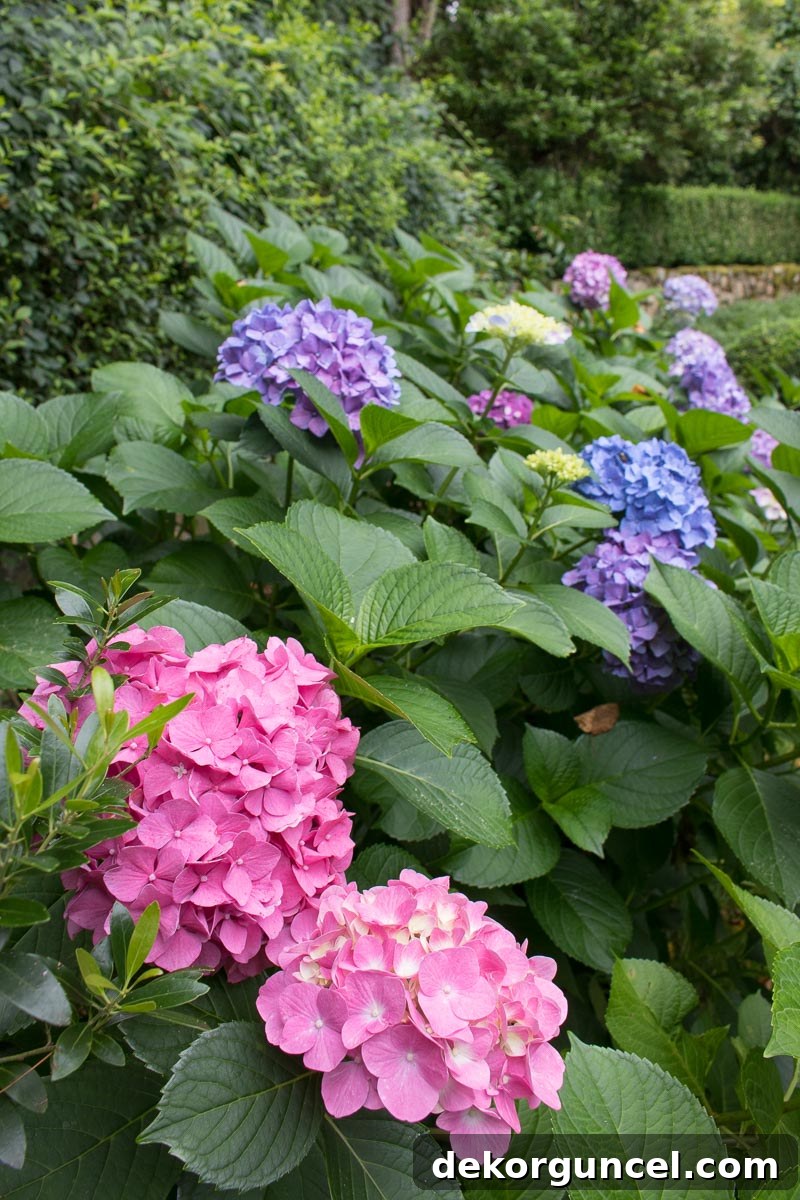
it’s crucial to understand the timing. You can safely remove dead, damaged, or weak stems at any time of year. Deadheading spent blooms is also fine, as long as you make your cut just below the flower head, avoiding disturbance to any developing buds further down the stem. However, any more significant pruning for shaping or size reduction should be undertaken in late summer, immediately after your hydrangeas have finished flowering.
Why is this timing so critical? Beginning in late summer and early fall, these hydrangeas start forming the buds for the following year’s blooms on their existing stems. If you prune too late in the season – say, in the fall, winter, or early spring – you risk cutting off these precious, nascent flower buds. The consequence? You’ll likely end up with a large, lush green hydrangea bush that’s disappointingly devoid of flowers the following spring and summer. It’s a common mistake, so mark your calendars to prune these beauties right after their summer show!
Pruning Hydrangeas that Bloom on New Wood
Conversely, hydrangeas that flower exclusively on new wood, like the beloved Panicle Hydrangeas (*Hydrangea paniculata*), such as ‘Limelight’, or Smooth Hydrangeas (*Hydrangea arborescens*), like ‘Annabelle’, offer much greater flexibility in pruning. These varieties produce their blooms on the new growth that emerges in the current season. This means you can cut back the entire bush quite aggressively, often to just a few feet (or even a foot) from the ground, in the fall after dormancy or in late winter/early spring before new growth begins. Despite such severe pruning, they will still grow robustly and bloom beautifully the following summer.
While both fall and late winter/early spring pruning are generally effective, performing the major prune in late winter/early spring is often considered ideal. Pruning can stimulate new growth, and encouraging tender new shoots just before winter sets in is generally not advisable, as they are susceptible to frost damage. However, many gardeners find fall pruning convenient, especially for very large bushes, and most new-wood bloomers tolerate it well.
In our previous home, we consistently pruned our ‘Annabelle’ hydrangeas along the front walkway in the fall. They grew incredibly large by the end of summer, often encroaching on the path. Despite cutting them down significantly, they reliably produced an abundance of blooms the next year. It’s truly remarkable to consider that we would reduce these magnificent plants to only about a foot above the ground the fall before they looked like this:
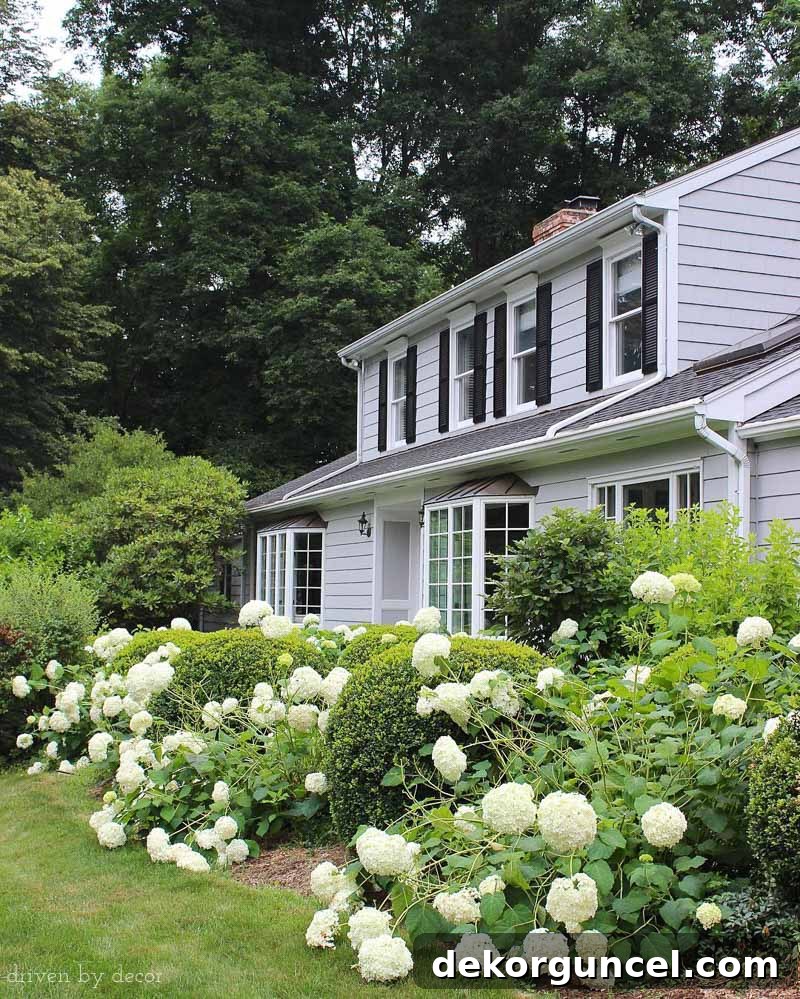
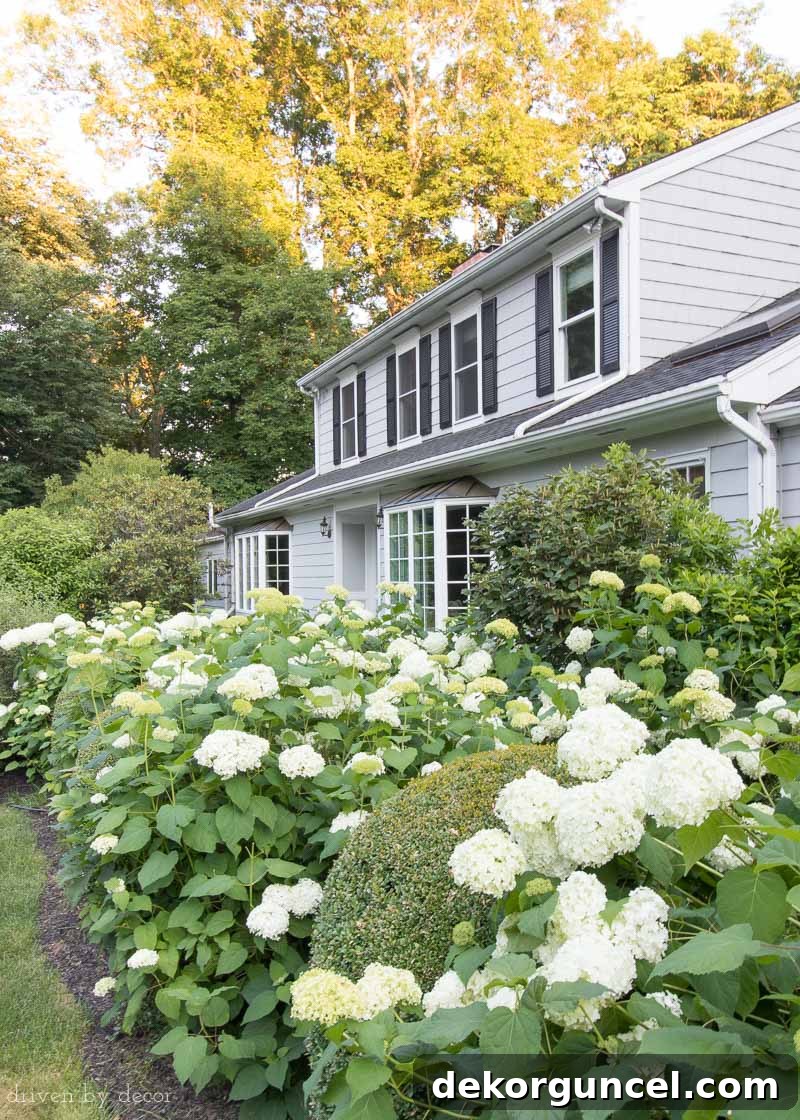
One minor challenge with ‘Annabelle’ hydrangeas, compared to some other types, is their tendency to have thinner stems, making them prone to flopping, especially after heavy rain or when laden with large blooms. Through years of trial and error, we discovered a simple yet effective tip to combat this: instead of pruning them super close to the ground, aim to leave about 2-3 feet of old growth. While they will regrow and bloom beautifully either way, leaving a bit of the older, thicker stems provides a crucial support structure for the new spring and summer growth. This significantly reduces floppiness, allowing the new stems to grow more upright and sturdy.
You can clearly observe the difference in stability and upright growth in the following year when we adopted this technique, leaving a few feet of old growth during pruning:
Pruning Reblooming Hydrangeas
For hydrangeas that flower on a combination of new and old wood, often marketed as “reblooming” or “Endless Summer” varieties, the pruning strategy becomes a balance. To maximize your display of blooms, it’s generally recommended to prune them similarly to the old-wood blooming mophead hydrangeas: just after their initial flush of flowers in late summer. This approach preserves the buds that have formed on the old wood, which provide the earliest blooms, while still allowing the plant to produce new growth that will flower later in the season. If you opt to prune them in the fall or early spring, you will still enjoy blooms from the new growth, but you will inadvertently sacrifice some of the early-season flowers that would have developed on the previous year’s stems. Therefore, a post-flowering prune is best for the most prolific display.
For the best hydrangea care, what tools should you use for pruning? My resident gardener, my husband, swears by {these specialized pruners}. Their longer blades are designed to tackle the task efficiently, making quick work of larger bushes, and the telescoping handles are incredibly helpful for reaching taller branches without strain. Always ensure your pruning tools are sharp and clean to make precise cuts and prevent the spread of disease.
Nourishing Your Hydrangeas: The Art of Fertilization
A fundamental aspect of exemplary hydrangea care is proper fertilization. While hydrangeas are not heavy feeders, providing them with the right nutrients at the opportune moments can significantly enhance their vigor and bloom production. Generally, the optimal time to fertilize your hydrangeas is in the spring, just before they actively start pushing out new growth and leafing out. A second application can be beneficial during their peak growing season, which typically falls around July, though this can vary slightly depending on your specific climate and growing zone.
Many fertilizer product instructions might suggest more frequent applications, but I generally lean towards under-fertilizing rather than over-fertilizing. Too much fertilizer, especially one high in nitrogen, can encourage lush foliage at the expense of flower production, a phenomenon often called “all leaves, no blooms.” Furthermore, it is absolutely vital to avoid fertilizing your hydrangeas within 1-2 months of your region’s average first frost date. Late-season fertilization stimulates tender new growth that will almost certainly not harden off in time to survive the winter in most climates, potentially damaging the plant.
The fertilizer that has yielded the most impressive results for my hydrangeas is Jack’s Blossom Booster. My hydrangeas consistently respond exceptionally well to this formula, producing abundant and vibrant blooms!
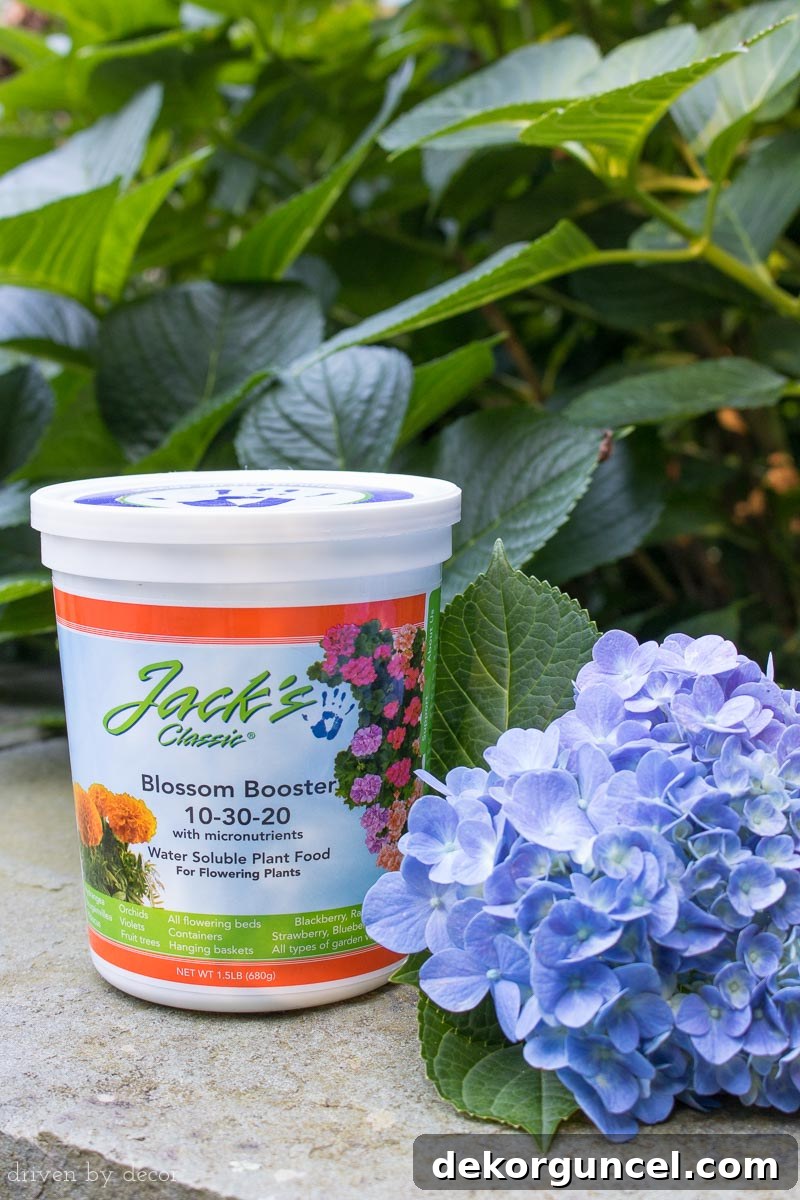
When applying fertilizer, it’s crucial to distribute it correctly. Never simply dump the granules at the base or trunk of your hydrangea. Instead, spread the fertilizer evenly over the “drip line” of the plant. The drip line is the imaginary circle on the ground directly beneath the outermost branches, encompassing the entire width of the bush. This area contains the active feeder roots responsible for nutrient uptake. After application, always ensure you thoroughly water the fertilizer into the soil, or time your application just before a predicted rainfall to help the nutrients reach the root zone effectively.
Transforming Hydrangea Colors: A pH Magic Trick
One of the most captivating features of many hydrangea varieties is their ability to change bloom color, a fascinating phenomenon directly tied to the pH of the soil they grow in. (It’s important to note, however, that white hydrangeas, regardless of soil pH, will always remain white!) When the soil’s pH level is more alkaline (higher pH), you’ll typically be rewarded with charming pink blooms. Conversely, in more acidic soil conditions (lower pH), your hydrangeas will unfurl stunning blue flowers. The soil’s pH isn’t static; it can naturally fluctuate from year to year due to various environmental factors, including the type of fertilizer or mulch you use, local rainfall, and even organic matter decomposition.
We’ve observed this firsthand in our garden; some years, every single hydrangea in our backyard sported delicate pale blue or lilac-purple hues, while other seasons delighted us with truly gorgeous pinks:
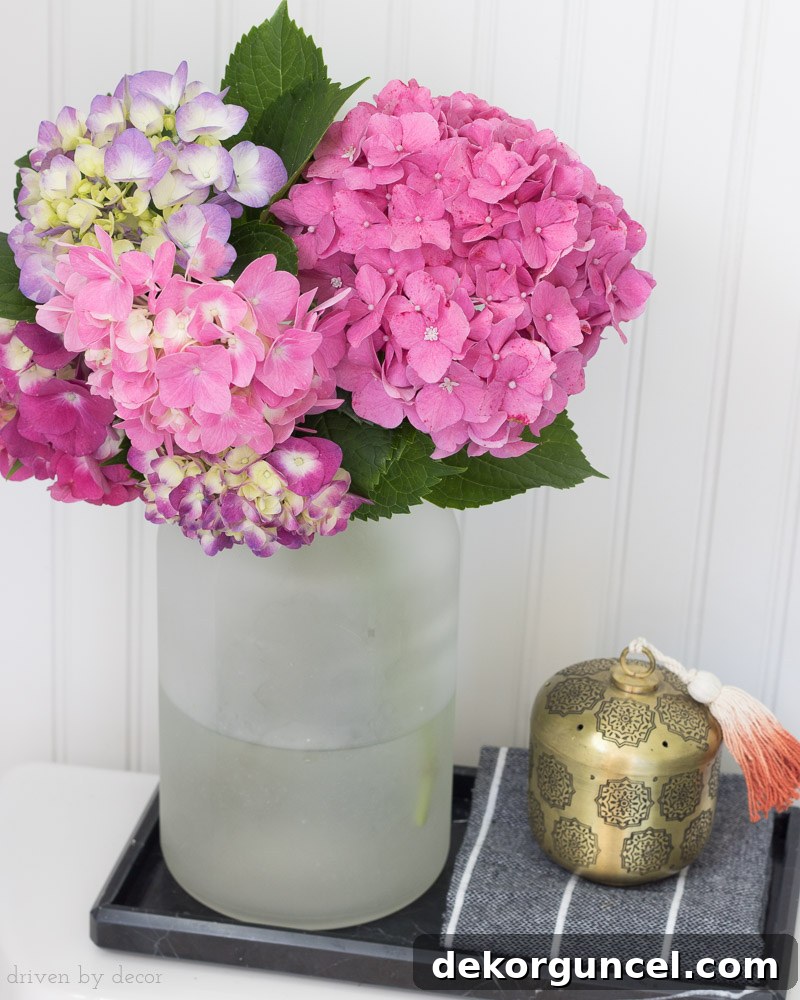
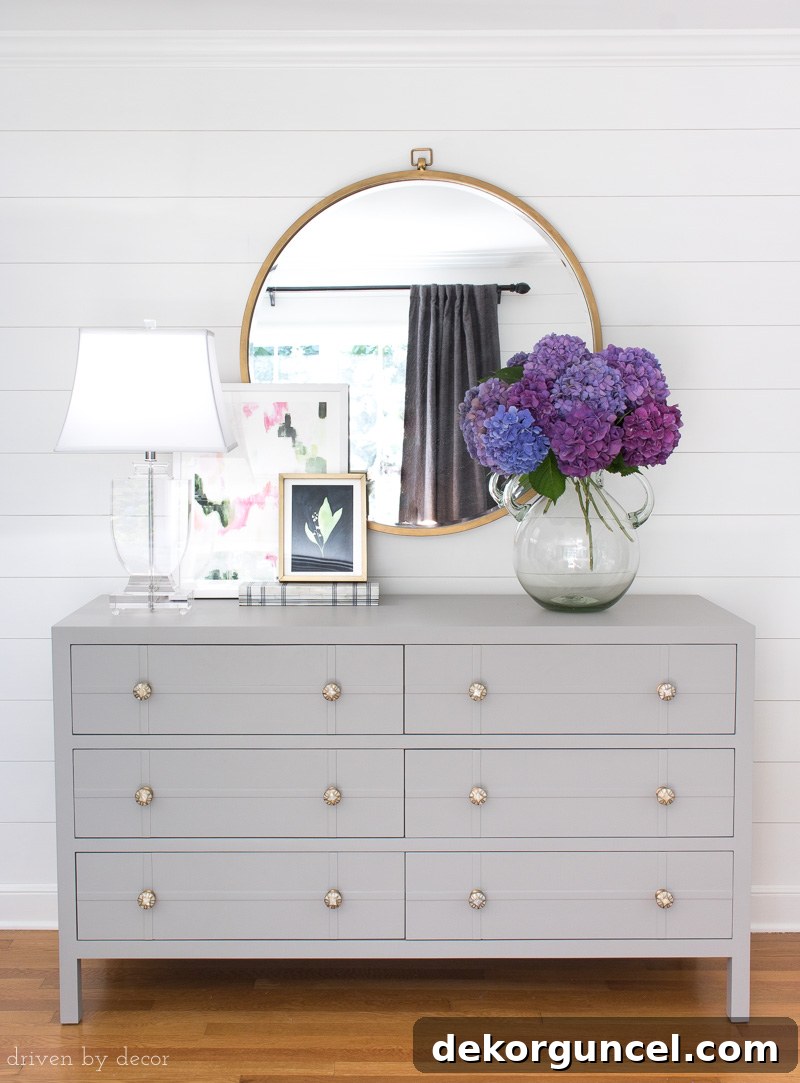
alongside some seriously stunning deep purples that were simply breathtaking:
Did you know you can actively intervene and influence Mother Nature’s plan to achieve your preferred bloom color? If you desire beautiful pink blooms, you can raise the soil pH by carefully sprinkling garden lime, such as {this type}, around the base of the plant. The calcium carbonate in lime works to make the soil more alkaline, promoting pink coloration.
If your heart is set on vibrant blue or rich purple blooms, you’ll need to lower the soil pH, making it more acidic. This can be achieved by applying a soil acidifier like {this product}, or by using aluminum sulfate (readily available {here}). Aluminum sulfate is particularly effective as the aluminum ions are what the plant absorbs to produce blue pigmentation. Alternatively, a fertilizer specifically formulated with micronutrients to enhance blue flowers, such as {this option}, can also work wonders. I’ve also heard anecdotal evidence that coffee grounds, being naturally acidic, can contribute to bluer blooms, though their effect might be slower and less dramatic. The key to success with any color-changing amendment is early application in the growing season and consistent re-application as needed. Always remember to water them in well after application and exercise caution not to overdo it, as excessive amounts of any soil amendment can potentially harm your plants.
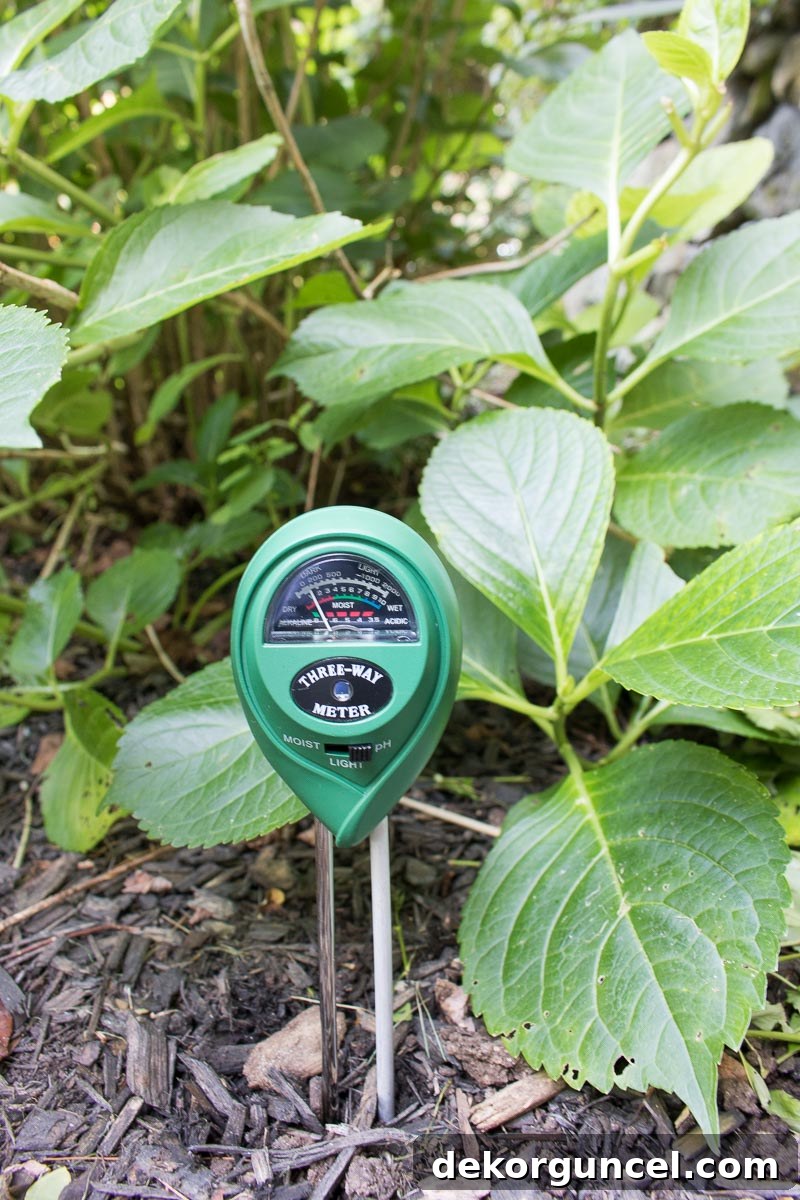
To ensure you’re on the right track and to monitor your soil’s pH throughout the growing season, a soil testing probe can be incredibly useful. A device like {this one} provides instant readings on both the soil’s pH level and its moisture content, empowering you to make informed decisions about your hydrangea’s nutritional and hydration needs:
Deer Deterrence: Protecting Your Hydrangeas from Hungry Critters
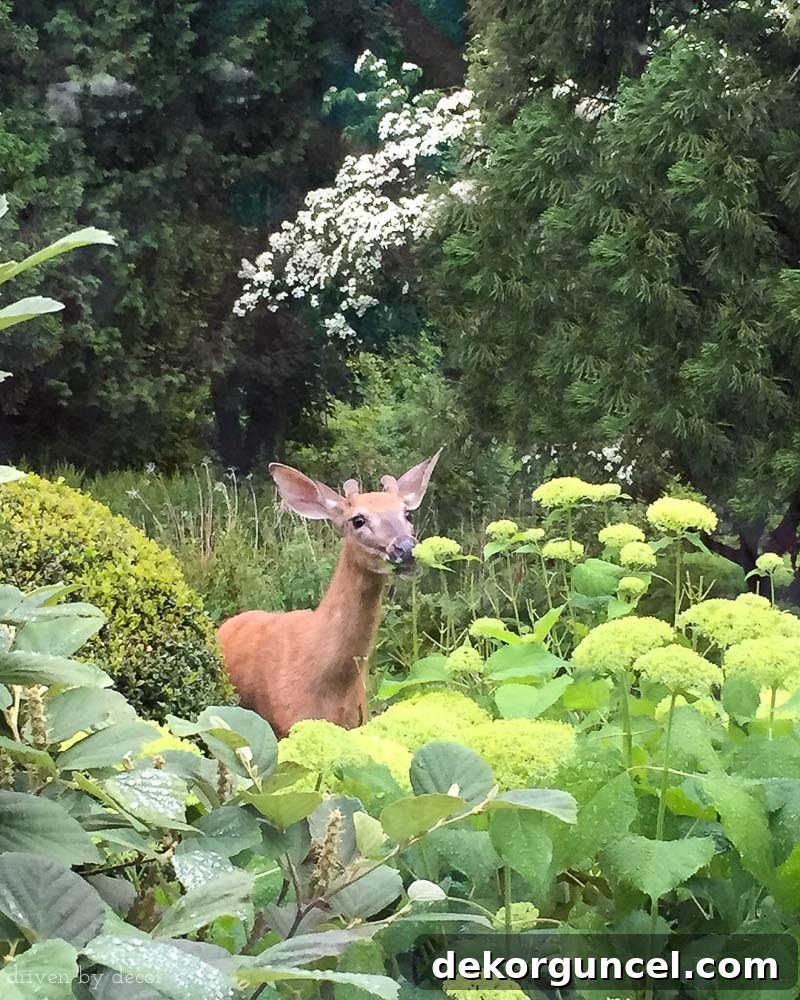
You can meticulously follow all the hydrangea care tips in the world, but your efforts will be in vain if local wildlife decides your beautiful blooms are a delicious snack! Deer, in particular, are notorious for their fondness for hydrangeas, especially when the plants are just budding or have freshly bloomed. We experienced this challenge frequently, with numerous deer regularly wandering through our yard. They had a particular penchant for munching on my hydrangeas. This candid photograph, captured by my daughter one day outside our front window, perfectly illustrates the consequences when I’d neglected to spray my hydrangeas recently:
Over the years, I’ve experimented with several different methods and products to deter these hungry garden visitors. While some had limited success, the one product that consistently delivered the best results for me is Bobbex in a convenient ready-to-use pump sprayer (available {here}). I won’t sugarcoat it – it truly is one of the most foul-smelling concoctions imaginable, but its pungent odor is precisely what makes it so effective! I begin spraying my hydrangeas early in the season, even before they start blooming, and then continue with a monthly application throughout the entire growing season. Despite having a significant number of hydrangea bushes spread across our front and backyard, the process typically takes me only about 15-20 minutes to spray them all. For more detailed information on using Bobbex and exploring other valuable tips for repelling deer, you can refer to my dedicated post on how to keep deer from eating flowers and plants.
Extending the Beauty: How to Make Cut Hydrangea Blooms Last Longer
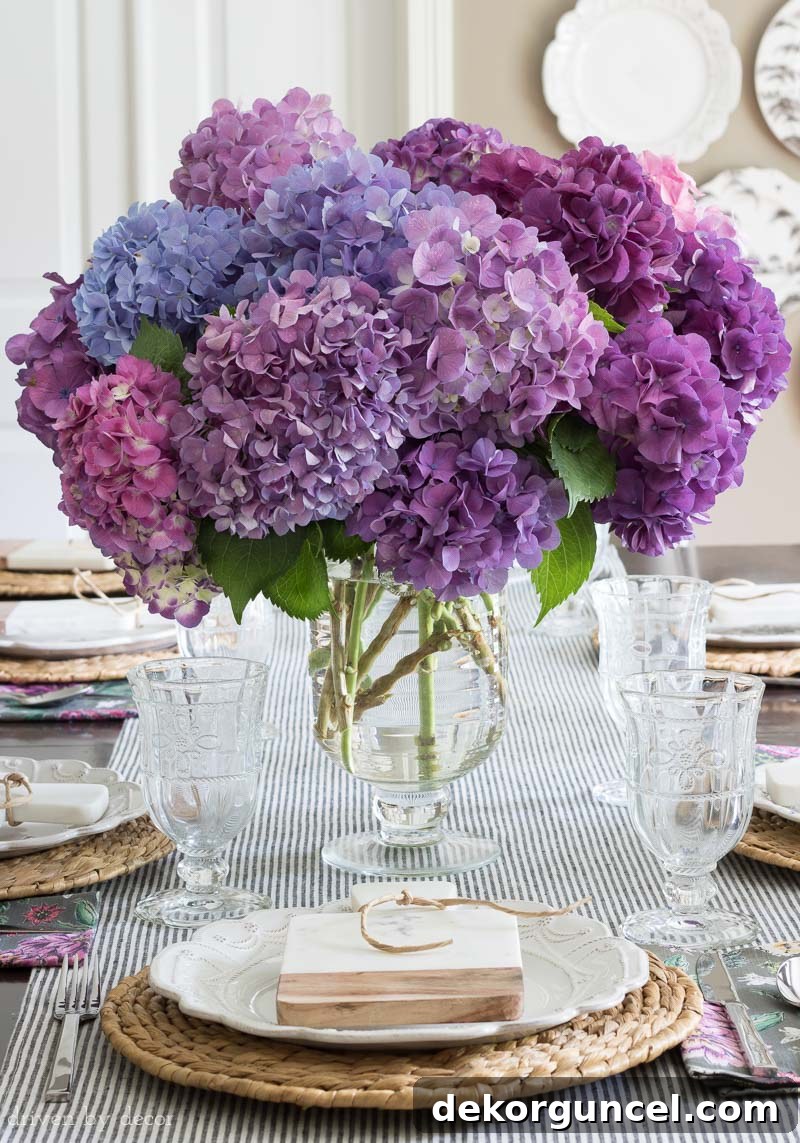
There’s nothing quite as disheartening as arranging a gorgeous bouquet of hydrangeas, only to see them begin wilting just a few days later. Fortunately, with a few simple techniques, you can significantly prolong the life of your cut hydrangea blooms, sometimes keeping them fresh and vibrant for two weeks or even more! Here’s my tried-and-true method:
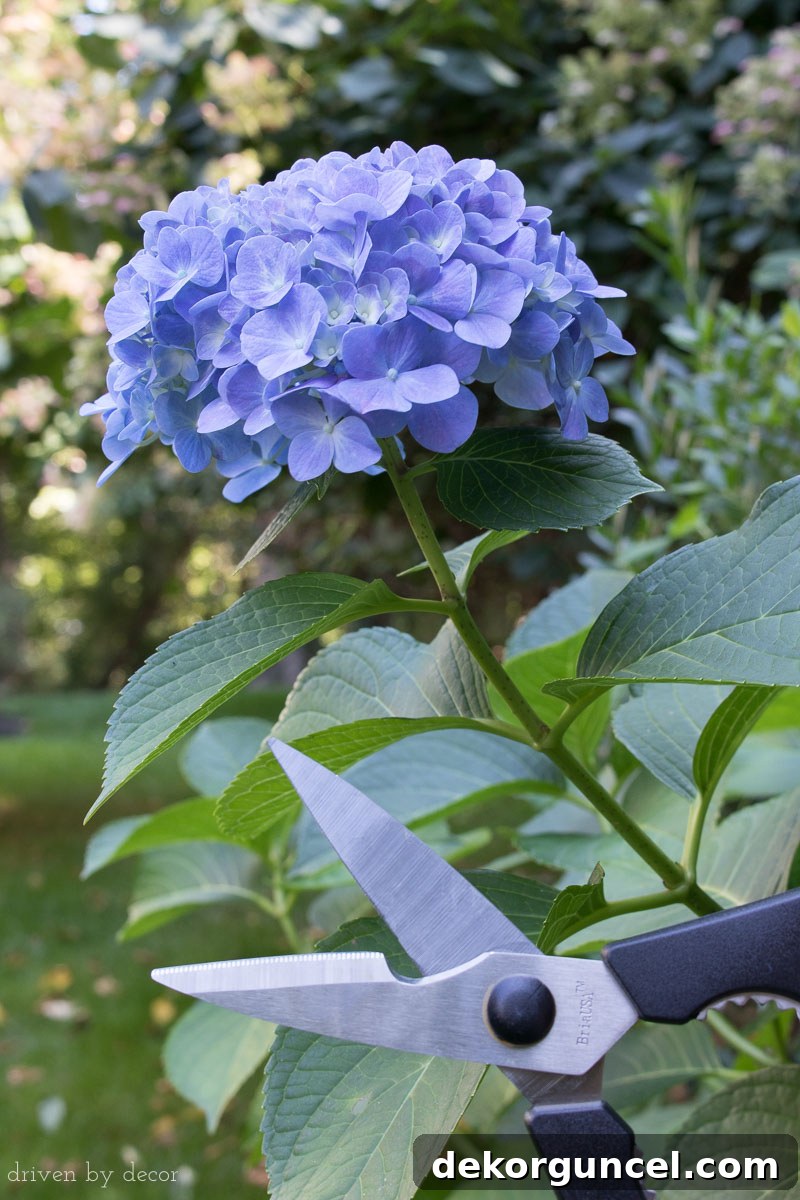
- **Harvesting with Care:** Always clip your blooms in the early morning, when the plant is fully hydrated and the temperatures are cooler. Use a sharp, clean tool to cut the stems on a diagonal. While many gardening experts recommend a sharp knife, I’ve always found it a bit cumbersome and awkward. Instead, I prefer using {these specialized kitchen scissors}. By positioning the stem close to the base of the scissors where there’s a semi-circular indent, it acts almost like a guillotine, delivering a clean cut without crushing or crimping the delicate water-conducting vessels within the stem. As an added bonus, these scissors feature blades that easily pull apart, making them a breeze to clean in the dishwasher.

- **Prepare the Stems:** Once cut, immediately remove any leaves that would fall below the water line when placed in your vase. Submerged leaves tend to rot quickly, releasing bacteria into the water that can clog the stems and significantly shorten the life of your blooms.
- **Clean Vase, Fresh Start:** Always use a vase that has been thoroughly washed in warm, soapy water. A quick rinse from its last use isn’t sufficient, as invisible bacteria and residues can remain, accelerating the decay of your new flowers.
- **Nourish and Seal:** For optimal longevity, add a packet of floral preservative to your vase water if you have one – these contain nutrients and antibacterial agents. For an extra boost, or if you want to go all-out, try this florist’s trick: dip the bottom inch of each freshly cut stem into boiling water for about 30 seconds. This helps clear any sap and air bubbles that might block water uptake. Immediately after, dip the stem ends into Alum powder (found in the spice aisle of most grocery stores). Alum acts as an astringent and helps the stems absorb water more efficiently. After these steps, place them directly into your prepared vase.
- **Regular Water Changes:** Change the water in your vase every other day. This simple step is crucial for preventing bacterial buildup and ensuring a constant supply of fresh, clean water for your hydrangeas.
Bringing Them Back: How to Revive Wilting Hydrangeas
Even with the best care, sometimes a cut hydrangea bloom will unexpectedly wilt a few days after being placed in a vase. Don’t despair! Hydrangeas are surprisingly resilient, and there are several effective ways to revive them. Some gardeners recommend submerging the entire bloom (head and stem) in a tub of cool water overnight, or briefly dipping the stem tips in boiling water again. However, I’ve found a simpler method that works just as well and is far less fuss: simply recut the stem on the diagonal once more, and then place it into a glass or small vase filled with very warm water. I use the hottest water I can get directly from the tap.
Leave the wilting bloom in this warm water bath for several hours. The warmth helps to draw water up the stem quickly through capillary action, rehydrating the bloom. Typically, by the end of the day, your hydrangea will have perked up significantly, ready to rejoin its vibrant companions in your main bouquet! It’s a truly satisfying rescue mission.
And finally, as I wrap up my comprehensive hydrangea care tips, let’s address the question I receive most frequently, a source of much frustration for gardeners:
The Mystery Solved: Why Didn’t My Hydrangeas Bloom This Year?
It’s incredibly disappointing when hydrangea season arrives, your bushes grow large and leafy, but… there are no blooms to be seen. This common problem, often called “blindness,” can be attributed to several factors. Here are the most common reasons why your hydrangeas might not have flowered this year, along with potential solutions:
- **Incorrect Pruning Timing:** This is perhaps the most frequent culprit, especially for old-wood blooming hydrangeas (like mopheads). If you pruned them too late in the previous season, particularly in the fall or early spring, you likely inadvertently removed the flower buds that had already begun to develop for the current year. Remember: old-wood bloomers need to be pruned right after flowering in late summer, or only dead wood removed at other times. New-wood bloomers are more forgiving.
- **Excessive Fertilization (Especially Nitrogen):** While some fertilizer is beneficial, too much of a good thing can be detrimental. Over-fertilizing, particularly with a fertilizer high in nitrogen (the first number in the NPK ratio), can stimulate lush, green foliage growth at the expense of flower production. The plant dedicates its energy to producing leaves, neglecting its blooming cycle. A balanced or phosphorus-heavy fertilizer is generally preferred for flowering plants, applied sparingly.
- **Late Frost Damage:** A late spring frost can be devastating to developing flower buds. Even if the plant itself seems fine, tender young buds, especially on old-wood varieties, are highly susceptible to cold damage. Once damaged, these buds will not recover and will fail to bloom. In colder climates, consider protecting your hydrangeas before winter by mounding a foot or so of mulch or straw around the base of the bushes. This insulation helps to protect and keep the developing flower buds warmer through the harsh winter months.
- **Inadequate Sunlight:** Hydrangeas need a certain amount of sunlight to produce an abundance of flowers. While many varieties prefer some afternoon shade, particularly in hot climates, too much shade can significantly reduce or even prevent blooming. If your hydrangea is situated in a spot that doesn’t receive at least several hours of bright, indirect light or morning sun each day, a lack of sunlight could be the primary issue. You might need to consider transplanting it to a more suitable location in your yard with better light exposure.
- **Other Less Common Factors:**
- **Lack of Water:** While they love moisture, inconsistent or insufficient watering, especially during dry spells, can stress the plant and inhibit bloom formation.
- **Pests or Disease:** Severe infestations or diseases can weaken the plant, diverting energy away from flower production. Inspect your plant regularly for signs of trouble.
- **Plant Maturity:** Very young hydrangeas sometimes need a year or two to establish before they start blooming prolifically.
- **Transplant Shock:** If your hydrangea was recently moved, it might spend its energy recovering and establishing new roots rather than flowering.
If you’d like to easily save this comprehensive guide for future reference when spring rolls around, I’ve created a convenient pinnable image at the end of this post! For more inspiration and practical tips on preparing your outdoor spaces for the beauty of spring, be sure to check out this related post:
Simple Outdoor Decorating Ideas
XO,