
Beyond the Brick: 7 Stunning Subway Tile Patterns to Elevate Your Space
For those who’ve been with me on this design journey, you know my enduring affection for subway tile. It’s more than just a passing trend; it’s a design staple that embodies timeless elegance, incredible versatility, and budget-friendly appeal. From the rustic charm of a modern farmhouse to the sleek lines of contemporary minimalism, subway tile seamlessly adapts to almost any aesthetic. However, the true artistry of subway tile doesn’t solely lie in the tile itself, but in the ingenious ways it can be arranged. The pattern you select has the power to utterly transform the perception and atmosphere of any room.
As I meticulously plan the design elements for the bathrooms in our exciting new build, I’ve been diving deep into the myriad of pattern possibilities for laying subway tile in our showers and beyond. Today, I am thrilled to share my absolute favorite stylish subway tile patterns. These layouts are guaranteed to elevate your home’s design, and I’ll be offering insights into when and why each specific pattern truly excels. Get ready to rethink this classic tile and discover how a simple change in layout can create a dramatic impact! (This post includes commissionable links; for more information, please see my full disclosure statement here.)
1. The Classic Brick Pattern (Running Bond)
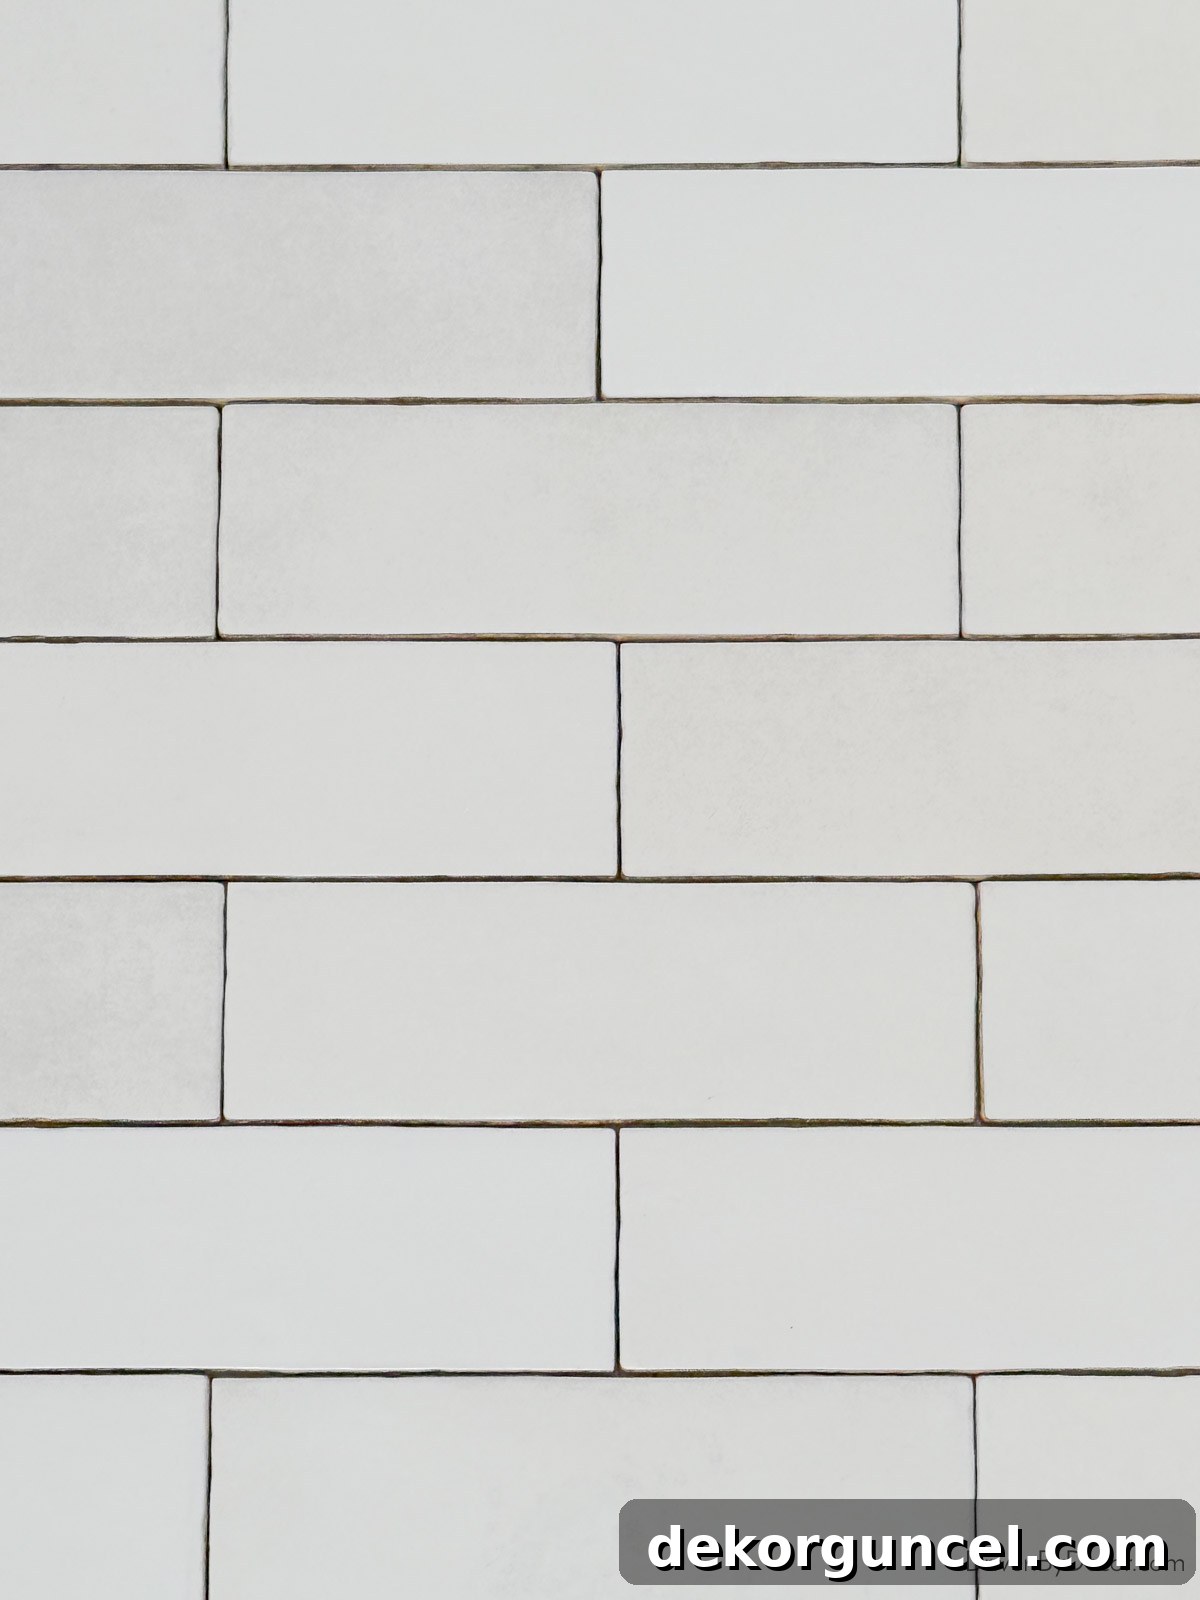
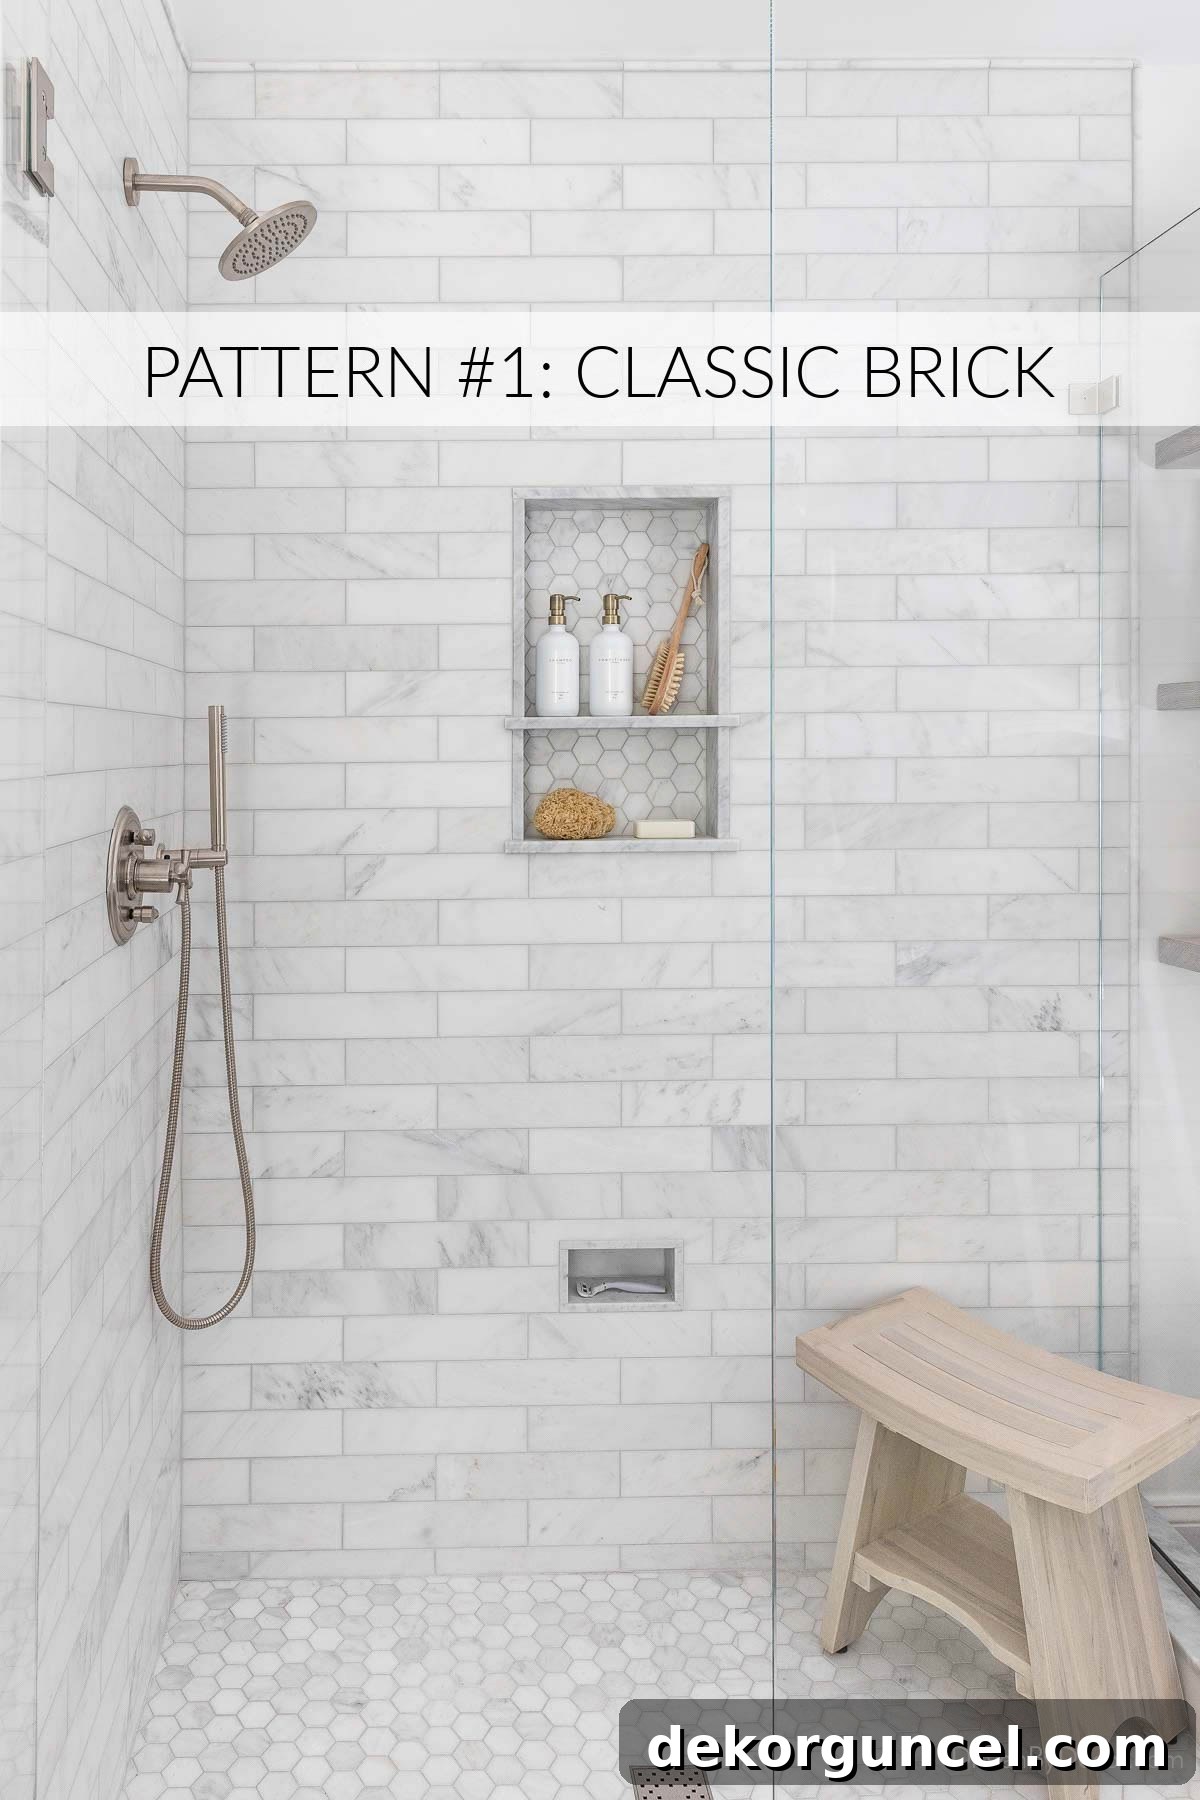
This is arguably the most recognizable and beloved layout for subway tile – the tried-and-true offset pattern that beautifully mimics traditional brickwork. In a classic running bond, each row of tile is staggered, with the center of the tile above aligning perfectly with the joint below. Most commonly, this involves a 50% offset, where the tile’s midpoint meets the grout line of the row beneath it. You can, however, also opt for a 1/3 or 1/4 offset for a slightly different visual rhythm. The enduring appeal of this pattern means you can never go wrong; it’s a design choice that truly transcends fleeting trends and will never feel outdated.
It’s a testament to its timelessness that I chose this very pattern for the subway tile in the shower of our previous home, achieving a clean and harmonious aesthetic:
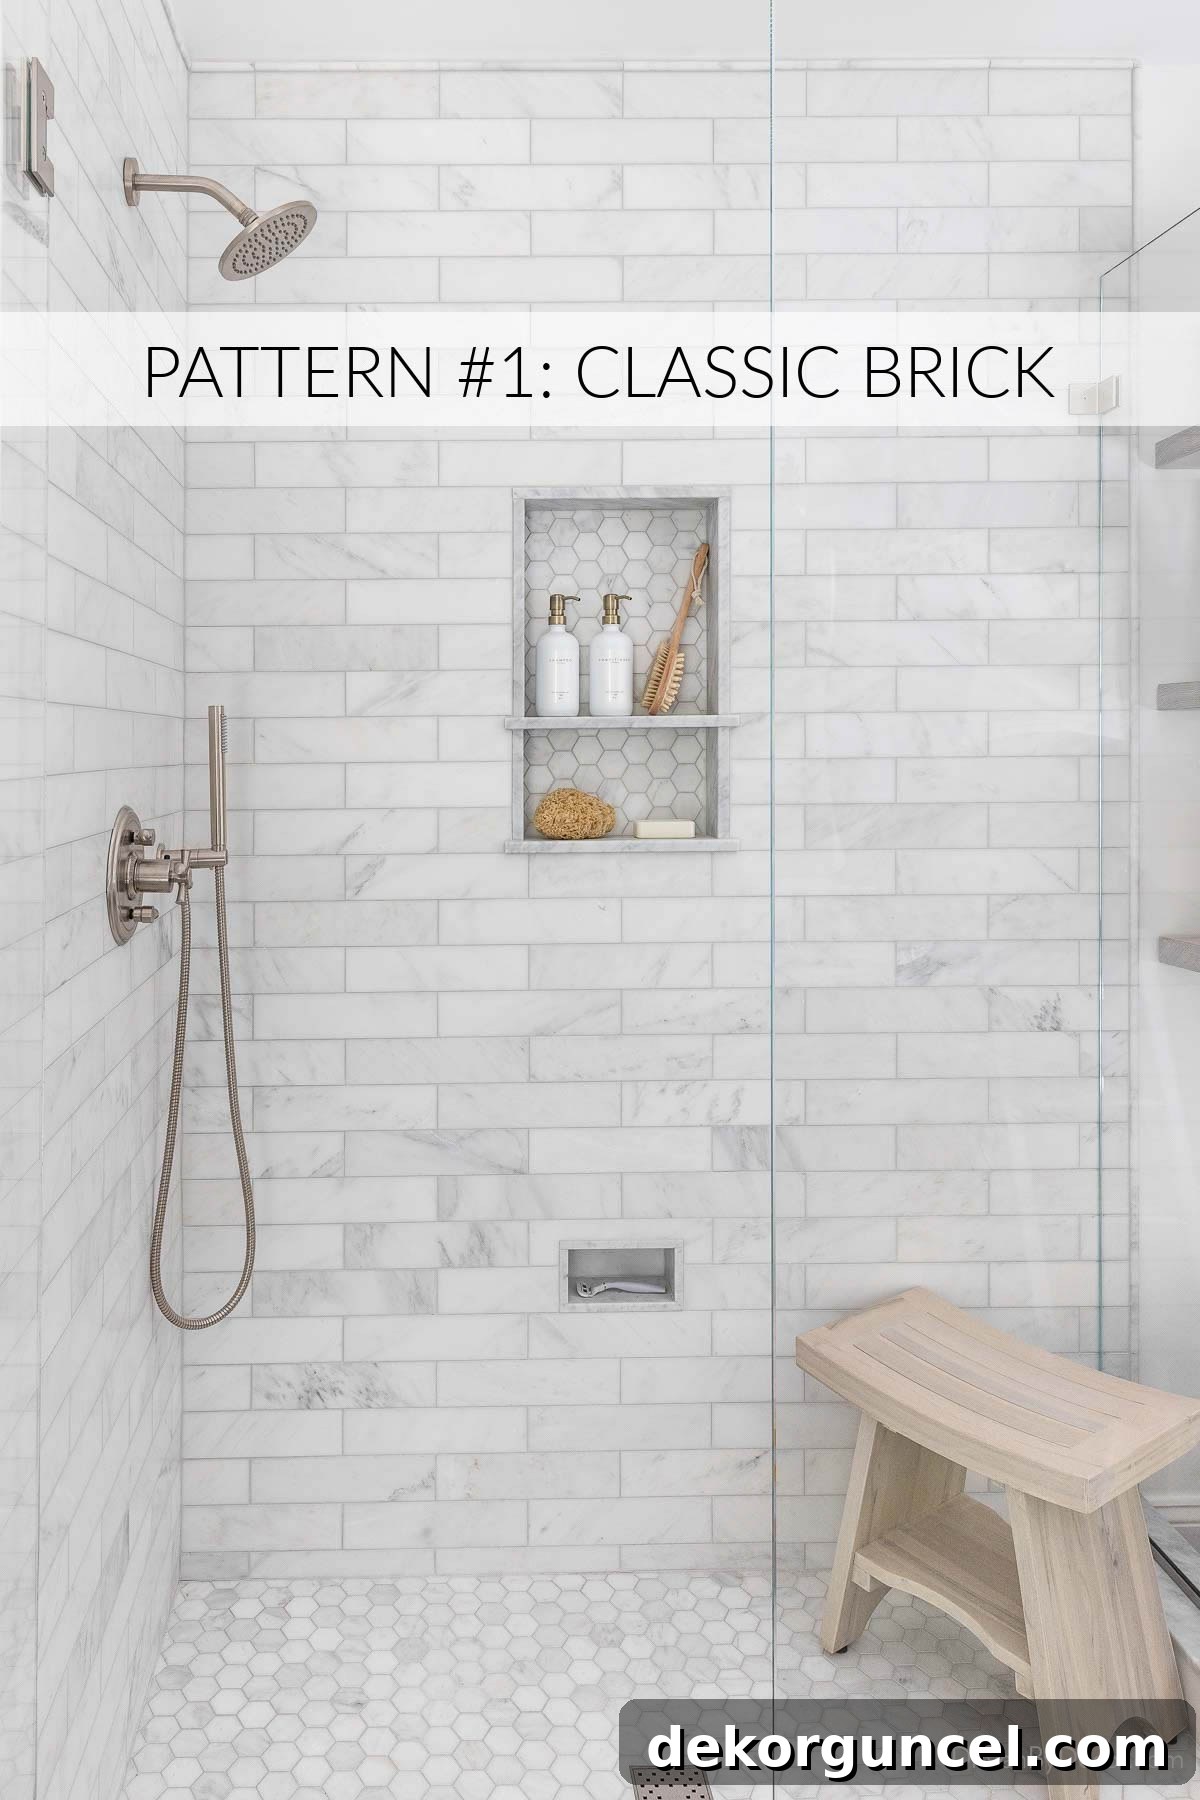
Sources: Marble subway tile | Hexagon floor tile | Square shower drain | Shower valve trim | Pump bottles (16 oz white/gold) | Body brush | Sea sponge | Stool (driftwood color)
This classic pattern also finds its place as the elegant kitchen backsplash in our current home, proving its adaptability and enduring charm across different spaces:
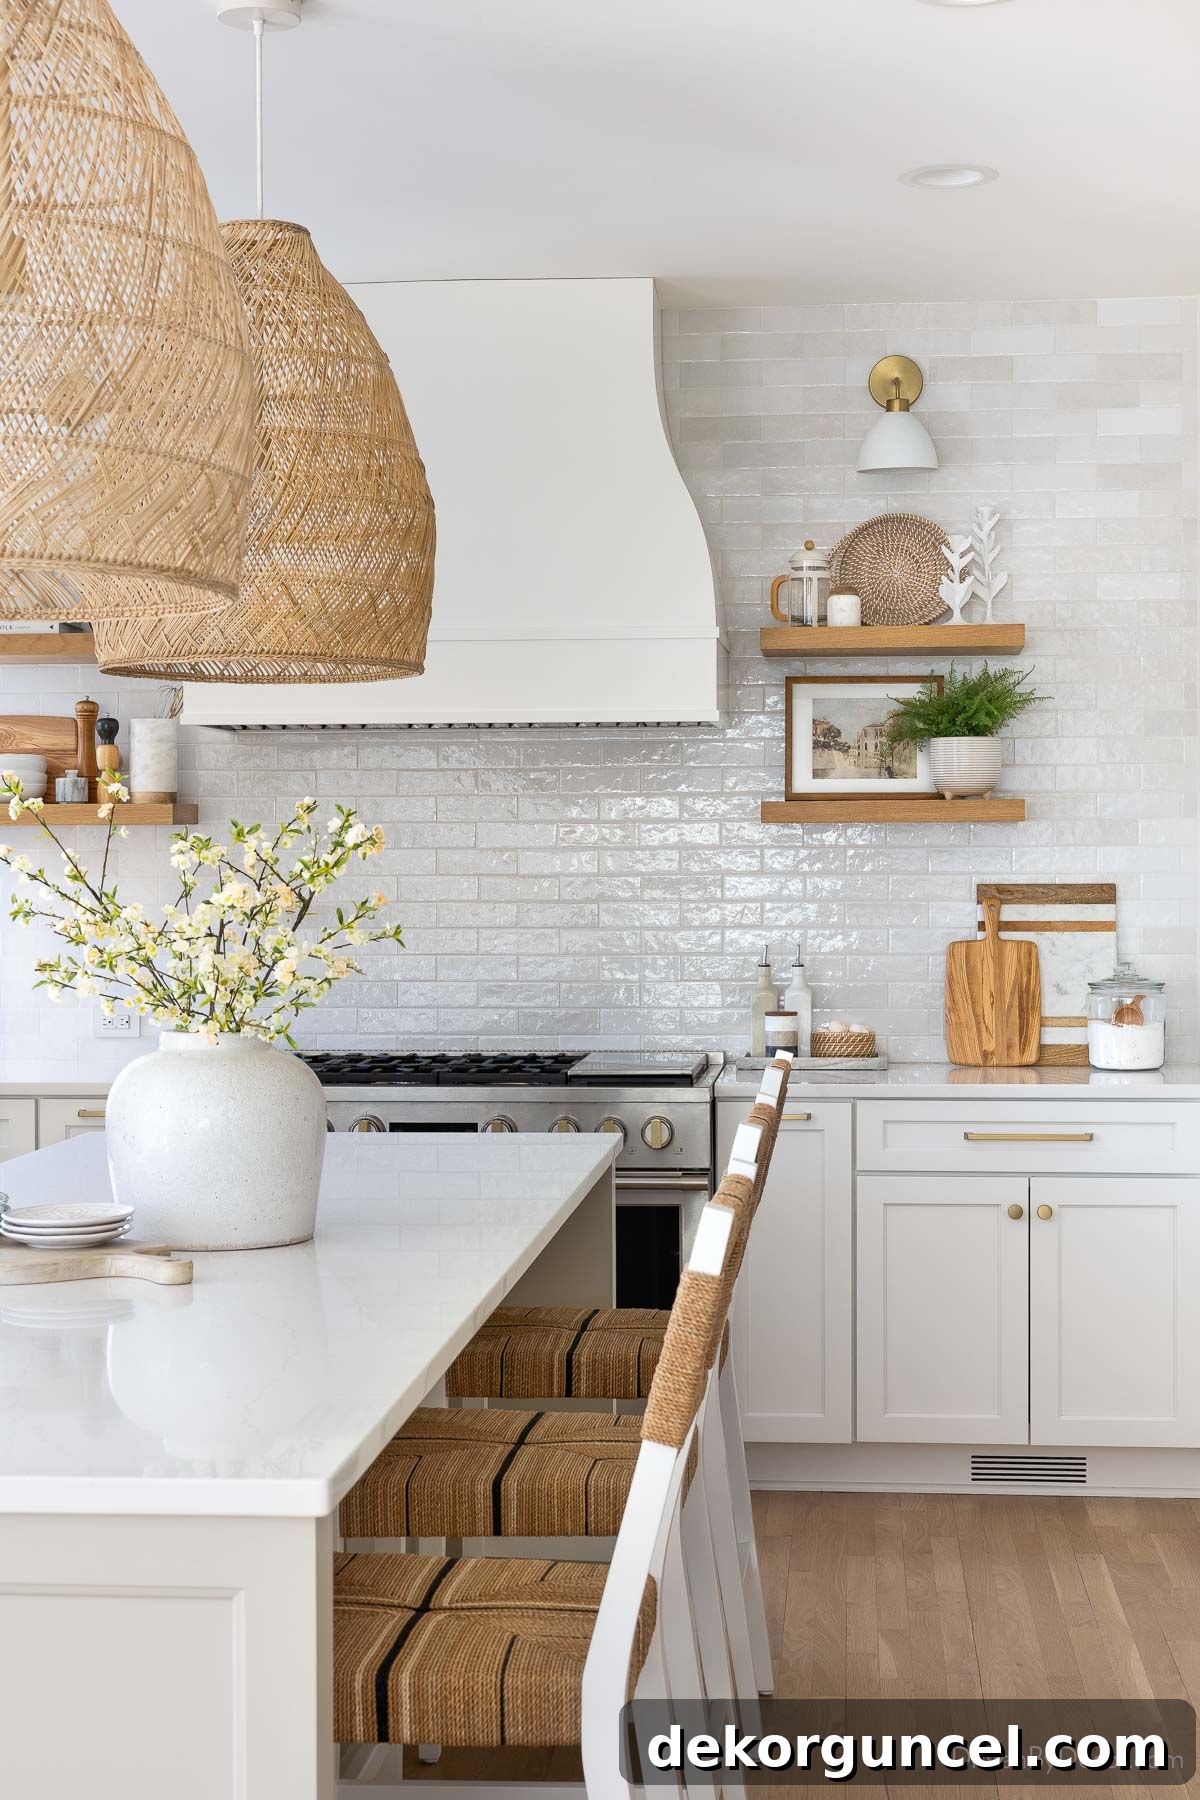
Sources: Subway tile | Floating shelves (white oak) | Sconces over shelves | Drawer pulls | Cabinet knobs | Woven pendants | Crackled vase on island | Faux florals in vase | See my kitchen remodel reveal for more details
Why I love it: Its timeless nature makes it a safe yet sophisticated choice for any renovation or new build. It’s incredibly easy on the eyes, offering a sense of order and familiarity. Beyond aesthetics, it’s also remarkably forgiving if your walls aren’t perfectly plumb or square, which, let’s be honest, is more common than not! Furthermore, its adaptable character means it complements virtually any design style, from rustic to refined.
When to choose it: The running bond is ideal when you seek a design that is both classic and dependable. It’s perfect for main bathrooms, kitchen backsplashes, or any area where you desire a clean, enduring look without taking away from other design elements. Its widespread popularity ensures it will always be a staple of good taste.
2. The Vertical Stack
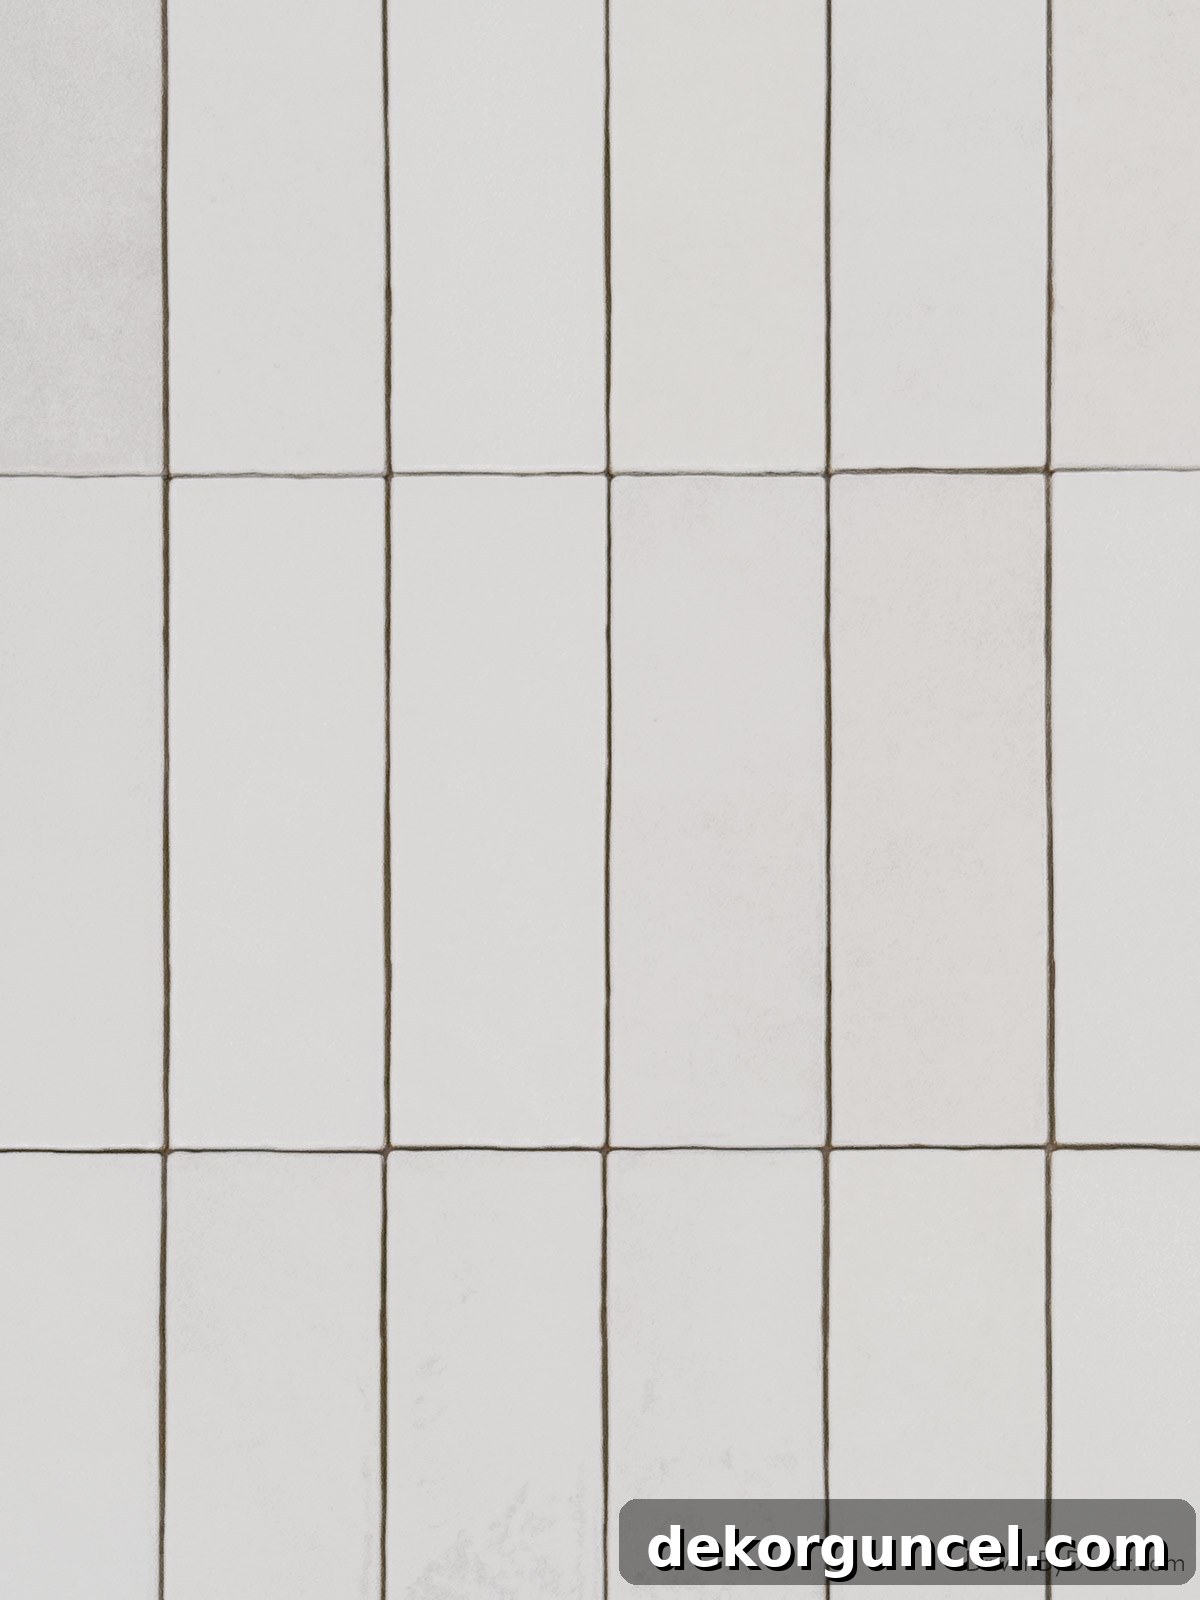
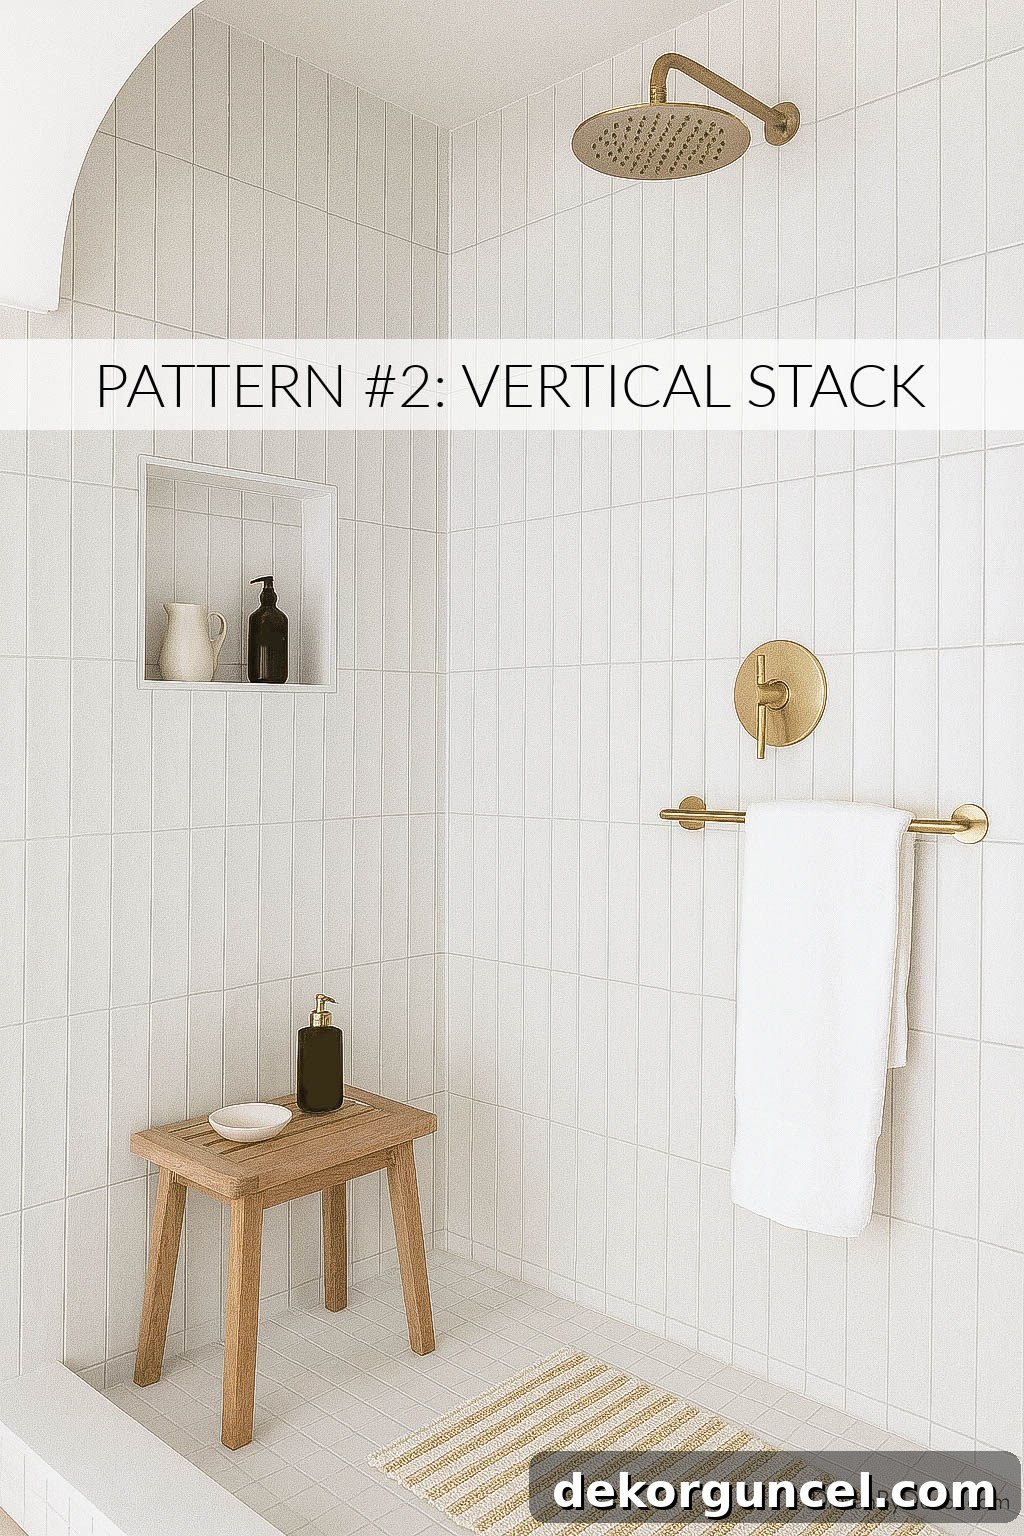
For those seeking to inject a refreshing, contemporary twist into the enduring appeal of classic subway tile, the vertical stack pattern is an excellent choice. This modern arrangement sees tiles positioned vertically, one directly above the other, in impeccably straight and perfectly aligned rows. Unlike the staggered nature of a traditional running bond, the vertical stack creates a clean, uniform column of tiles that instantly updates a space.
You can also explore a captivating variation of the vertical stack where your subway tiles are still arranged vertically, but with an offset brick pattern. This ingenious approach maintains the powerful vertical emphasis, while subtly introducing more movement and visual interest to the wall. This rendering beautifully illustrates how a vertical offset subway tile pattern could have transformed the shower in our previous home, offering a unique blend of modern appeal and dynamic texture:
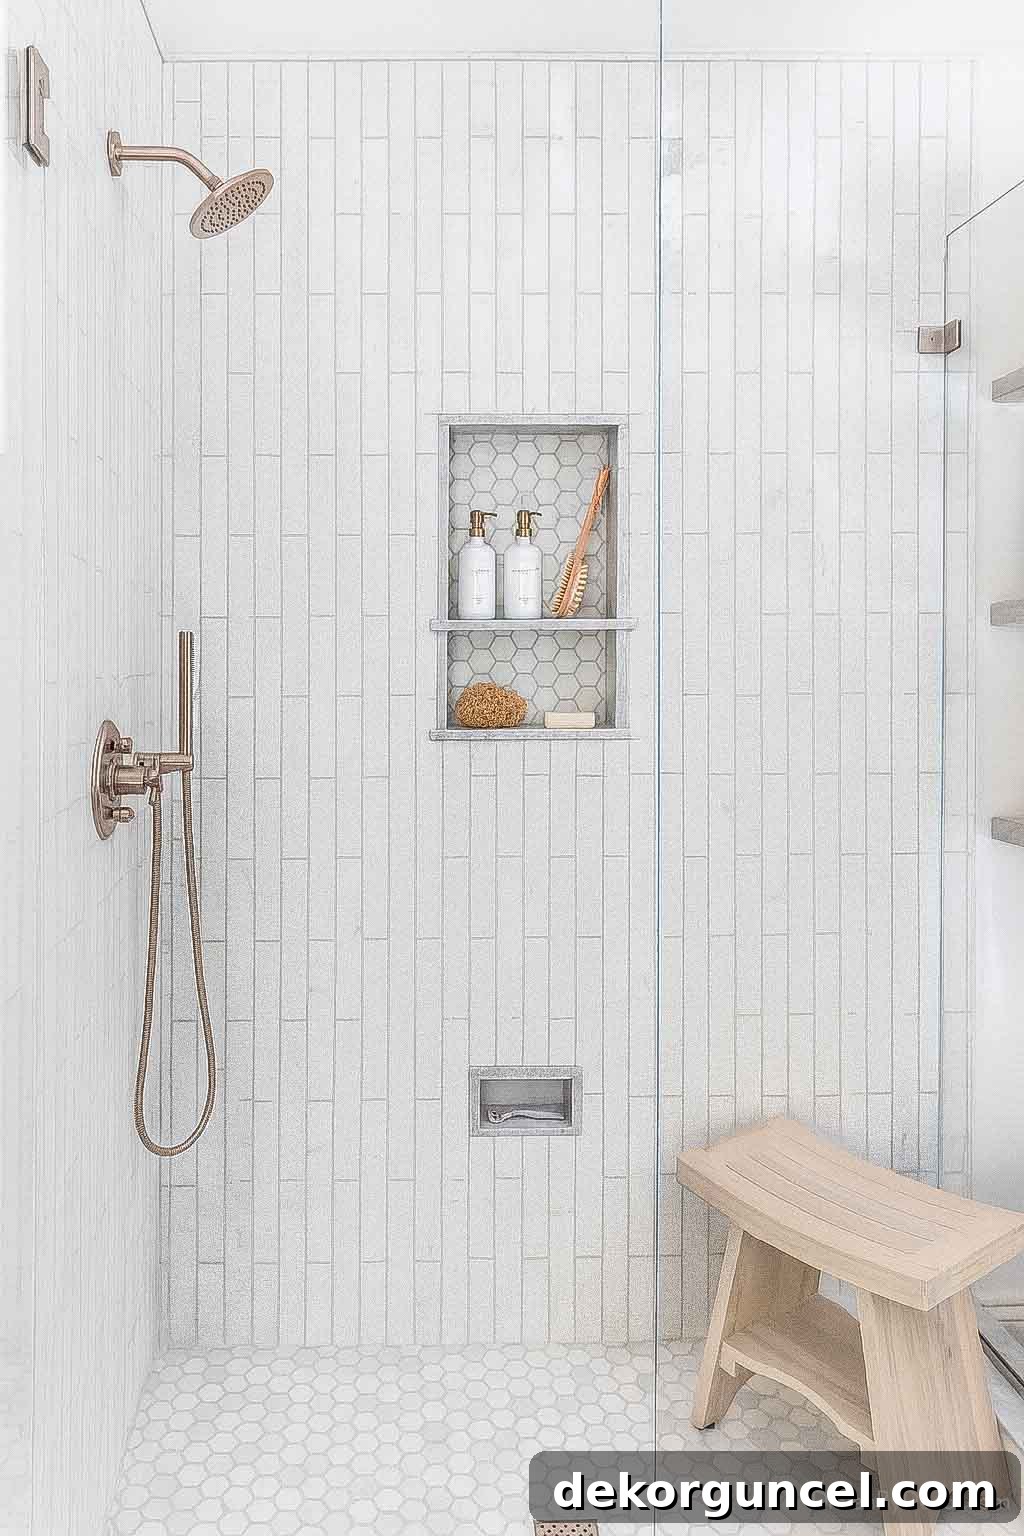
Why I love it: The vertical stack offers a remarkably simple and clean aesthetic, yet it provides just enough of a departure from the conventional horizontal layout to make any space feel instantly updated, chic, and sophisticated. A key benefit is how the strong vertical lines skillfully draw the eye upwards, creating an illusion of greater ceiling height – a fantastic trick for rooms that might otherwise feel a bit constrained.
When to choose it: This pattern is an outstanding choice if your design preference leans towards a more modern, minimalist, or even industrial look. It’s particularly effective in smaller spaces, like powder rooms or compact shower enclosures, where you want to maximize the perception of height and create an airy, open feel. It also works wonderfully as an accent wall, adding subtle contemporary flair.
3. The Horizontal Stack
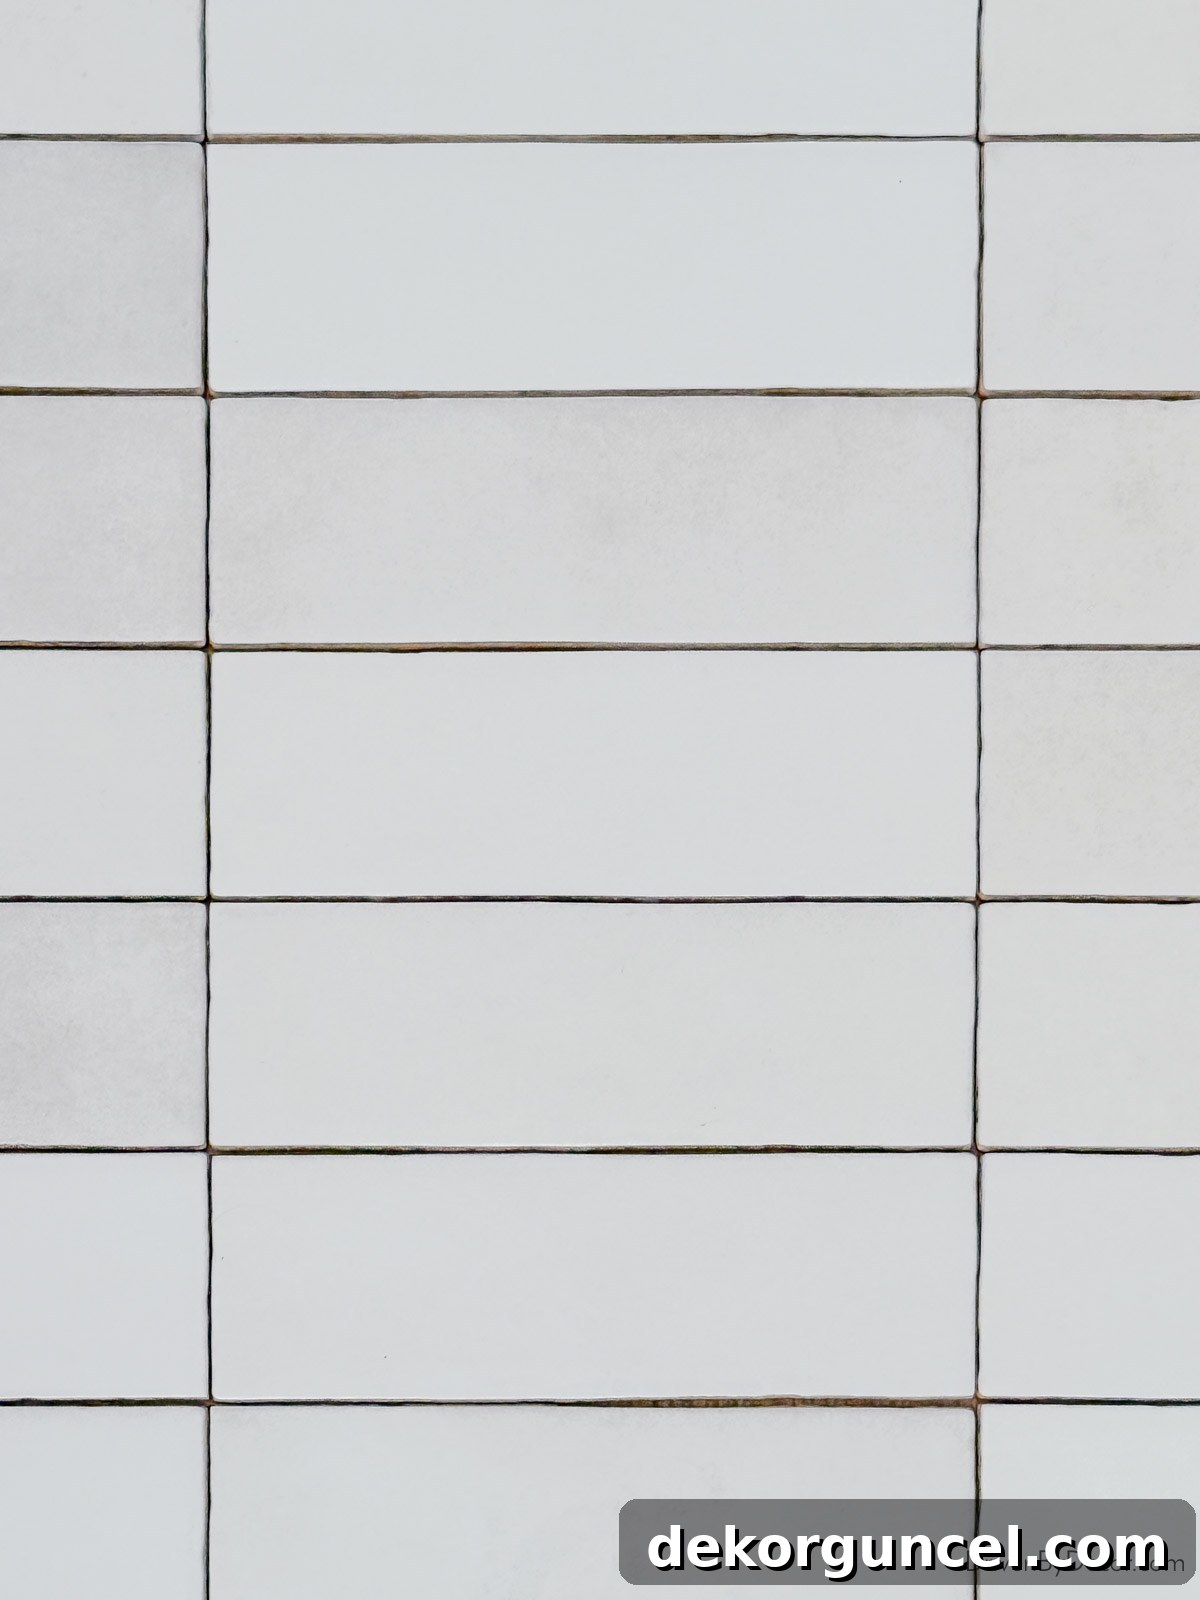
Embracing a refined simplicity, the horizontal stack pattern arranges subway tiles directly on top of each other, forming impeccable, straight horizontal lines. This creates a visually striking, clean-lined grid effect that resonates with modern and minimalist sensibilities.
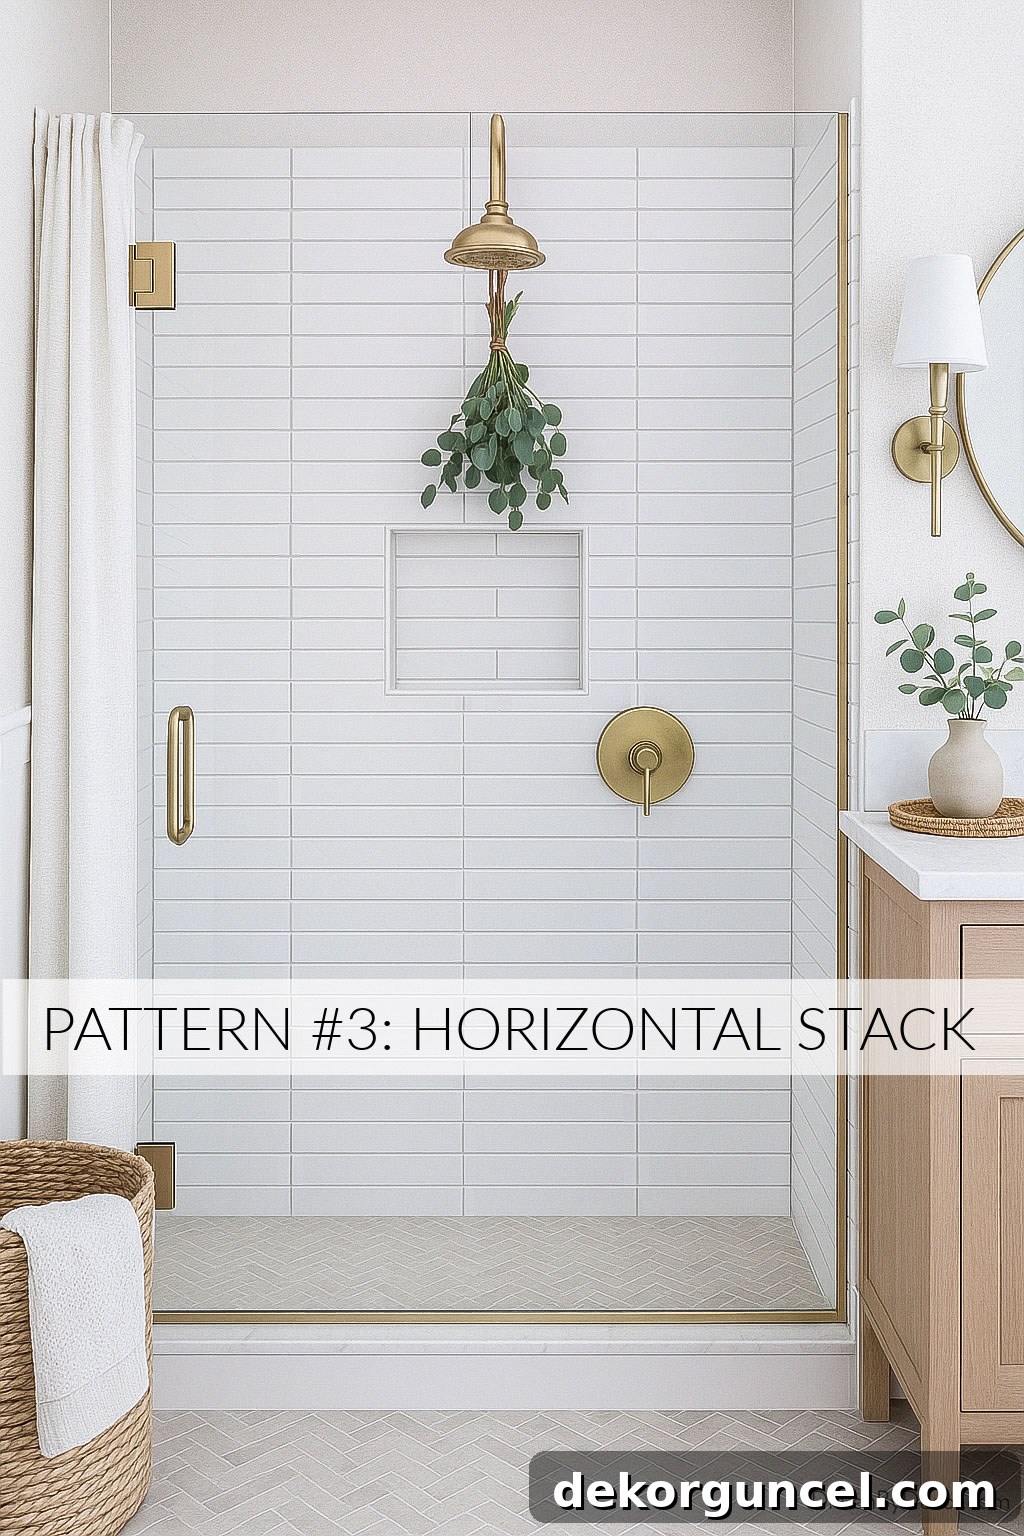
Why I love it: This sleek arrangement exudes a contemporary vibe, offering a sense of calm and order. Functionally, it excels at making walls appear wider and spaces feel more expansive and open. It’s an understated yet powerful choice for achieving a streamlined aesthetic.
When to choose it: Opt for the horizontal stack in spaces where you want to enhance a modern, minimalist, or industrial design. It’s particularly effective in wider rooms or corridors, and can create a serene backdrop in bathrooms, kitchens, or living areas.
Design tip: The choice of grout color becomes profoundly important with this pattern. A grout in a contrasting color to your tile will dramatically emphasize the clean grid, making a bold, graphic statement. Conversely, selecting a grout that closely blends with the tile color will soften the effect, creating a more seamless, textural finish that allows the tile itself to be the primary focus rather than the individual lines.
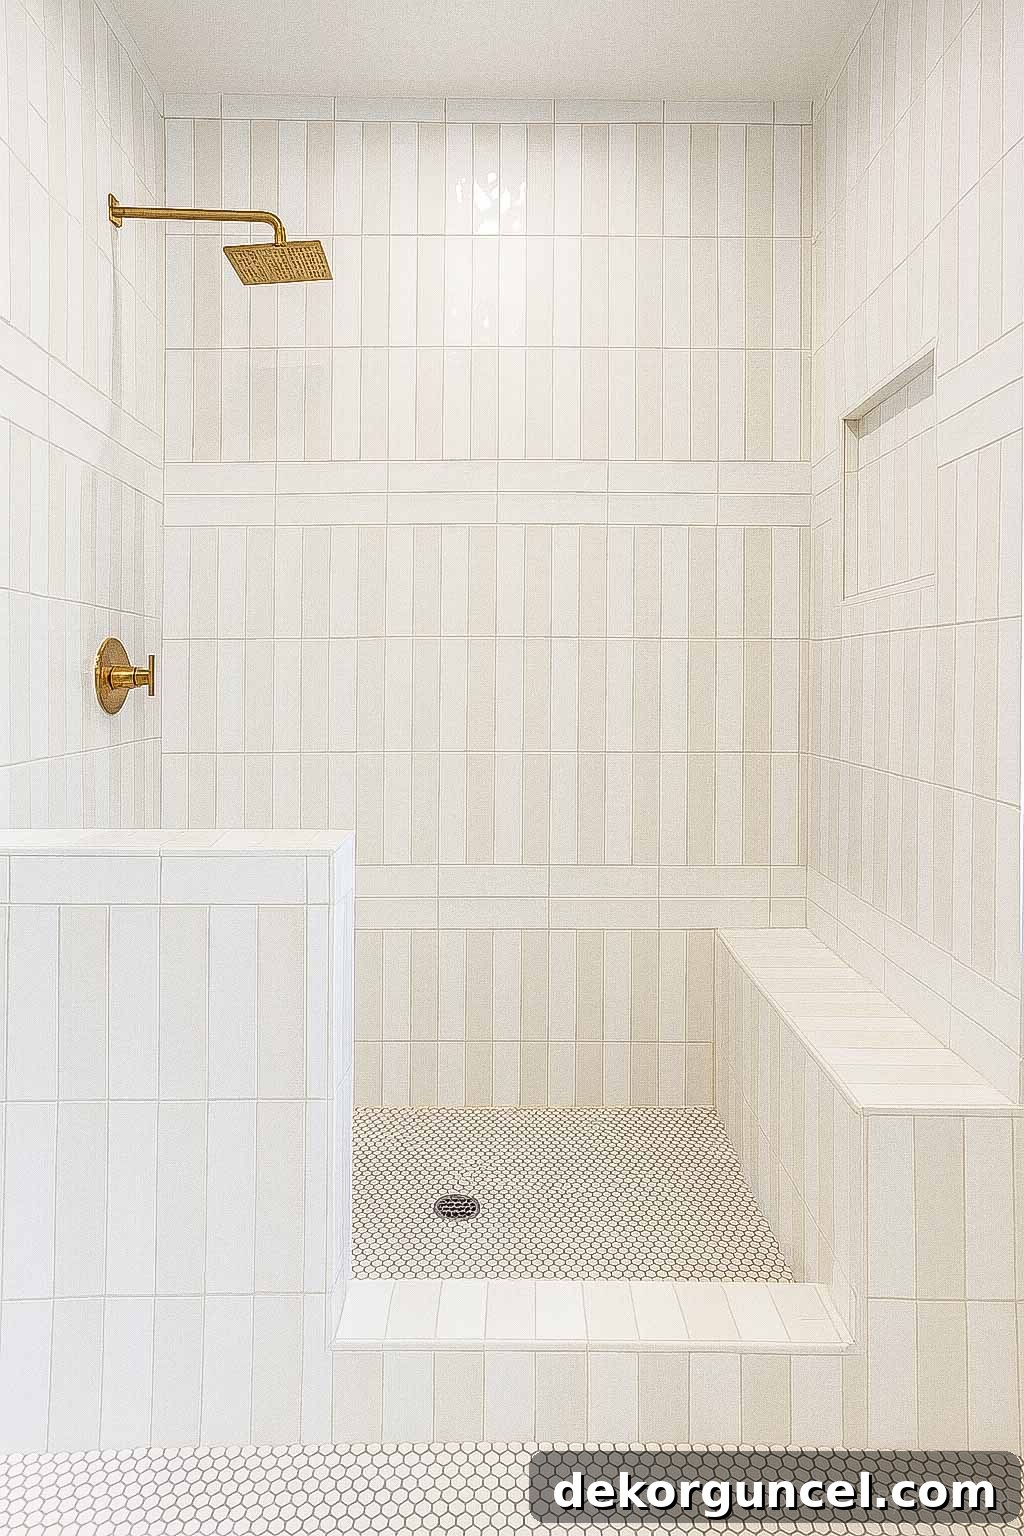
For those feeling adventurous, you can also get incredibly creative by combining vertical and horizontal stack patterns within the same design! Imagine keeping the majority of a wall in a pristine vertical stack, but then, every few rows, shifting the pattern into a dynamic horizontal layout. To introduce an additional layer of interest and sophistication, consider using two different tile colors, alternating them throughout your custom pattern to define the transitions between orientations, creating a truly bespoke look:
4. The Herringbone Pattern
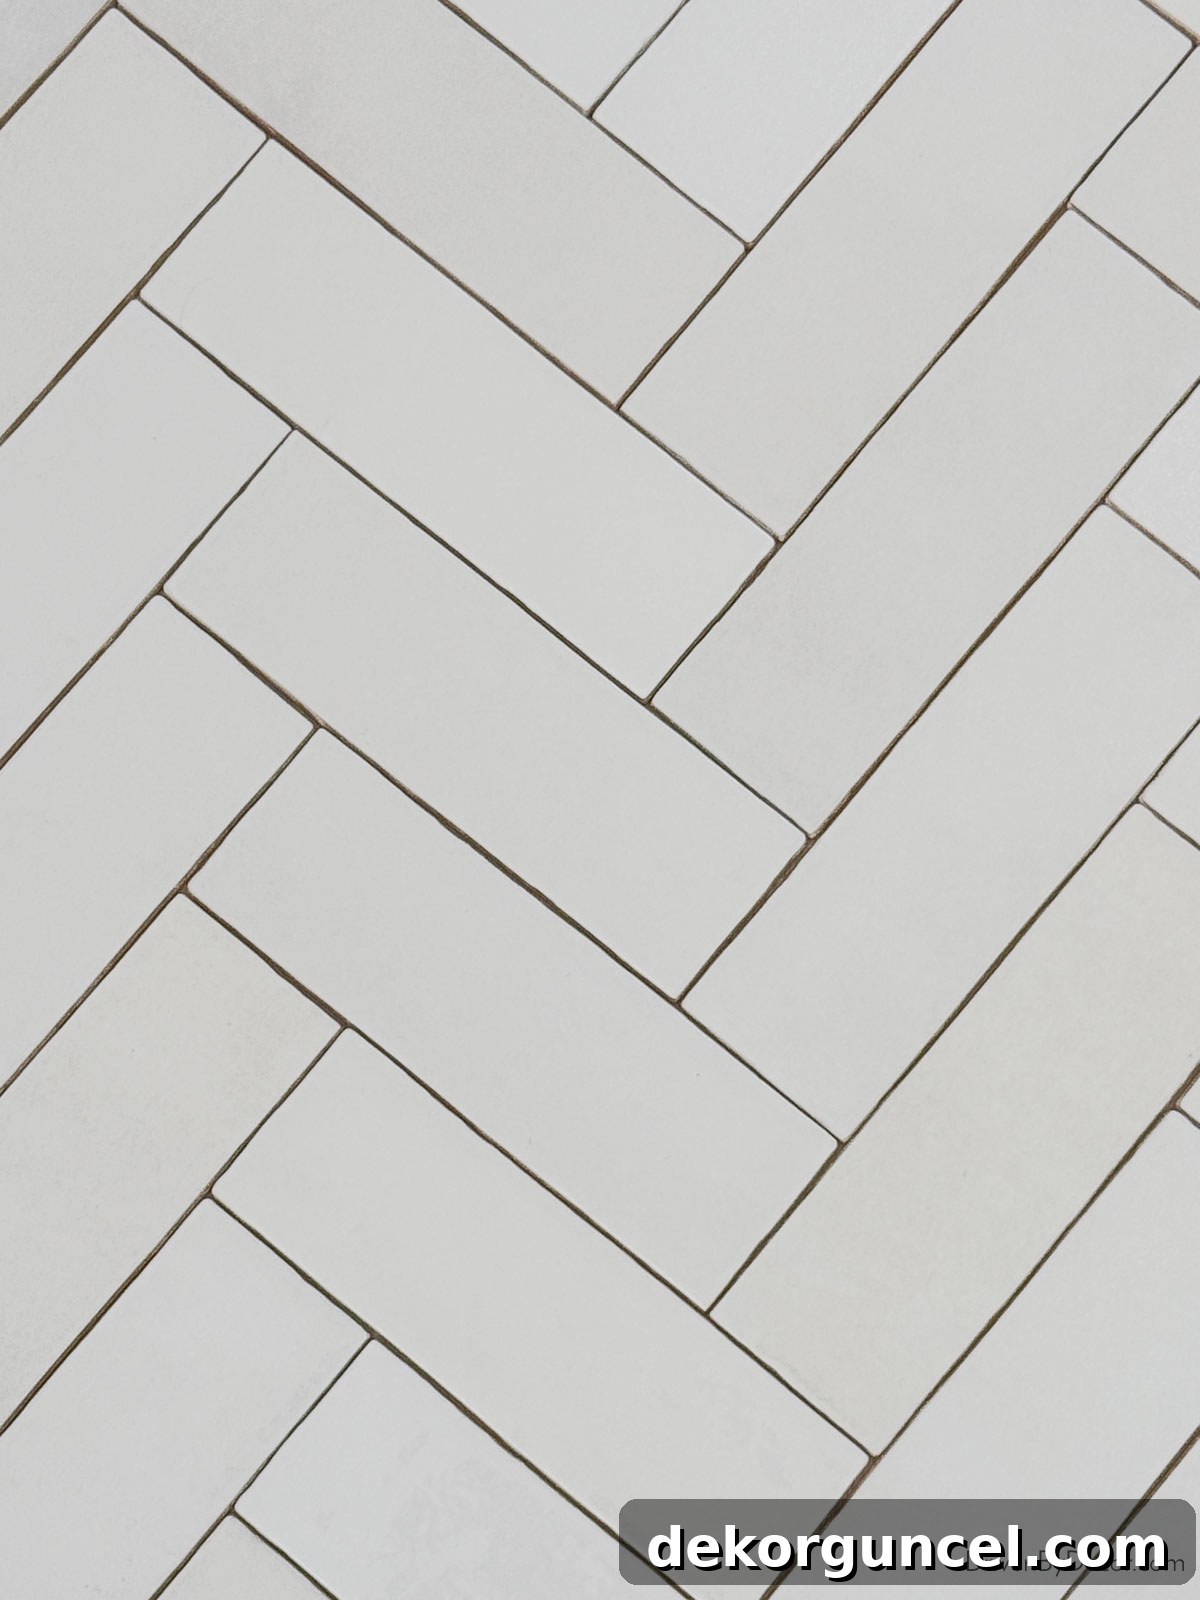
The herringbone pattern is a design classic, celebrated for its dynamic and visually captivating effect. With this pattern, rectangular tiles are arranged in a distinctive zig-zag design, typically set at a 45-degree angle to create a series of interlocking “V” shapes. The result is a luxurious, woven look that introduces an incredible sense of movement and texture to any space. It’s a perennial favorite for making a sophisticated statement on kitchen backsplashes, shower walls, or even flooring, because its intricate arrangement immediately draws the eye and feels both timelessly elegant and wonderfully refined.
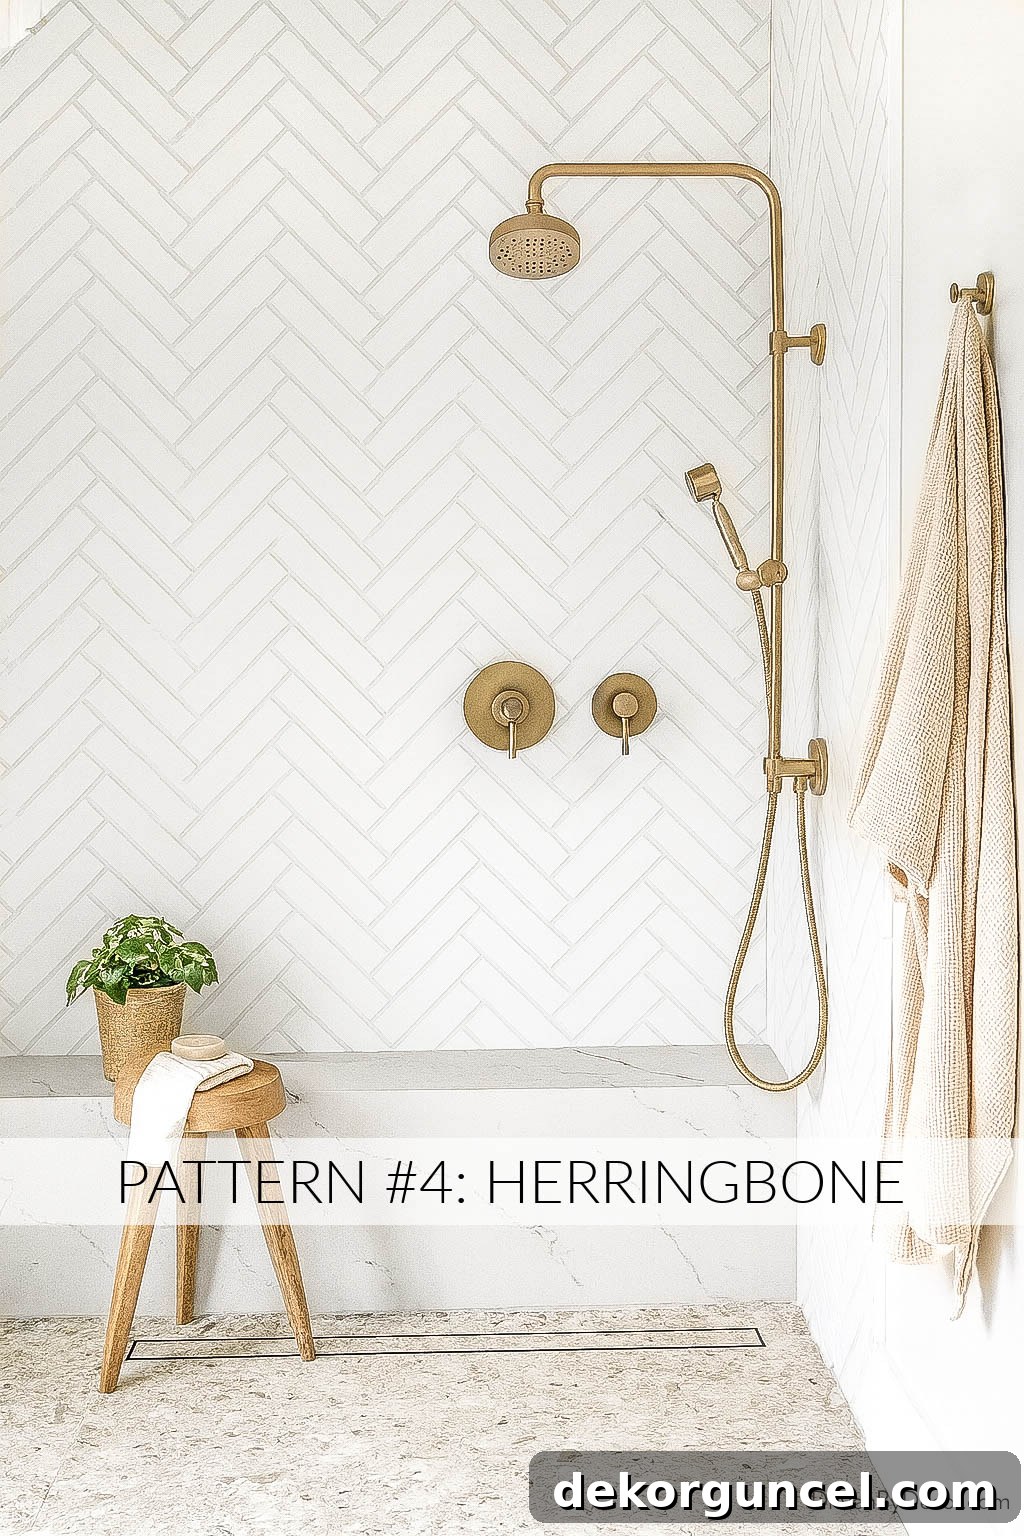
For a contemporary twist on the traditional 45-degree herringbone, consider taking the same “V”-shaped layout and simply shifting its orientation to create an entirely different visual impact. Rotating it to a 90-degree herringbone – where each tile is oriented either perfectly vertically or horizontally – yields a cleaner, more streamlined, and slightly more modern aesthetic, while still retaining the captivating movement of the pattern.
Why I love it: The herringbone pattern instantly injects a significant dose of sophistication and bespoke craftsmanship into any area. It has a magical way of making a shower wall or kitchen backsplash feel incredibly special, custom-designed, and high-end, elevating the entire room’s ambiance.
When to choose it: This pattern is perfect when you want to create a focal point or add a luxurious touch. It’s excellent for feature walls in bathrooms, behind a range in a kitchen, or even on a floor in an entryway to make a grand first impression.
Tips for using it: Given that herringbone is a visually busy and dynamic pattern, it’s wise to balance its intensity with simpler, more understated finishes in the rest of the room. This ensures the pattern remains an elegant focal point rather than overwhelming the space. Another effective strategy is to use this stunning pattern exclusively on a specific area, such as the back wall of a shower, transforming it into a dedicated feature wall that truly shines.
5. The Chevron Pattern
If your aim is for your subway tile installation to feel anything but ordinary, then laying it in a striking chevron pattern is an exceptionally beautiful and impactful option. Unlike herringbone, which uses rectangular tiles at an angle, the chevron pattern achieves its distinct look by cutting each tile at an angle. These custom-cut tiles then meet in perfect, crisp points, creating a seamless, continuous zig-zag design that exudes an elevated, high-designer aesthetic.
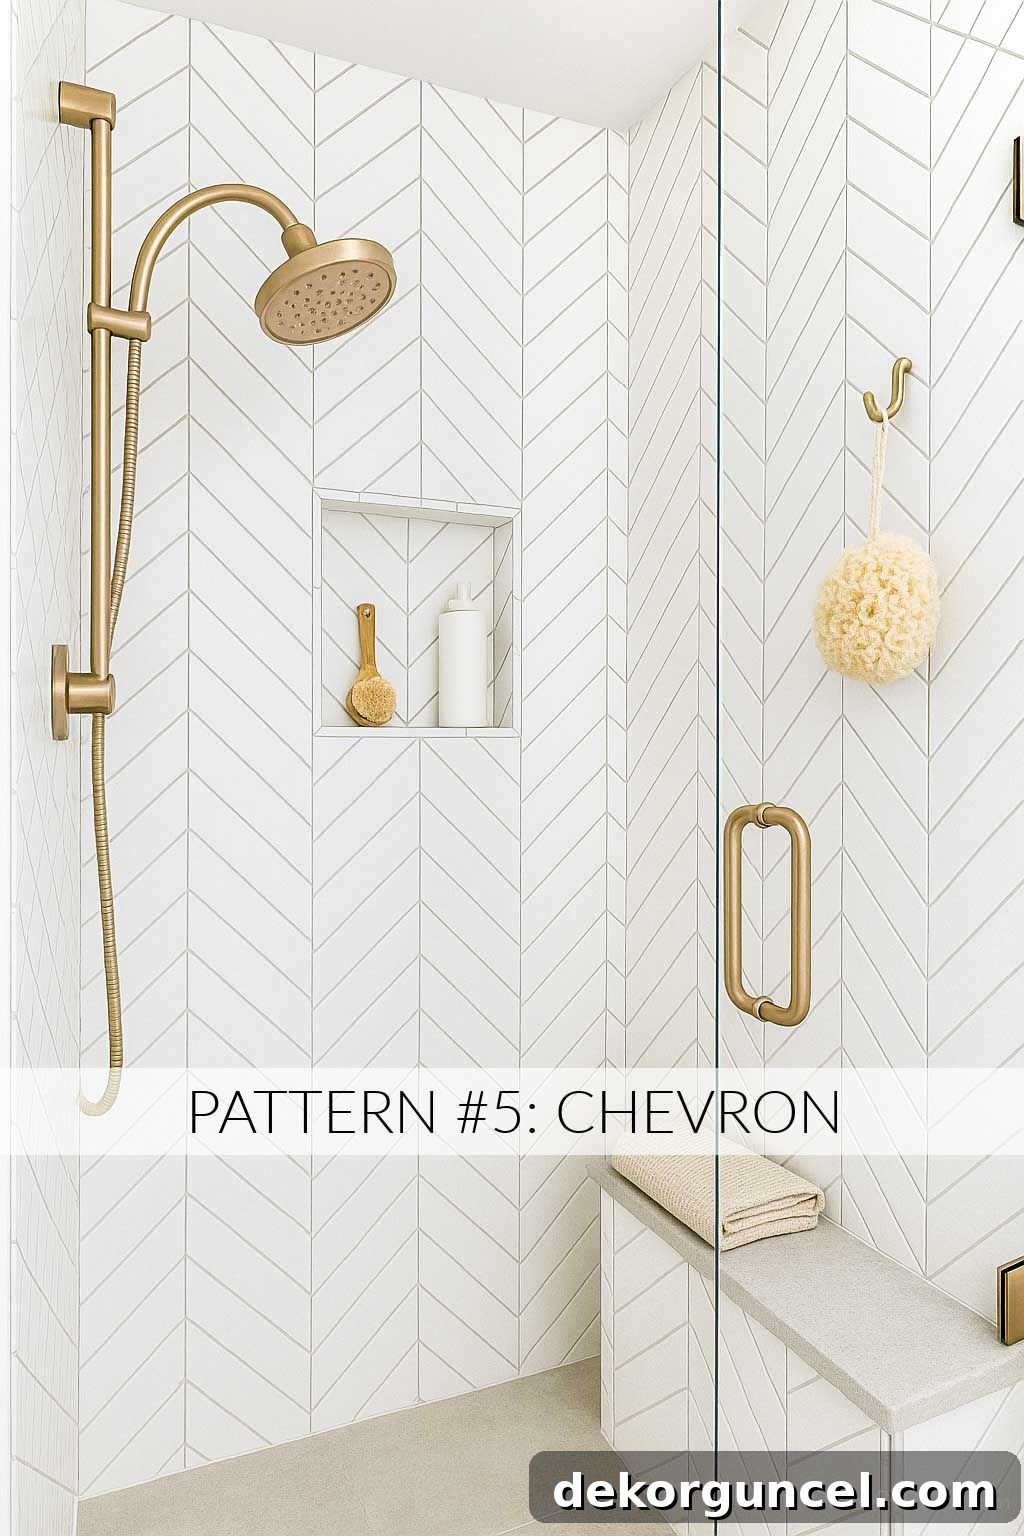
The visual impact of a chevron pattern can be further manipulated by your grout choice. Depending on whether you opt for a contrasting or blending grout, you can either dramatically emphasize the sharp, architectural lines of the pattern for a bold, contemporary statement, or keep it soft and subtle, allowing the texture and form of the tile to create a more timeless, sophisticated look.
Why I love it: Chevron offers an unparalleled sense of luxury and bespoke design. It’s inherently modern yet has a classic geometry that never goes out of style, making a strong visual declaration in any setting.
When to choose it: This pattern is ideal for spaces where you want to make a significant design impact and are willing to invest in craftsmanship. It’s stunning for feature walls, upscale backsplashes, or even as a unique floor treatment.
Design tip: Something crucial to keep in mind is the labor intensity of the chevron pattern. Because each individual subway tile has to be precisely cut on both ends to achieve those perfect “V” points, installation can be quite time-consuming and drive up your labor costs pretty quickly. If you’re looking to achieve this elegant look while managing your budget, you can opt for tiles that are already pre-cut into a chevron shape. Just be aware that while this approach is easier on the wallet and simplifies installation, your options for tile style, material, and size might be a bit more limited compared to custom-cut solutions.
6. The Basketweave Pattern
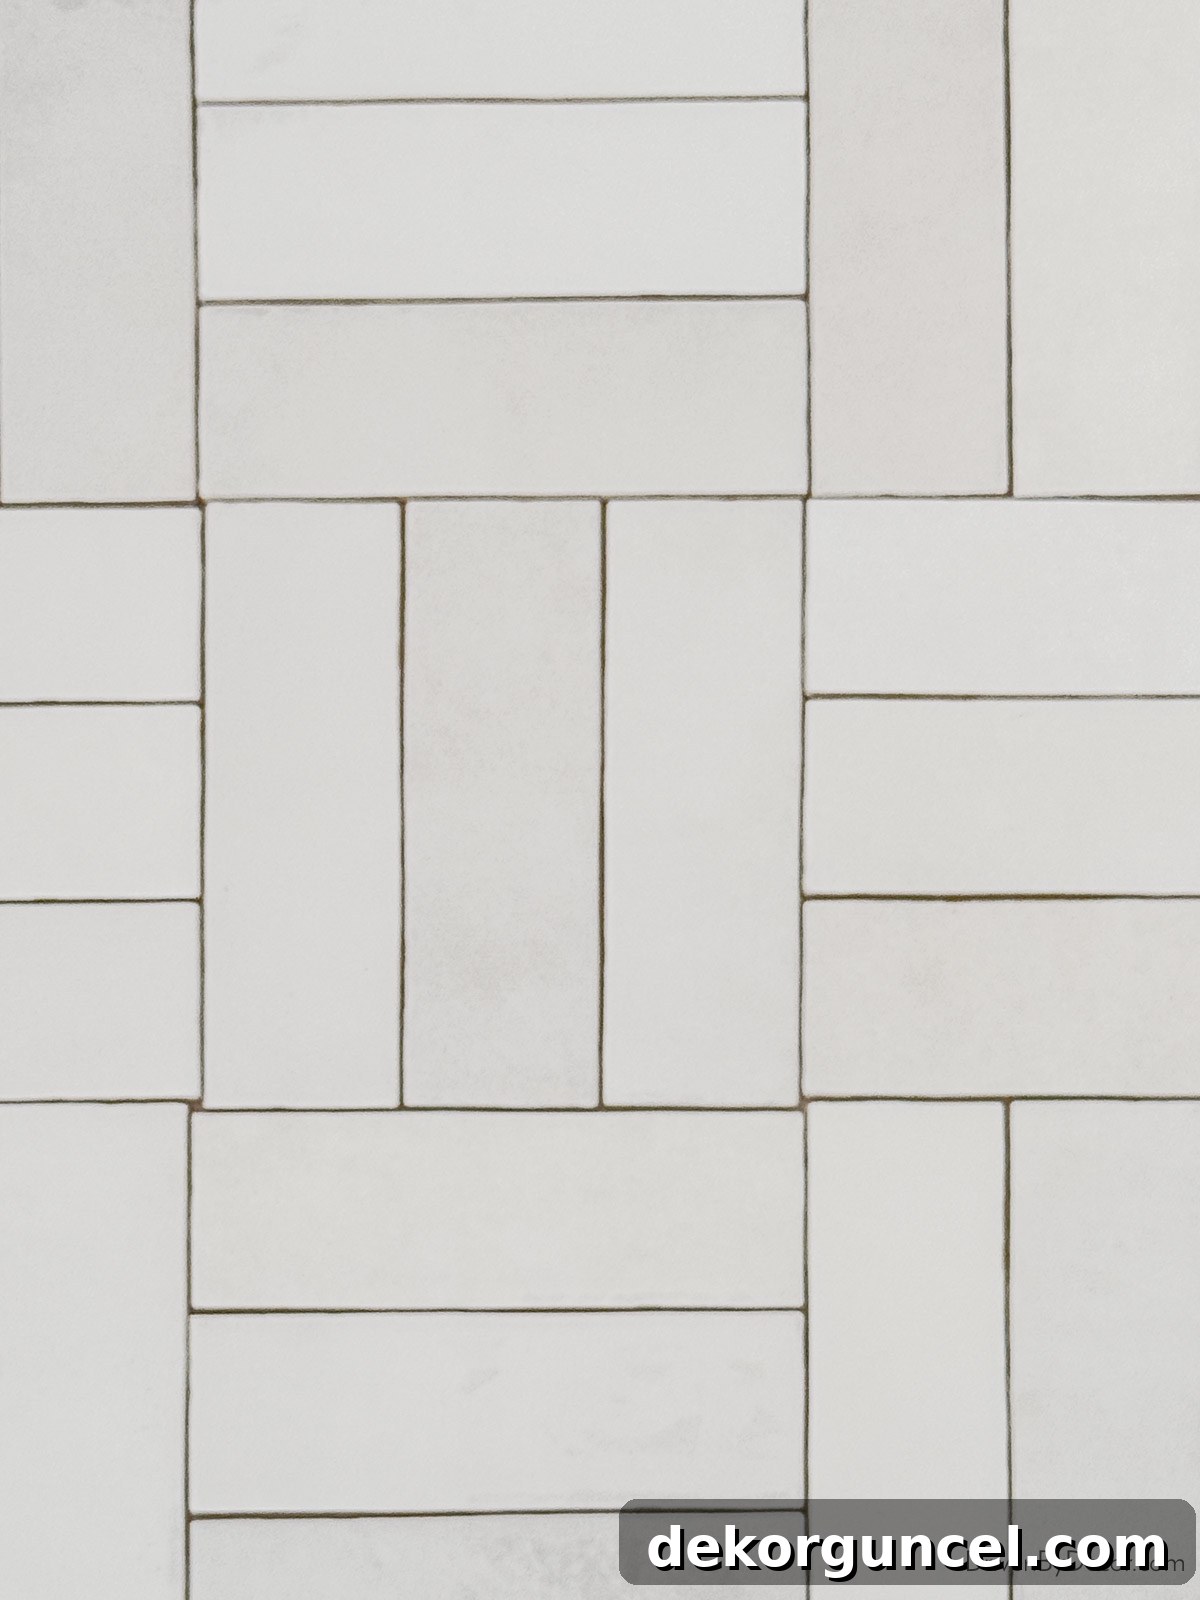
The basketweave pattern offers a charming and sophisticated way to utilize subway tile, creating a distinctive woven effect that is both visually engaging and subtly complex. This pattern is achieved by arranging subway tiles in pairs or trios that alternate direction – for example, two horizontal tiles followed by two vertical tiles – to mimic the interlaced appearance of a woven basket. The result is a beautiful, textured look that adds significant interest without ever feeling overly busy or overwhelming.
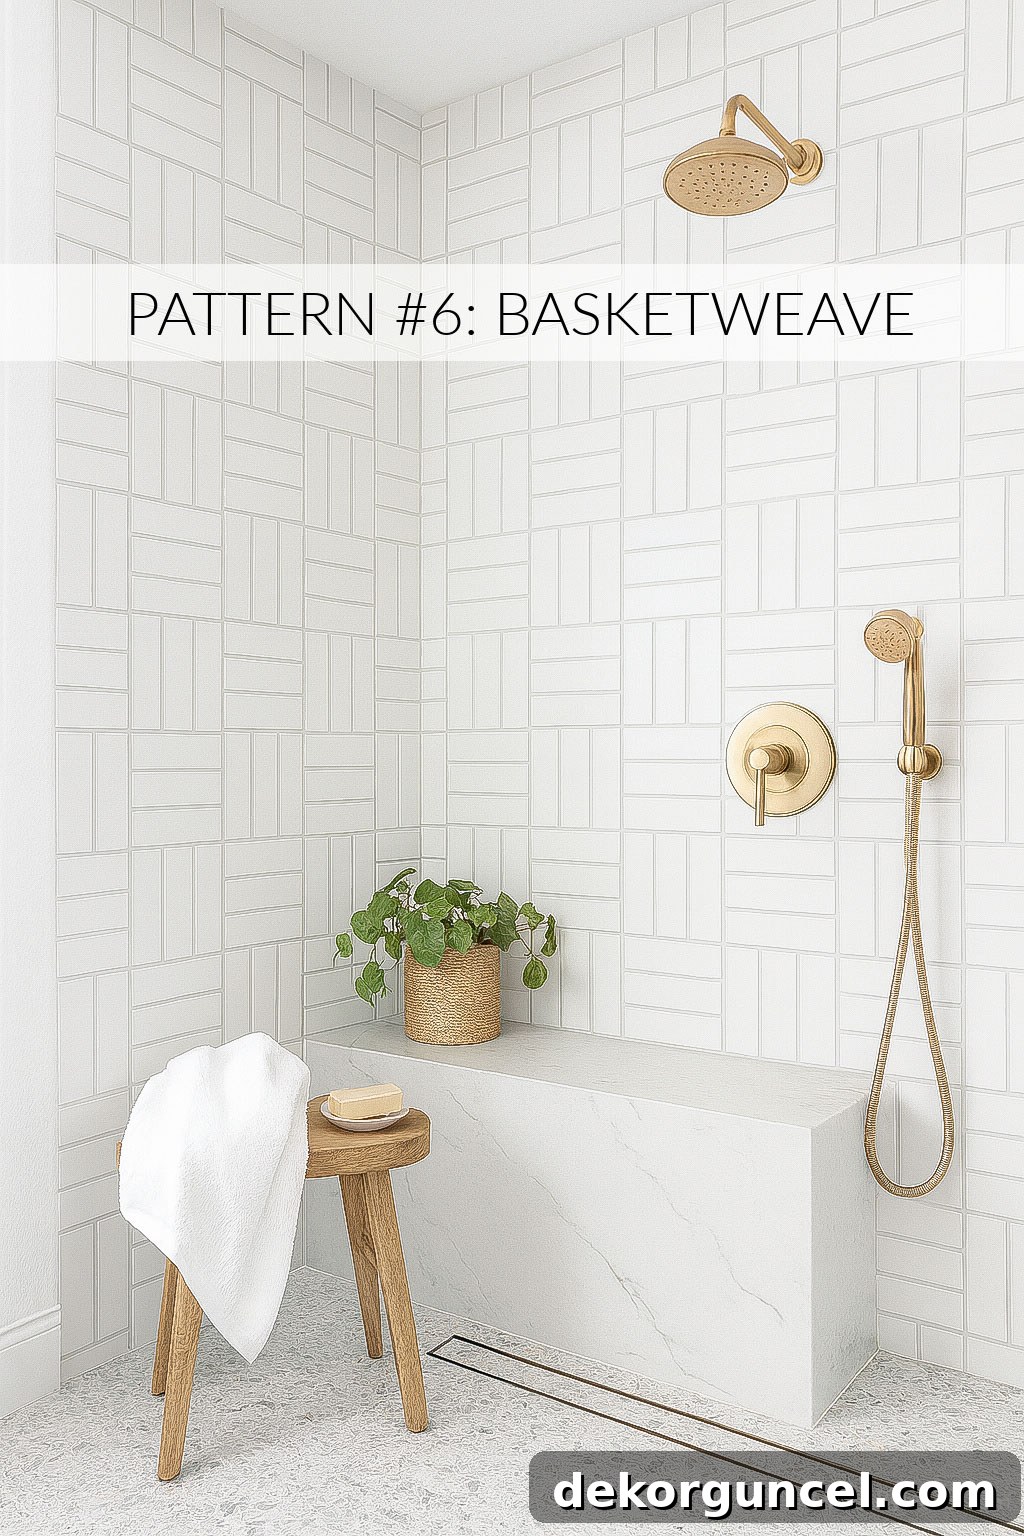
Why I love it: The basketweave pattern masterfully introduces a subtle yet captivating layer of visual pattern. It possesses a classic elegance that allows it to seamlessly integrate into traditional, transitional, and even more modern spaces, always feeling fresh and relevant. It’s particularly stunning when applied to a bathroom floor, a shower wall, or a kitchen backsplash where you desire something eye-catching and unique, but without being overpowering or too bold.
When to choose it: Consider basketweave for areas where you want to add a touch of artisanal craftsmanship and gentle pattern. It’s fantastic for smaller bathroom floors, shower niches, or as a feature strip in a larger tiled area.
Design tip: For the basketweave pattern to truly shine and maintain its precise, woven integrity, it works best with tiles that are exactly the same size and shape. Therefore, think twice and exercise caution if you are considering using this pattern with handmade tiles, which often vary slightly in size and thickness from piece to piece. Such variations can disrupt the clean lines and symmetrical arrangement essential for a flawless basketweave effect.
Take Time to Choose Your Grout Wisely!
I cannot stress enough the profound importance of your grout choice in any tiling project – the right grout can elevate your design, while the wrong one can significantly detract from it! It’s a critical element that deserves careful consideration and time to get it absolutely perfect. The relationship between your tile and grout can define the entire look of your installation.
A contrasting grout color will powerfully highlight the pattern and individual shape of each tile, making the chosen layout the undisputed star of the show. This approach creates a bolder, more graphic statement, drawing attention to the intricate details of your tile arrangement. On the other hand, opting for a grout color that blends closely and seamlessly with your tile creates a softer, more cohesive, and subtle look. This often results in a more tranquil and unified surface, allowing the texture or unique qualities of the tile to come forward without strong grid lines interrupting the flow.
Personally, I almost always lean towards a grout color that blends harmoniously with the tile because I appreciate the softer, more understated aesthetic it achieves. For detailed insights into my favorite gray grout colors – including the specific shade I wholeheartedly recommend when pairing with elegant marble subway tile – be sure to check out my comprehensive post on white subway tile with gray grout. Additionally, remember that proper maintenance is key to preserving your tile’s beauty. Always remember to seal your grout lines and any natural stone tiles to protect them effectively from staining and moisture penetration. For superior protection, I highly recommend using this impregnator penetrating sealer.
Transform Your Space with the Perfect Subway Tile Pattern
As you can see, subway tile, though classic, is anything but one-dimensional. The power to transform your space lies not just in the tile itself, but in the creativity and intention you bring to its layout. Each pattern offers a unique narrative, from the comforting familiarity of the running bond to the modern elegance of the vertical stack, the bold statements of herringbone and chevron, or the subtle sophistication of basketweave. By thoughtfully considering these options and the impact of grout color, you can craft a design that is truly tailored to your personal style and elevates the entire ambiance of your home.
As for our new build, I am incredibly excited to begin sharing my carefully curated tile, plumbing, and lighting selections with all of you very soon! We FINALLY navigated and successfully made it through our neighborhood’s notoriously strict Architectural Review Committee with our house plans (it was quite the journey, believe me!), so we are now just eagerly awaiting the structural engineer to finalize his part of the plans before we can proceed with permitting. We have high hopes of breaking ground and getting things moving next month, so please stay tuned for all the exciting updates!
XO,
