
Revitalize Your Home: A Budget-Friendly DIY Guide to Spray Painting a Dated Brass Fireplace
Dreaming of a home refresh but worried about the budget? Big renovations aren’t always necessary to achieve a significant impact. With a few simple tools and a couple of cans of spray paint, you can transform dated elements in your home, adding instant charm and modern appeal without breaking the bank. Today, we’re diving into how I gave our family room an instant facelift by tackling its most outdated feature: a brass fireplace. Get ready to learn the secrets to a stunning, budget-friendly fireplace makeover that will make your space feel less stuck in the past and more aligned with your personal style! (This post includes commissionable links to products I use and recommend; for more information, please see my full disclosure statement here)
From the Nineties to Now: Envisioning a Modern Family Room
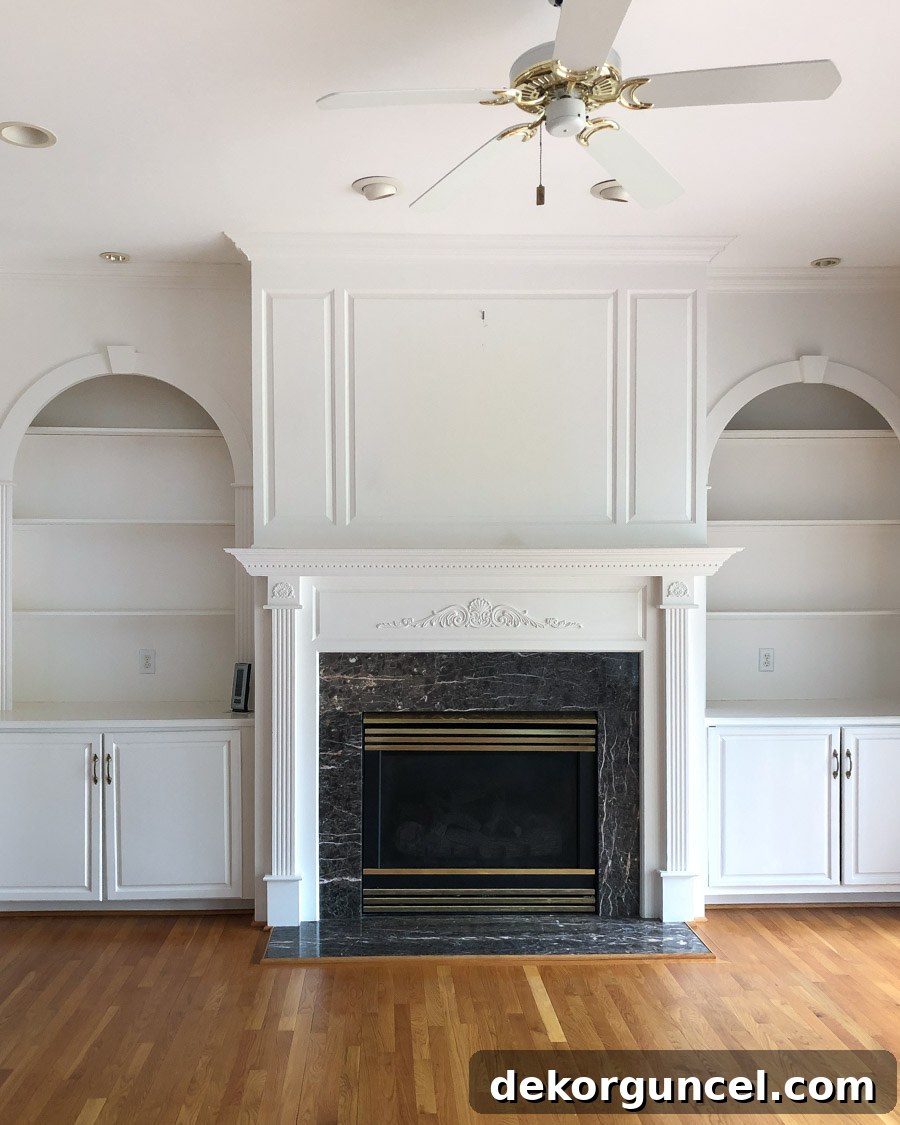
Our family room always boasted excellent architectural bones – soaring ceilings and elegantly arched built-in bookcases. However, it was undeniably anchored in the 1990s, particularly evident in the fireplace’s ornate scrollwork and the shiny brass accents gracing both the fireplace and the ceiling fan. These elements, while perhaps stylish in their era, created a visual dissonance that prevented the room from reaching its full potential.
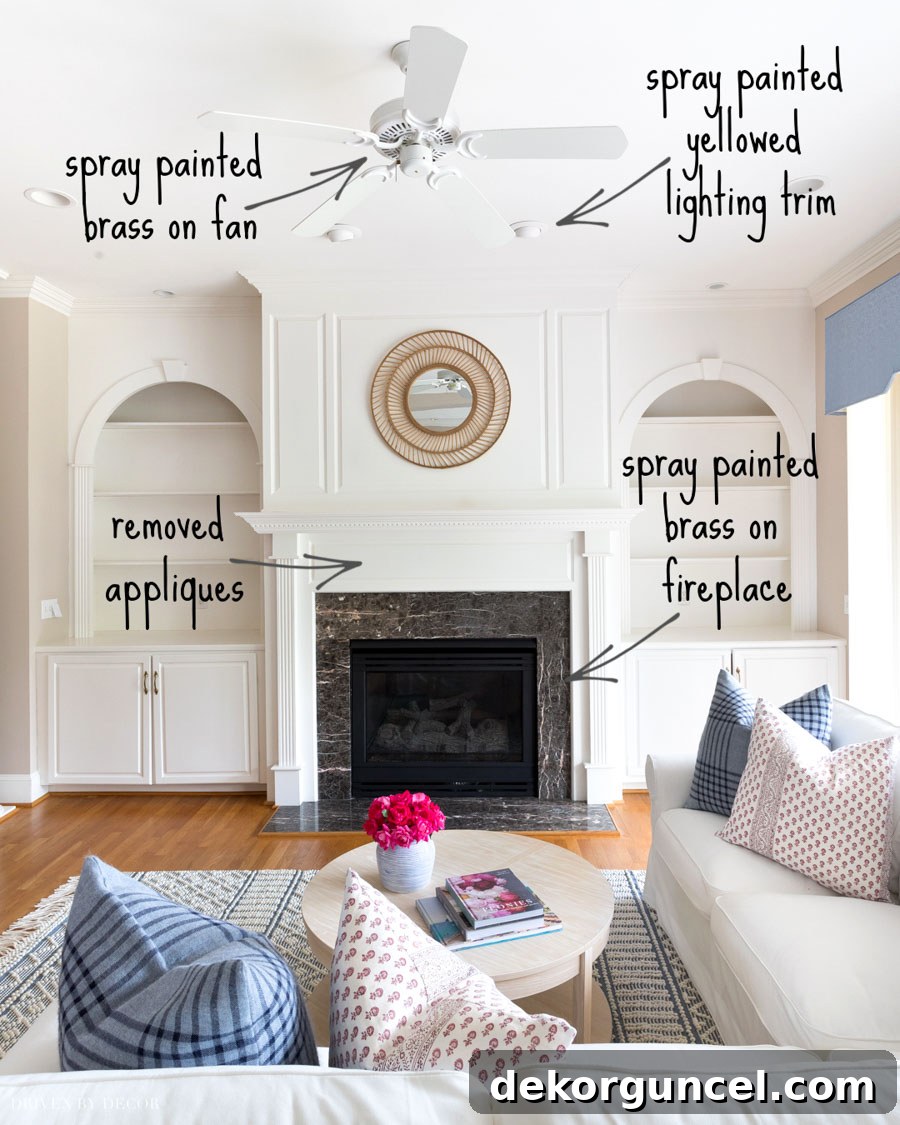
With a clear vision for a more contemporary and welcoming space, I knew that even without a massive overhaul, targeted updates could make a world of difference. By carefully removing the overly ornamental fireplace appliques and strategically employing three simple spray painting projects – the fireplace, a ceiling fan, and recessed light trims – the room is now significantly closer to the modern, elegant sanctuary I’ve always envisioned.
Painting the Brass Accents on Our Dated Fireplace: A Step-by-Step Guide
While a complete fireplace remodel – including replacing the brown marble surround – was a future goal, I recognized that immediate, impactful changes could dramatically improve the room’s feel. Tackling the shiny brass trim was the most obvious and effective first step. This project proves that you don’t need extensive construction to achieve a fresh, updated look.
Step 1: Removing Decorative Appliques for a Cleaner Look
The very first item on my list was to address the large, decorative wooden applique situated in the center of the fireplace. This element contributed significantly to its outdated appearance. Its removal instantly streamlined the fireplace’s profile and prepared it for a more modern aesthetic.
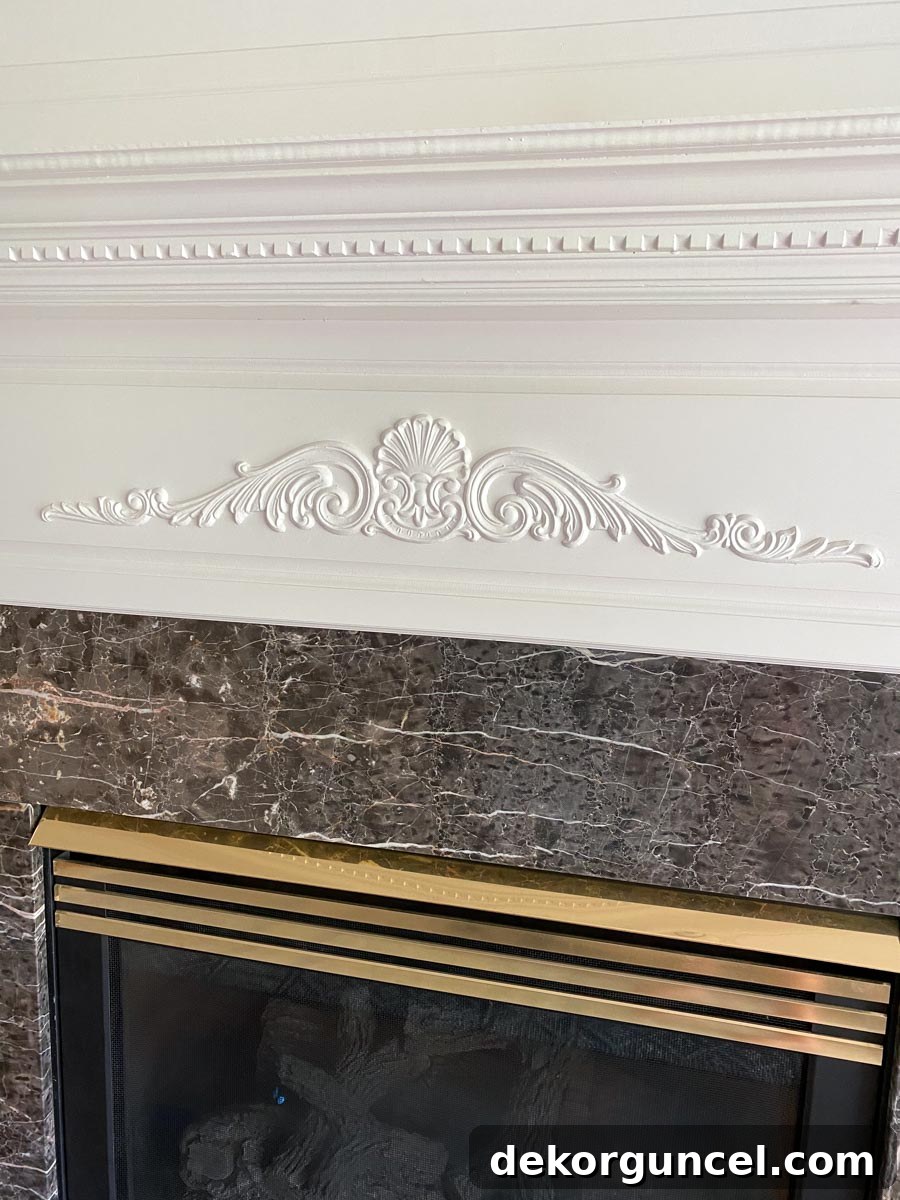
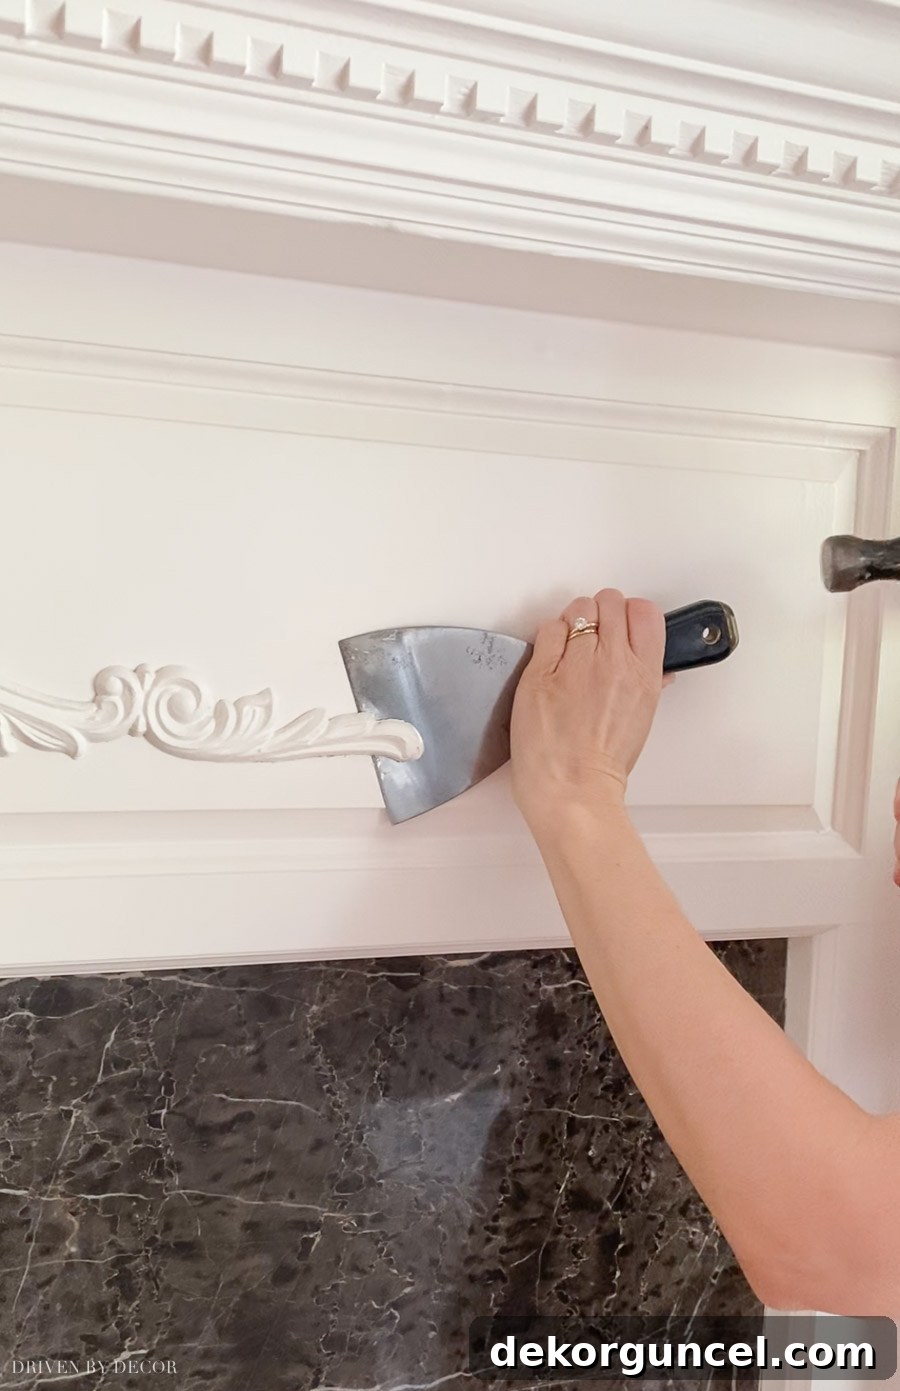
To carefully remove the applique without damaging the underlying surface, I used a putty knife and a hammer. Gently inserting the putty knife behind the applique and tapping with the hammer allowed me to pry it away from the fireplace face. Once removed, I filled any minor gashes, scratches, or nail holes left behind with wood filler, ensuring a smooth and even surface. After the filler dried, I sanded the area flush and then repainted it using the original paint (conveniently, the previous homeowners had left some behind!). This preparation work is crucial for achieving a seamless finish later on.
Step 2: Disassembling the Fireplace Front
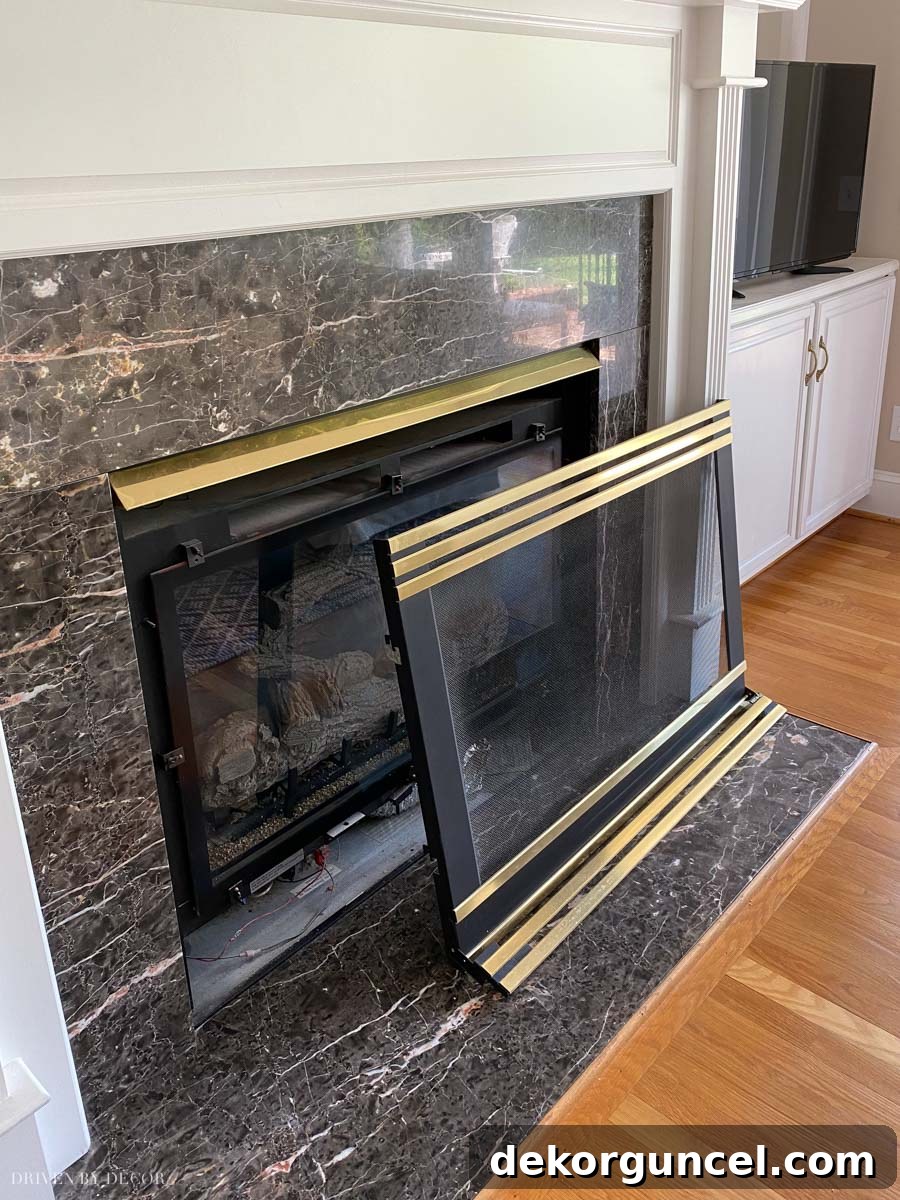
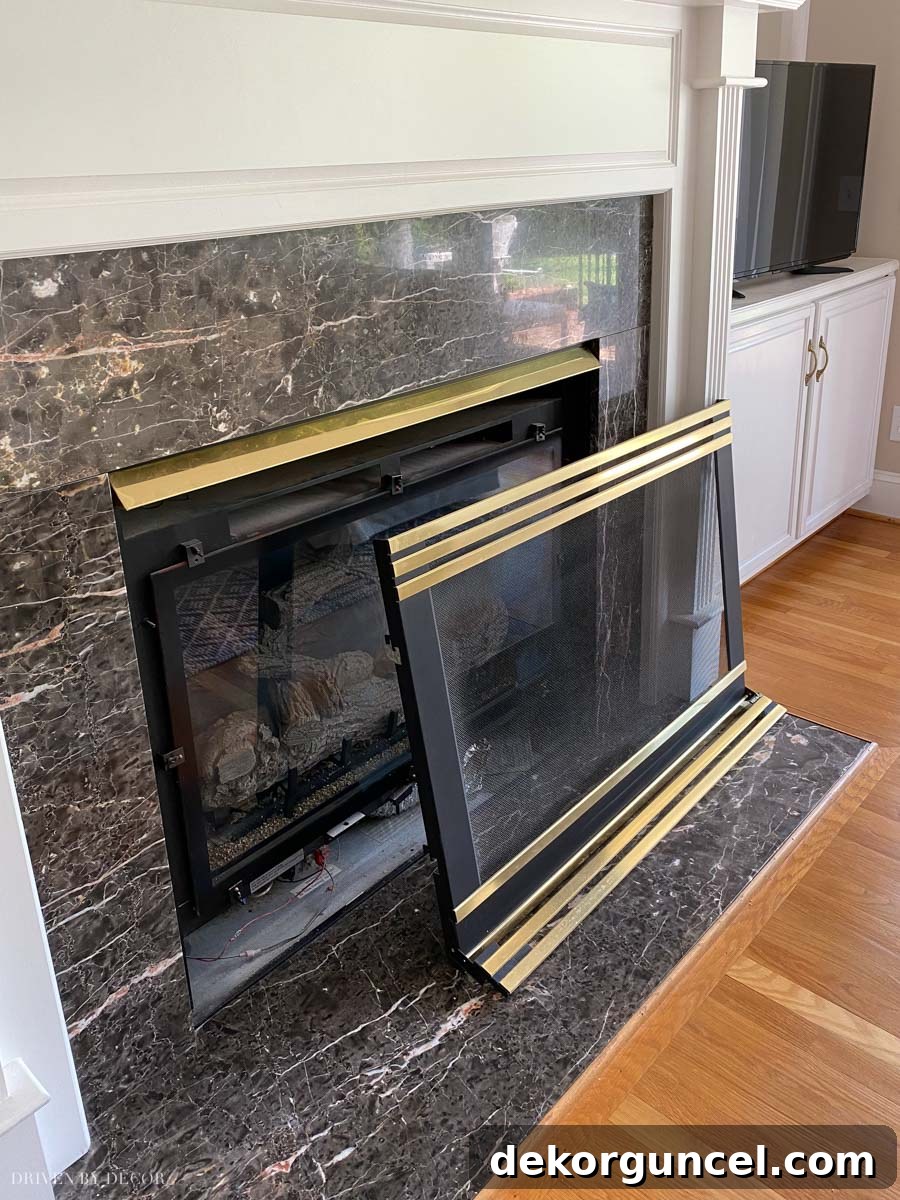
With the applique removed, I moved on to the main event: spray painting the glaring 90s brass trim on the fireplace. For the best results and easiest application, I decided to remove the entire front cover of the fireplace. This step was surprisingly straightforward – a simple lift-and-pull motion detached it from the main structure. Always check your specific fireplace model for removal instructions, but many are designed for easy detachment for cleaning and maintenance.
Step 3: Thorough Cleaning and Sanding for Optimal Adhesion
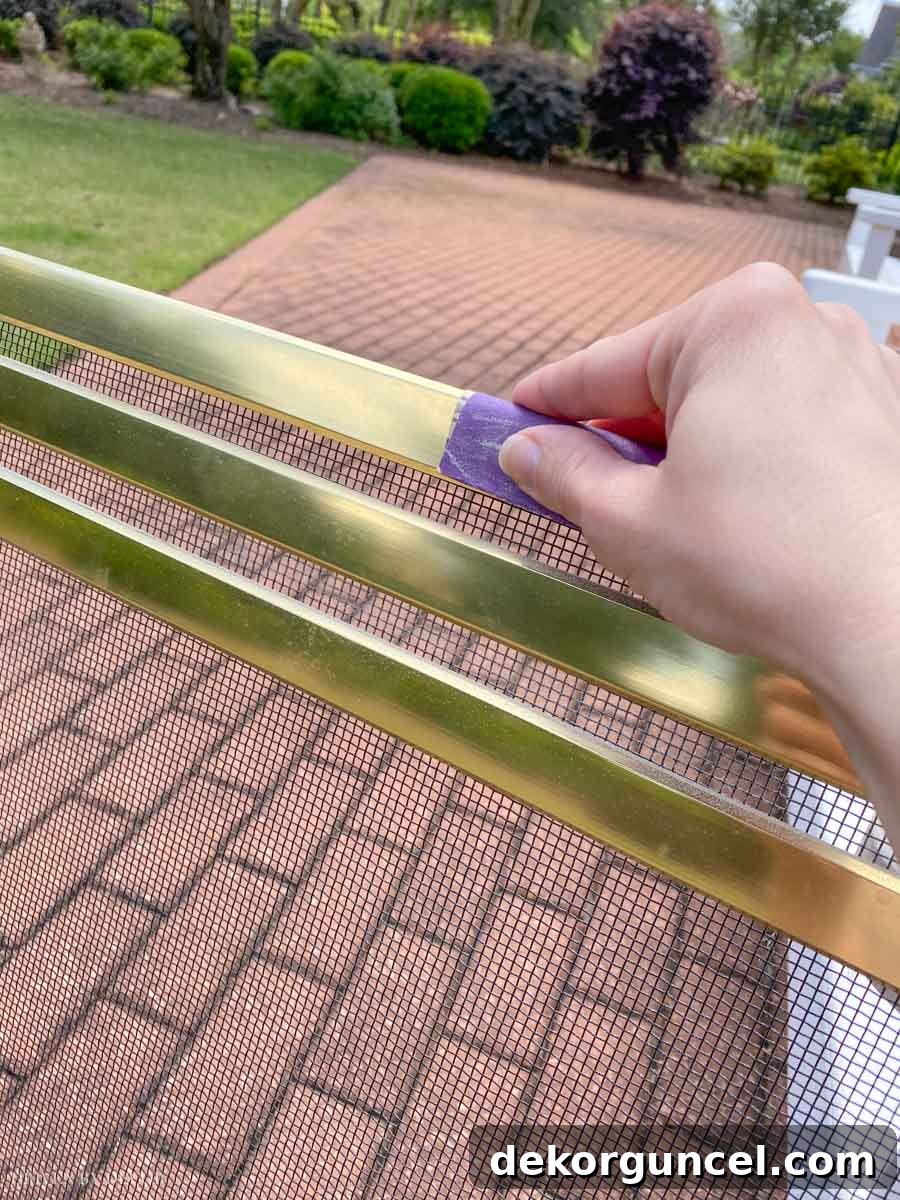
The importance of proper surface preparation cannot be overstated. Before applying any paint, it’s crucial to thoroughly clean and lightly sand the brass components. This scuffing action creates microscopic etches on the smooth, non-porous surface of the brass, allowing the paint to adhere much more effectively and ensuring a durable, long-lasting finish that resists chipping and peeling. I used 220-grit sandpaper to gently abrade all the brass areas. This isn’t about removing the brass, but rather about creating a ‘key’ for the paint.
After sanding, meticulously wipe down the entire surface with a damp cloth to remove all sanding dust, grime, and any other residue. For stubborn dirt or grease, a mild soap and water solution followed by a clean water rinse is recommended. Ensure the surface is completely dry before proceeding to the next step. Any lingering dust or moisture can compromise paint adhesion and lead to an uneven or flawed finish.
Step 4: Meticulous Masking with Painter’s Tape
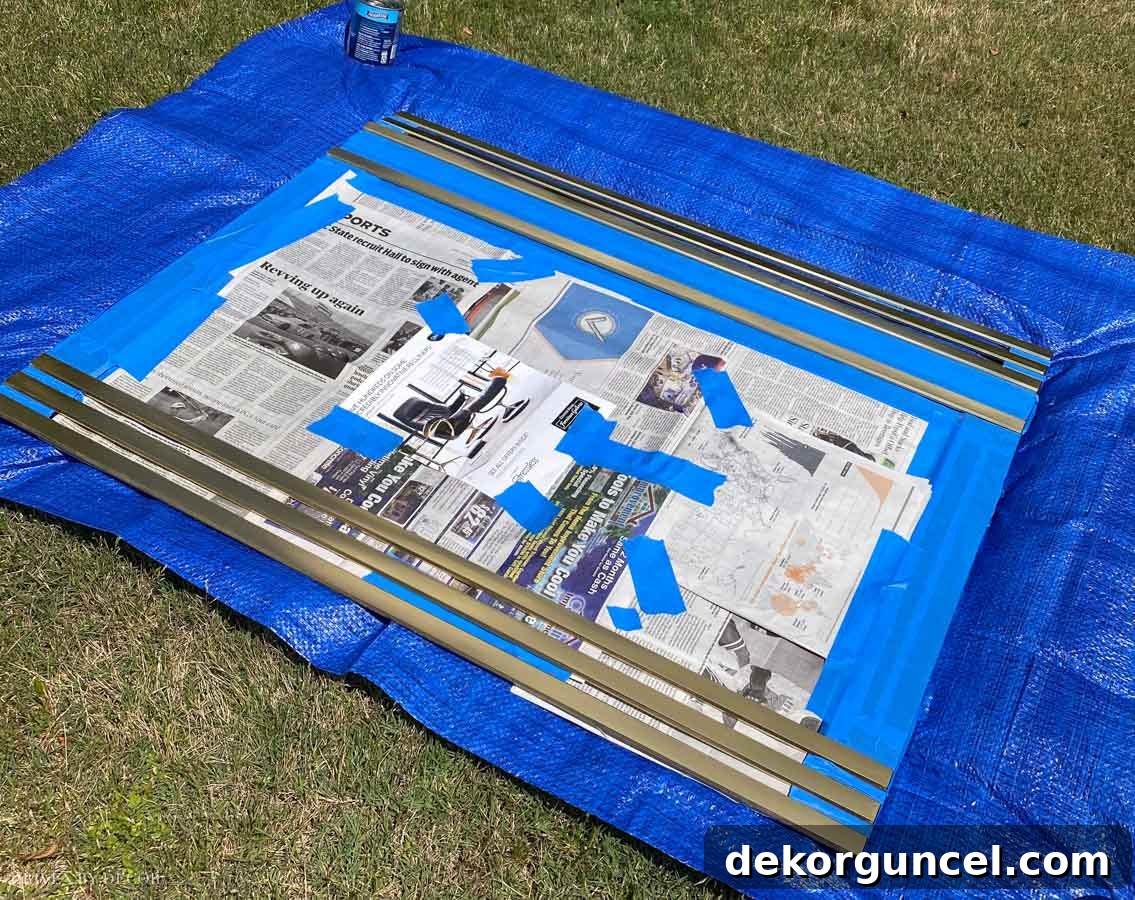
Once the brass was prepped, the next critical step was to mask off any areas I did not want to be painted. This included the fireplace screen and any existing black parts of the frame. I used painter’s tape to carefully cover these sections. While I used tape I already had on hand, delicate surface tape is often recommended for cleaner lines and easier removal, especially on surfaces you want to protect from adhesive residue.
A personal lesson learned during this project: if I were to do it again, I might consider prepping and spray painting the entire front of the fireplace, excluding the screen. Even though the existing black parts of my fireplace front were in good condition, after applying fresh paint to the brass, the older black areas appeared somewhat dull and dingy in comparison to the newly painted, vibrant finish. This holistic approach would ensure a uniform, factory-like appearance for the entire frame.
Step 5: Choosing the Right High-Heat Spray Paint
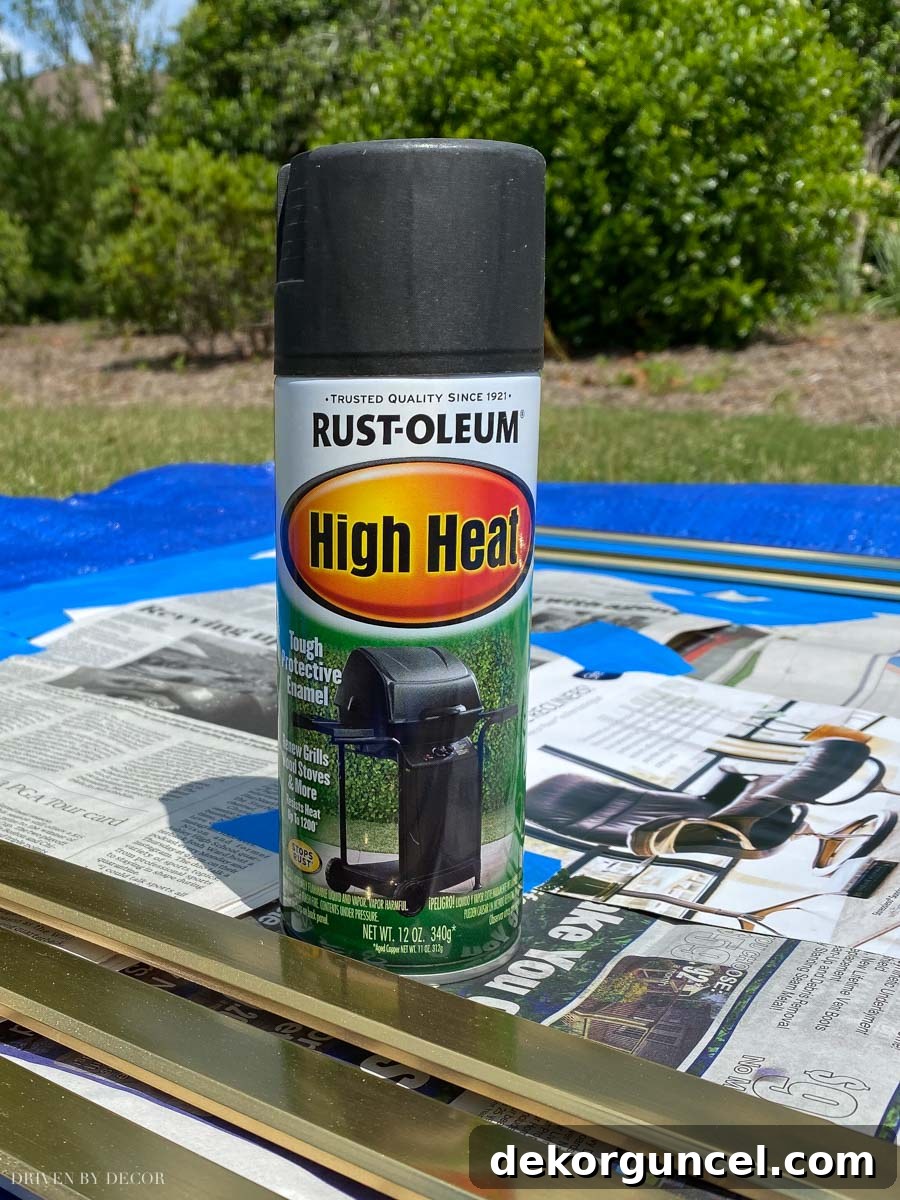
For a project like a fireplace, selecting the correct paint is paramount. Standard spray paints are not designed to withstand the high temperatures generated by a fire. Therefore, it’s essential to use a high-heat enamel spray paint formulated specifically for surfaces exposed to extreme heat, such as fireplaces, wood-burning stoves, and grills. I opted for this spray paint in a Bar-B-Que black, which provides a durable, matte finish perfect for a modern fireplace. Unlike many other paints, a primer is typically not required (and often not recommended) for high-heat paints, simplifying the process.
Step 6: Mastering the Spray Painting Technique
Before you begin, ensure you’re working in a well-ventilated area, preferably outdoors on a day with minimal wind, to prevent overspray and allow for proper fume dissipation. Always wear appropriate protective gear, including eye protection, gloves, and a mask, to safeguard against paint particles and fumes.
Shake the spray can thoroughly for at least one minute after the mixing ball begins to rattle. This ensures the paint is well-mixed for even coverage. Hold the can approximately 12-16 inches away from the surface you’re painting. Apply the paint in light, even coats, moving the can back and forth in continuous, sweeping motions. Avoid holding the can in one spot, as this can lead to drips and an uneven finish. The goal is to build up thin layers, not to achieve full coverage in one go. Here’s what it looked like after the first thin coat:
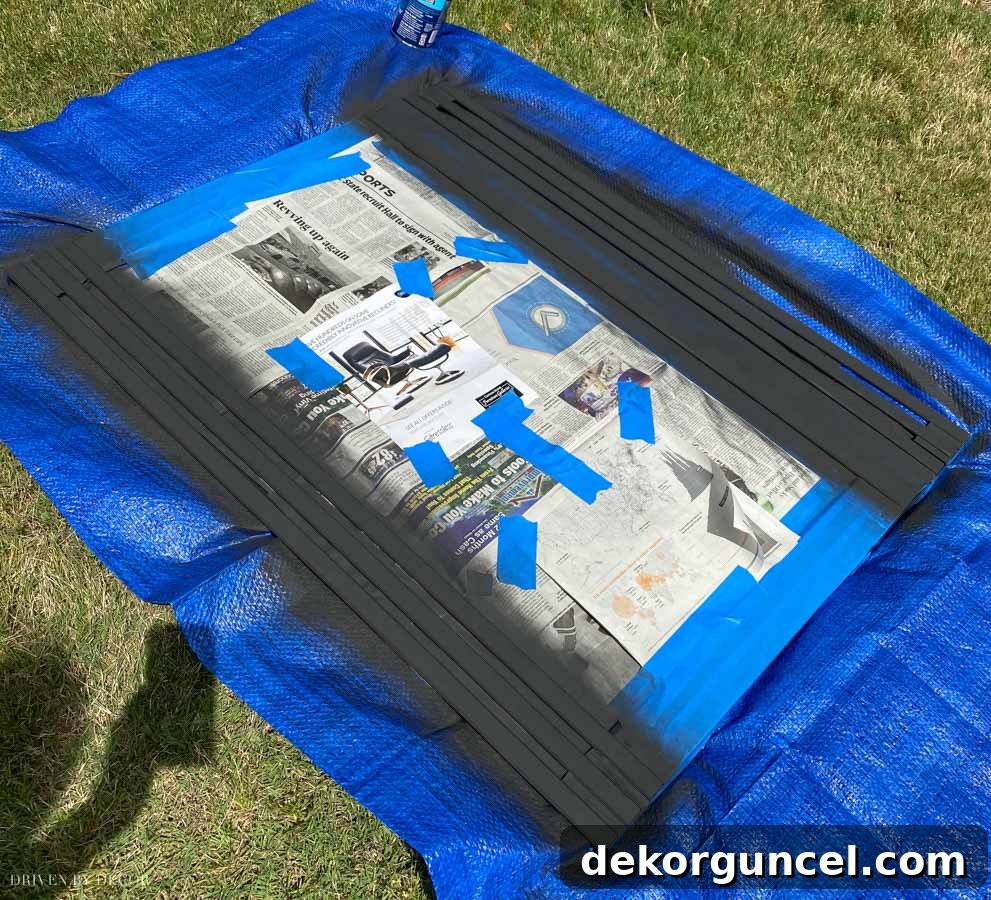
Pay close attention to the recoat time specified on your chosen spray paint. High-heat paints often have unique recoating windows. For the paint I used, you must recoat within an hour OR wait a full 48 hours. Missing the one-hour window means you’ll need to wait two days before applying another coat to ensure proper adhesion and curing. The paint typically dries to the touch relatively quickly (around 15-30 minutes), allowing for subsequent thin coats within the specified window. I applied a second thin coat approximately 15 minutes after the first. Once your final coat is dry to the touch, carefully remove all painter’s tape from the protected areas, pulling it off slowly at a 45-degree angle to avoid lifting any fresh paint.
Step 7: Addressing Fixed Brass Elements
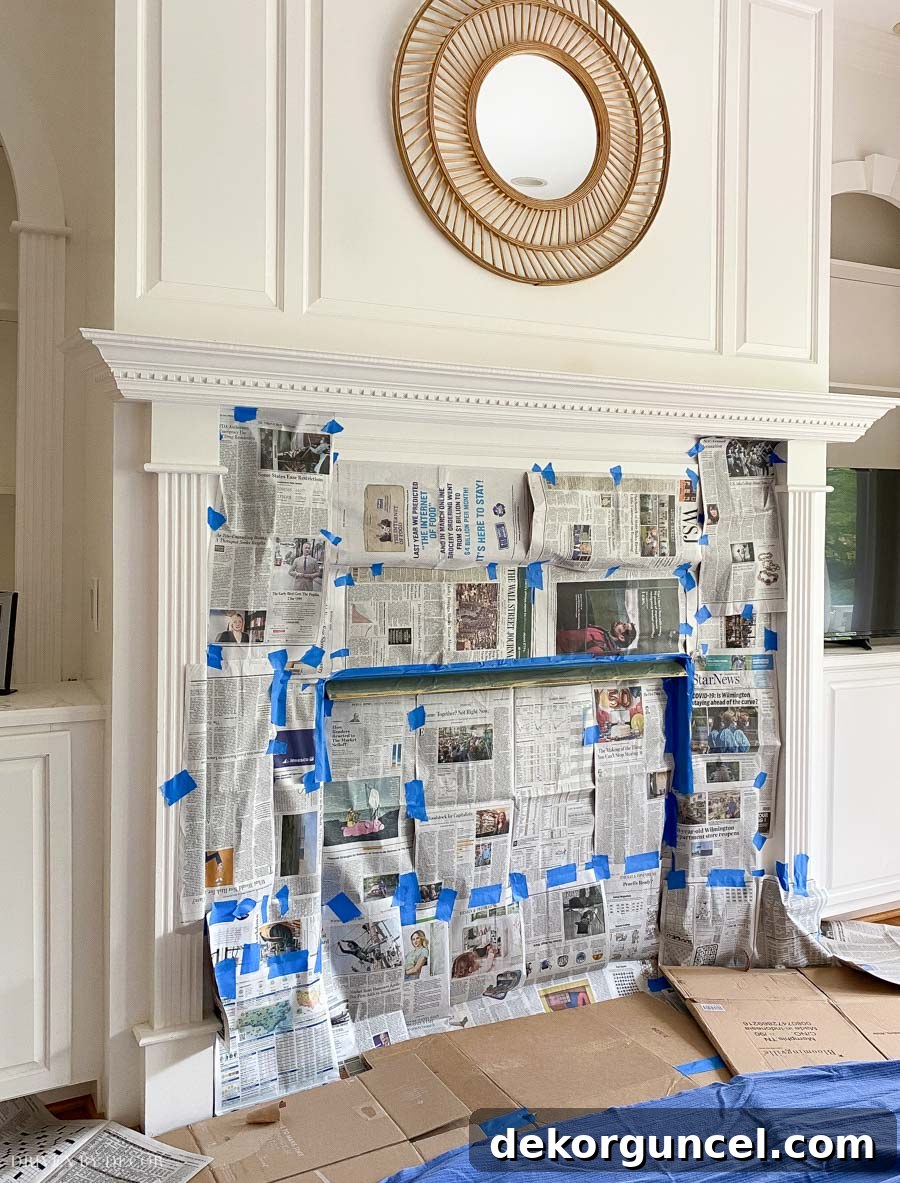
My fireplace also featured a single brass strip at the very top of the fireplace opening, which could not be easily removed. For such fixed elements, precise masking is even more critical. I surrounded the entire area with newspaper, securing it thoroughly with painter’s tape to protect the surrounding mantel and wall from any overspray – an instance where going “overboard” with protection is definitely preferable to damage! After ensuring complete coverage, I followed the same preparation steps of light sanding and cleaning. Then, I applied two thin coats of the high-heat spray paint, maintaining the same distance and sweeping motions, ensuring even coverage on this delicate strip.
Step 8: Reassembly and Curing
After all painted surfaces were thoroughly dry and cured to the touch, I carefully rehung the front fireplace piece. It’s important to allow the paint ample time to fully cure before exposing it to high heat. While it may be dry to the touch, full curing can take several days or even weeks, depending on the product. Refer to the paint manufacturer’s instructions for specific curing times and recommended procedures for first use, which often involve a gradual heating process to ensure the paint hardens properly and prevents bubbling or peeling.
The transformation is truly remarkable. Here’s one last look at the “before”:
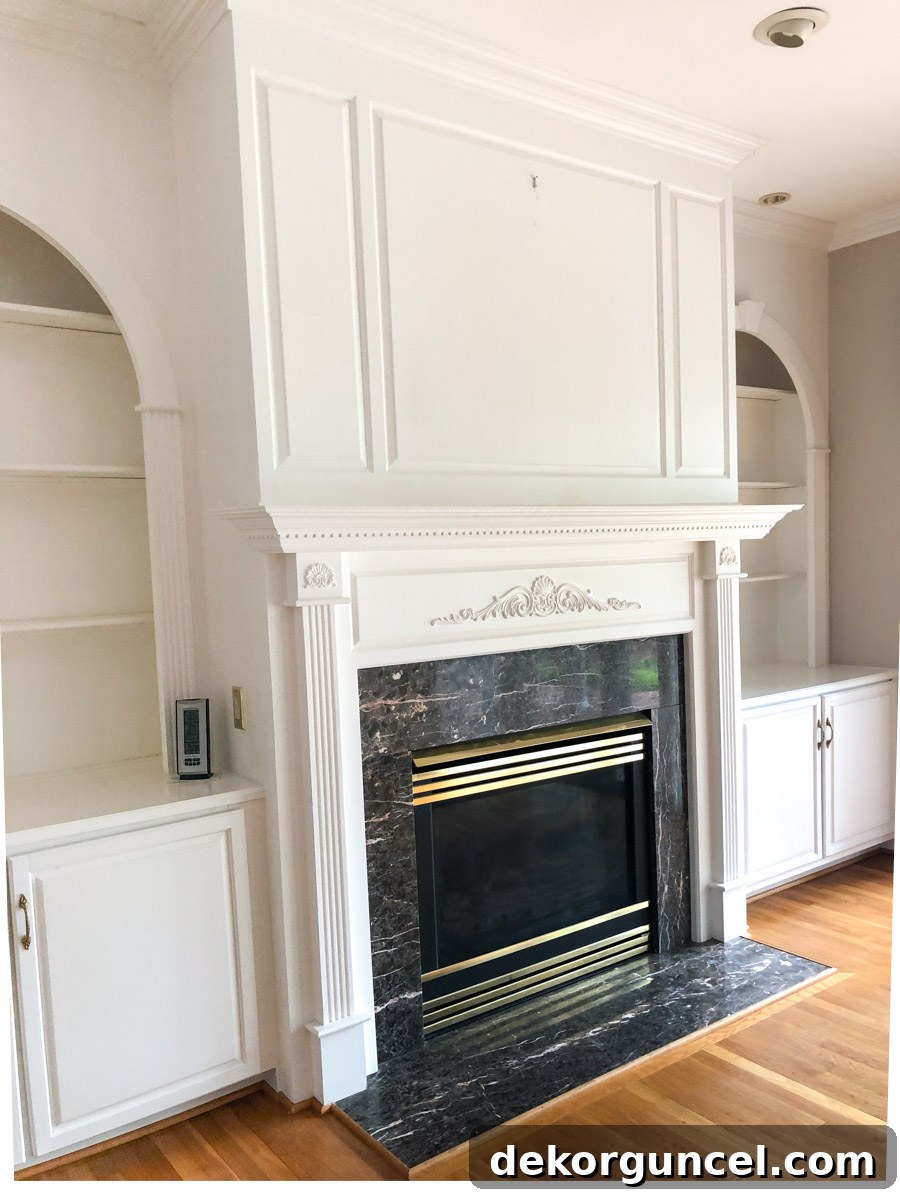
And now, the stunning “after”:
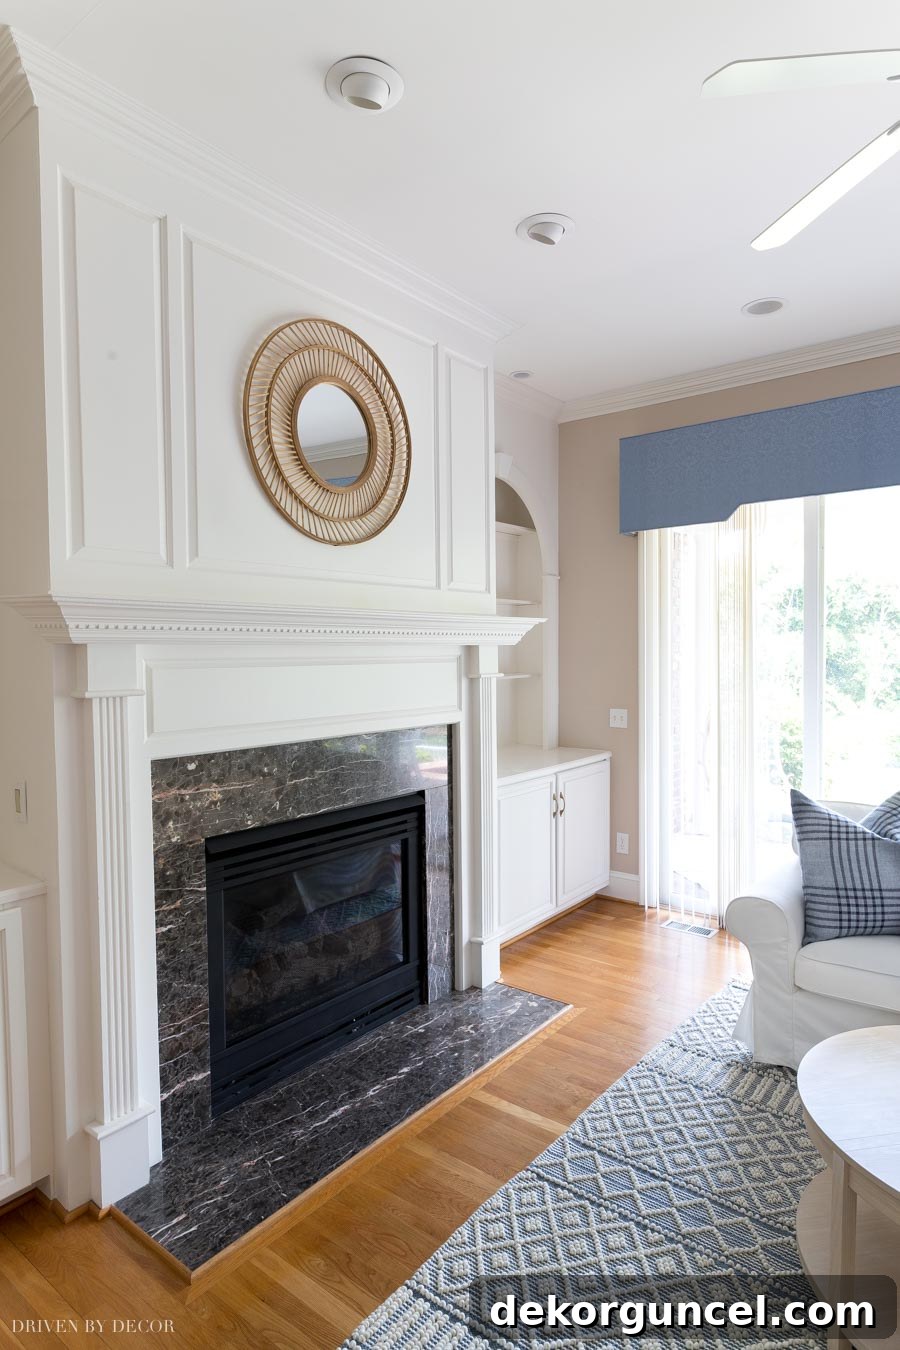
This simple spray paint project breathed new life into our family room, proving that a little effort and the right materials can yield dramatic results. A few years later, we did undertake a full fireplace remodel. You can see its completely new look, including installing a TV above our fireplace, in that detailed post!
Unlock More Home Transformations with Spray Paint
The power of spray paint extends far beyond just fireplaces! It’s an incredibly versatile tool for updating various elements throughout your home on a budget. If you’re inspired by this fireplace makeover, consider these other impactful spray paint projects:
- Recessed Light Trim: Those dated gold or white trims on your recessed lights can instantly modernize with a fresh coat of spray paint. Learn how to paint recessed light trim for a clean, cohesive ceiling.
- Ceiling Fans: Just like the fireplace, a brass or discolored ceiling fan can detract from a room’s aesthetic. A few coats of spray paint can turn an old fan into a stylish fixture. Discover how to paint a ceiling fan to match your decor.
- Hardware and Fixtures: Door handles, cabinet pulls, light fixtures, and even picture frames can all be updated with spray paint, giving them a fresh look without the cost of replacement.
- Decorative Accents: Vases, planters, small furniture pieces, and decorative objects can be reimagined with a new color or finish, tying into your room’s design more effectively.
With a little creativity and the right technique, spray paint can be your secret weapon for making your home feel refreshed, modern, and perfectly you!
