
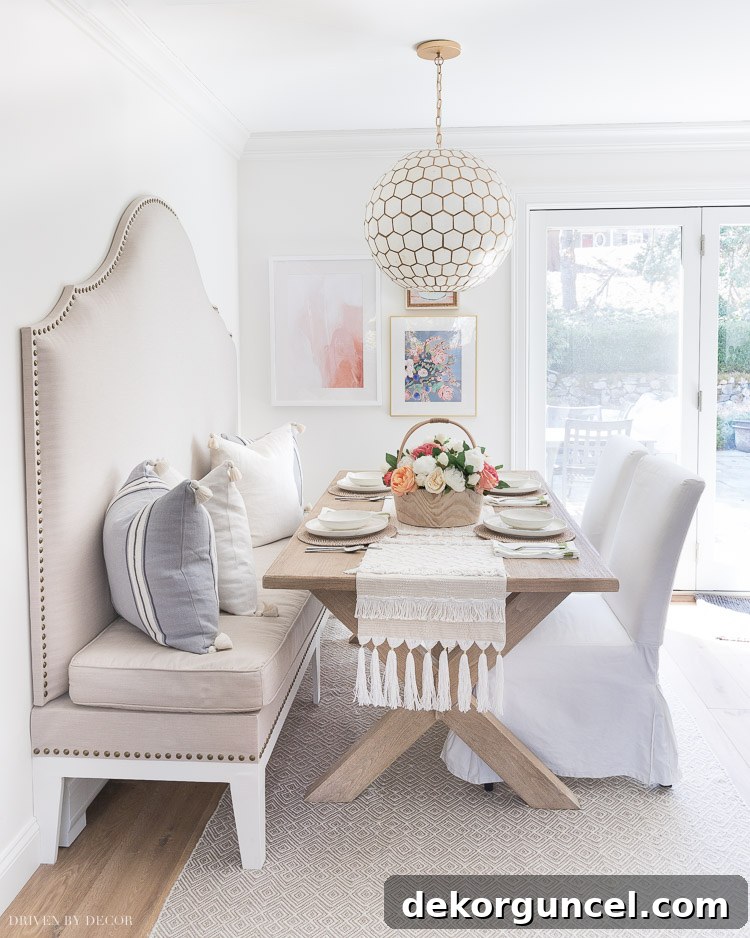
Discover the secret to protecting your beloved wood furniture, like Restoration Hardware and Pottery Barn tables, without sacrificing their natural beauty or rich finish. This comprehensive guide reveals a tried-and-true method that keeps your wood tables pristine, avoiding the common pitfalls of darkening or unwanted shine.
For years, the question echoed: “How do you protect your beautiful Restoration Hardware and Pottery Barn wood tables in the kitchen?” Many sought to know if a special sealant was involved, curious about preserving the original aesthetic without altering the wood’s inherent character. The answer is a resounding “yes,” and the journey to uncover this optimal protection method involved extensive research, experimentation, and a deep understanding of wood finishes. Today, I’m thrilled to share the detailed insights and step-by-step process I meticulously developed to seal both of our cherished wood tables, ensuring their lasting beauty and durability. From product selection to application techniques, everything you need to know is right here. (This post includes affiliate links; a full disclosure statement is available here.)
The quest for the perfect wood sealant can be daunting, with numerous products promising protection. However, a crucial criterion for me was finding a solution that would not significantly darken the wood’s natural color or impart an undesirable shiny finish. My first significant piece was a Restoration Hardware Dumont dining table – a stunning example of rustic elegance (though no longer available, this trestle table offers a very similar aesthetic).
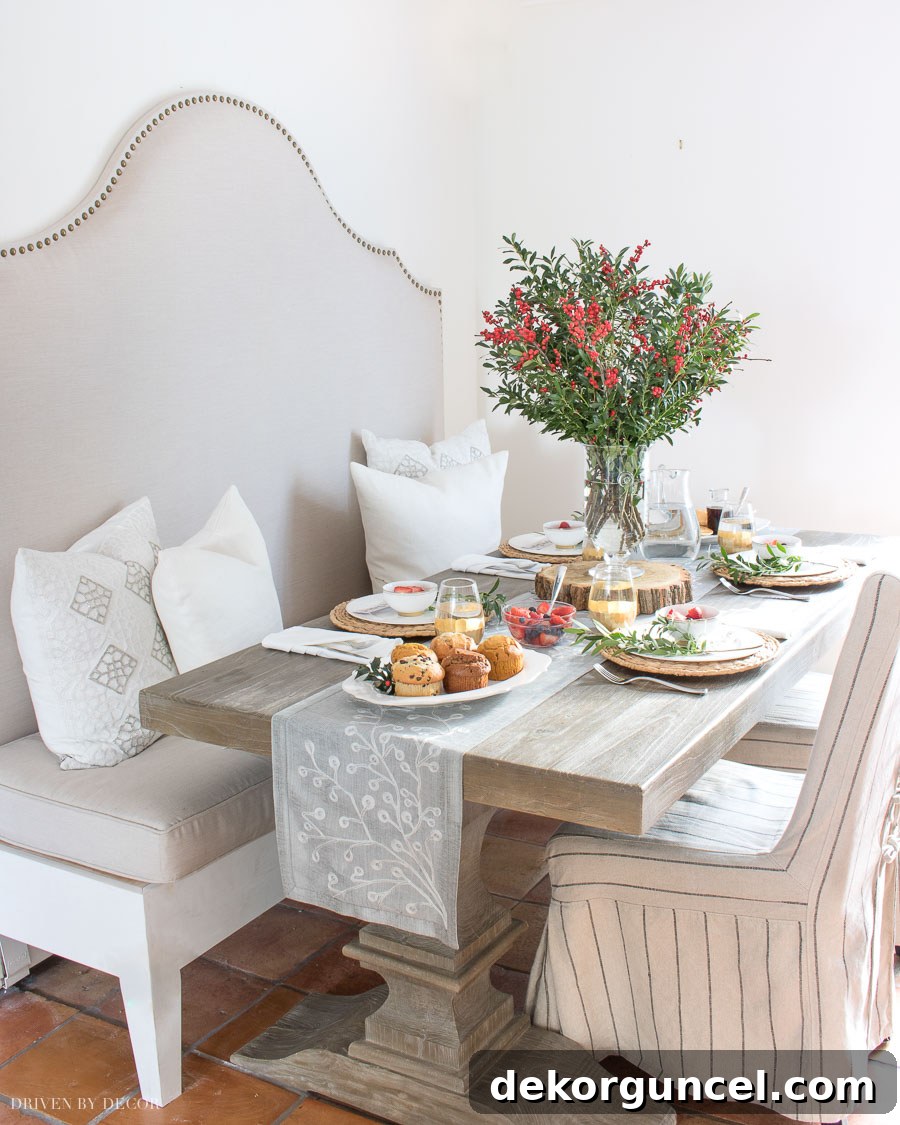
To embark on this mission of finding the ideal protection, I strategically acquired a wood sample directly from Restoration Hardware. This allowed for controlled testing, enabling me to evaluate various sealants without risking damage to the actual table. My initial experiments focused on two popular options: clear polyurethane and Waterlox. While both are renowned for their protective qualities and are excellent choices for many applications, my tests quickly revealed a significant drawback for my specific objective. As anticipated, both sealers noticeably darkened the color of my wood sample, fundamentally altering the natural warmth and depth I sought to preserve. This outcome confirmed my suspicions and sent me back to the drawing board, determined to find a superior solution that honored the wood’s original hue. After further intensive research and another round of meticulous experimentation with a fresh wood sample, the answer finally emerged: clear wood furniture wax. This method proved to be the quintessential choice, offering robust protection without virtually any alteration to the wood’s inherent color or finish, making it perfect for preserving the pristine look of high-end furniture.
Implementing the precise steps and utilizing the specific products detailed in the following sections, I applied a protective wax finish to our table. The results have been nothing short of remarkable. After several years of continuous use – initially as our main kitchen dining table and subsequently in our home office – the table remains absolutely pristine. There isn’t a single mark, stain, or sign of wear, a testament to the exceptional protective capabilities of clear wood wax when applied correctly. This enduring performance truly validated the extensive research and effort invested in finding this ideal solution, proving that you can indeed protect your wood table without compromising its aesthetic integrity.

The elegant ceiling light featured here can be found here. For a comprehensive list of all sources and decor elements in our home office, click here.
While waxing proved to be an exceptionally effective and aesthetically pleasing solution for our tables, it’s crucial to offer a transparent disclaimer regarding its durability compared to other sealants. In our household, we certainly encounter our share of mealtime spills and daily use, but we are generally quite gentle with our furniture. We don’t have young toddlers actively banging utensils on the surfaces or little ones racing Matchbox cars across them – scenarios that some households might routinely experience. For environments subjected to more intense wear and tear, it’s important to acknowledge that polyurethane and Waterlox sealers inherently offer a more robust, harder-wearing protective layer than wax. These film-forming finishes create a very hard shell, making them ideal for high-traffic areas or commercial settings. You can delve deeper into the application and benefits of Waterlox in this detailed post. Therefore, the decision ultimately rests with you: weighing the unparalleled aesthetic preservation of a non-darkening wax finish against the higher impact resistance offered by harder sealants that will inevitably alter your wood’s color. For my specific needs and the desired visual outcome – maintaining the authentic, light wood tone – the trade-off of a slightly less rigid protection for a perfectly preserved, natural wood appearance was undoubtedly worth it.
Our kitchen renovation brought with it the opportunity to select a new dining table. I chose Pottery Barn’s Toscana Dining Table in the elegant Seadrift finish (available here). Drawing upon the success of my previous project, I sealed this new table using the exact same waxing method and products as I did for our Restoration Hardware table. Once again, the results were incredibly satisfying, yielding a beautifully protected surface that maintained its original color and appeal perfectly. This further solidified my confidence in clear wood wax as the premier choice for protecting natural wood finishes without darkening them.
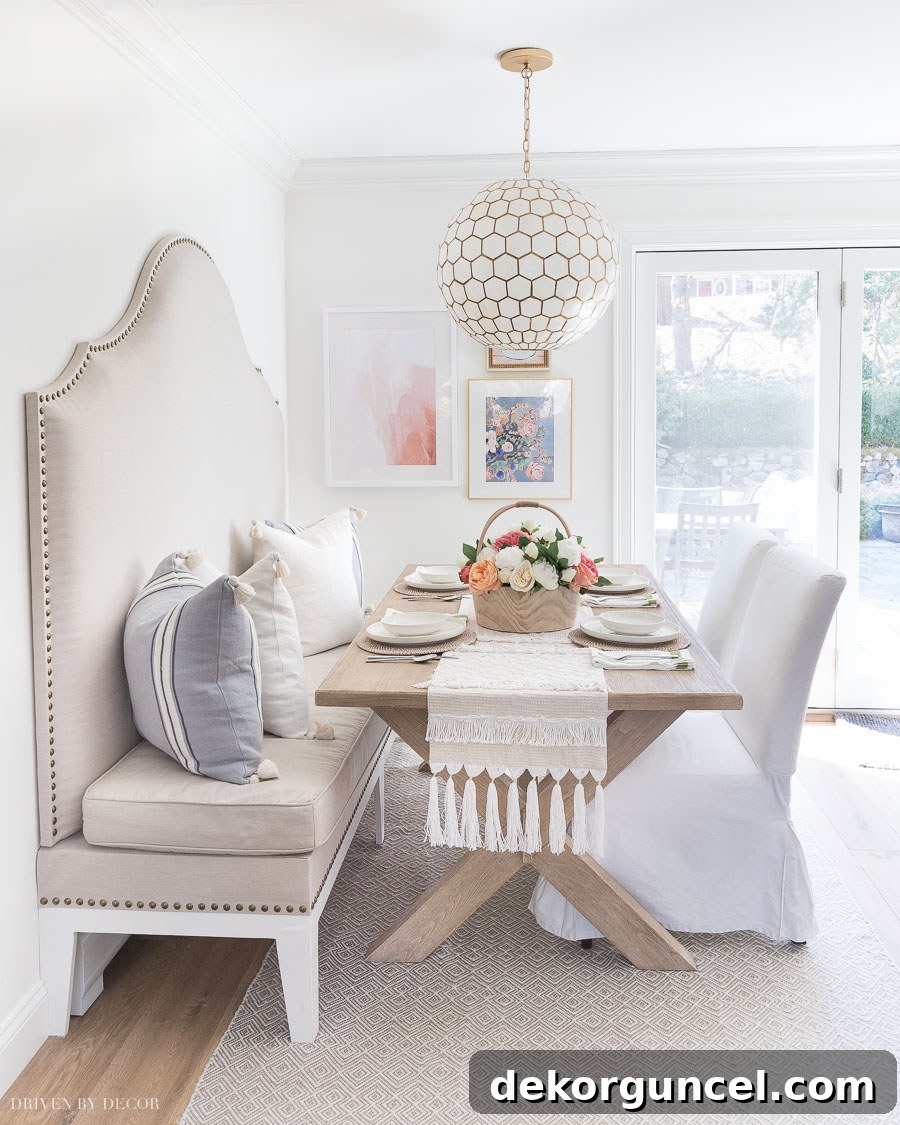
Decor & Furniture Sources: Capiz pendant light | Geometric gray area rug | Blue stripe pillow covers | Cream tassel pillow covers | Realistic faux peonies | Woven rattan chargers | Large blush abstract framed art | Blue floral framed art print | Pink floral framed art print | Slipcovered dining chairs (a very similar style) | Table runner is no longer available.
Now, let’s dive into the practical application. Here’s a comprehensive, step-by-step guide to achieving the same beautifully protected, natural wood finish on your own tables:
1. Thoroughly Clean Your Table Surface
The foundation of any successful wax application is an impeccably clean surface. Wax, by nature, will seal in whatever lies beneath it, meaning any trapped dust, grime, or particles will become a permanent, undesirable feature, visible through your clear finish. Therefore, a thorough cleaning is not just recommended, but absolutely essential to ensure a smooth, flawless result. To prepare my tables, I begin by mixing a single drop of clear, gentle dishwashing liquid (such as Dawn or Palmolive) into a bowl of warm water. This creates a mild cleaning solution that effectively lifts surface dirt, grease, and grime without being harsh on the wood. I then dampen a high-quality microfiber cloth with this solution, ensuring it’s not saturated but merely damp enough to clean. It’s crucial to wring out any excess water thoroughly, as too much moisture can be detrimental to wood, potentially causing warping or swelling. With the damp cloth, I meticulously wipe down the entire table surface, working in small sections to ensure comprehensive coverage and address any stubborn spots.
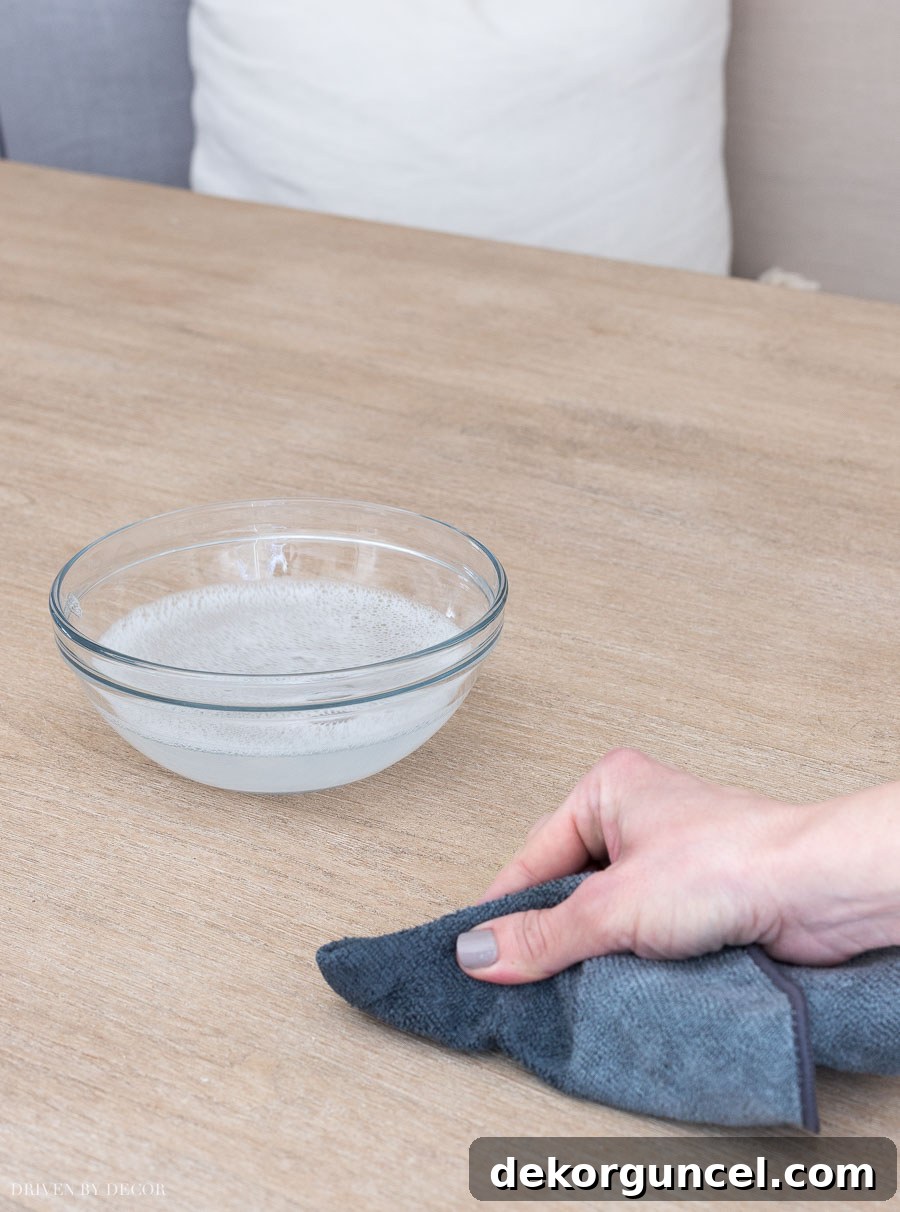
Following the initial cleaning, I use a separate, clean microfiber cloth dampened with plain warm water to wipe down the table again, ensuring all soap residue is completely removed. Soap residue can interfere with wax adhesion or leave a cloudy finish. Immediately afterward, I use a third, dry microfiber cloth to absorb any remaining moisture, leaving the surface as dry as possible. The table must then be allowed to air dry completely, which can take some time depending on humidity levels and air circulation. Patience here prevents moisture from being trapped under the wax. Once fully dry to the touch, the final step in preparation is to gently run a tack cloth (like these options) over the entire tabletop. This specialized cloth is designed with a slight stickiness to pick up even the most minute dust particles, lint, or debris that might be invisible to the naked eye, guaranteeing an absolutely dust-free and perfectly prepared surface for waxing. This meticulous cleaning ensures your wax application will be flawless.
2. Prepare Your Wax and Application Tools
Selecting the right wax is paramount for achieving a truly clear, non-darkening finish. While several brands of clear wax are available, some may not dry as transparently as others, potentially leaving a slight haze or tint that subtly alters your wood’s color. My top recommendation is Crystal Clear Paste Wax, readily available here. This soft wax is exceptionally user-friendly, gliding on smoothly and, most importantly, drying to an authentically clear, invisible finish that lets the natural wood grain shine through. If this particular product is temporarily out of stock, a highly comparable alternative is this carnauba-based wax, which shares similar properties and should yield excellent results due to its hard, clear nature. For application, while a lint-free cloth like an old t-shirt can work in a pinch for smaller projects, a dedicated waxing brush offers superior control, even application, and efficiency, especially for larger surfaces like dining tables. I highly recommend a waxing brush such as this one, specifically designed with curved bristles that conform to surfaces and help work the wax into the wood grain effectively without scratching. To prepare for waxing, scoop a small, coin-sized amount of wax out of its can and place it onto a clean plastic or paper plate. Then, gently dab your waxing brush onto the wax, just enough to lightly cover the very ends of the bristles. Crucially, offload any excess wax by dabbing the brush on a clean section of the plate. This step ensures you avoid applying too much wax, which is a common mistake and can lead to streaks, a tacky residue, or an uneven finish:
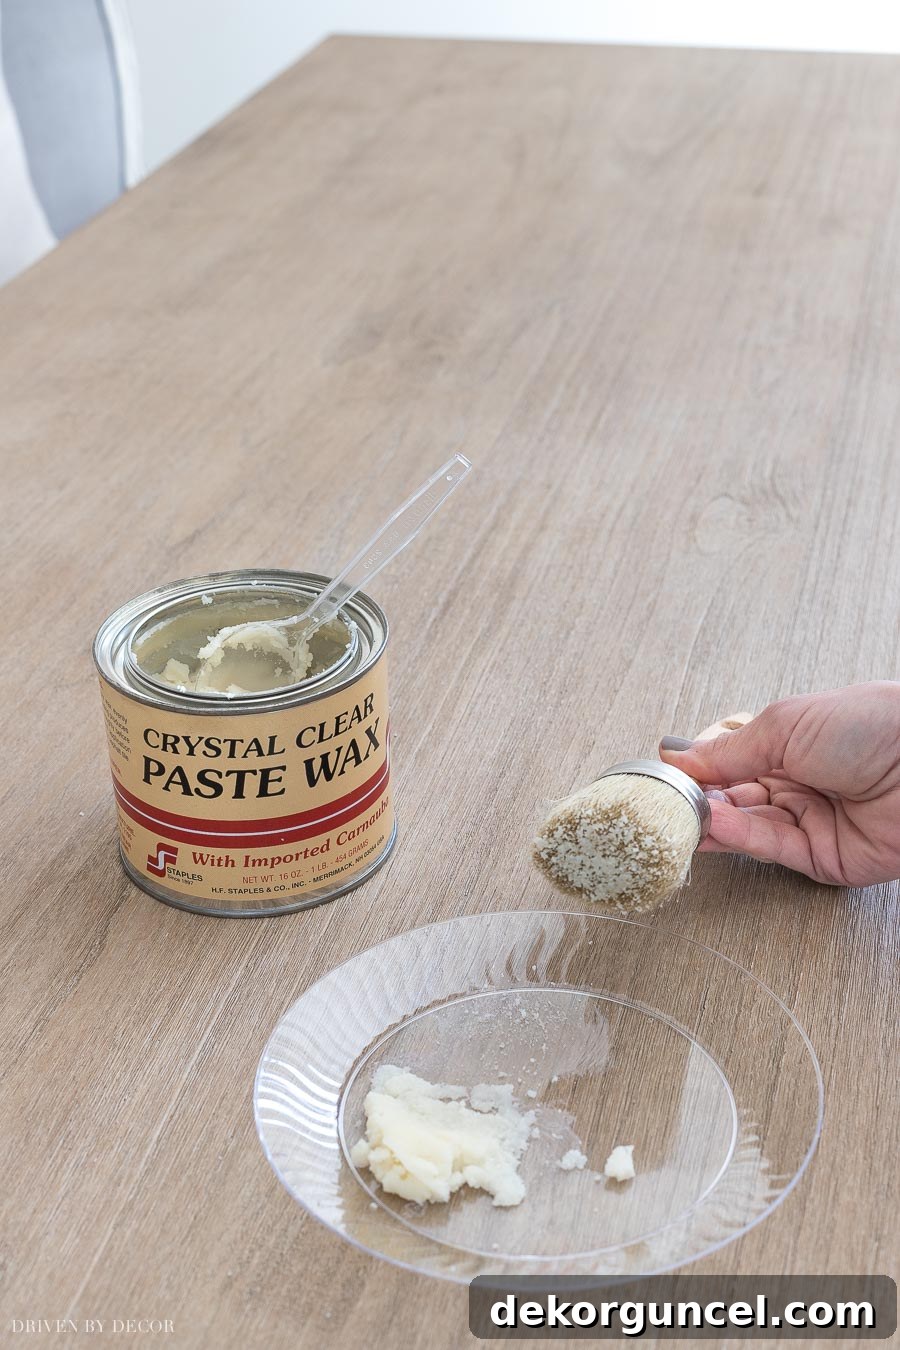
A critical reminder for anyone undertaking this project: the success of this method hinges on applying wax sparingly. You absolutely do NOT want an excessive amount of wax on your brush or cloth. Over-applying wax is the quickest way to end up with a sticky, uneven, or cloudy finish that defeats the purpose of maintaining a clear, natural look. The goal is to create a series of extremely thin, almost imperceptible coats, not one thick layer. This “less is more” approach is key to achieving a flawless, non-darkening, and durable finish that beautifully enhances and protects your wood furniture for years to come.
3. Apply a Very Thin, Even Coat of Wax
With your prepared wax and brush, begin applying the wax to your table. The technique is crucial for an even, streak-free finish that truly complements the wood. Using your waxing brush, apply the wax in a consistent back-and-forth motion, always following the natural direction of the wood grain. This helps the wax penetrate evenly into the wood fibers and prevents visible application marks or swirl patterns. Apply mild, steady pressure as you work, which helps to work the wax effectively into the pores of the wood rather than just leaving it superficially on the surface. It’s best to work in small, manageable sections – perhaps a 2×2 foot area at a time – completing each section thoroughly before moving on to the next. This ensures that the wax doesn’t dry unevenly before you can work it in, and it allows you to maintain precise control over the application process for consistent coverage.
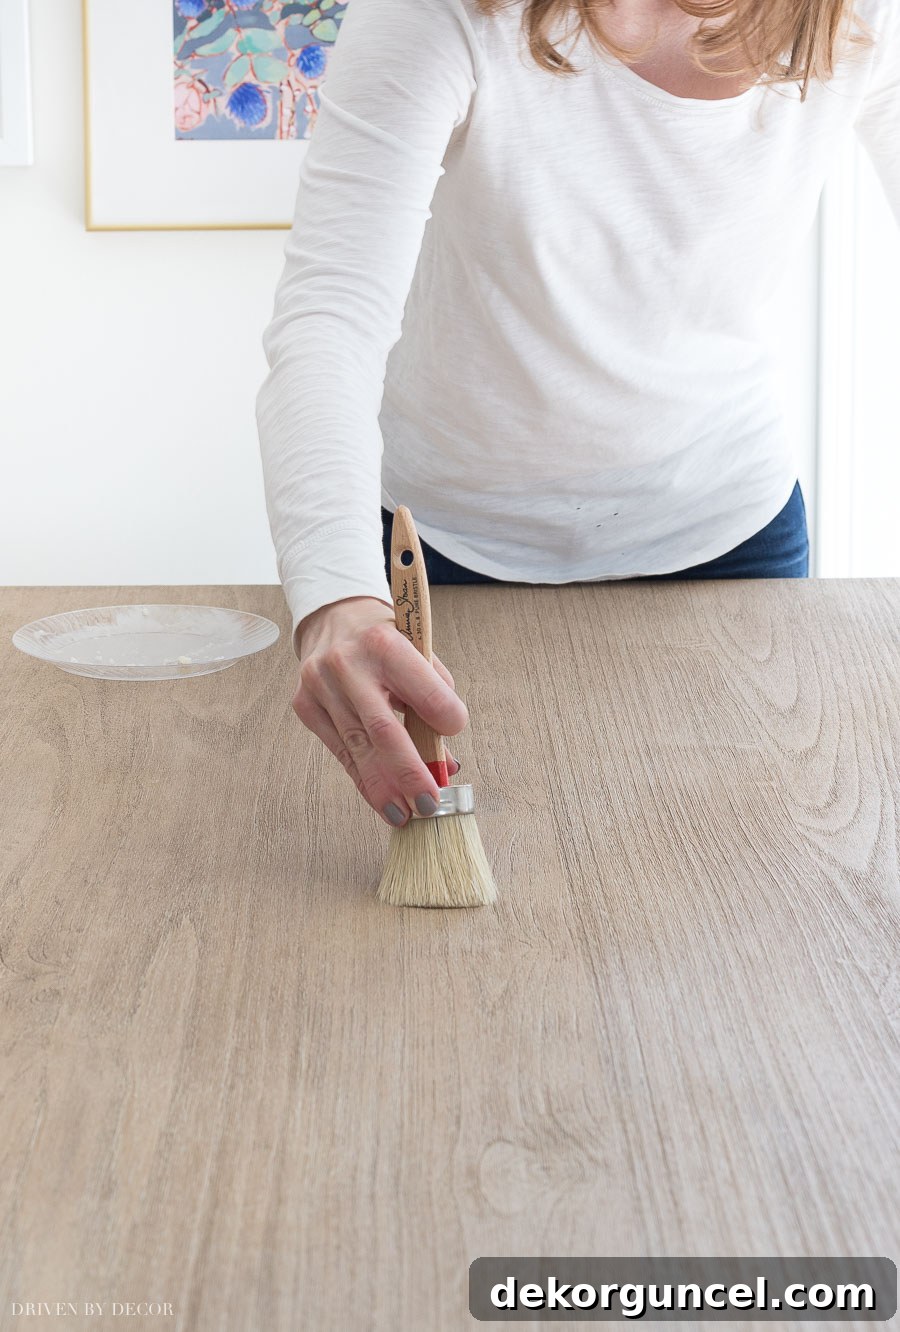
During the application process, it’s not uncommon for a few stray bristles to detach from your waxing brush, especially if it’s new. Maintain vigilance and carefully pluck any lost bristles from the waxed surface immediately before the wax begins to dry, as they would otherwise become permanently embedded in the finish. Once you have meticulously coated the entire tabletop – and remember to include the edges, which are often overlooked but equally susceptible to wear and moisture – it’s time to address any excess wax. This is a critical step in achieving a smooth, non-tacky finish. Using a clean, lint-free cloth (a fresh microfiber cloth is ideal), firmly wipe down the entire surface. Apply consistent pressure with a back-and-forth motion, again following the wood grain, to remove any surplus wax. This step is vital; leaving too much wax on the surface can result in a tacky feel, an uneven sheen, or even attract dust and lint over time, diminishing the pristine look you’re aiming for. The goal is a smooth, dry-to-the-touch finish that feels almost like bare wood, but with enhanced protection.
4. Dry, Reapply, and Cure for Lasting Protection
Once the first thin coat of wax has been applied and any excess removed, allow it to dry completely. Patience is key here. While the surface may feel dry to the touch relatively quickly, allowing it to dry overnight is highly recommended to ensure the wax has fully set and bonded with the wood fibers before proceeding to the next step. After the first coat is thoroughly dry, apply a second thin coat using the exact same method: working in small sections, always following the wood grain, and immediately wiping off any excess with a fresh, clean, lint-free cloth. Allow this second coat to dry completely overnight as well. For optimal protection, especially for dining tables that see regular use, and to build up a truly durable barrier, repeat this process for a third thin coat. Three thin, well-applied coats offer significantly more robust protection against spills and wear than one or two thicker, more hastily applied layers.
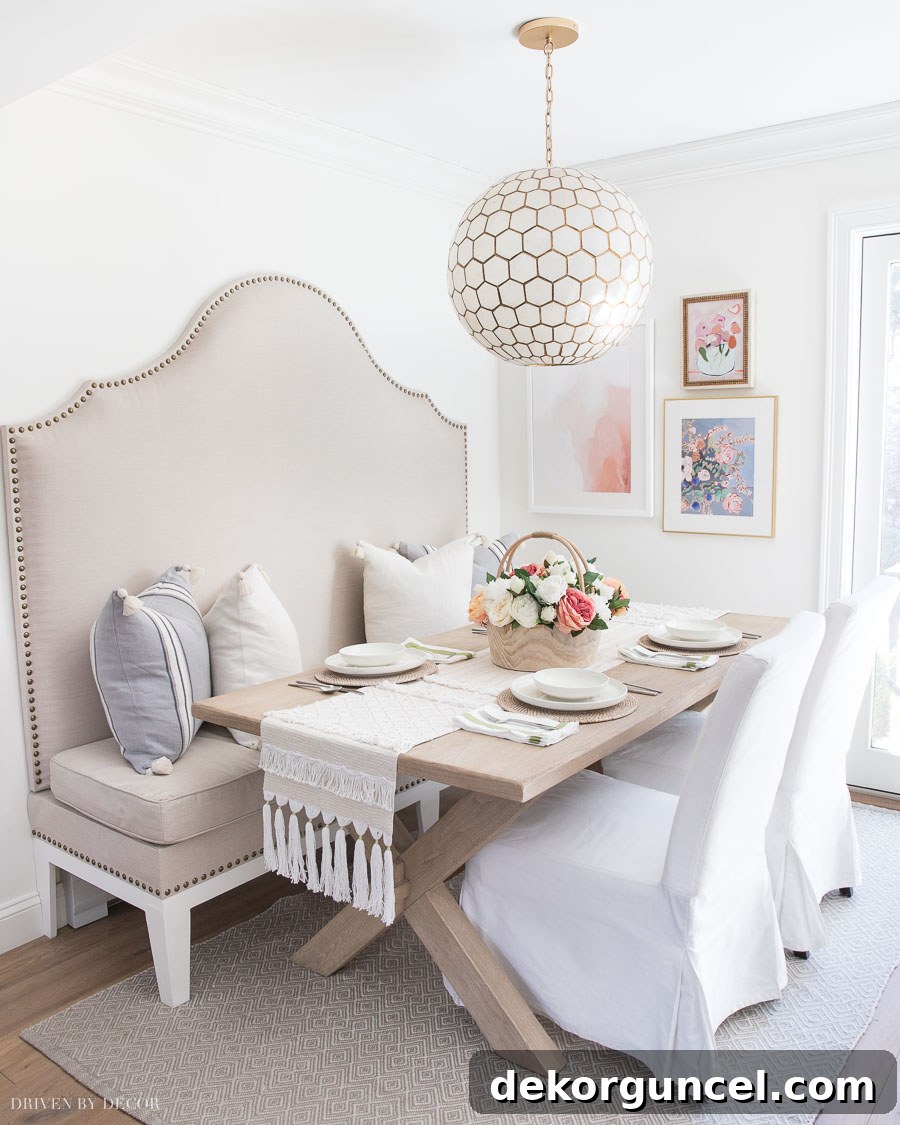
After your final, third coat of wax has been applied and allowed to dry, your table is effectively protected with a beautiful, natural finish that enhances its inherent beauty without altering its color. However, if your preference leans towards a slightly shinier surface rather than a completely matte or satin look (a preference I chose to forgo for my tables, preferring a natural, low-sheen appearance), there’s an optional final step: buffing. Once the last coat of wax is completely dry, take a clean, soft cloth – ideally a fresh microfiber cloth – and begin to buff the table surface with gentle, overlapping circular motions. The more you buff, applying a light, consistent pressure, the shinier the finish will become. This process gently polishes the wax, bringing out a subtle luster. Regardless of whether you choose to buff, the most critical final step is to allow the wax to fully cure. While dry to the touch, wax needs time to harden completely and achieve its maximum protective qualities. It is imperative to wait 2-3 full days for the wax to achieve its maximum hardness and protective qualities before you begin regular use of your table. Rushing this curing process can compromise the durability and effectiveness of your newly applied finish, making it less resistant to moisture and wear. This patience will be rewarded with a long-lasting, beautiful finish.
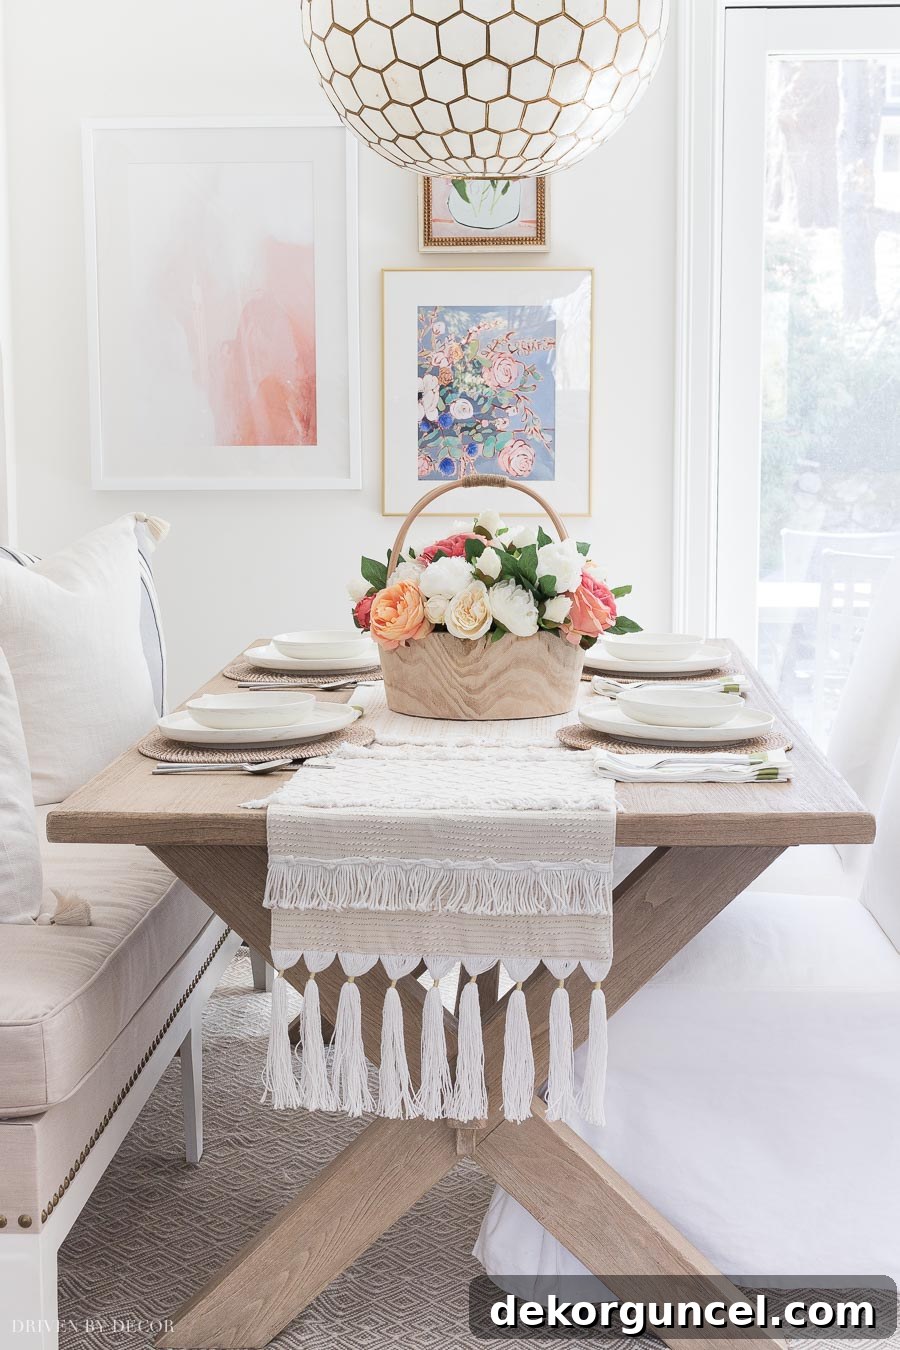
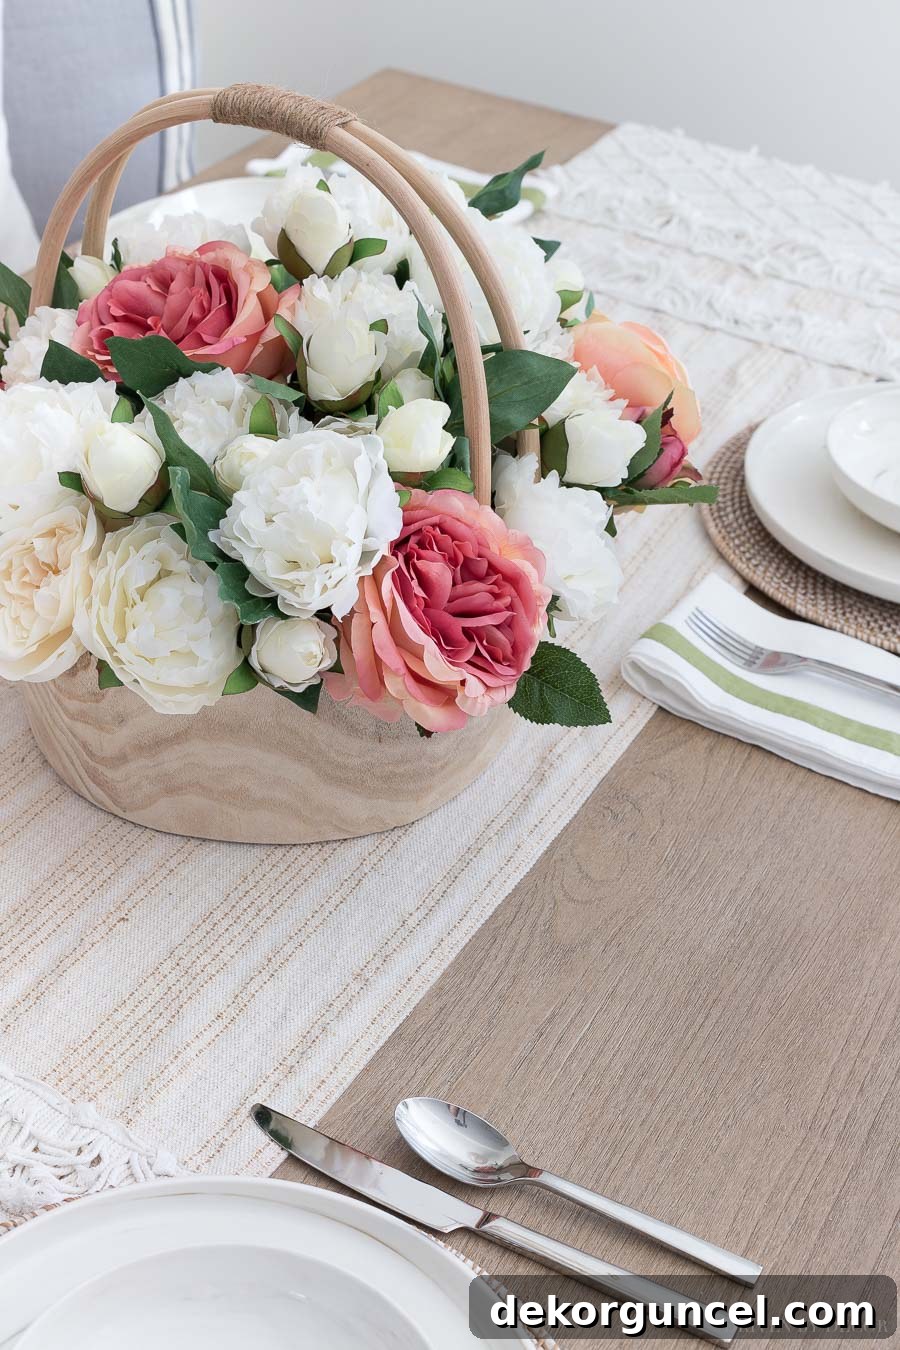
And there you have it – a straightforward yet incredibly effective method to protect your beautiful wood furniture while preserving its authentic appearance, particularly suited for those who cherish the natural look of their Restoration Hardware or Pottery Barn pieces. To maintain this level of protection, it is generally recommended to reapply a fresh layer of wax every one to two years, or whenever you notice the surface starting to lose its water resistance or become dull. While I must admit I didn’t consistently reapply wax to our first kitchen table, and it held up remarkably well for many years, annual or biennial maintenance is definitely a worthwhile consideration, especially if your table experiences more intensive daily use than ours. This routine reapplication not only refreshes the protective layer but also allows you to address minor scuffs or dull spots, keeping your table looking its best. I sincerely hope this comprehensive guide has thoroughly answered the most common questions about sealing and protecting your cherished wood tables without darkening them. Should any further queries arise, please don’t hesitate to leave them in the comments section below – I’m always happy to help! Enjoy the renewed beauty, enhanced durability, and peace of mind that comes with a perfectly protected wood table. Have a wonderful rest of your weekend!
