
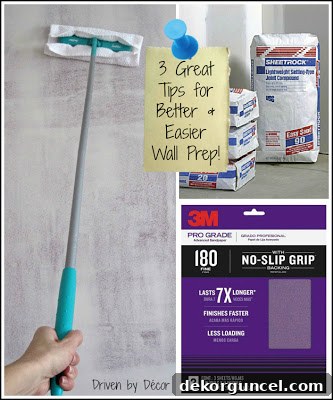
Transforming your living space with a fresh coat of paint is an incredibly rewarding endeavor, and at the heart of every truly exceptional paint job lies meticulous wall preparation. This comprehensive guide will walk you through the essential steps to prep your walls for painting, sharing invaluable tips and tricks for flawlessly patching imperfections, achieving a silky-smooth finish through proper sanding, and thoroughly cleaning away drywall dust. By following these expert techniques, you’ll ensure your finished walls not only look professionally done but also stand the test of time, radiating beauty and enhancing your home’s aesthetic for years to come.
For many, the thought of painting a room is exhilarating – choosing colors, envisioning the transformation, and bringing new life into a space. However, the often-dreaded preliminary stage of wall preparation can feel like a formidable task. I understand that sentiment completely; the tedious process of spackling, sanding, and cleaning can sometimes feel more arduous than the actual painting itself, ranking right up there with less-than-glamorous chores like deep-cleaning the refrigerator or tackling an overflowing inbox. Yet, having transformed countless rooms over the years, I’ve had the opportunity to refine and perfect my wall preparation methods. These perfected techniques not only make the entire process significantly less painful and more efficient but consistently lay down the pristine foundation necessary for a truly professional and enduring paint finish. Today, I am excited to empower you with these very wall prep secrets, ensuring your next painting project achieves results you’ll be proud of. (Please note: This post includes affiliate links, providing a small commission at no extra cost to you. For full disclosure details, please refer here.)
While understanding how to properly paint a room is undoubtedly crucial, the journey to a flawless, long-lasting finish undeniably begins much earlier, with the often-underestimated but incredibly vital stage of wall preparation.
Repairing Drywall Imperfections: Holes, Nicks & Dents Before Painting
One of the most critical steps in preparing your walls for a picture-perfect paint job is diligently patching any holes, nicks, dents, and other surface imperfections. Overlooking these minor flaws might seem insignificant now, but once paint is applied, even the smallest blemishes can become glaringly obvious, detracting from the overall finish. Proper patching ensures a consistently smooth and uniform surface, allowing the new paint to adhere beautifully and evenly. Addressing these issues beforehand will save you from potential disappointment and the arduous task of touch-ups later on.
Choosing Your Patching Material: Spackle vs. Joint Compound
When it comes to filling those pesky holes, you generally have two main options: a pre-mixed spackling paste, typically found in plastic tubs, or a powdered joint compound that you mix yourself. Each has its own set of advantages and ideal applications. Pre-mixed spackle, such as {this readily available type}, offers unparalleled convenience. It’s ready to use straight from the container, making it perfect for small, quick fixes like nail holes or minor nicks where speed is a priority. It dries relatively fast and is generally easy to sand. However, for larger repairs or for tackling multiple imperfections across an entire room, its cost can quickly add up, and its consistency can sometimes feel a bit too thick or prone to cracking in deeper fills.
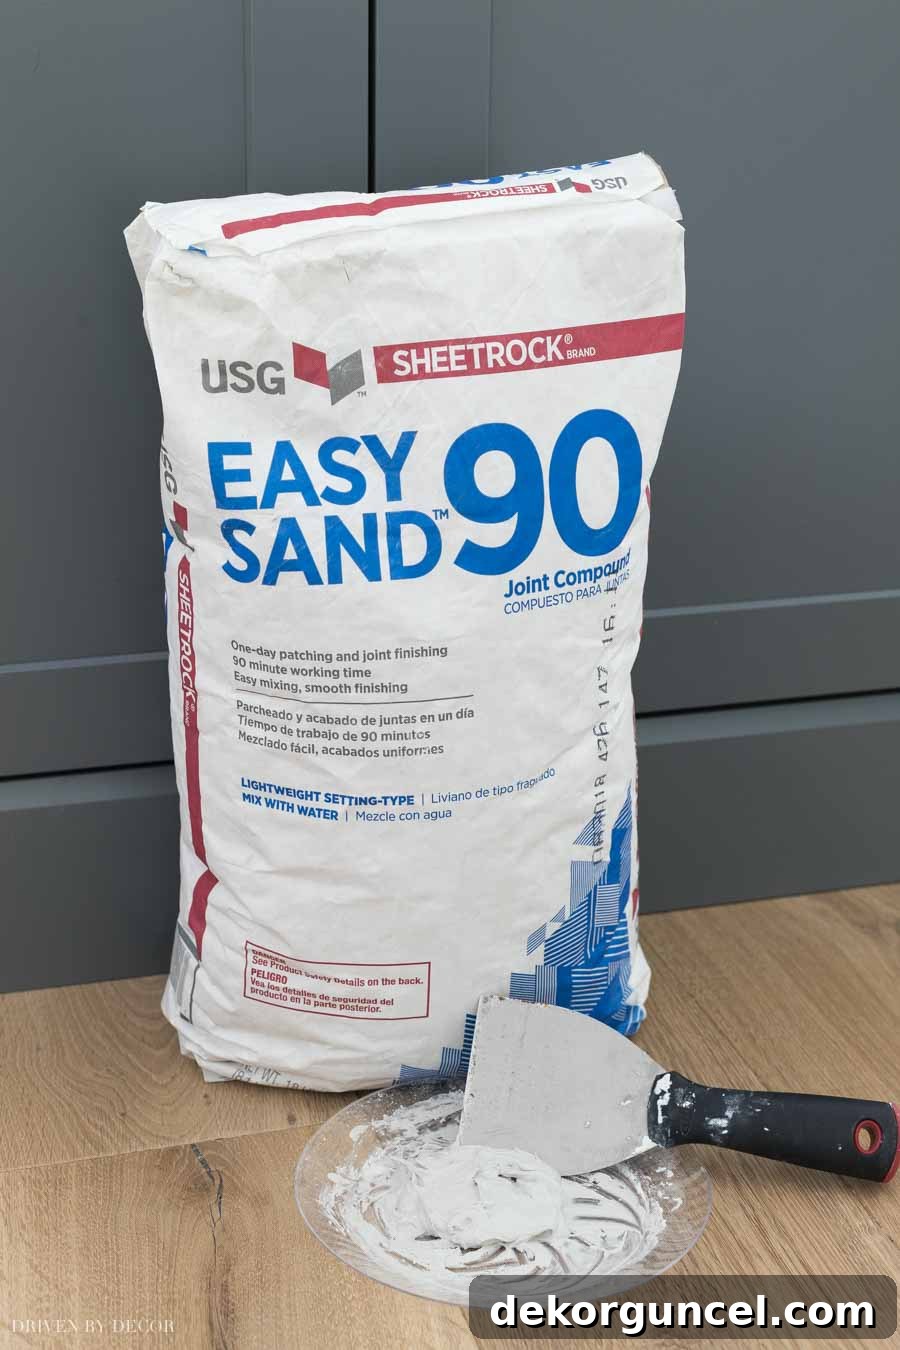
On the other hand, the powdered variety, like Sheetrock’s Easy Sand Joint Compound, offers significant benefits, especially for larger projects. While it requires a minute or two of mixing, this small investment of time yields a superior product. You simply add a little water at a time until you achieve the perfect, creamy consistency – no precise measuring needed, just adjust until it’s spreadable without being too runny or too thick. The advantages of mix-your-own joint compound are substantial: it’s considerably more economical, allowing you to mix only the amount you need, minimizing waste. It applies incredibly smoothly, avoiding the small dried bits that can sometimes occur with container spackle. Crucially, it dries faster and, in my experience, is much easier and quicker to sand down to a seamless finish, making it my preferred choice for comprehensive wall preparation.
Mastering Joint Compound Grades for Optimal Results
Joint compound comes in various grades, typically ranging from 20 to 90, which refer to their average setting and working times. The grade number indicates how quickly the compound will set (harden) and how long you have to work with it before it becomes unworkable. A lower grade number, such as Grade 20, means it will dry much faster – both on your wall and in your mixing pan. While Grade 20 might be suitable for tiny, isolated touch-ups when you’re in a real hurry, I strongly advise against using it for anything more extensive. Its rapid drying time means it can start to harden in your pan or on your trowel before you’ve even finished applying it, leading to frustration and an uneven finish.
For most projects, and especially when preparing an entire room, a higher grade offers a much more comfortable and forgiving experience. I typically opt for Grade 90 of Easy Sand, readily available {here}. This grade is specifically designed to provide ample working time, usually around an hour, allowing you to comfortably apply and smooth the compound without feeling rushed. After application, it typically sets within 85-130 minutes, meaning it’s ready for sanding and subsequent painting within that timeframe. Always refer to the chart on the back of each bag for precise setting and working times, as these can vary slightly. Choosing the right grade is key to a stress-free patching process and a perfectly smooth foundation.
Step-by-Step Guide to Patching Walls with Precision
Once you’ve selected your patching material, the application technique is vital for achieving an undetectable repair. For small nail holes, a single application with a small putty knife (1-2 inches wide) is usually sufficient. Press a small amount of compound into the hole, then scrape off the excess by holding the knife at a slight angle. For larger holes or deeper nicks, it’s best to apply the compound in thin layers. Thick applications take much longer to dry and are more prone to shrinking or cracking. Apply the first thin layer, ensuring it fills the imperfection, then allow it to dry completely. Repeat with a second, slightly wider layer, feathering the edges out onto the surrounding wall surface to ensure a smooth transition. This feathering technique is crucial: it prevents creating a noticeable bump or ridge on the wall once painted.
When dealing with larger holes, particularly those larger than a quarter, consider using a drywall patch kit or fiberglass mesh tape underneath your joint compound to provide additional support and prevent cracking. Always use clean tools and mix your compound thoroughly to avoid lumps. Inspect your patched areas from different angles with good lighting to ensure they are perfectly flush with the wall. Patience during drying is paramount; never rush the process, as applying paint over damp compound can lead to bubbling, cracking, or poor adhesion.
Achieving a Silky Smooth Finish: The Art of Sanding Walls
Once all your patched areas are thoroughly dry, the next indispensable step is sanding. Skipping this stage, or doing it inadequately, is a common mistake that can compromise the final paint finish. Sanding isn’t just about smoothing out the patched areas; it’s about creating a uniform texture across the entire wall and ensuring optimal paint adhesion. A well-sanded wall provides a smooth canvas, allowing paint to glide on evenly without highlighting any rough spots or imperfections. It’s the difference between a truly professional-looking result and one that appears amateurish.
Selecting the Right Sandpaper and Tools for Excellence
For the best possible results, investing in good quality sandpaper and the right tools is non-negotiable. I highly recommend 3M’s Pro Grade Advanced Sandpaper, available {here}. While it might be a bit pricier than average sandpaper, its advanced coating is specifically designed to resist clogging, meaning it lasts significantly longer and maintains its abrasive effectiveness throughout the job. This translates to faster, more efficient sanding, making it an invaluable investment that truly pays for itself in time and effort saved. For general wall sanding and especially for smoothing patched areas, a medium-fine grit (120-150 grit) is ideal. For an ultra-smooth finish across the entire wall, a lighter pass with a finer grit (180-220) can be beneficial, particularly in areas visible under direct light.
Pairing your quality sandpaper with a reliable sanding block is equally important. {This specific sanding block} is the best I’ve encountered. A sturdy rubber sanding block provides even pressure across the sandpaper, preventing your fingers from creating uneven divots or depressions in the wall. It not only ensures a consistently smooth surface but also significantly reduces strain and wear and tear on your hands, making the entire sanding process faster, easier, and more comfortable. For large areas, consider using a pole sander, which can dramatically speed up the process and reduce fatigue on ceilings and upper walls.
Effective Sanding Techniques for a Flawless Surface
When sanding patched areas, use light to moderate pressure and work in small, controlled circular motions initially, then feather out with straight strokes that blend the repair seamlessly into the surrounding wall. Your goal is to make the patched area completely flush and indistinguishable from the rest of the wall. For general wall preparation, a light sanding over the entire surface helps to scuff it slightly, improving paint adhesion, and smooths out any minor surface imperfections. Always feel the wall with your hand after sanding; your fingertips are incredibly sensitive and will detect any remaining bumps or rough spots that your eyes might miss. Repeat the sanding process until the surface feels perfectly smooth and uniform. Viewing the wall under a bright, angled light source can also help reveal any remaining imperfections that need further attention.
Prioritizing Safety During Sanding
Sanding, especially drywall compound, generates a significant amount of fine dust that can be harmful if inhaled. Therefore, prioritizing safety is absolutely crucial. Always wear a high-quality dust mask or respirator to protect your lungs from airborne particles. Safety goggles are essential to shield your eyes from dust and debris, preventing irritation or injury. Additionally, a pair of work gloves can protect your hands from abrasions and improve your grip on the sanding block. Ensure good ventilation in the room by opening windows or using a fan to help clear the air. Taking these simple safety precautions will make your sanding experience safer and more comfortable.
Banishing Dust & Grime: How to Clean Walls Before Painting
After all the patching and sanding, your walls are likely covered in a fine, pervasive layer of drywall dust. This dust, while seemingly harmless, is the enemy of a perfect paint job. If not thoroughly removed, it will mix with your paint, creating a gritty texture, diminishing adhesion, and ultimately compromising the smoothness and longevity of your finish. A clean wall is paramount for optimal paint bonding and a truly professional-looking result. This final cleaning step is often overlooked but is absolutely critical for paint success.
Initial Dust Removal: Vacuuming for Efficiency
The first step in banishing drywall dust is to tackle the heaviest accumulation with a powerful vacuum. I typically use my Shop-Vac equipped with a wide floor nozzle or brush attachment. This allows me to efficiently vacuum down the walls, starting from the top and working my way down, removing the bulk of the dust. Pay close attention to corners, baseboards, and around window and door frames, as dust tends to settle heavily in these areas. While a regular household vacuum with a brush attachment can work, a Shop-Vac’s stronger suction and larger capacity are ideal for this task, significantly reducing the amount of dust that will need to be addressed in the next step.
The Secret Weapon: Swiffer and Its Alternatives
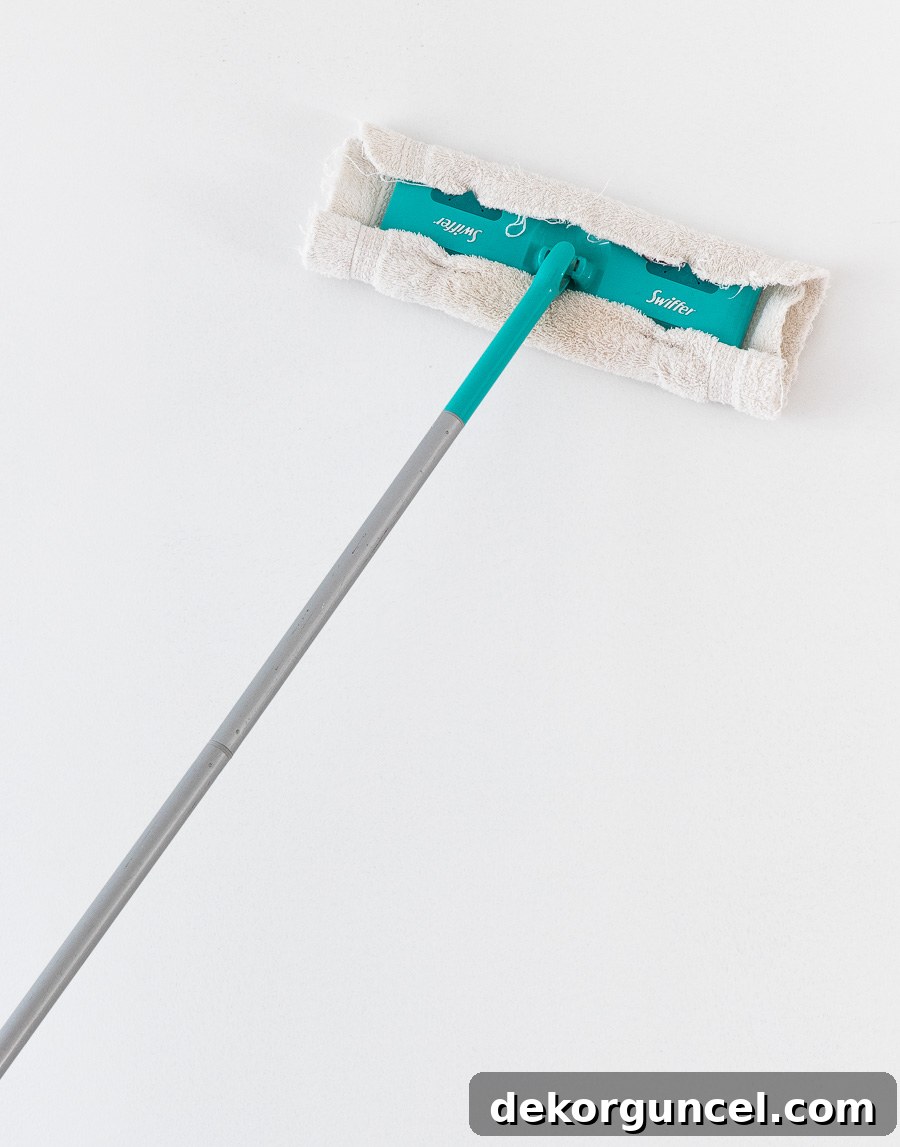
Once the initial heavy dust has been vacuumed, it’s time to bring out your secret weapon for fine dust removal: the Swiffer. If you don’t already own a Swiffer, you are truly missing out on a versatile cleaning tool – they’re not just fantastic for floors but come in handy for countless other cleaning tasks around the house, and you can conveniently get them {here}. The magic of the Swiffer lies in its ability to effectively trap and hold fine dust particles through static electricity and specialized cloths, preventing them from simply being spread around. While Swiffer’s own Dry Cloths are excellent, if you’re looking to save a bit of money, a clever alternative is to use your own clean washcloths or small microfiber towels. Simply dampen them very slightly – just enough to attract dust without leaving the wall wet – and attach them securely to the Swiffer head. This cost-effective method works just as well at picking up the lingering fine dust.
Step-by-Step Wall Cleaning with a Swiffer
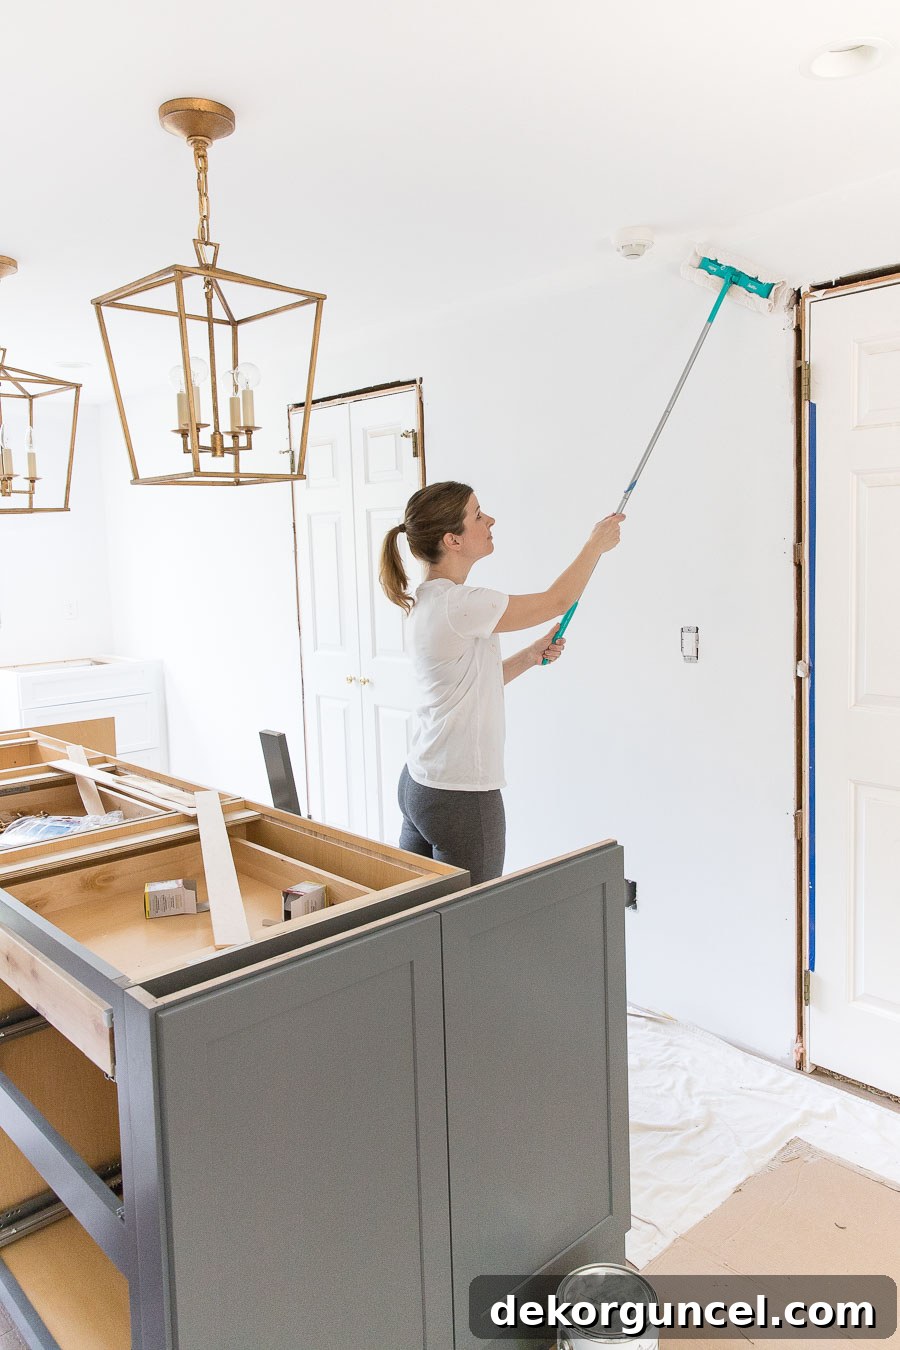
With your Swiffer prepared, you’re ready to meticulously clean your walls. Begin at the top left-hand side of your first wall. Use the Swiffer to wipe in a straight, overlapping line from the ceiling down to the baseboard. Move systematically across the wall, overlapping each previous stroke slightly to ensure no area is missed. This top-to-bottom motion ensures that any dust dislodged from higher up is caught as you work your way down. Continue this method wall by wall, moving around the entire room.
The amount of dust present will dictate how frequently you need to change out your cleaning cloth. For heavily dusted rooms, you might find yourself changing cloths with each new wall. The goal isn’t to remove every single microscopic speck of drywall dust – that would be an impossible feat – but rather to eliminate the vast majority of it that could interfere with your paint job. A thorough Swiffering will significantly contribute to achieving a beautifully smooth and professional painted finish, allowing your paint to shine as it should.
Beyond dust, inspect your walls for any grease, grime, or smudges, especially in high-traffic areas like kitchens or near light switches. For these stubborn spots, a mild solution of TSP (Trisodium Phosphate) substitute or a good quality degreasing cleaner can be used, followed by a rinse with clean water. Always allow walls to dry completely before proceeding to the next step.
Beyond the Basics: Essential Pre-Painting Checks
While patching, sanding, and cleaning are the core elements of wall preparation, a few additional steps ensure a smoother overall painting experience. Before you even think about opening a can of paint, take the time to move all furniture out of the room or consolidate it in the center and cover it with plastic sheeting. Lay down drop cloths or old sheets to protect your floors from inevitable drips and splatters. Remove all outlet covers and switch plates, as well as any existing picture hooks or wall decor, to ensure clean lines and avoid painting around obstacles. If you plan on a drastic color change or are painting over patched areas, applying a high-quality primer is highly recommended. Primer not only ensures better paint adhesion but also provides a uniform base color, crucial for achieving true color rendition and a consistent finish, especially over repaired sections. Taking these extra moments for comprehensive preparation will truly elevate your painting project from good to outstanding.
There you have it – a detailed, step-by-step guide to mastering the art of wall preparation before painting. By dedicating time and effort to these crucial initial stages, you’re not just painting a room; you’re crafting a backdrop that will beautifully showcase your home for years to come. The effort invested in preparation directly translates into a more durable, smoother, and aesthetically pleasing final finish, making the entire project a truly rewarding experience. Don’t underestimate the power of a well-prepped wall; it’s the secret ingredient to paint success!
Do you have any personal wall prep tips or clever tricks you’ve discovered over your painting adventures? We’d love for you to share them in the comments! And for more expert advice to streamline your painting projects, be sure to also check out my post on 7 time-saving painting tips {here} and our comprehensive guide on how to paint a room {here}. These resources are designed to help you achieve that next-level paint job you’ve always envisioned!
