
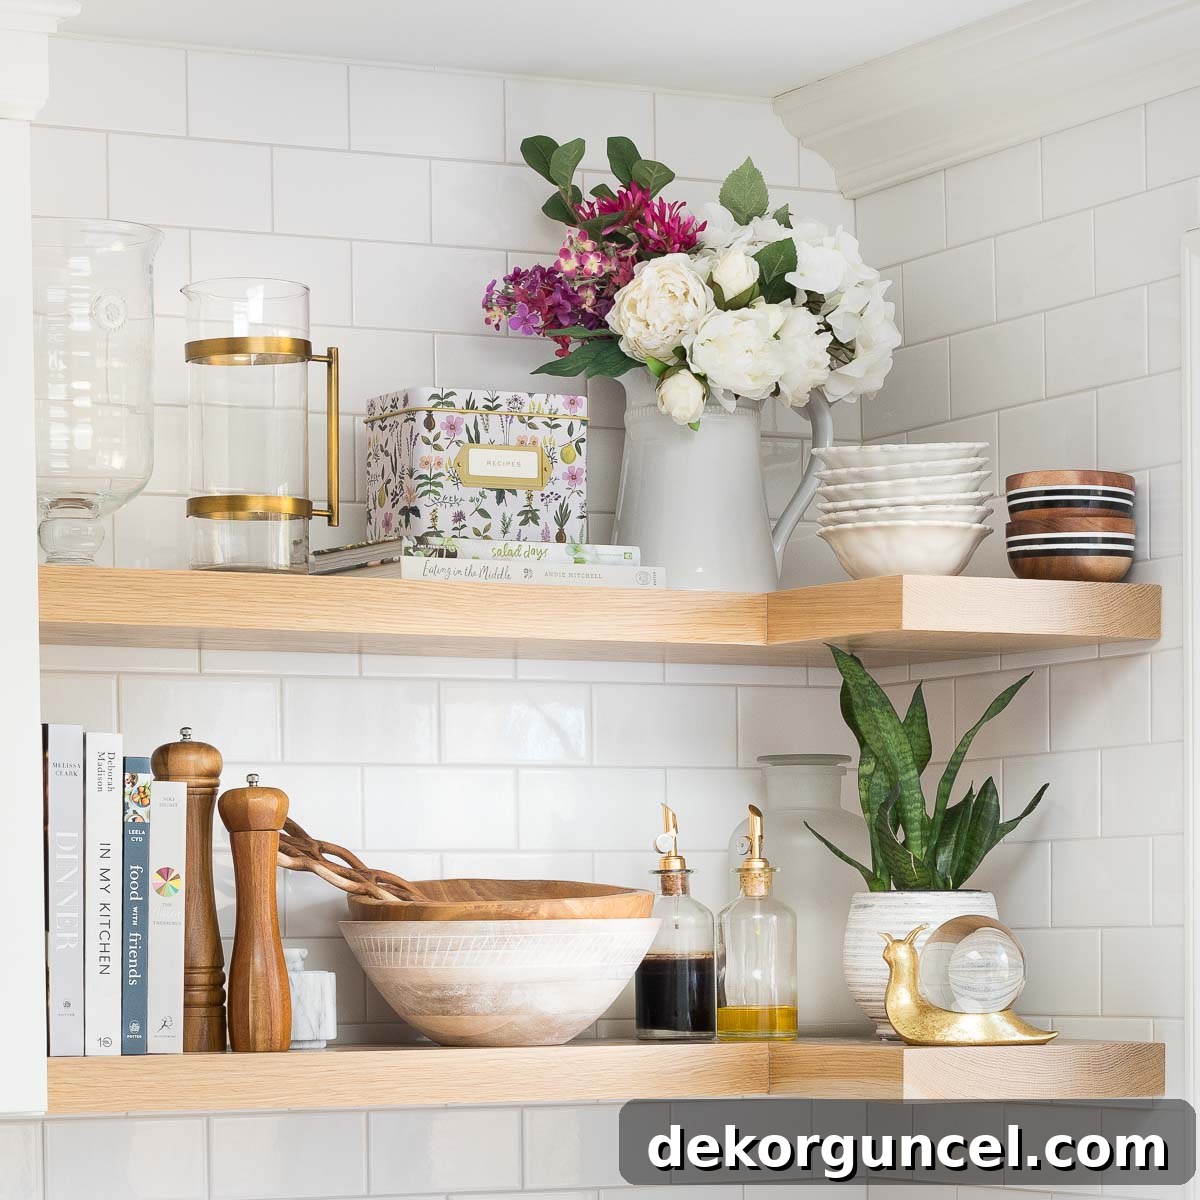
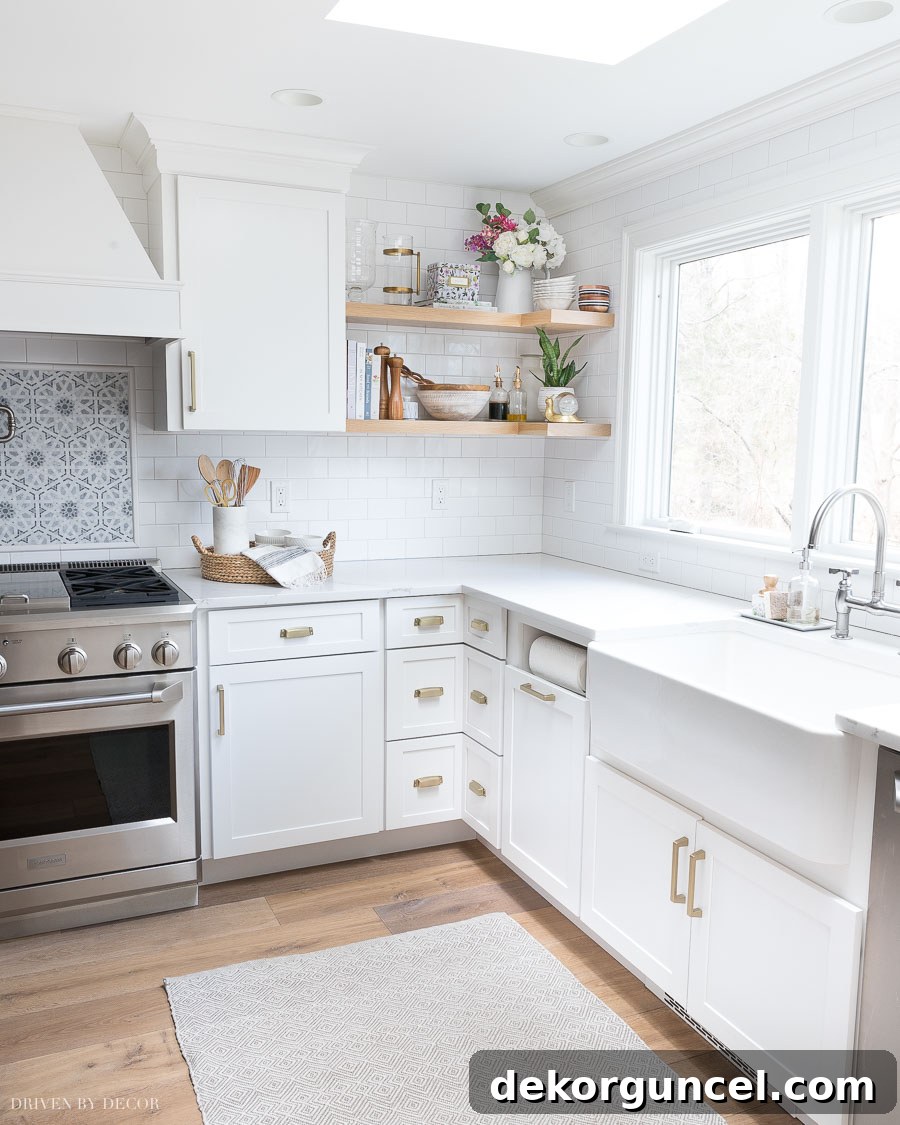
The kitchen remodel in our previous home featured exquisite white oak floating corner shelves, a design element I absolutely adored! Since sharing our kitchen remodel before and after, I’ve received countless inquiries on how to achieve this stunning floating shelf look. Today, I’m excited to share all the essential details for creating your own elegant and functional floating corner shelves.
Our shelves were expertly crafted from thick white oak boards, a collaborative project with our contractor, Reszoly Builders. I’ll walk you through each step of our DIY journey. For those who prefer a ready-made solution, make sure to read to the end of this post, where I reveal a fantastic source for purchasing incredibly similar floating shelves pre-fabricated! (This post includes commissionable links; for more information, please see my full disclosure statement {here})
1. Source Premium White Oak Boards for Your Floating Shelves
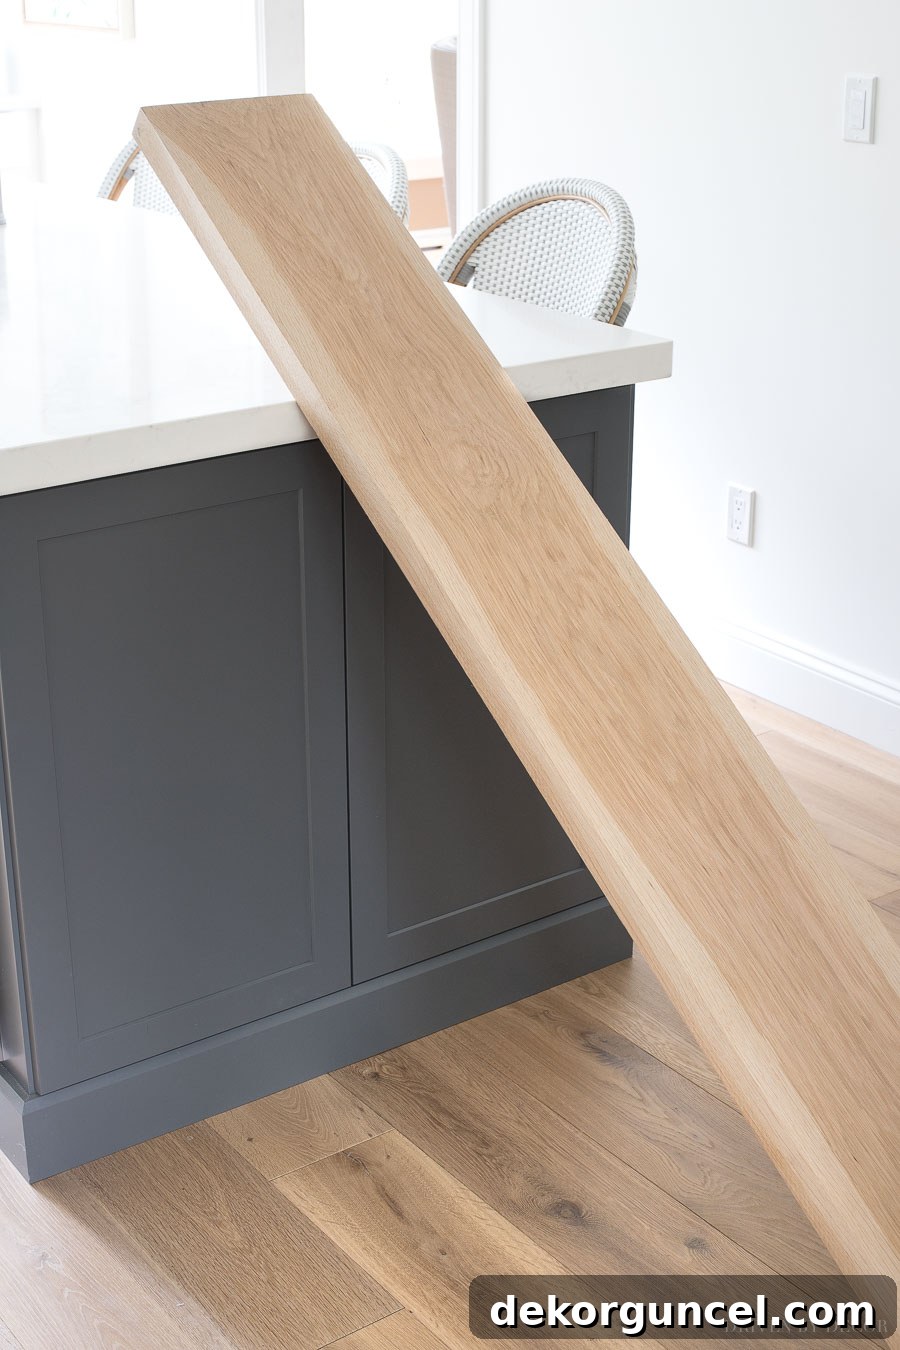
The foundation of beautiful floating corner shelves begins with selecting the right material. Our first crucial step was sourcing high-quality, thick white oak boards. You’ll quickly discover that most standard hardware stores don’t carry the specialized lumber needed for this project. The key is to seek out a local supplier that specializes in raw lumber products. These establishments not only stock a diverse range of hardwoods, including the stunning white oak, but they also typically offer milling services. This means they can precisely cut and plane your boards to your desired dimensions, saving you significant effort and ensuring a professional finish.
I found my perfect boards at Kellogg Hardwood Lumber in Bethel, CT. I purchased two raw white oak boards, which were then planed to a consistent thickness of 1 ¾ inches – the maximum achievable from a standard 2-inch thick board – and ripped (cut along their length) to a depth of 10 inches. The moment I brought them home, I was struck by the inherent beauty of the wood itself; its natural grain and warm tones are truly captivating and form the perfect base for custom kitchen shelves.
2. Precision Installation of Floating Shelf Brackets
Selecting the right brackets is paramount for securely installing floating corner shelves. After extensive research and reading countless reviews, I opted for robust black steel brackets, similar to {these} (our exact model is no longer available). These heavy-duty brackets are designed to provide maximum support for solid wood shelves, ensuring they remain perfectly level and stable.
Floating shelf brackets typically offer flexibility in installation, allowing them to be mounted in either a vertical or horizontal position. For superior stability, especially for corner floating shelves that might hold significant weight, my contractor chose a vertical orientation, securely fastening them directly into wall studs. This method ensures optimal weight distribution and long-term durability. When determining the height, we carefully positioned the bottom pair of brackets so that the underside of the first shelf would align seamlessly with the base of our existing upper cabinets, creating a cohesive and integrated look.
The upper set of brackets was placed precisely 15 inches above the lower set, a height I chose to create a visually appealing and functional two-tier shelving unit. To achieve a truly “floating” appearance and prevent the bracket bases from being visible, our contractor employed a clever technique: he traced the outline of each bracket on the wall and carefully notched out the drywall. This allowed the brackets to be slightly recessed into the wall upon installation, creating a perfectly flush surface once the shelves are in place. The image below shows how flush they sat after this crucial step (Note: the white shelf you might see below was a test piece, which I’ll discuss further in the next steps).
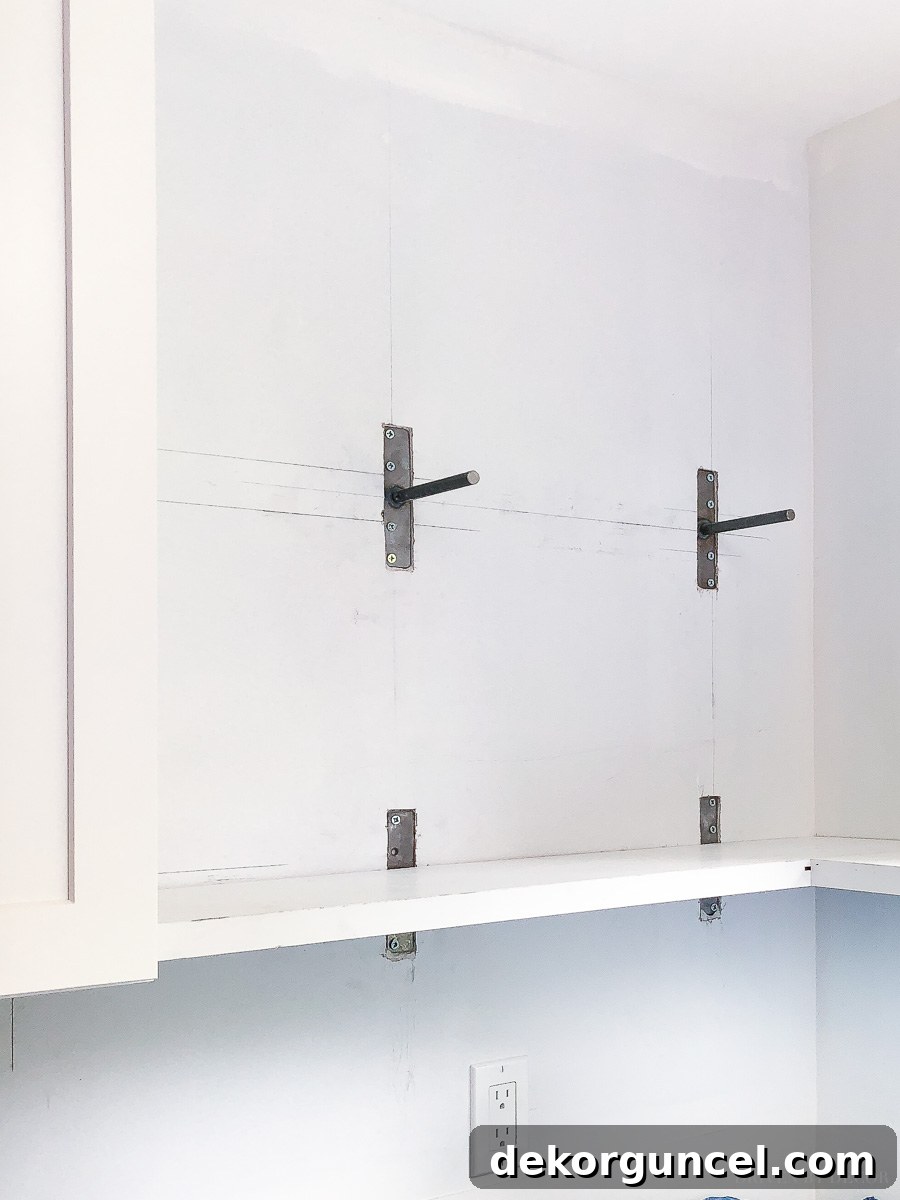
Alternative Tip: While vertical installation into studs provides maximum strength, you can also opt for horizontal mounting, especially if hitting studs isn’t feasible in all locations. Many quality brackets come with robust anchors for secure installation into drywall. Always prioritize structural integrity for your DIY floating shelves.
3. Seamlessly Integrate Brackets with Wall Finishes: Tile or Putty
Once the floating shelf brackets were firmly in place and recessed into the drywall, the next step was to prepare the wall finish. In our kitchen, this involved tiling the wall directly over the installed brackets. To achieve a flawless finish, the four tiles that would cover the bracket areas were meticulously notched. These horizontal notches were carefully cut to accommodate the bracket arms, ensuring that once the tiles were laid, they would appear completely normal, with the notches discreetly hidden behind the future shelves.
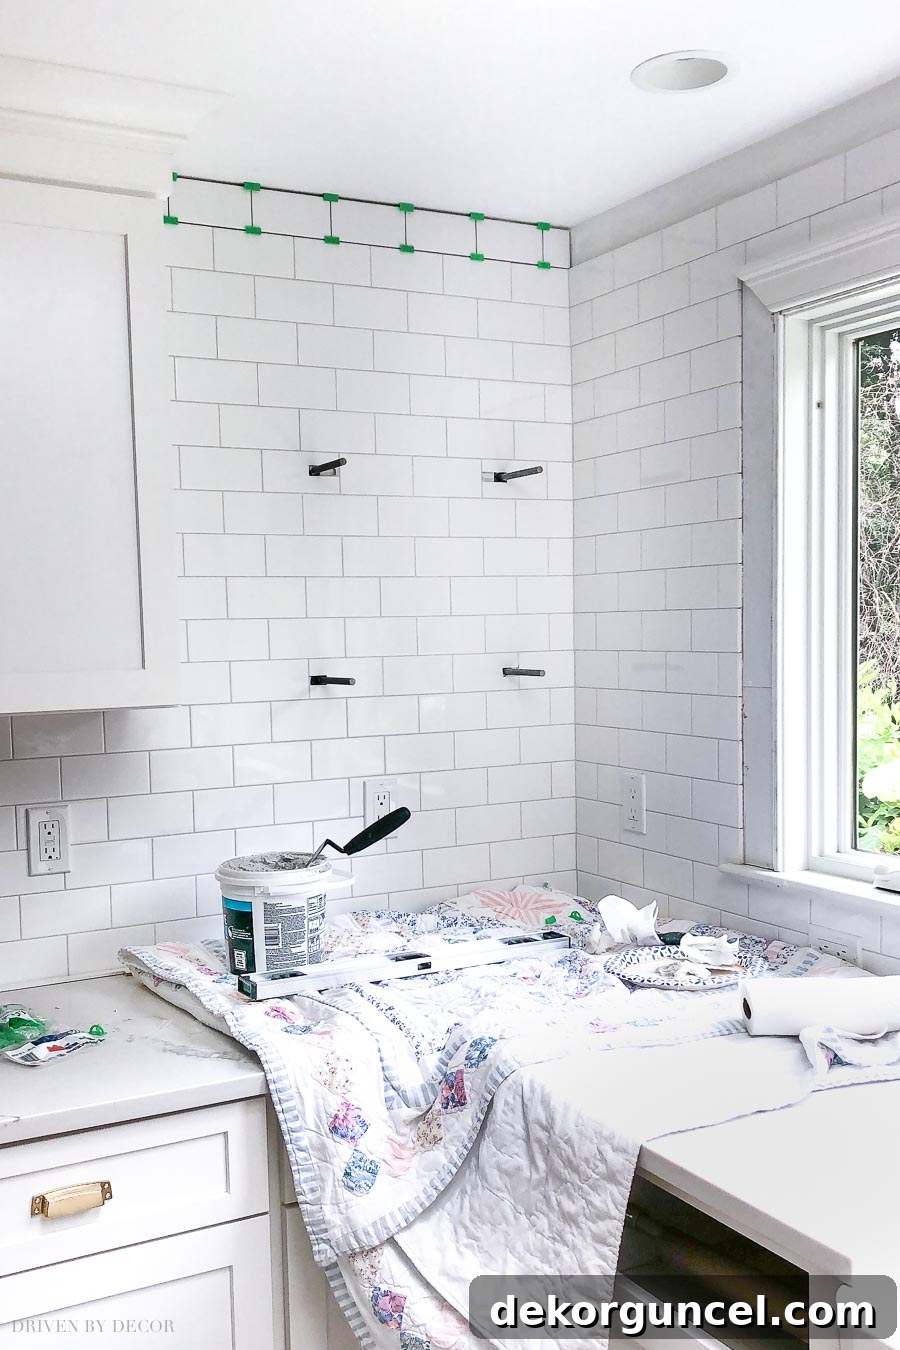
If your walls are destined for paint rather than tile, the process is even simpler. After the brackets are recessed, you can use spackle or joint compound to expertly fill and smooth over the base of the brackets. Once dry, sand the area until it’s perfectly flush with the surrounding wall, eliminating any visible bumps or lines. A fresh coat of paint, matching your wall color, will then completely conceal the bracket bases, making them truly disappear and upholding the illusion of floating shelves. This attention to detail is crucial for achieving that high-end, custom look for your white oak kitchen shelves.
4. Crafting the “L” Shape: Joining White Oak Boards for Corner Shelves
With our brackets meticulously installed and the wall beautifully tiled, it was time to move on to crafting the star of the show: the corner shelves themselves. Given that white oak is a premium material, and to ensure absolute precision, my contractor wisely constructed a test corner shelf using leftover construction lumber. This invaluable step allowed us to confirm the exact sizing and critical hole placements without risking our valuable white oak, serving as a perfect template for the final pieces.
Creating the signature “L” shape of our corner shelves involved skillfully joining two pieces of white oak. For our kitchen, this meant connecting one longer piece, measuring 36 inches, which extended from the end of the cabinet to the wall, with a shorter 9-inch piece that completed the corner. To ensure a robust and seamless joint, two large holes were precisely drilled into the joining ends of both oak pieces, ensuring they aligned perfectly. Wood dowels, combined with strong wood glue, were then used to secure the pieces together. The assembly was then clamped firmly and left to dry completely, forming a single, sturdy “L” shaped shelf.
(Regrettably, I don’t have a photograph of this specific joining step. However, if you examine the test piece visible in the bottom right of the image below, you’ll gain an excellent understanding of the hole size and placement used for the dowel joints.) Following the “L” shape formation, two crucial holes were drilled into the back of each shelf. These holes were positioned to align perfectly with the metal stems of the floating shelf brackets, allowing the shelves to slide on effortlessly. Achieving perfect 90-degree angles for all these drill holes is paramount for ensuring your shelves are perfectly level and secure. A drill press offers the highest accuracy for this task. As a close second, using a clamp and drill guide, such as {this one}, can significantly improve precision for your DIY floating shelves.
5. Sanding & Staining: Customizing Your White Oak Corner Shelves
Once the wood glue had fully cured, and our “L” shaped shelves were solid, the next step was meticulous sanding. This process was crucial for achieving a perfectly smooth surface, particularly where the two oak pieces were joined. A seamless transition is key to a professional finish for any custom floating shelves. If you prefer the natural beauty of white oak, a few coats of a high-quality protective finish would be your next and final step. However, I envisioned a specific aesthetic for my kitchen – a subtle gray-washed look that would complement our decor.
Achieving this precise look involved some creative experimentation. I spent time playing with various stain concoctions on several test pieces of white oak until I landed on the exact shade I desired. This process is highly recommended for any custom stain job, allowing you to fine-tune the color without committing to the final piece. It’s a fantastic way to personalize your white oak kitchen shelves.
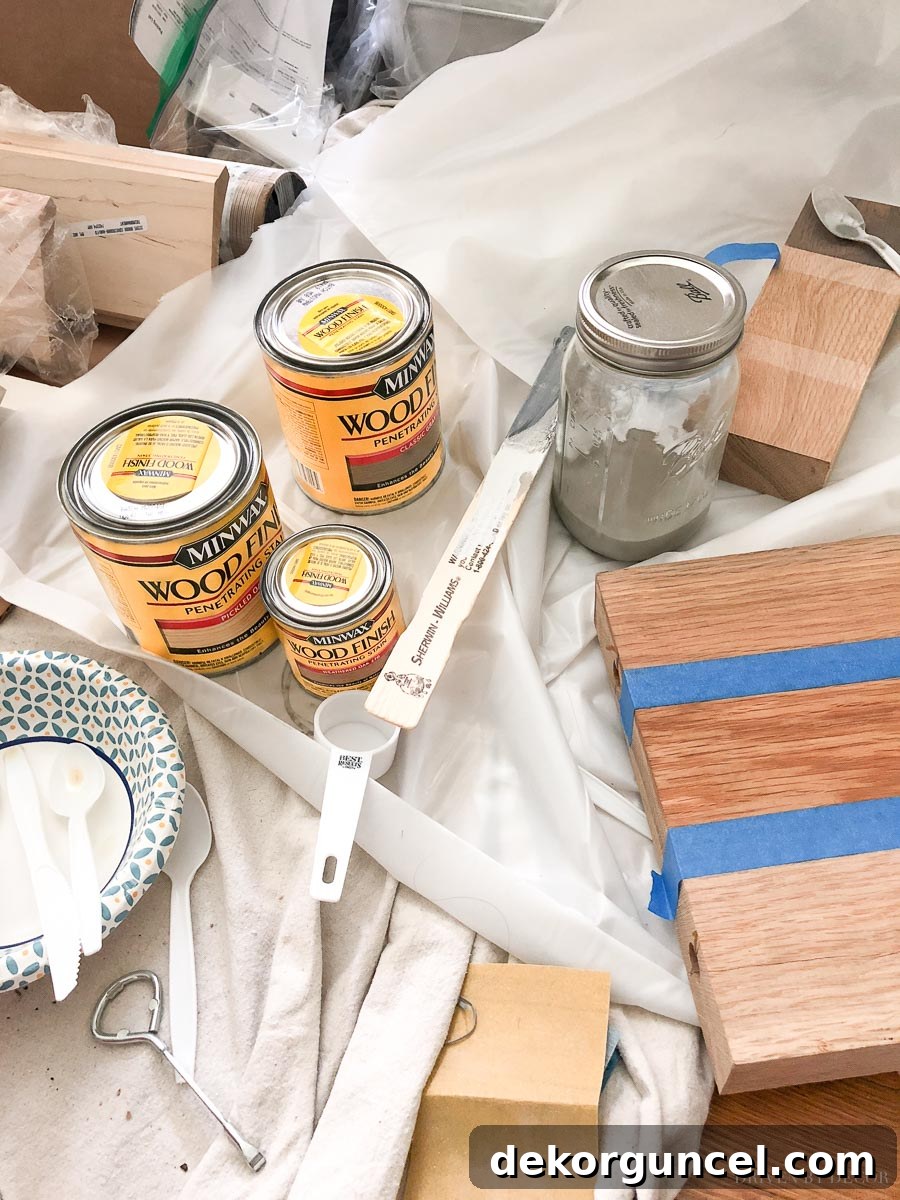
While I wish I could provide an exact, repeatable formula, my custom stain was a blend of Minwax Natural, Classic Gray, and Pickled Oak stains. The trick was to add a little more of this, then a little more of that, until the gray wash was just right – a true custom touch for our DIY floating shelves.
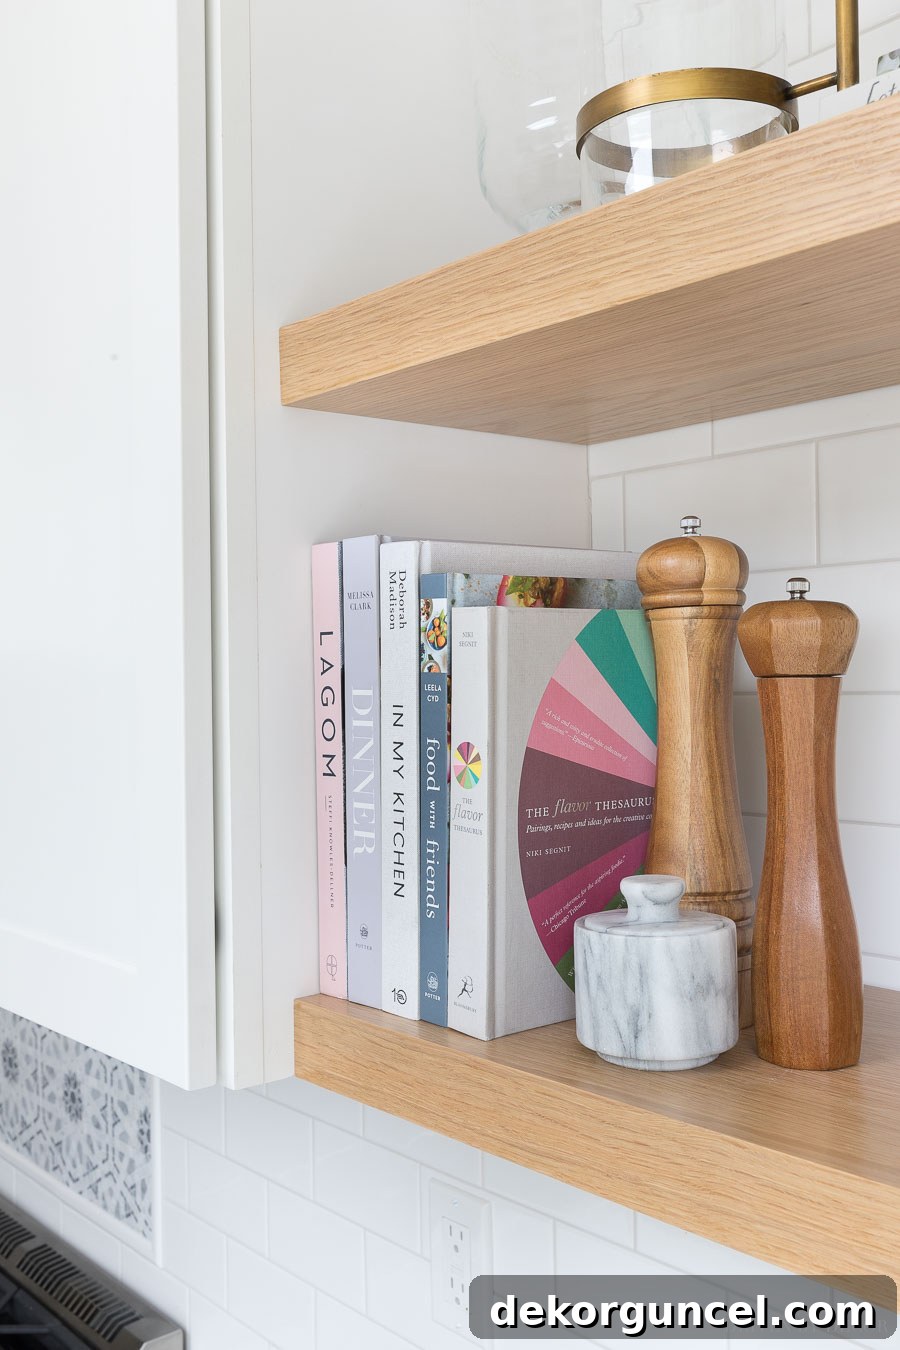
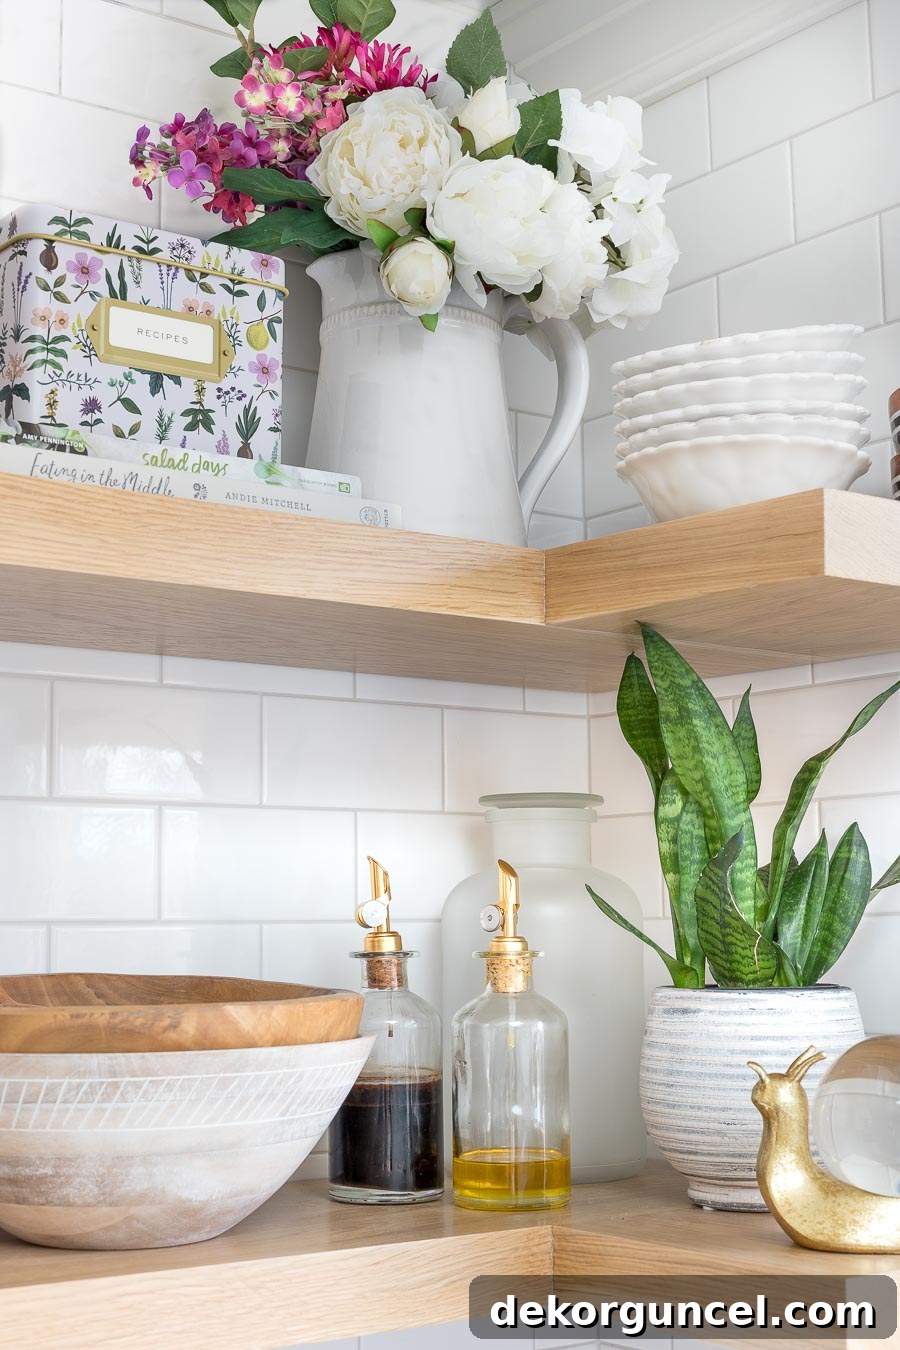
After achieving the perfect stain, I applied two coats of matte Polycrylic (available {here}) to both sides and the front edge of each shelf. It’s crucial to allow ample drying time between coats for optimal durability. Polycrylic is my preferred protective top coat because, unlike many other finishes, it resists yellowing over time, preserving the beautiful gray-washed look of the white oak. Here’s a close-up of the final finish, showcasing its subtle elegance and protective sheen:
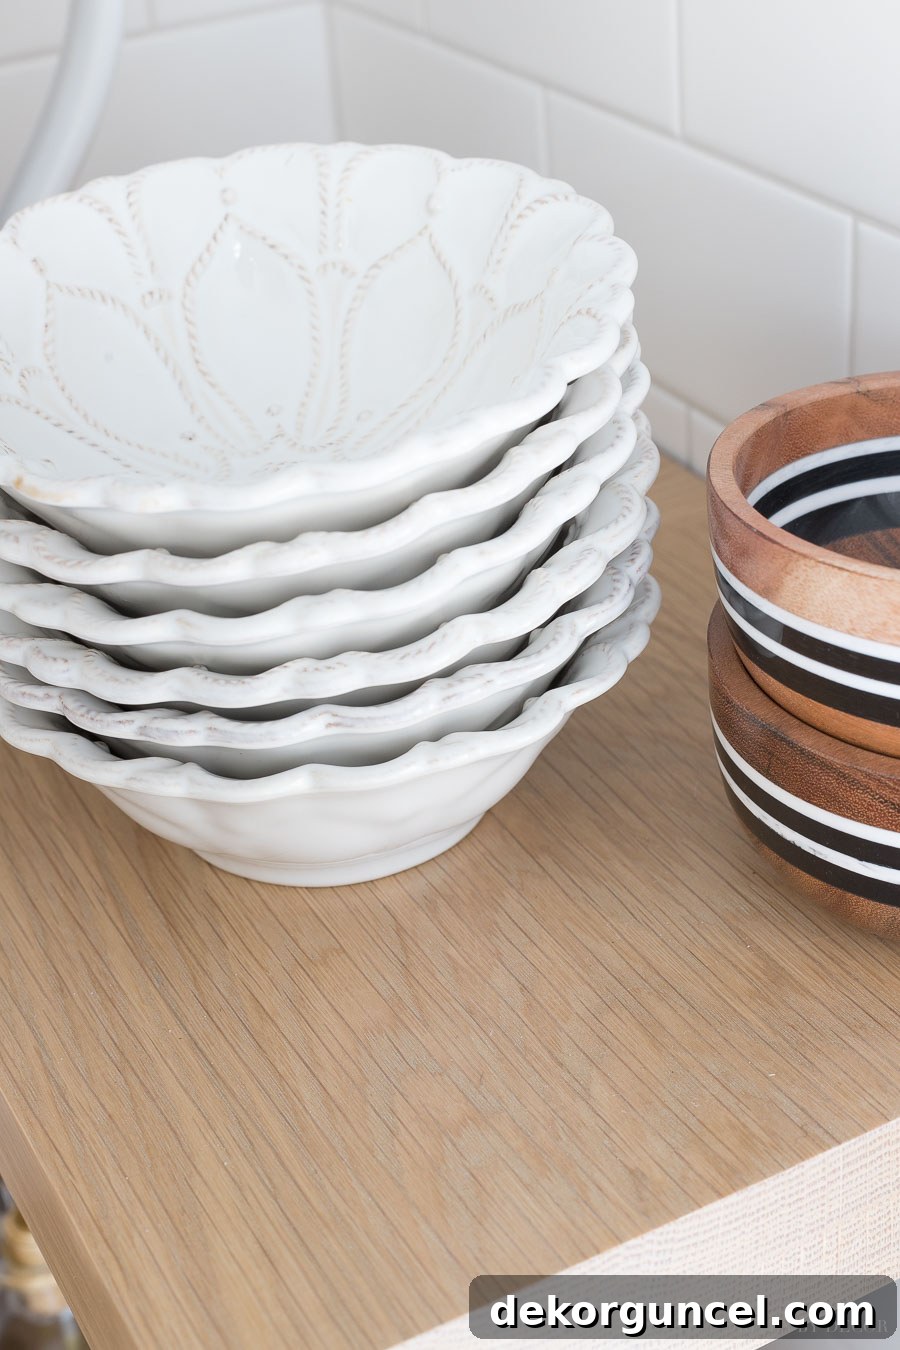
For another inspiring stain formula option, don’t miss my detailed post on our hardwood floor refinishing project – I’m still in love with the finish we achieved on our white oak floors!
6. Final Installation: Sliding & Securing Your Floating Corner Shelves
Once the custom stain and protective Polycrylic top coat were completely dry and fully cured, it was time for the thrilling final step: installing our beautiful white oak corner shelves. The installation process itself was surprisingly straightforward, thanks to the meticulous preparation of both the shelves and the brackets. Each shelf was simply slid onto its corresponding brackets, the precisely drilled holes in the back of the shelves fitting snugly over the bracket stems.
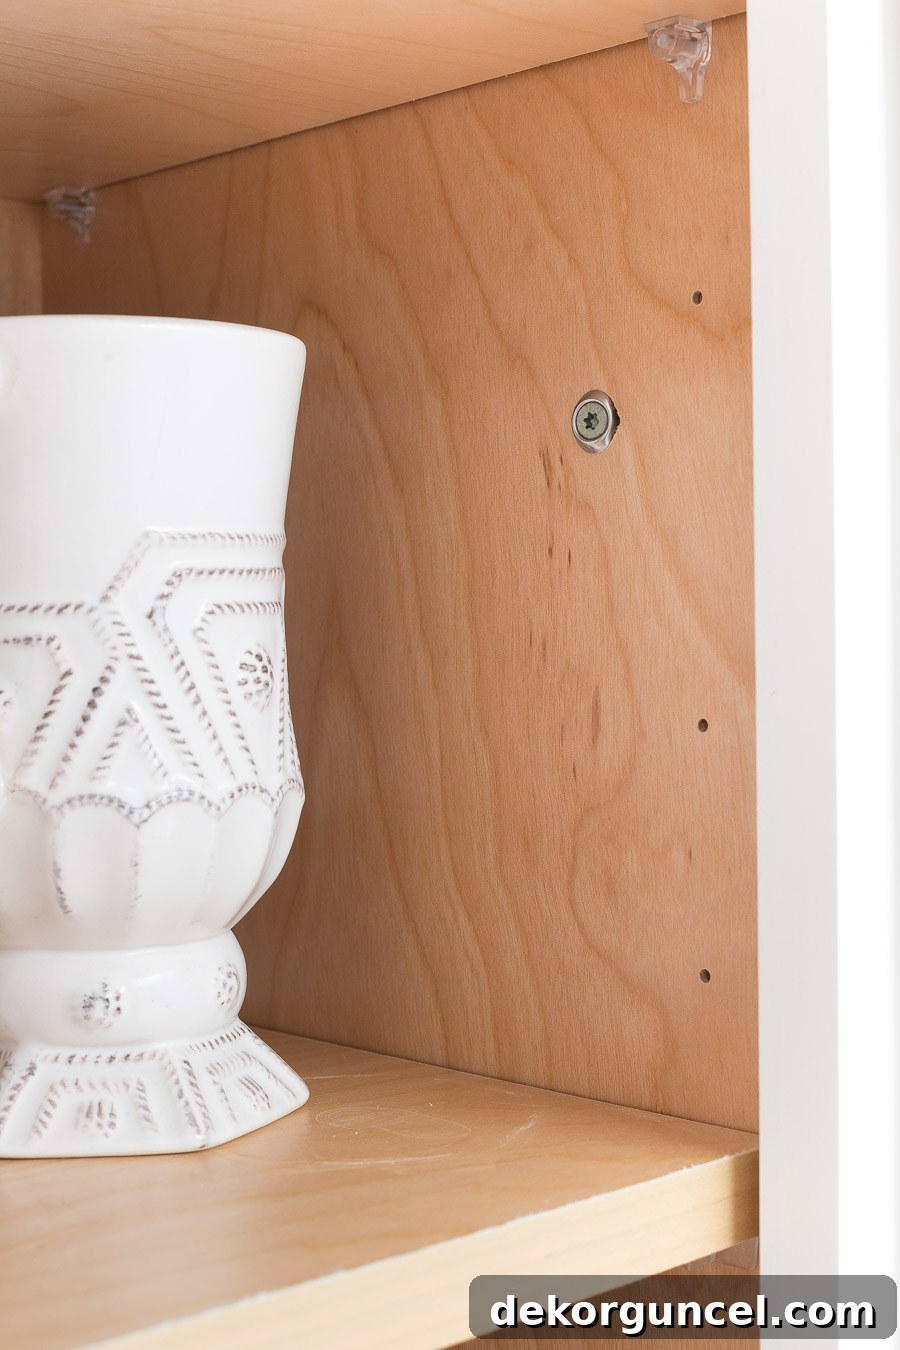
For an added layer of security and to ensure the shelves remained absolutely 100% level and immovable, my contractor implemented an anchoring screw. This crucial step involved drilling a screw (visible on the right, approximately one-third down in the image below) through the inside of the upper cabinet and directly into the middle of each shelf, positioned about 1 ½ inches in from the front edge. This anchoring screw provides extra reinforcement, preventing any potential shifting or sagging over time and ensuring your floating corner shelves are both stunning and exceptionally sturdy.
And with that final securement… we were done! The transformation was complete, and our kitchen now boasted stunning, custom-built white oak floating corner shelves, ready to be styled and enjoyed.
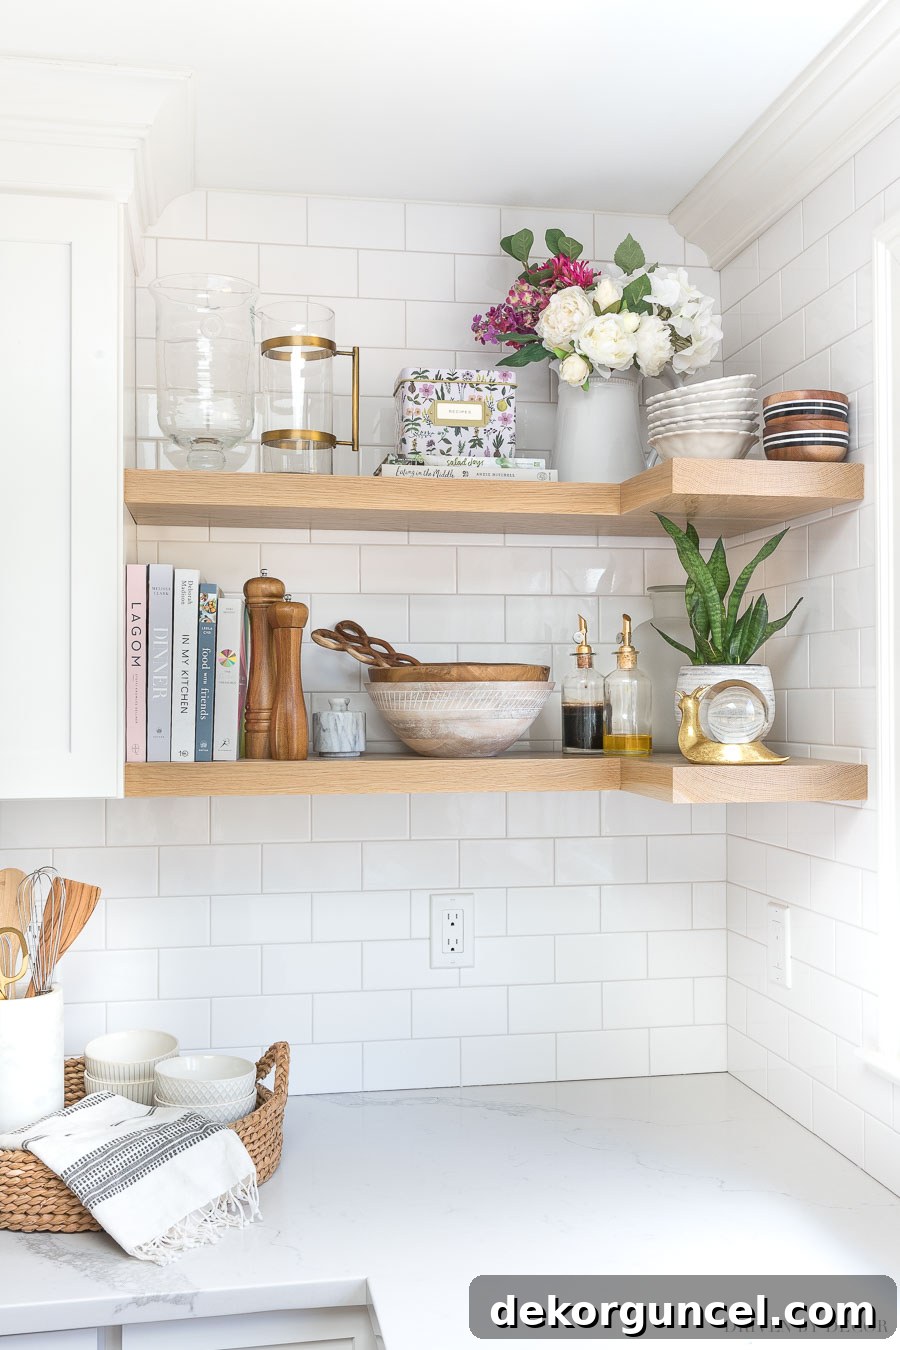
Sources – On Counter: Round braided tray | Marble & wood utensil holder | Blk/Wht hand towel On Shelves: Glass hurricane vase | Brass accent pitcher | Patterned recipe tin | White ceramic pitcher | Marble salt cellar | Spiral wood salad servers | Glass oil & vinegar bottles | Decorative snail
Considering Buying Instead of DIYing Your Floating Corner Shelves?
When we initially installed our floating corner shelves, custom-cut options like ours were virtually nonexistent on the market. However, times have changed! Today, you can conveniently purchase custom cut-to-size floating oak shelves {here} that are virtually identical in quality and style to the ones we built. Even better, they are offering my readers an exclusive 25% discount through this link! These ready-made floating shelves are highly customizable, allowing you to specify your preferred size, thickness, wood type (including beautiful white oak), and stain finish. This makes achieving the perfect look for your kitchen or any space incredibly simple and efficient.
I’ve personally experienced the quality of these shelves, having installed them in our bathroom. I absolutely love them, and you can delve into all the specifics of my selection and the installation process in my dedicated post on our bathroom floating shelves.
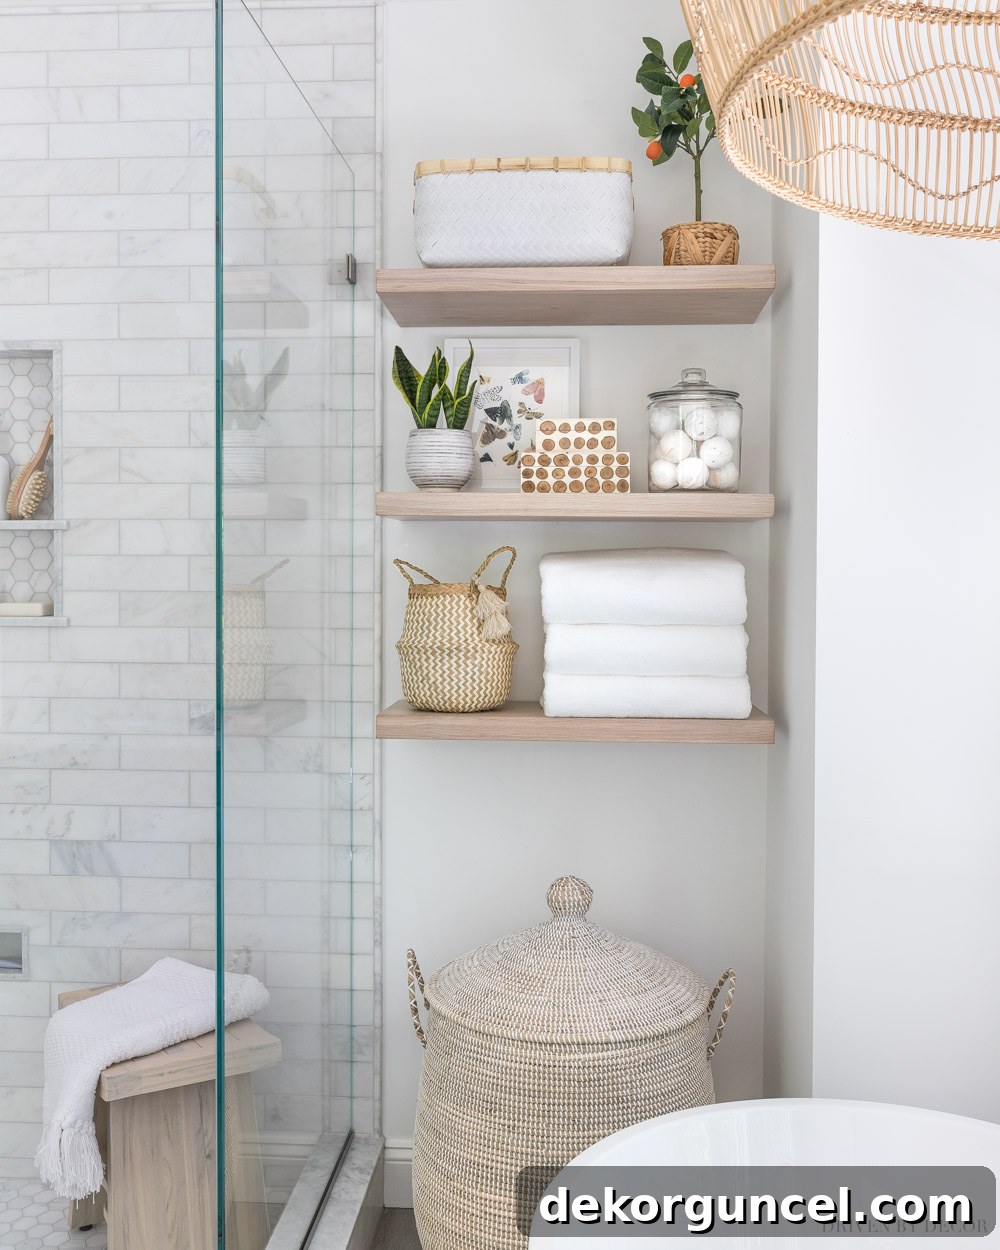
To create a corner shelving unit using UltraShelf’s offerings, you would typically purchase two separate shelves. One shelf would run along the longer wall, and the second would butt up against it on the shorter wall, creating that perfect “L” shape. The convenience of these pre-made options is undeniable, as their shelves come complete with all necessary brackets and hardware, simplifying the entire hanging process for your open shelving.
Do I Recommend Open Shelving in the Kitchen? My Honest Review
With both my kitchen and bathroom floating shelves, I can confidently say I absolutely adore the aesthetic and practical benefits they bring to our home. The natural warmth of the wood instantly elevates the space, and I love the creative freedom of being able to periodically refresh the look of the rooms by simply changing the decor items displayed on the shelves. This versatility is a huge advantage of open shelving in modern kitchen design.
I frequently receive questions about whether I feel open corner shelving in the kitchen is “wasted space,” and my honest answer is not at all! Beyond the small snake plant on the bottom shelf and my charming decorative brass snail (available {here}), nearly everything I display on my open shelves is an item I actively use and would choose to have in my kitchen, regardless of whether I had open shelving or traditional cabinets. Even this beautiful ceramic pitcher, which often holds faux flowers, is regularly cleaned out and utilized for entertaining guests at parties.
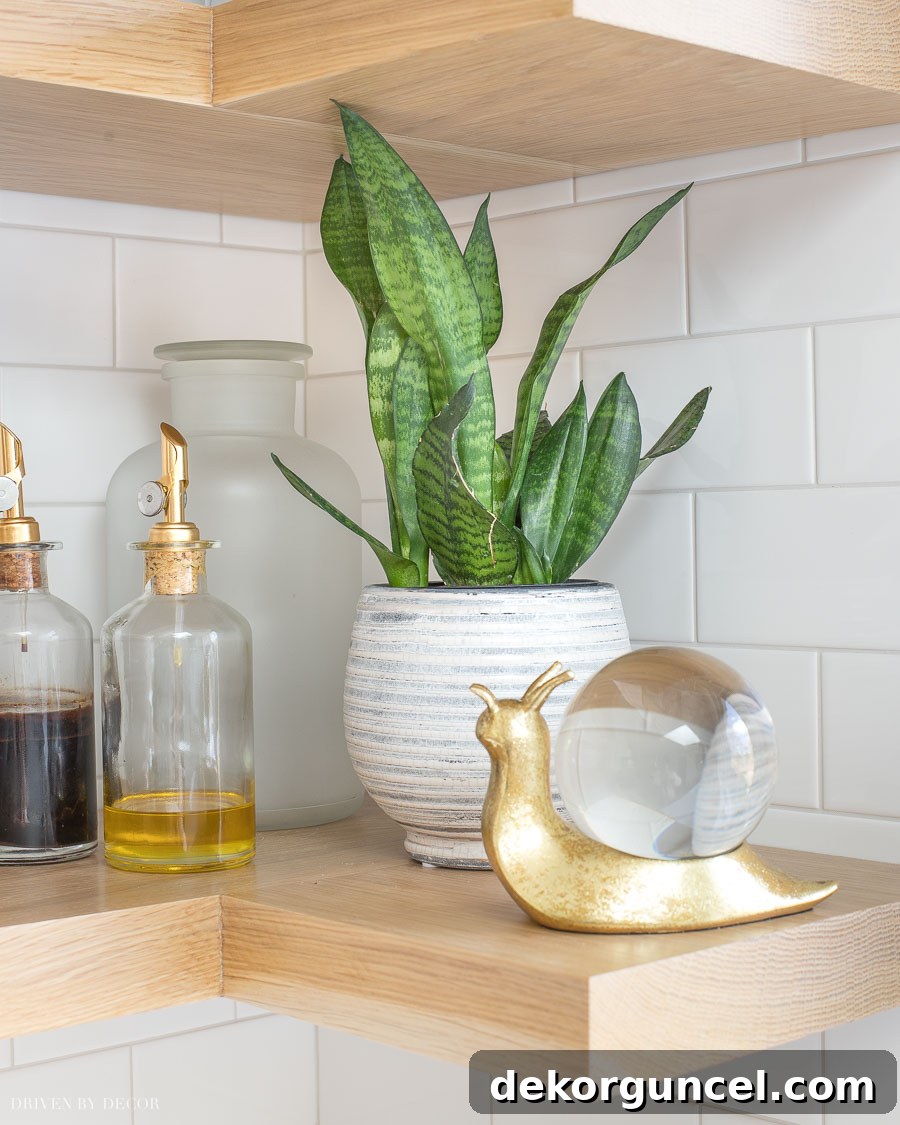
This practical approach ensures that my open shelving remains functional and clutter-free, serving as both a display area and accessible storage. It perfectly balances form and function, embodying the best of modern kitchen storage solutions. The visual lightness that floating shelves bring can make a kitchen feel larger and more inviting, a definite bonus for any home. They also offer a fantastic opportunity to showcase curated pieces that reflect your personal style, turning everyday items into decorative elements.
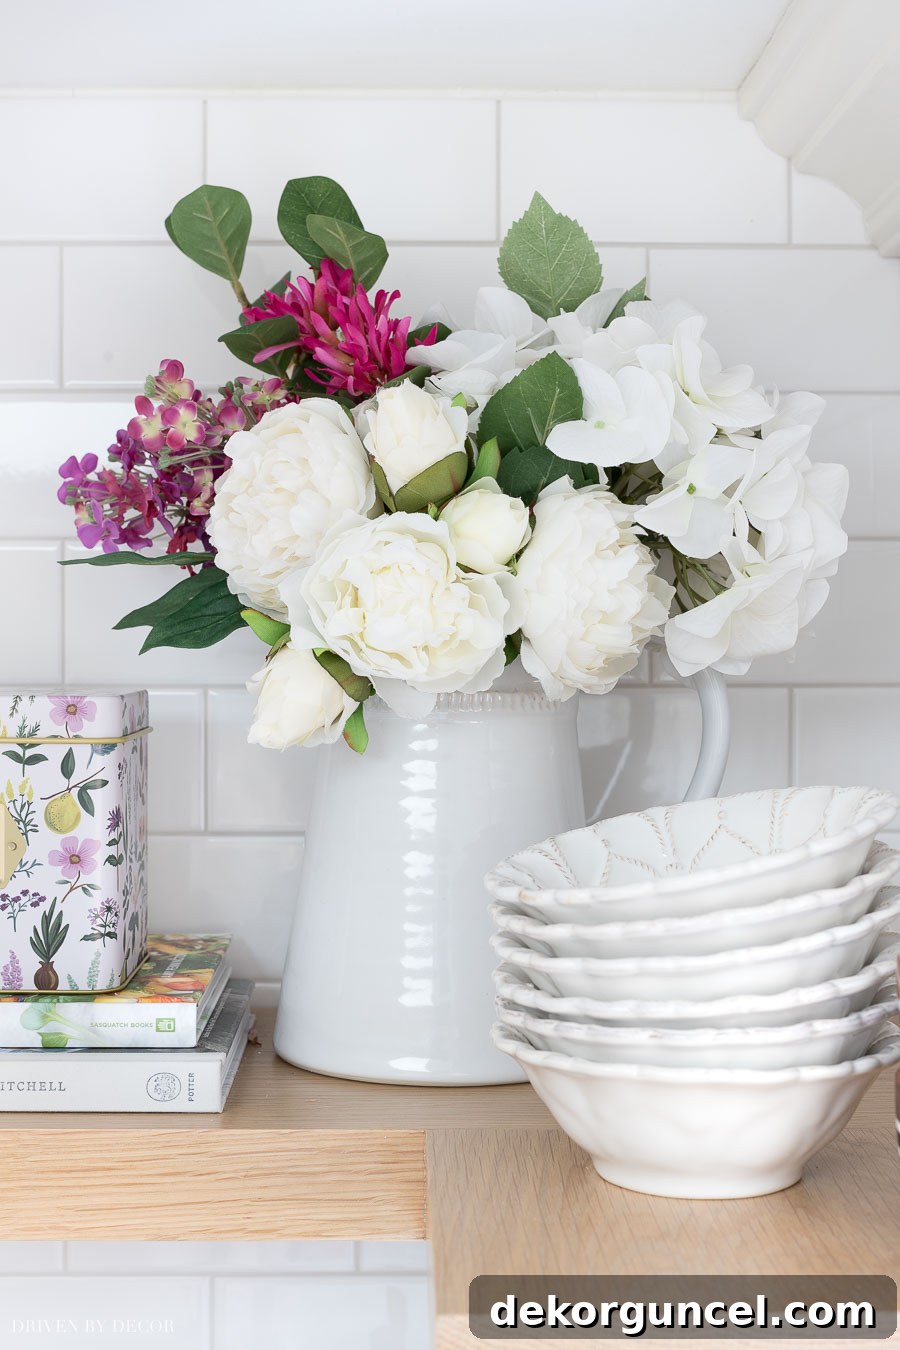
Regarding the common concern about dust, it’s true that items like my brass and glass pitcher or wooden bowls do accumulate dust over time. However, a quick soapy rinse before use takes less than a minute, making maintenance quite manageable. This minor upkeep is a small trade-off for the aesthetic benefits and accessibility that open shelving provides.
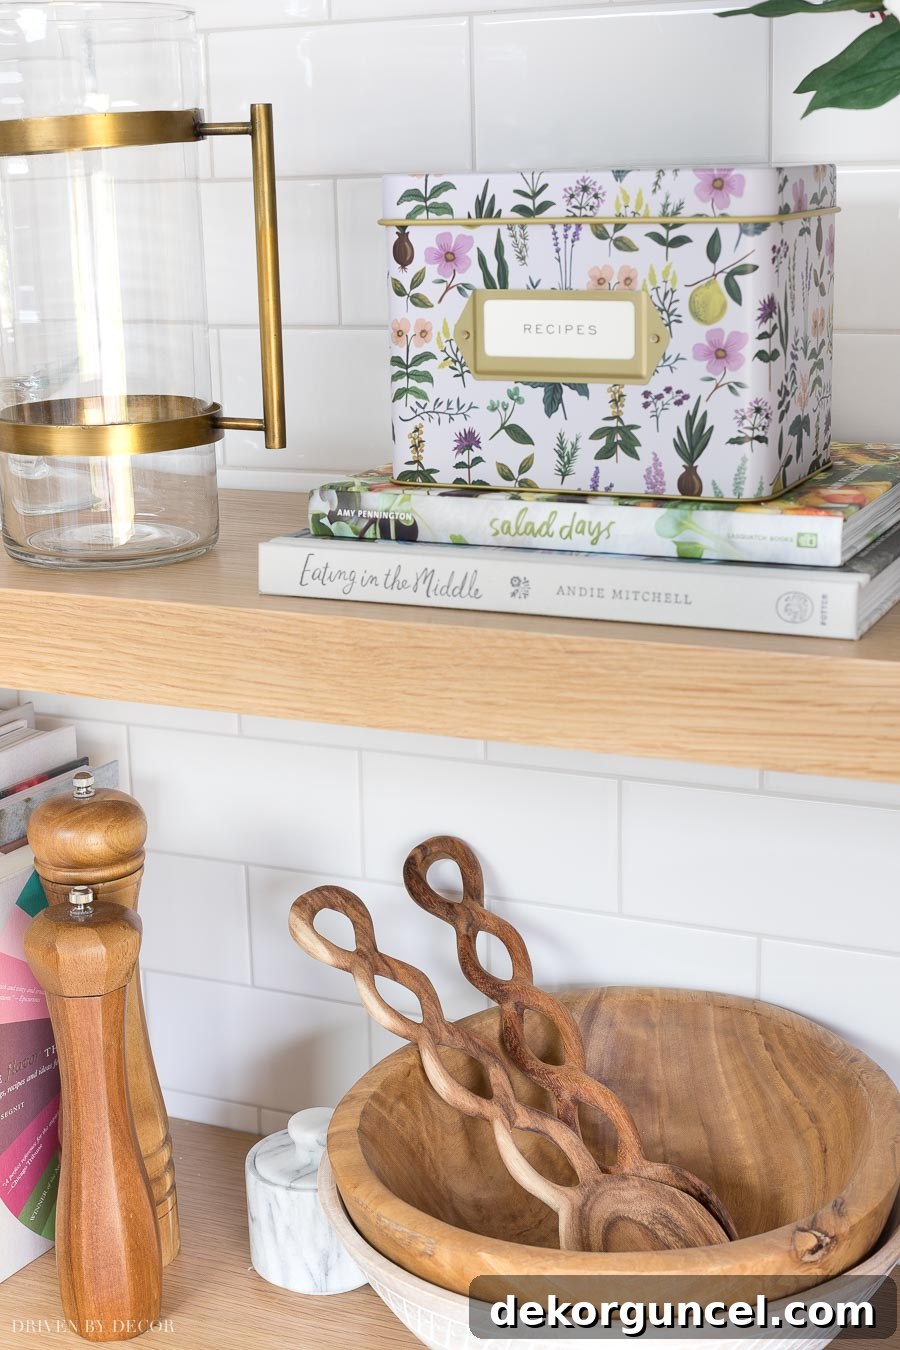
What are your thoughts on open shelving? This is the first home where I’ve incorporated it, and I can wholeheartedly say I would absolutely love to have it again in any future home. I do, however, appreciate also having some traditional upper cabinets to discreetly store less attractive or less frequently used items, striking a perfect balance between open display and hidden storage. I sincerely hope this comprehensive post has provided valuable insights for anyone contemplating their own floating corner shelves. If you require any additional information or have further questions about any detail, please don’t hesitate to ask me in the comments section below! I’m always happy to help fellow DIY and design enthusiasts.
Thank you for stopping by, and I wish you a wonderful week ahead!
