
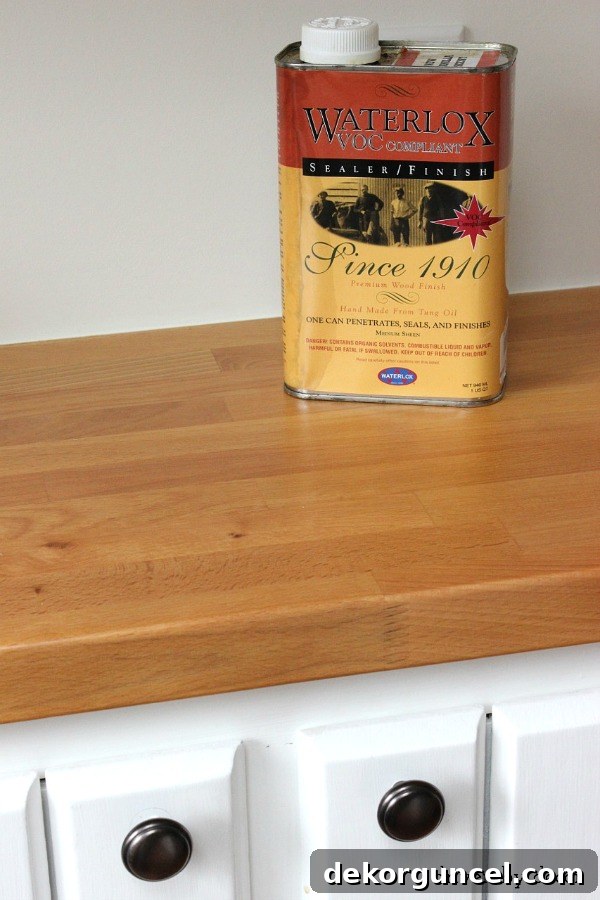
Considering butcher block countertops for your kitchen? Discover the best way to seal them! We put Waterlox and mineral oil to the test and are sharing our honest experiences to help you make an informed decision.
Butcher block countertops bring a unique warmth and natural beauty to any kitchen. Their inviting aesthetic makes them a popular choice for homeowners looking to add character and a touch of rustic charm to their culinary spaces. Whether you’re envisioning a cozy coffee station, a baking hub, or a full kitchen transformation, butcher block offers a versatile and timeless appeal. However, to truly embrace the beauty and longevity of these wooden surfaces, proper sealing and maintenance are absolutely essential.
Just last week, we showcased our newly organized coffee station, which features stunning butcher block countertops. Following that reveal, many of you reached out with questions about how we sealed and protected our new surfaces. Today, I’m excited to dive into all the details, sharing our journey, the products we used, and what ultimately worked best for us. (Please note: this post contains affiliate links – a full disclosure statement is available {here}). As you may recall, we’ve incorporated butcher block into a specific area of our kitchen – a small, yet impactful, section where we replaced an outdated and unappealing tiled countertop.
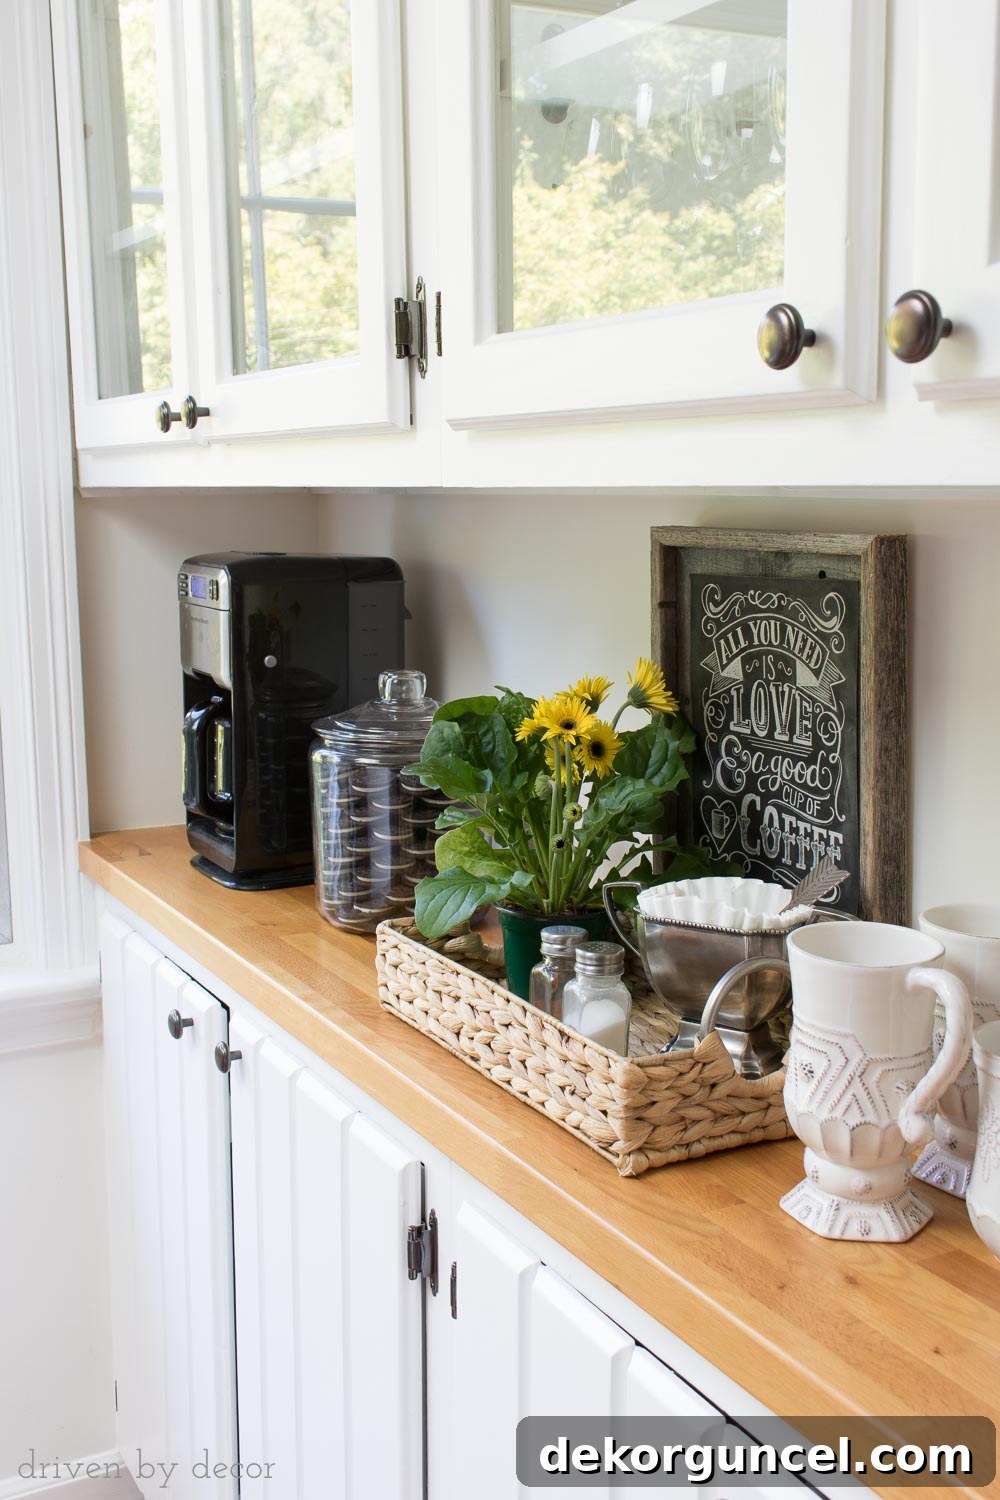
Scroll and Click/Tap to Shop the Look!
Once your butcher block countertops are beautifully installed, the next critical step is to treat or seal them. This protective layer is vital for preventing the wood from drying out, cracking, and becoming susceptible to unsightly stains or damage from moisture. Without proper sealing, your butcher block can quickly lose its appeal and structural integrity, becoming a breeding ground for bacteria and showing wear and tear much faster. There’s a wide array of products available for treating butcher block, ranging from simple oils to more robust finishes. For our initial approach, we opted for one of the most straightforward and cost-effective solutions: mineral oil. And that’s exactly what we used for the first several months.
Sealing Butcher Block Countertops with Mineral Oil: A Closer Look
Mineral oil has long been a popular choice for treating butcher block countertops, primarily due to its simplicity and affordability. It’s a food-safe, non-toxic option that penetrates the wood, enhancing its natural luster and providing a degree of protection. The application process is incredibly easy: you simply apply a generous amount of mineral oil, allow it to soak deeply into the wood fibers, and then wipe away any excess. Initially, you’ll need to apply it fairly regularly – perhaps daily or weekly for the first few weeks – to saturate the wood. After several applications, you can typically reduce the frequency to about once a month, or whenever the wood starts to look dry.
Advantages of Mineral Oil for Butcher Block
- Ease of Application: No special skills or tools are required. It’s a simple wipe-on, wipe-off process.
- Affordability: Mineral oil is one of the most budget-friendly sealing options available.
- Food Safe: Being food-grade, it’s perfectly safe for surfaces where food preparation occurs.
- Natural Appearance: It deepens the wood’s natural color and brings out its grain without adding a glossy film.
- Repairable: Minor scratches and scuffs can often be sanded out and re-oiled seamlessly.
The Downsides of Mineral Oil: Our Experience
Despite its advantages, mineral oil presented a significant challenge for our family. Here’s the problem we encountered: any absorbent material, such as paper, left on the countertop would absorb the oil from the butcher block, resulting in noticeable stains. Even weeks after the last oil application, a stray school paper, a grocery list, or even a newspaper could end up with an oily mark. While I’d love to claim that our kitchen is always impeccably tidy with no random papers scattered about, that’s simply not our reality! After several important documents and children’s drawings were ruined by being laid down in the “wrong place,” it became clear that mineral oil, despite its simplicity, wasn’t a practical long-term solution for our busy household. Beyond the paper staining, mineral oil also requires consistent reapplication to maintain its protective qualities. It offers limited water resistance compared to other finishes, meaning spills need to be wiped up immediately to prevent the wood from absorbing moisture and potentially staining or warping.
Sealing Butcher Block Countertops with Waterlox: A Superior Solution
Recognizing the limitations of mineral oil for our lifestyle, I embarked on extensive research to find a more durable and low-maintenance alternative for our butcher block countertops. After carefully weighing various options, I decided to try Waterlox, and I am absolutely thrilled with the results! It has truly transformed our butcher block and alleviated all the concerns we had with mineral oil.
What is Waterlox?
Waterlox is a unique blend of Tung oil and resin. This combination creates a finish that is not only highly water-resistant but also incredibly durable and, once fully cured, food-safe. It penetrates deep into the wood, forming a protective, elastic finish that moves with the wood, preventing cracking and chipping. This makes it an ideal choice for high-traffic areas like kitchen countertops, offering robust protection against spills, heat, and daily wear and tear.
The Waterlox Application Process
While the application of Waterlox requires a bit more effort and patience than mineral oil, the long-term benefits far outweigh the initial investment of time. The company provides excellent, detailed instructions on their website, which are an absolute must-read before you begin. However, the main steps involve thorough preparation, precise application, and adequate drying time:
- Sanding: Begin by sanding the butcher block to a smooth, uniform finish. This is crucial for proper adhesion and a beautiful final result. Start with a coarser grit and gradually work your way up to a finer grit, typically 220-grit, ensuring all dust is removed.
- Cleaning: After sanding, clean the surface meticulously with mineral spirits to remove any residual dust, oils, or contaminants. Allow it to dry completely.
- Applying Waterlox: Waterlox is applied in multiple thin coats. It’s recommended to apply 3-5 coats, allowing each coat to dry for 24 hours in between. Proper ventilation is essential during this process. For application, you can use a brush, roller, or a lint-free cloth, ensuring even coverage and avoiding puddles. Light sanding with very fine sandpaper (like 320-grit) between coats can help achieve a smoother finish, but it’s not always necessary, especially if you apply thin, even coats.
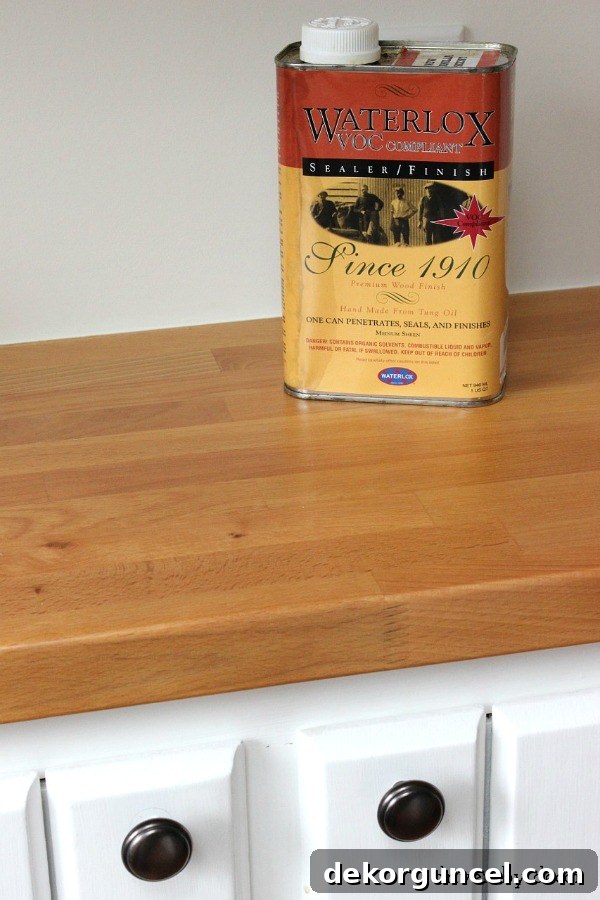
Choosing Your Waterlox Sheen
Waterlox offers three distinct sheens to customize the look of your butcher block: Original Sealer/Finish, Satin, and High-Gloss. For the initial coats, it is generally recommended to start with Waterlox Original Sealer/Finish (available {here}). This provides the foundational protection and deep penetration into the wood. If you desire a different final sheen, you can apply your last coat in either the satin or high-gloss finish. Personally, I’m not a big fan of overly shiny countertops. So, after applying three coats of the Original Sealer/Finish, I finished with a single coat of the Waterlox Satin (available {here}), which provides a beautiful, less glossy, and more natural-looking matte finish. It’s important to note that the type of treatment you choose will influence the final color of your butcher block. Waterlox tends to give the wood a deeper, slightly richer, and often a bit more orangey tone compared to the lighter, more natural look achieved with mineral oil.
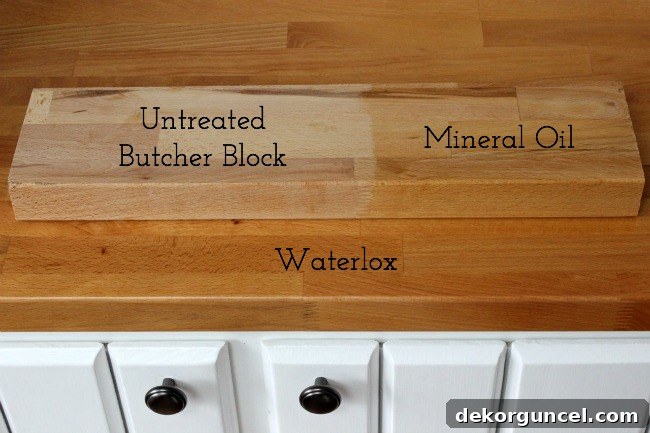
Mineral Oil vs. Waterlox: A Visual and Functional Comparison
The distinction between a mineral oil treatment and a Waterlox finish becomes even more apparent when you see them side-by-side. The image above clearly illustrates how Waterlox imparts a deeper, more amber hue to the wood, enhancing its grain and creating a more pronounced visual presence. In contrast, mineral oil typically maintains a lighter, more natural wood tone.
To further highlight this difference, consider this next angle. The countertop itself is sealed with Waterlox, showcasing its rich, deep finish. Placed on top of it is a cutting board that has been treated with mineral oil. This direct comparison vividly demonstrates the color variation and the distinct finishes each product provides:
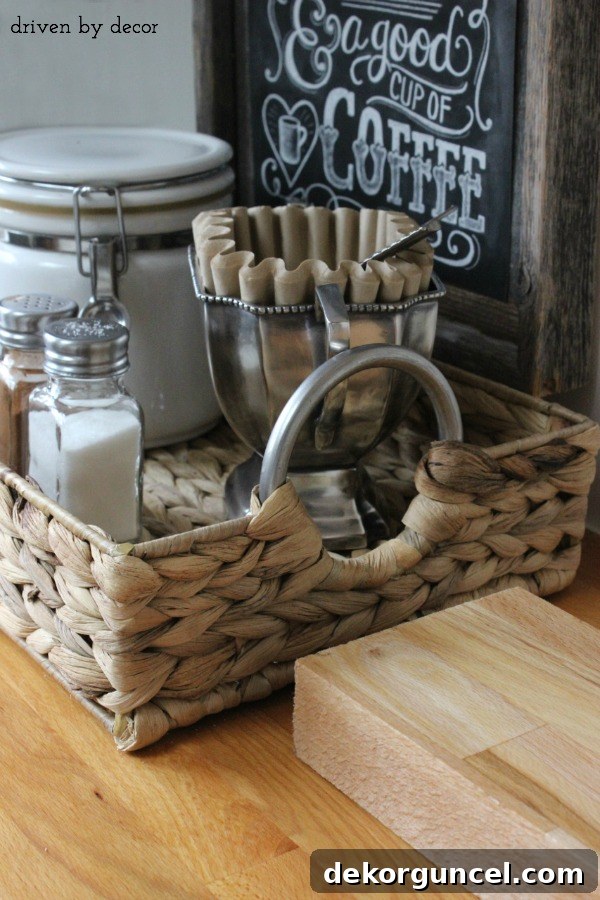
While I honestly preferred the slightly lighter, more natural appearance of the mineral-oiled countertop initially, the practical advantages of Waterlox ultimately made it the superior choice for our home. The complete elimination of oil spots on stray kitchen papers, the freedom from monthly maintenance routines, and the significantly enhanced water resistance were game-changers for us. Waterlox provides a durable, long-lasting barrier that allows us to enjoy our butcher block without the constant worry of spills or staining.
Maintaining Your Waterloxed Butcher Block
If you’re considering using Waterlox for your butcher block, it’s crucial to understand its care and cleaning requirements to ensure its longevity. Once cured, Waterlox is incredibly durable, but it’s not indestructible. For optimal performance and to maintain its beautiful finish, be sure to read {this comprehensive guide on care and cleaning of Waterlox} on their official website. It outlines which cleaning products you should and should not use on Waterlox-finished countertops. Generally, gentle, pH-neutral cleaners are recommended, and abrasive scrubs, harsh chemicals, or oven cleaners should be strictly avoided. With proper care, your Waterloxed butcher block will remain a beautiful and functional centerpiece in your kitchen for many years to come.
Making the Right Choice for Your Kitchen
So, there you have it – my comprehensive answer to your short question about our countertops! Choosing the right finish for your butcher block truly depends on your lifestyle, aesthetic preferences, and tolerance for maintenance. Butcher block countertops aren’t for everyone, and we understand that. In our kitchen, we’ve strategically placed them only in this specific area, complementing them with granite in the rest of the space. However, I absolutely adore the warmth and character they bring. Honestly, based on my experience with Waterlox, I wouldn’t hesitate to use them throughout an entire kitchen. They offer a unique blend of functionality and charm that few other materials can match.
The journey from an ugly tiled countertop to a beautiful, functional butcher block coffee station has been incredibly rewarding. While mineral oil served its purpose initially, Waterlox proved to be the more practical and durable solution for our home, offering peace of mind and significantly less maintenance. What about you? Are you considering butcher block, or do you already have them? What are your thoughts on different sealing options?
