
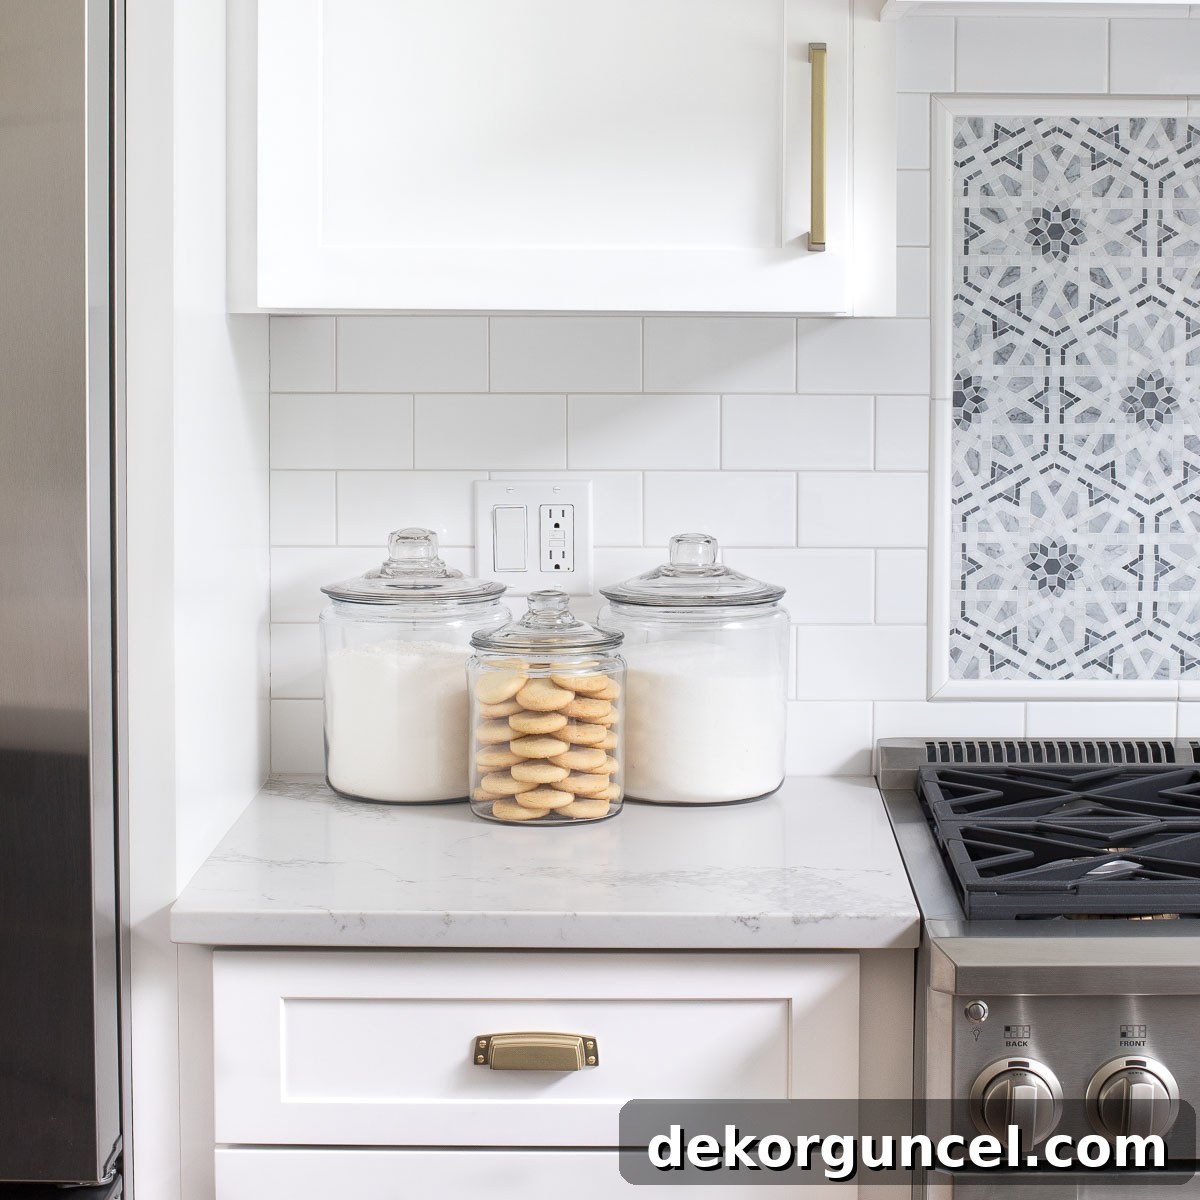
Embarking on a tiling project with classic white subway tiles? The seemingly small choice of grout color can dramatically transform your space. This comprehensive guide will walk you through everything you need to know about selecting and applying the perfect gray grout, ensuring your kitchen, bathroom, or any other area in your home achieves the desired aesthetic. Discover expert tips for testing grout colors and explore some of our favorite gray grout options!
Since revealing our stunning kitchen remodel, a consistent question has emerged from our readers: “What gray grout did you use?” It quickly became clear that I wasn’t alone in the “struggle” to choose the ideal gray grout to complement white subway tile. While “struggle” might sound dramatic for a design detail, your grout selection holds immense power, acting as the subtle (or not-so-subtle) framework that defines your entire tile installation. A perfect match can elevate your design, while a misstep can detract from it. That’s why meticulous consideration is key, and I’m here to share my journey and insights to help you get it right.
During my own selection process, I was surprised by the scarcity of “real-life” examples of white subway tile paired with gray grout where the specific grout color was clearly identified. This lack of practical resources inspired me to create this guide, detailing my method for choosing grout and showcasing various popular gray shades alongside white subway tiles.
Mastering the Art of Gray Grout: My Top Choice and Why It Works
Let’s begin with a reveal of the gray grout I ultimately selected for my kitchen: a beautifully understated light gray option known as Mapei Keracolor U in Frost. This particular shade strikes a wonderful balance, offering subtle contrast without overpowering the crisp white subway tiles. The accompanying image beautifully illustrates how this white subway tile and gray grout combination appears in varied lighting conditions – from the soft shadows beneath the upper cabinet to the brighter, more illuminated areas near the countertop, showcasing its consistent elegance.
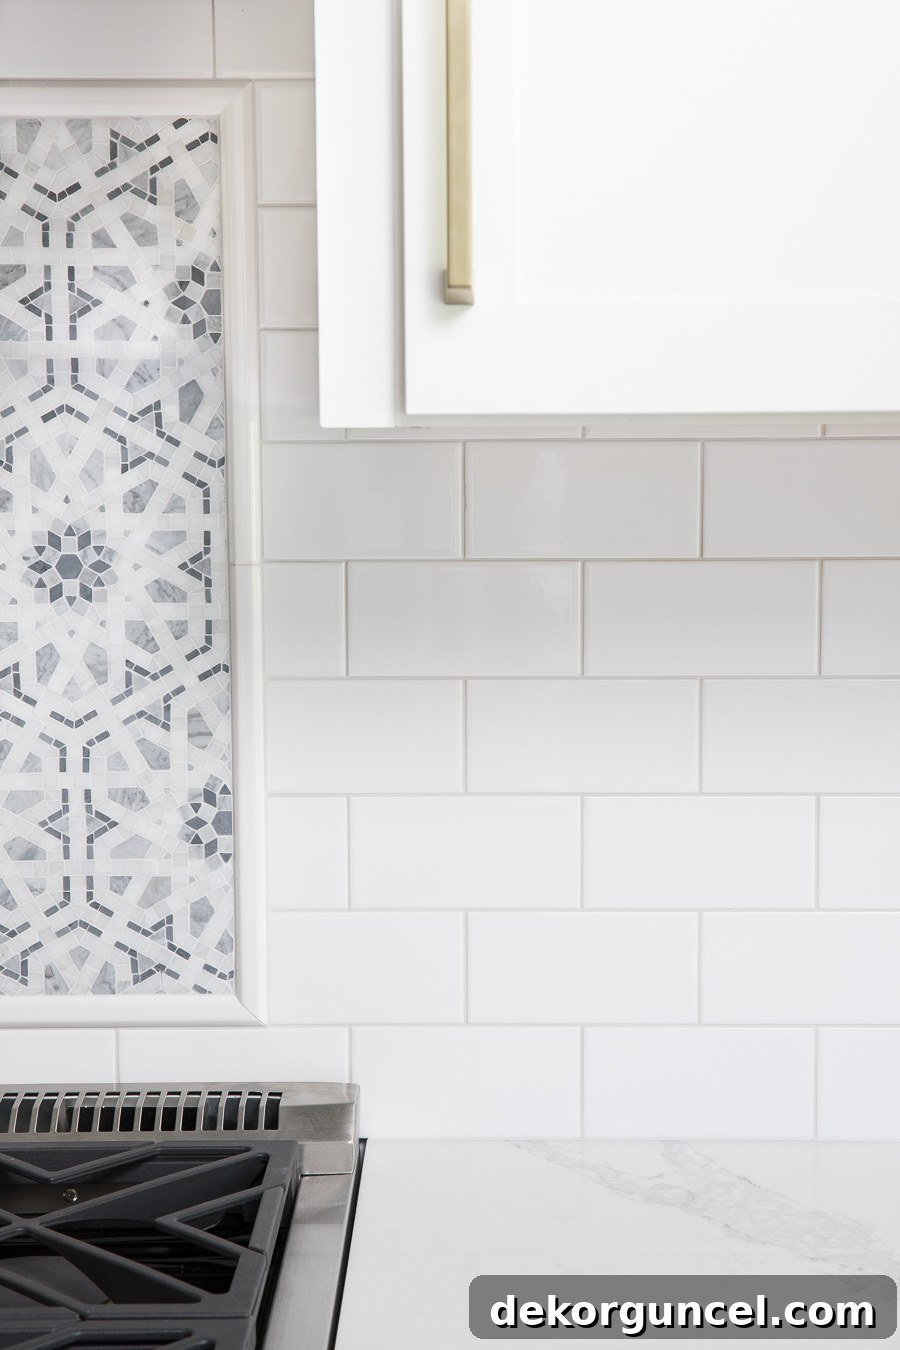
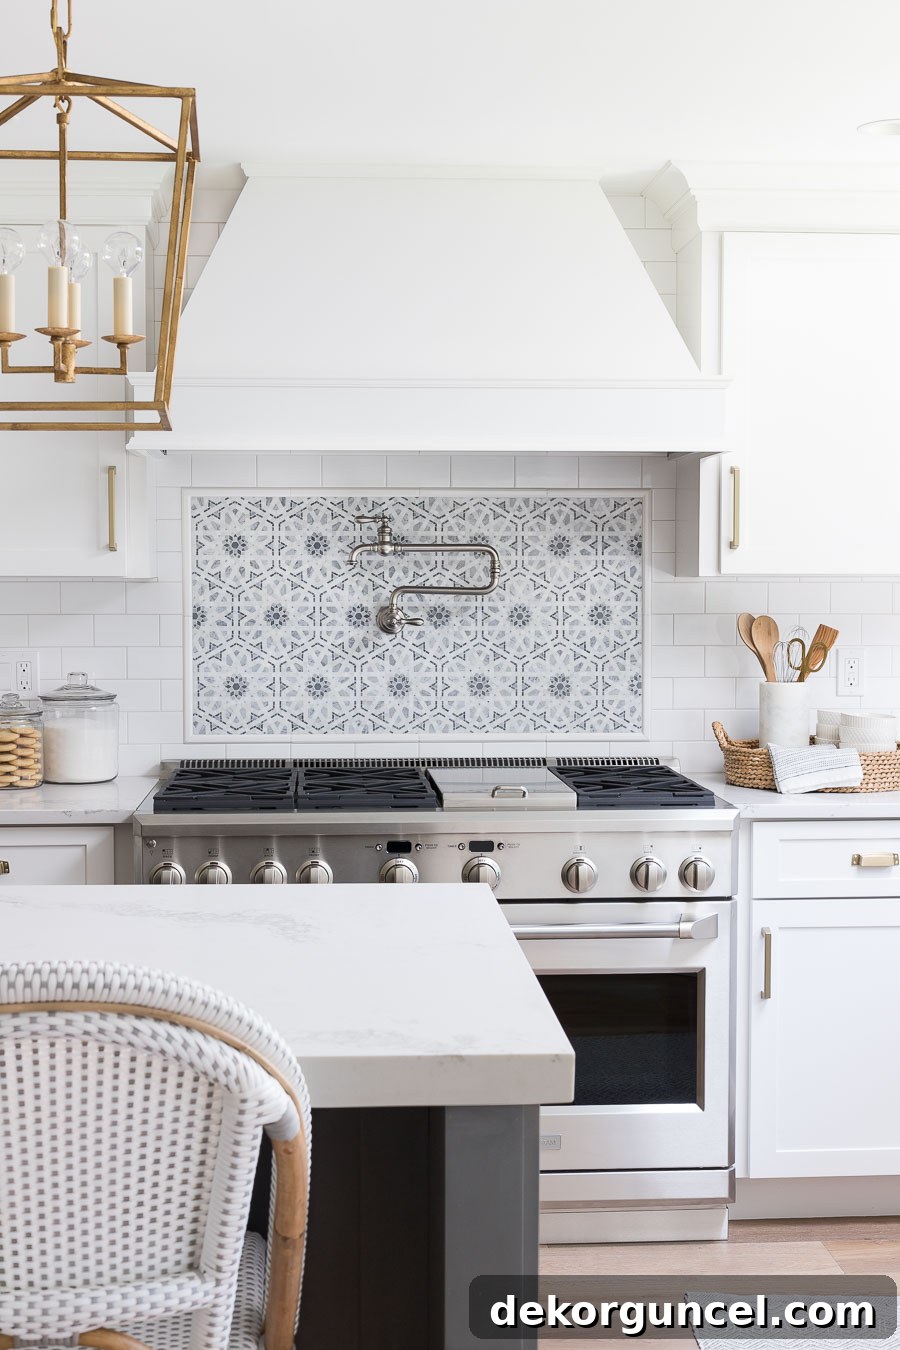
The versatility of Mapei Frost extends beyond the subway tile backsplash. I applied the same grout color to the intricate Walker Zanger Villa D Oro mosaic behind my kitchen range. This choice allowed the mosaic’s intricate design and varied tones to truly shine, as the light gray grout provided a cohesive yet subtle backdrop.
Furthermore, this same trusted grout color was used with the elegant marble tile in the shower of our master bathroom remodel. Our experienced tile installers frequently recommend Mapei Frost as their preferred choice for grouting marble, and for good reason. Its subtle hue enhances the natural beauty of the marble without competing with it, a decision I’ve been consistently delighted with across multiple projects.
While I wish my grout selection process was as simple as pointing to a swatch and saying, “That’s the one!”, the reality is far more nuanced. The sheer number of gray grout options available can be overwhelming. To ensure I made the best possible decision for my space, I dedicated considerable effort to thorough research and testing. Below are the invaluable steps I took, which proved instrumental in achieving a flawless result (please note: this post contains affiliate links; full disclosure available {here}).
Narrowing Your Grout Choices: From Sample Sticks to Showroom Floors
The journey to the perfect grout color often begins with professional insights. If you’re not tackling the tiling yourself, start by consulting your tiler for their recommendations. They typically have access to grout sample sticks, which serve as useful starting points. These sticks, often plastic replicas, provide a preliminary glimpse into color possibilities and can help you quickly eliminate options that clearly don’t align with your vision. However, remember that these samples may not perfectly represent the final appearance of actual grout, which can differ slightly in texture and tone once dried.
Tile professionals possess a wealth of experience, having seen countless combinations of grout and tile. Their input is invaluable, offering practical advice on durability, maintenance, and aesthetic harmony. Yet, it’s crucial to remember that personal taste plays a significant role. Your tiler’s preference might not perfectly align with your design sensibilities. For instance, my tiler had a very strong opinion on the ideal grout color for my fireplace tile, but I ultimately opted for something different (Polyblend Natural Gray), and I am 100% satisfied with my decision.
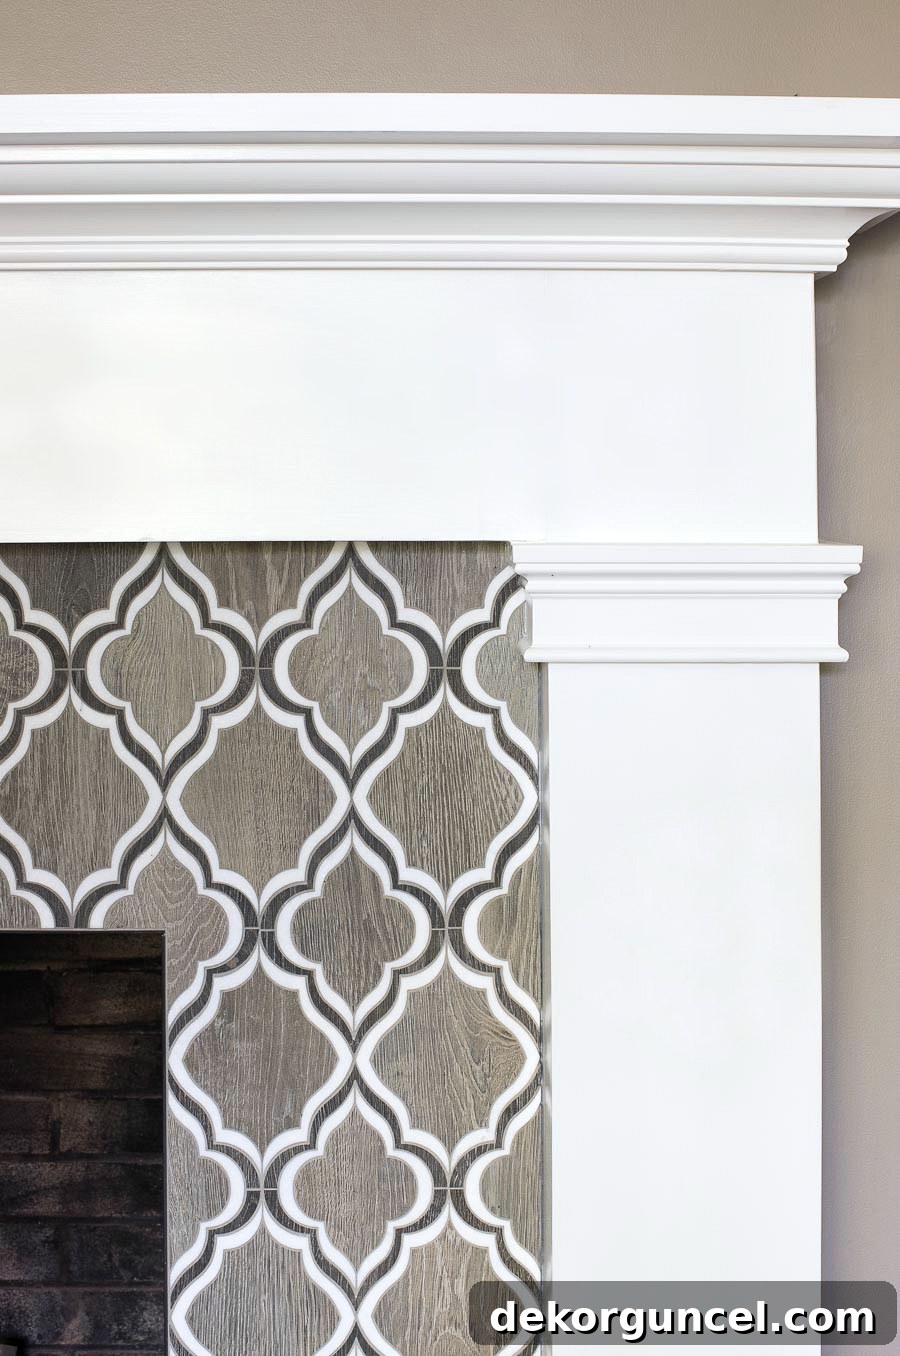
Therefore, leverage their expertise as a guide, but always ensure your final choice resonates with *your* personal style and preferences. Once you’ve narrowed down your choices to a select few, the next step involves a real-world assessment. Take time to explore tile showrooms and major home improvement stores like Lowe’s or Floor & Decor. These stores often display various tile types with different grouts already applied, and critically, the grout colors are usually labeled. This provides an excellent opportunity to observe “real-life” grouted samples. Pay close attention to how the same grout color can appear dramatically different depending on the surrounding tile color, the lighting conditions (both natural and artificial), and even the texture of the tile itself. Take photos and notes to review later, allowing you to compare options side-by-side in your own home’s environment.
The Ultimate Test: Creating Grout Sample Boards for Precision
After initial research, I managed to narrow my grout selection to two promising gray options. However, I hadn’t entirely dismissed the possibility of using white grout, which offers a seamless, almost invisible look. To make an informed decision, I created dedicated sample boards for all three possibilities. I even made a few extra samples of other grays I liked, specifically to share with you, offering a broader visual comparison. Subway tile is relatively inexpensive, so I used full tiles for my samples. If your chosen tile is more costly, consider cutting tiles in half using an inexpensive tile cutter like {this one}, which allows you to grout smaller sections and conserve material.
While the cost of grout itself isn’t negligible, investing around $50 in samples to ensure the perfect choice is, in my opinion, money exceptionally well spent. It’s a minor fraction compared to the overall expense of a kitchen or bathroom renovation, and it guarantees satisfaction with a long-lasting element of your design. When purchasing grout, you’ll need to decide between sanded and unsanded varieties. This choice depends on the width of your grout lines. For instance, my project required 1/16-inch grout lines – typically the narrowest standard – which necessitated the use of unsanded grout. Sanded grout is generally used for wider joints (typically 1/8 inch or more) to prevent cracking and improve durability. Here’s a detailed breakdown of how I created my indispensable sample boards:
Step 1: Secure Your Tiles to a Base Board
I utilized a plywood remnant from our renovation as my baseboard. To affix the tiles, I used {this glue gun}. While other adhesives like tile mastic or liquid nails could also work, the hot glue gun offers the distinct advantage of instant drying, allowing you to assemble your sample board quickly and efficiently. The key is to place each tile precisely onto the board immediately after applying the hot glue to its back, before the glue has a chance to set.
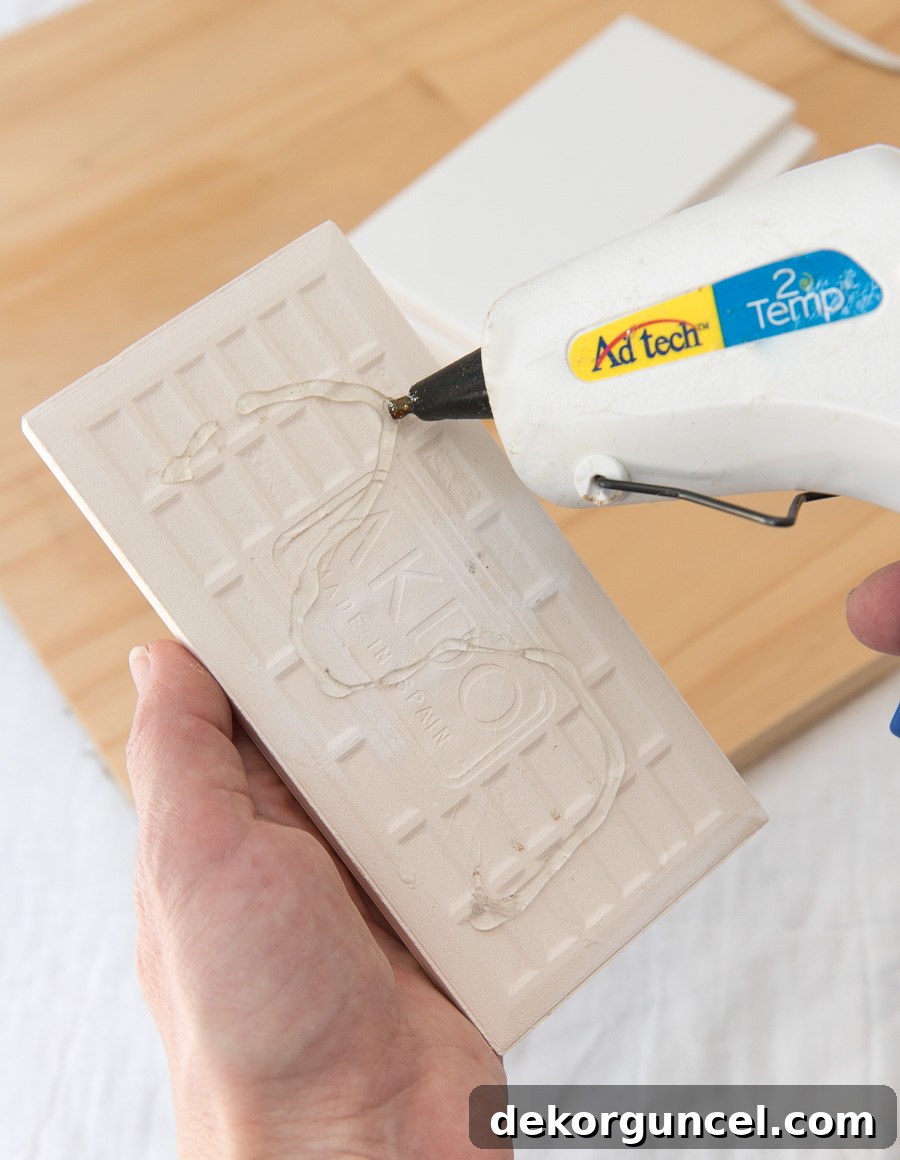
For each grout sample, I glued down four individual tiles. If you possess tile spacers, these are ideal for replicating the exact grout line width you intend to use on your walls (mine were 1/16-inch spacers, similar to {these}). However, if you don’t have spacers readily available, there’s no need to purchase them solely for sample boards. A simple ruler can achieve the same precise spacing, or you might even be able to borrow a few from your tiler.
Step 2: Prepare and Apply Your Grout
While pre-mixed grout is an option, I opted for bagged grout due to its cost-effectiveness. Using a disposable bowl and plastic spoon, I carefully poured a small amount of the grout mix into the bowl, gradually adding water bit by bit until it reached the desired consistency – it should be well blended and smooth, but definitely not runny. Always adhere strictly to the mixing instructions provided on the grout bag; some products require a few minutes of “slake time” after initial mixing to allow the polymers to fully activate, as mine did. Following this, using a small trowel (a putty knife works equally well for this task), I applied the grout onto the tiles, pressing it firmly into the gaps between them to ensure complete coverage and eliminate air pockets.
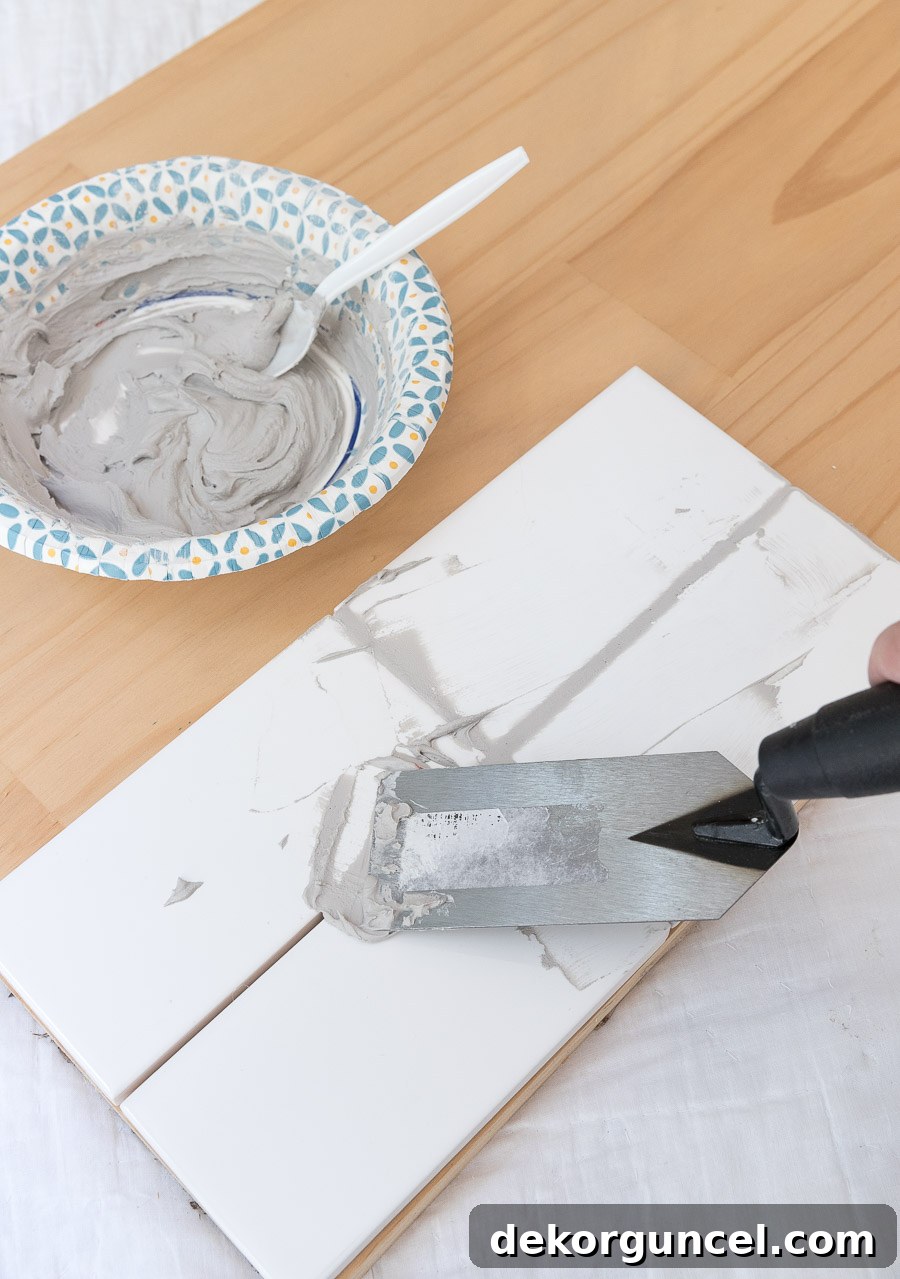
Once the grout was applied, I removed the majority of the excess with my trowel or putty knife – no need to be perfectly precise at this stage, just remove the bulk. Then, I allowed the grout to sit undisturbed for the specific duration recommended in the grout’s instructions. This crucial “setting” time allows the grout to begin curing before the final cleaning.
Step 3: Clean the Tiles and Smooth the Grout Lines
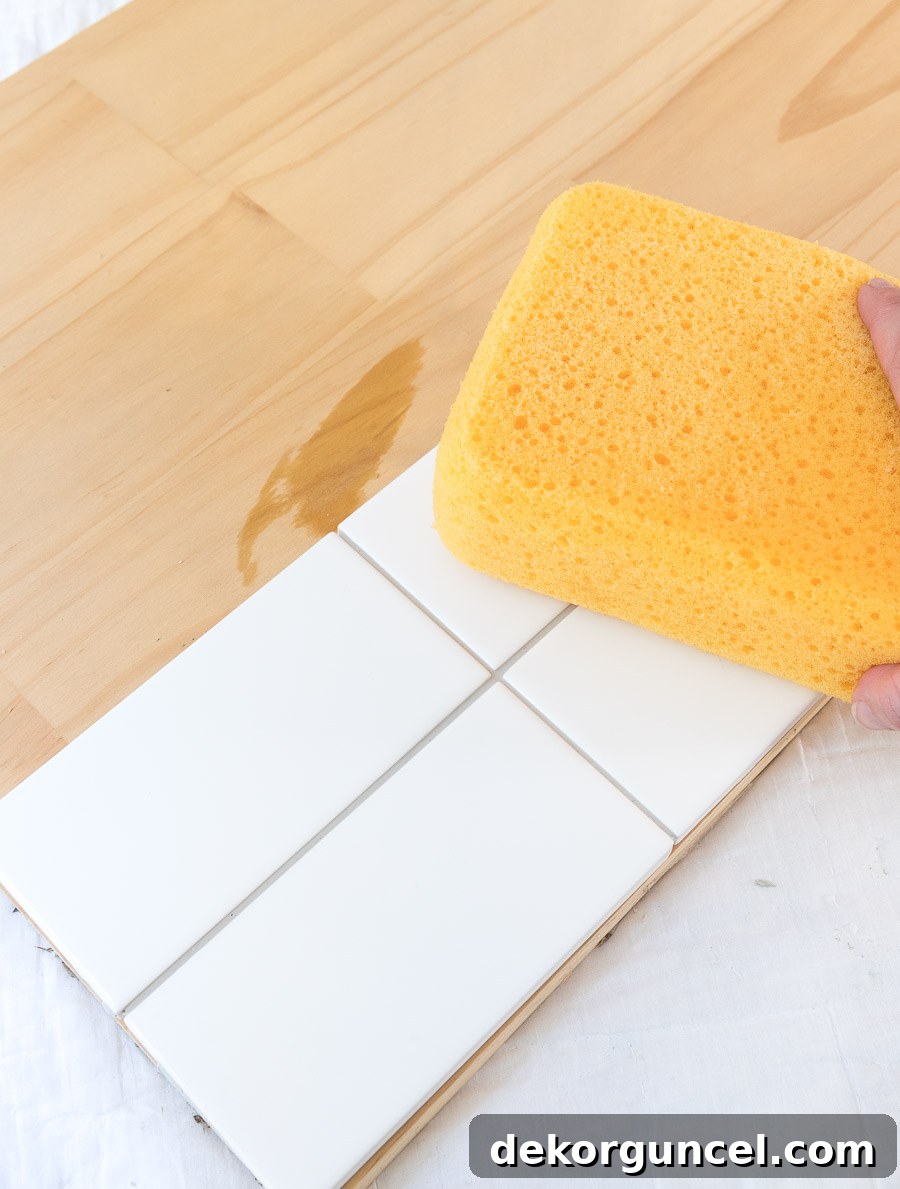
After the recommended setting time outlined on your grout bag has passed, it’s time for the cleanup. Using a slightly damp sponge (ensure you wring out all excess water to prevent streaks), gently wipe down the tiles to remove any residual grout haze. Simultaneously, carefully run the sponge over the grout lines to smooth them out and remove any remaining excess. This step refines the appearance of your grout, giving it a professional finish. If a sponge isn’t readily available, a paper towel can also work effectively for this stage.
Step 4: Patience is Key – Allow Ample Drying Time
This final step is perhaps the most critical. Grout color undergoes a significant transformation as it dries, invariably lightening in shade. Therefore, resist the urge to make any final decisions about your grout color until it is completely dry, which can take anywhere from several hours to overnight, depending on humidity and product specifications. Observing the dried sample is the only way to accurately assess its true color. The image above illustrates what Frost grout looked like when wet and applied, while the image below (with Frost positioned at the top) clearly demonstrates the noticeable lightening once fully dry.
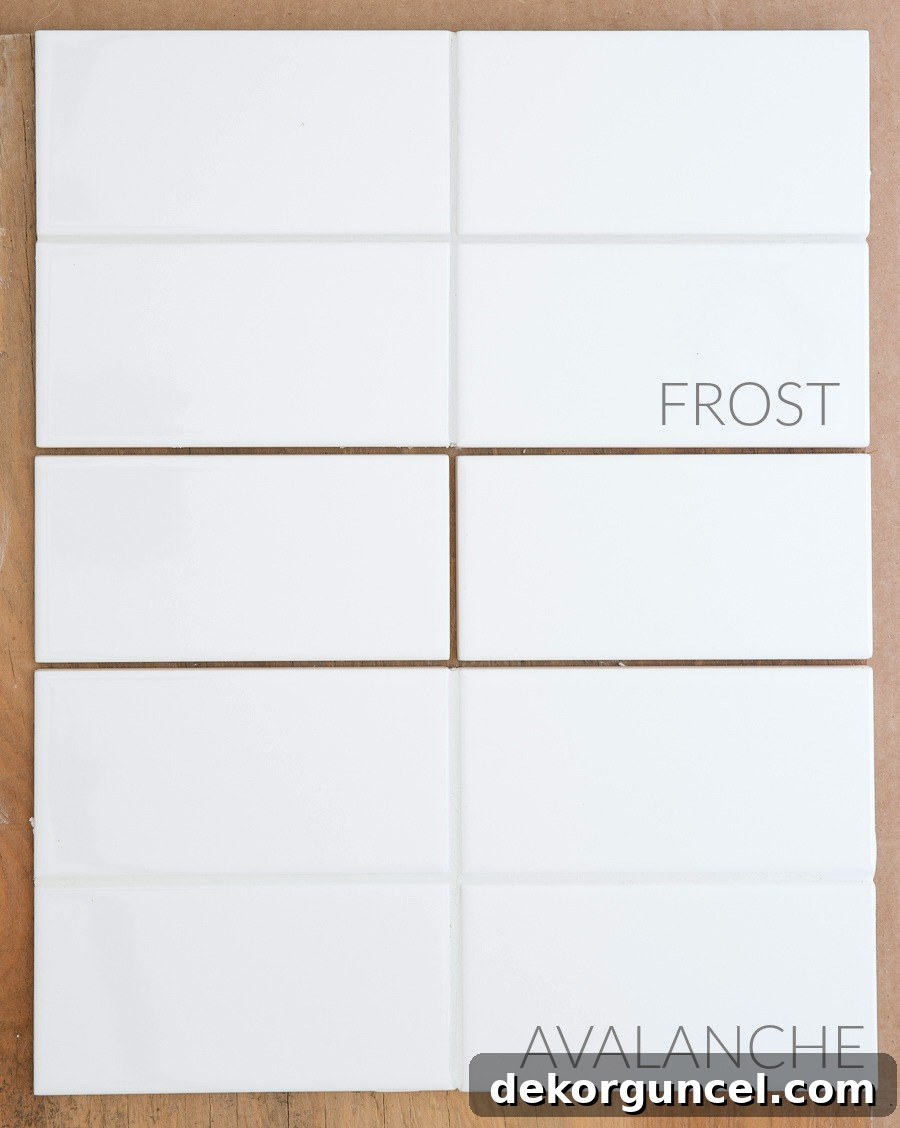
As you can observe, Mapei’s Frost, once dry, reveals itself as a wonderfully soft, super light gray – a hue you might not anticipate from its appearance when mixed wet. Here, it’s shown in comparison to Avalanche, a soft white grout. This comparison highlights just how much a seemingly subtle gray can add definition without creating stark contrast, which was exactly the effect I aimed for.
Beyond Frost: A Showcase of Favorite Gray Grouts for White Subway Tile
Once my sample boards were complete and I placed my beautiful kitchen mosaic alongside them, the choice for my own kitchen became immediately apparent. My primary goal was for the mosaic to be the undisputed focal point, and thus, the lightest gray (Mapei Frost) proved to be the perfect supporting act. However, I also genuinely admired several of the darker gray shades I sampled. Had my project consisted solely of subway tile without an elaborate mosaic, I would very likely have opted for one of those deeper tones. Below, you’ll find a visual comparison illustrating how various gray grouts appear against crisp white subway tile. This image is also “Pinnable” for your convenience, allowing you to easily save it for future reference or inspiration!
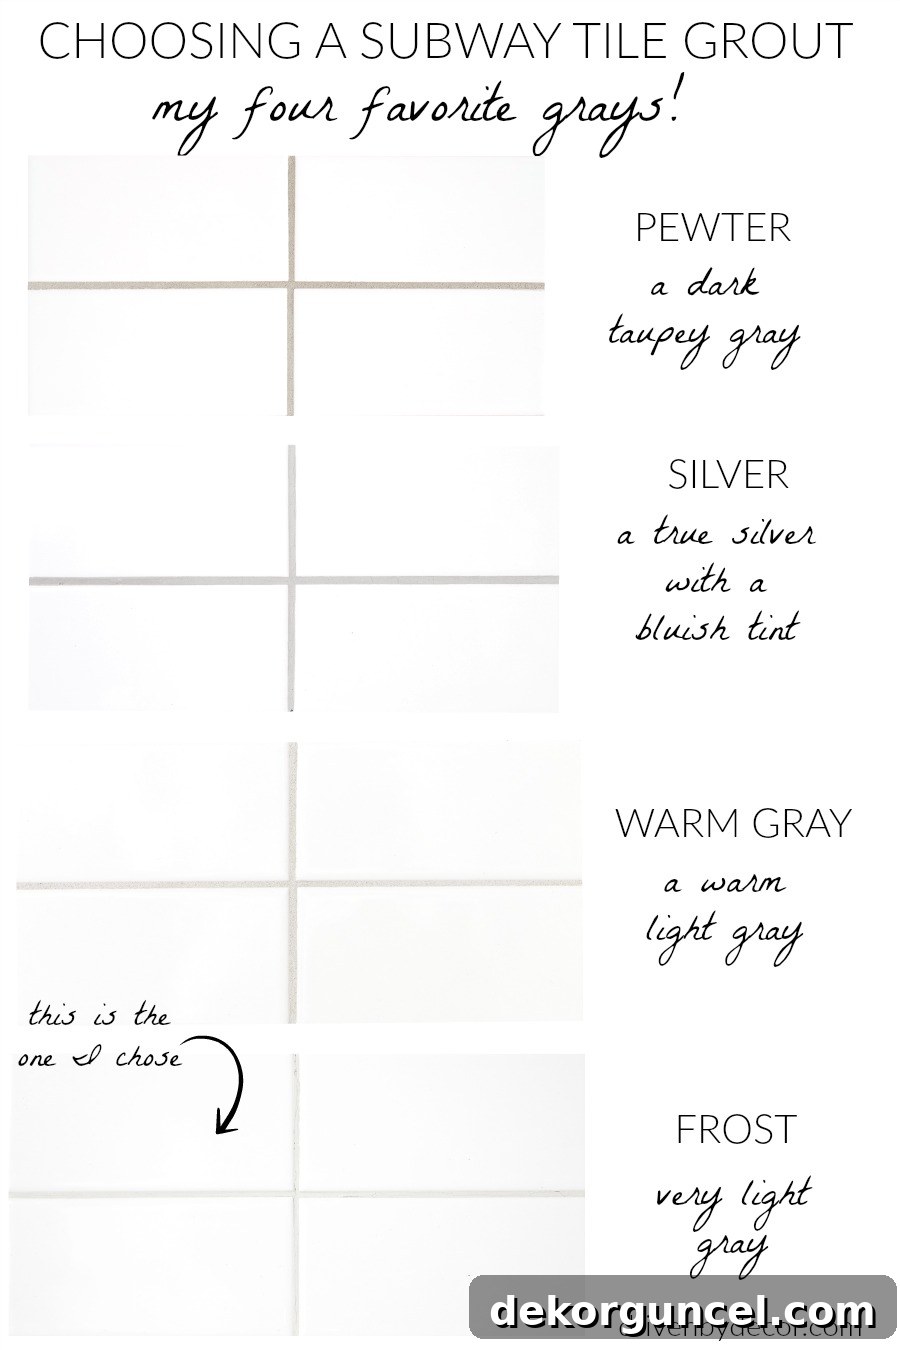
It’s important to note that all the gray grouts featured here are from the Mapei Keracolor U series. Grout names and colors can vary significantly between brands, so always use this guide specifically for Mapei products. You can typically find Mapei grout at major retailers like Lowe’s or Floor & Decor. If your design vision leans towards a richer, darker gray to create more contrast or a bolder statement, I highly recommend exploring Mapei’s other excellent options, such as Mapei Gray, Timberwolf, Iron, and Pearl Gray. Each offers a unique depth and character that can dramatically alter the feel of your tiled space, from a subtle architectural line to a striking, graphic pattern.
The Essential Final Step: Sealing Your Grout for Longevity
There’s one crucial final step after your tile installation is complete: sealing your grout. This seemingly minor task is paramount for protecting your investment and ensuring the long-term beauty and durability of your tiled surfaces. Grout, being porous, is susceptible to absorbing liquids, which can lead to unsightly stains, mildew, and discoloration over time. A quality sealer acts as a protective barrier, repelling moisture and grime.
While various sealers are available on the market, some more budget-friendly than others, I strongly advocate for a high-quality impregnating penetrating sealer. {This particular impregnator penetrating sealer}, although it may represent a higher initial investment, has been consistently recommended as the absolute best by every tile professional I’ve ever collaborated with. Penetrating sealers soak into the grout, providing deep protection without altering its natural appearance, making them ideal for high-traffic or moisture-prone areas like kitchens and bathrooms. This ensures your beautiful gray grout remains vibrant and protected for years to come, preserving the pristine look of your white subway tile.
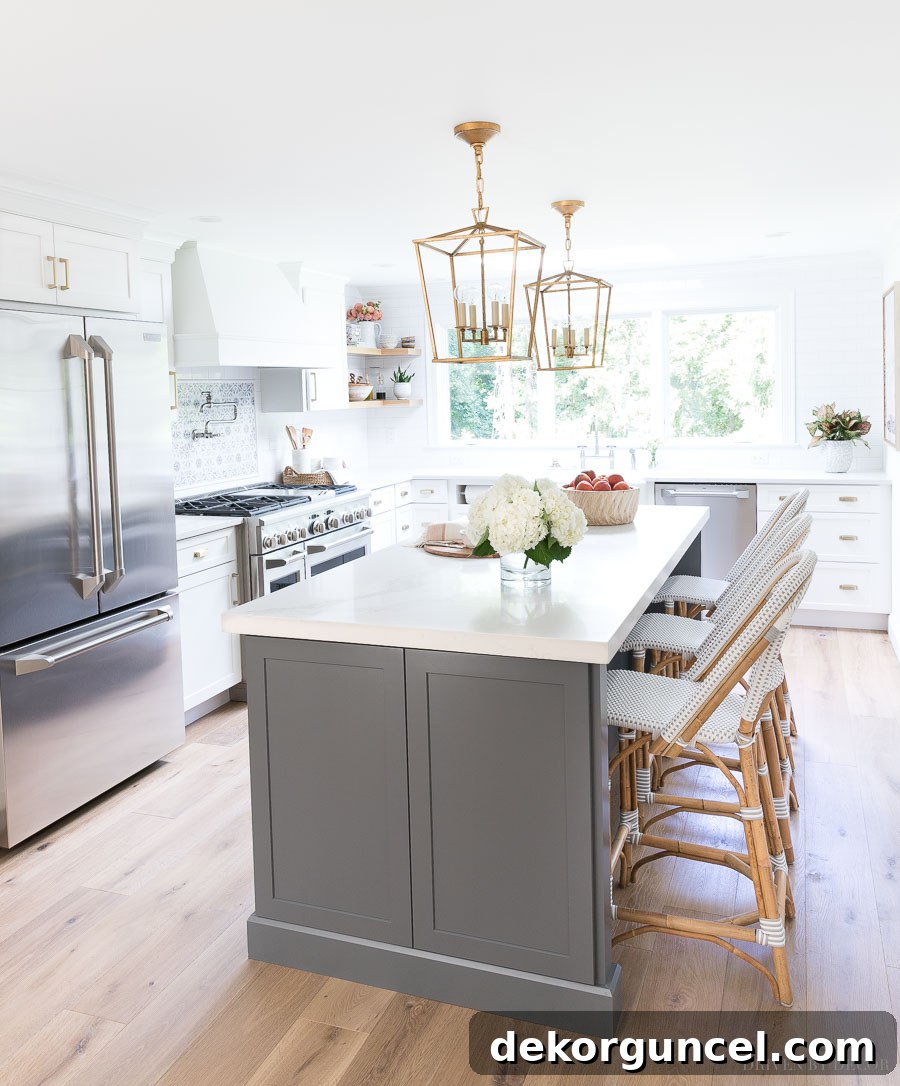
Eager to explore more details of our kitchen transformation? Discover the complete “before and after” journey, along with all the source links and design insights, on our dedicated kitchen remodel post!
Thank you, as always, for taking the time to visit and read!
