Our New Family Room Fireplace, Shiplap In Our Bathroom, A Privacy Solution for Our Glass Front Doors, and More
The household sequence below is the one that kept the room usable while it was unfinished. While I typically like to tackle one room makeover at a time, that's definitely not how things have gone down since moving into our NC home. Every room I start working on ends up being stuck in limbo while I wait for backordered product or the electrician or plumber that I need to install it. So… while I'm waiting I move on to starting on the next room until that room gets hung up by something and… the cycle begins again. The result? A house full of in-progress rooms (aka a complete disaster zone ).
Today I'm sharing a behind-the-scenes glimpse of the not so glamorous progress that goes into creating that big makeover “after”. Let's kick things off with our family room… (post includes affiliate links; full disclosure statement available {here})
Family Room Renovations
Here's where things started with our family room when we bought the house:
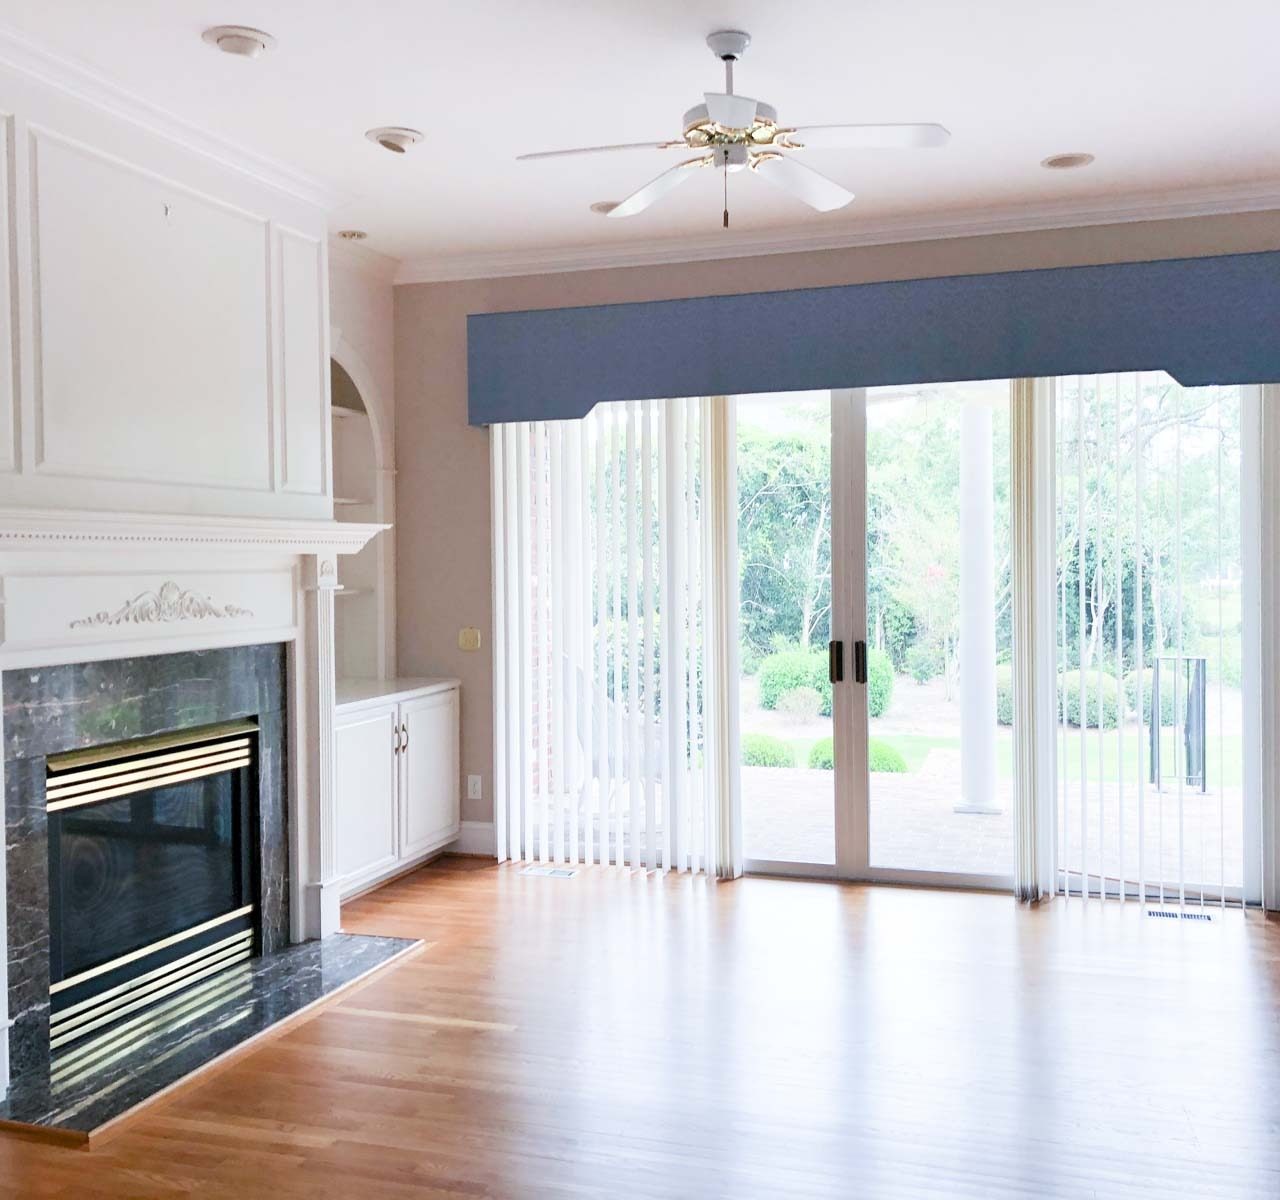
A few months back we knocked out several projects including hardwood floor refinishing, adding new hardware to the bookcase cabinets, and removing the four columns that separated the family room from the dining room and entry. Prior to refinishing our floors we also removed our hearth and tore out most of the surround so we could extend the hardwoods to the fireplace.
Then for months we waited (and waited and waited…) for our new fireplace insert to be shipped. That baby finally arrived and was installed last week (we bought {this insert}):
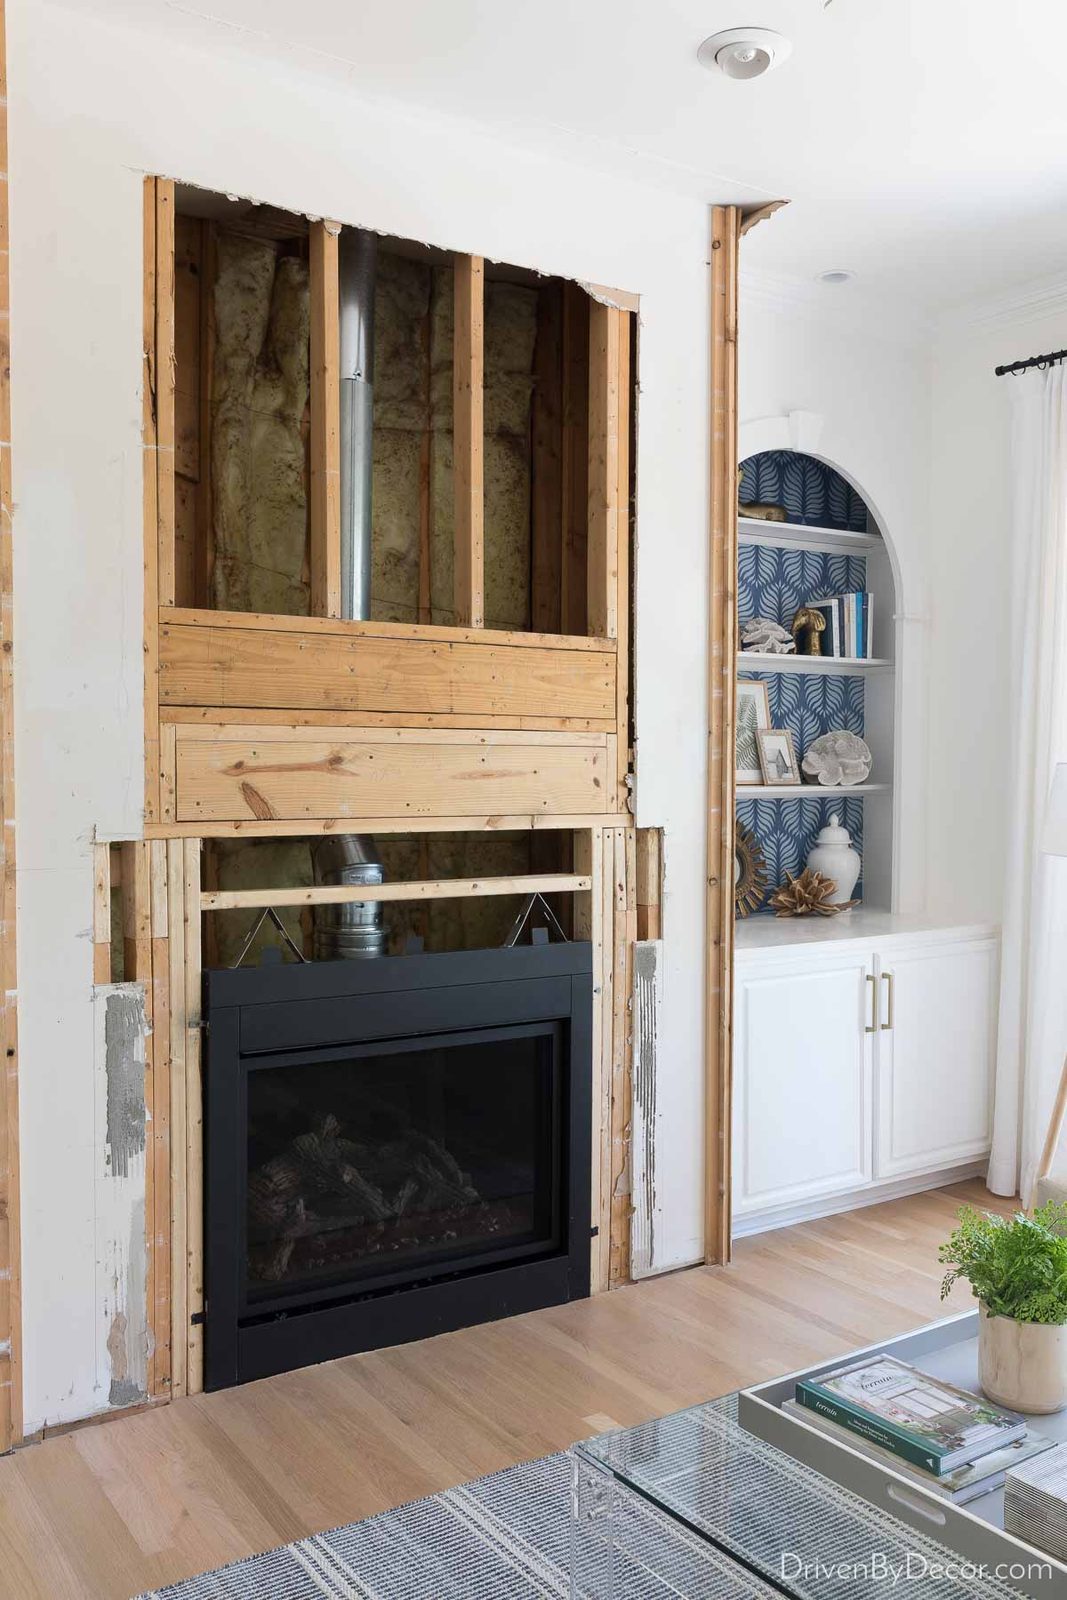
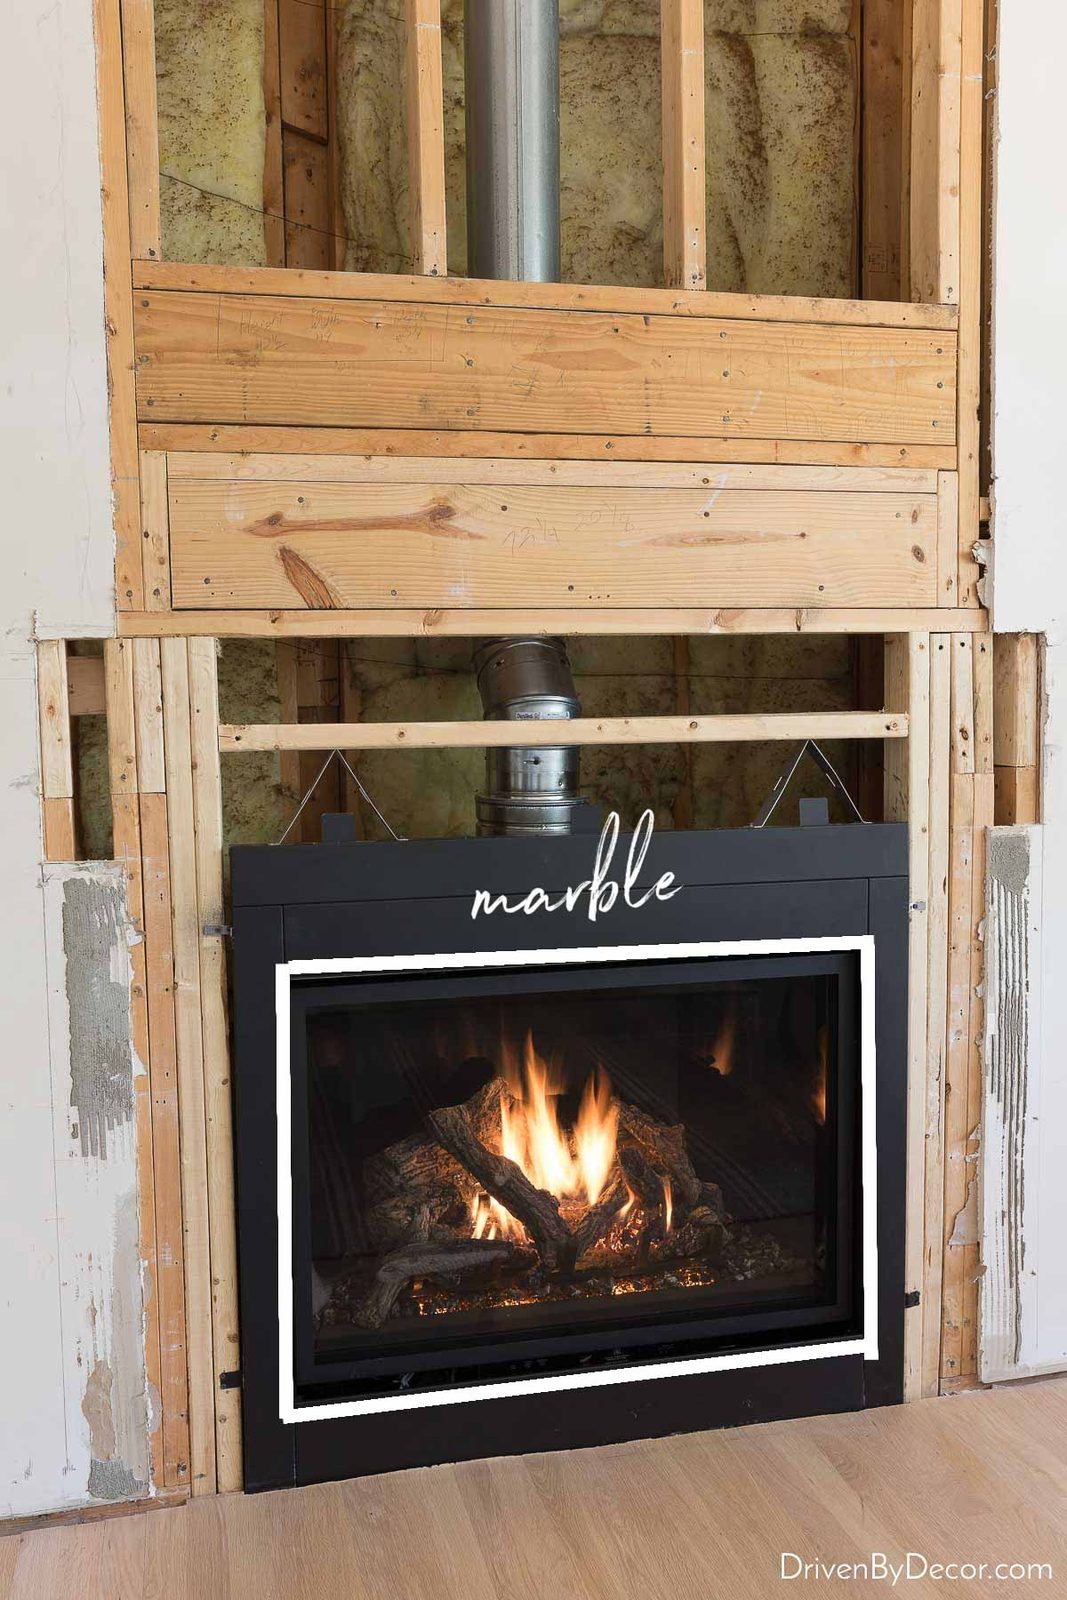
The new insert doesn't require a hearth and has a “clean” face – once the household has finished it off, all of the black that you see now will be covered by a marble/quartz surround except the 1 ¼″ black frame of the fireplace screen:
 The mantel surrounding the stone will be very simple – something similar to {this cast stone mantel}:
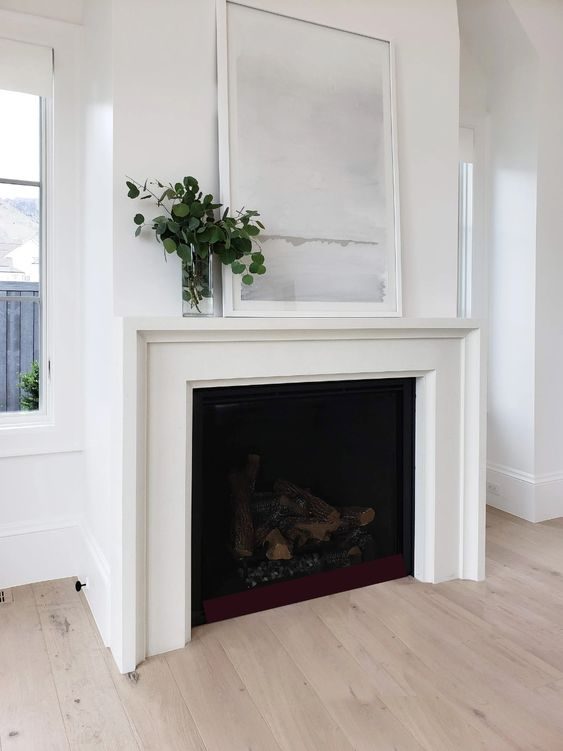
A simple surround will mean that our mantel height is a lot lower than it used to be which is important because we'll be hanging a TV above the fireplace. We're currently weighing the pros and cons of the Samsung Frame vs. the LG OLED that are both super thin and resemble framed art when not in use. If you have any insight or input on the two TV options, I'd love to hear it!
The bookcases flanking the fireplace are going to get a makeover too! Currently the shelves are fixed in place and are super shallow (only 7″ deep) so most of my books and decorative accessories won't fit on them. They're also fixed in place so I can't adjust shelf height to fit taller items:
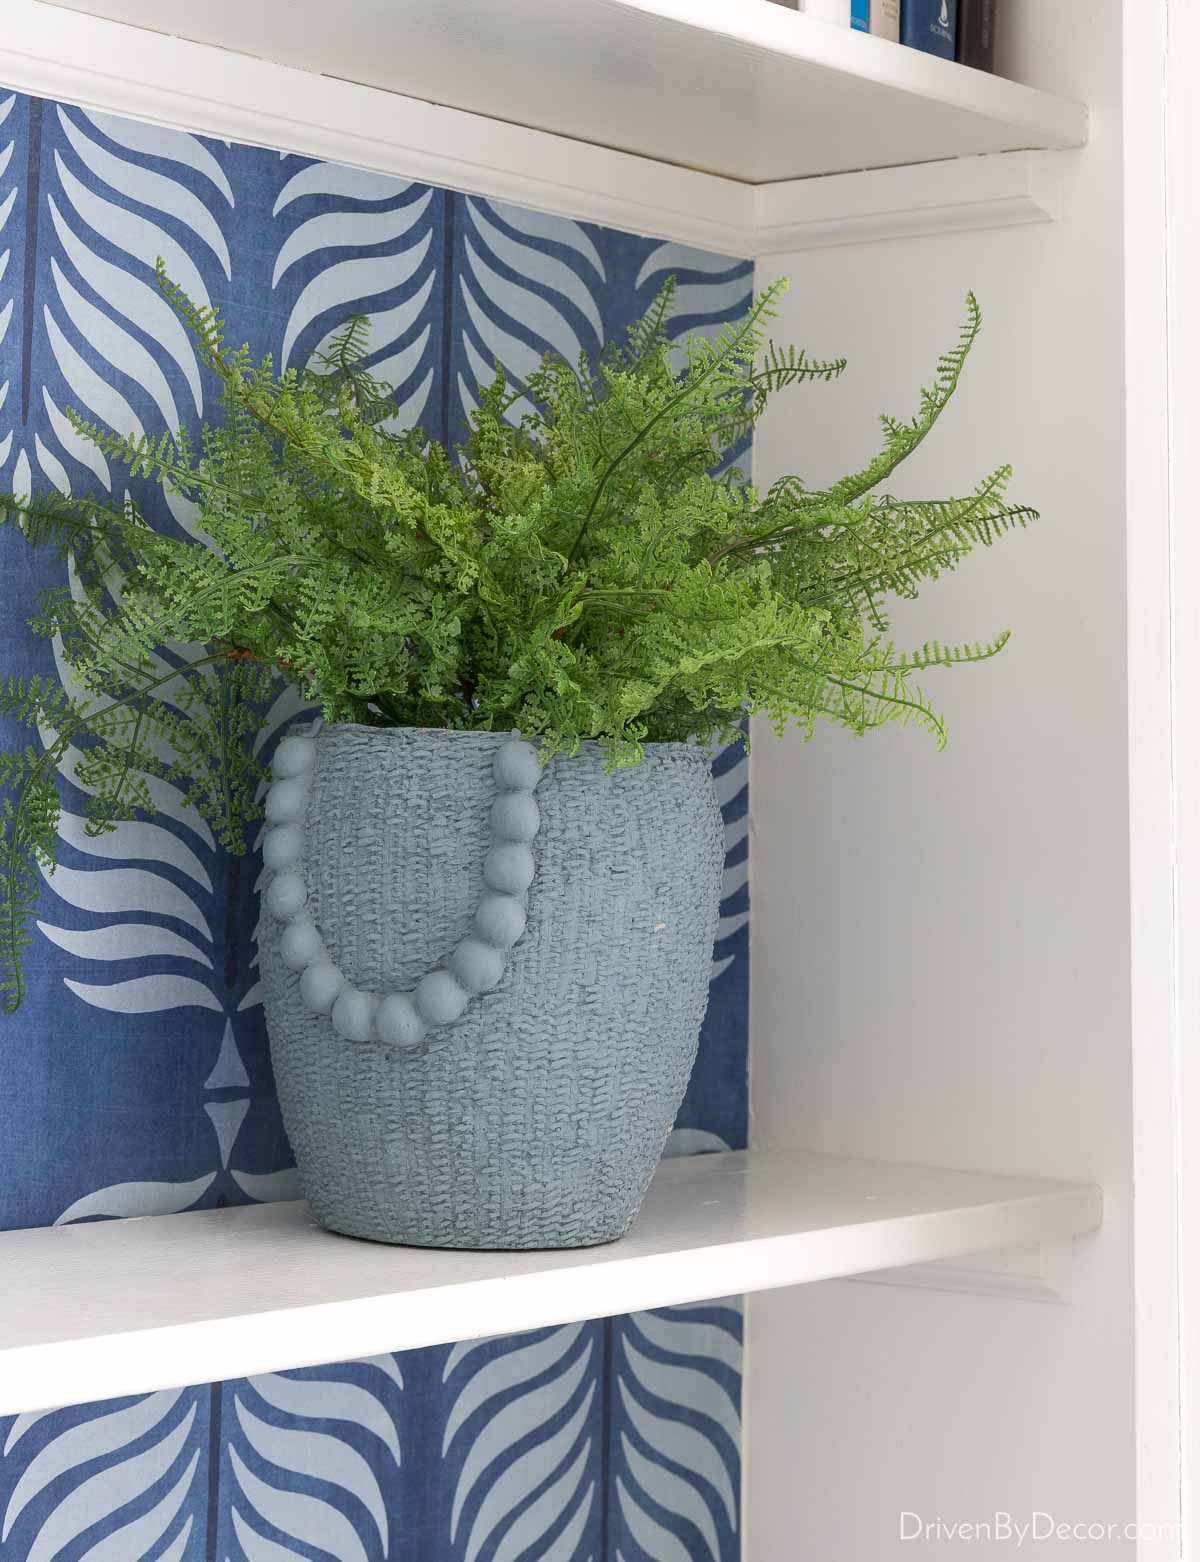
Sources:Wallpaper | Blue planter
The shallow painted wood shelves are going to be replaced with {these finished 1 ¾″ thick white oak shelves} with the “nature” stain option:
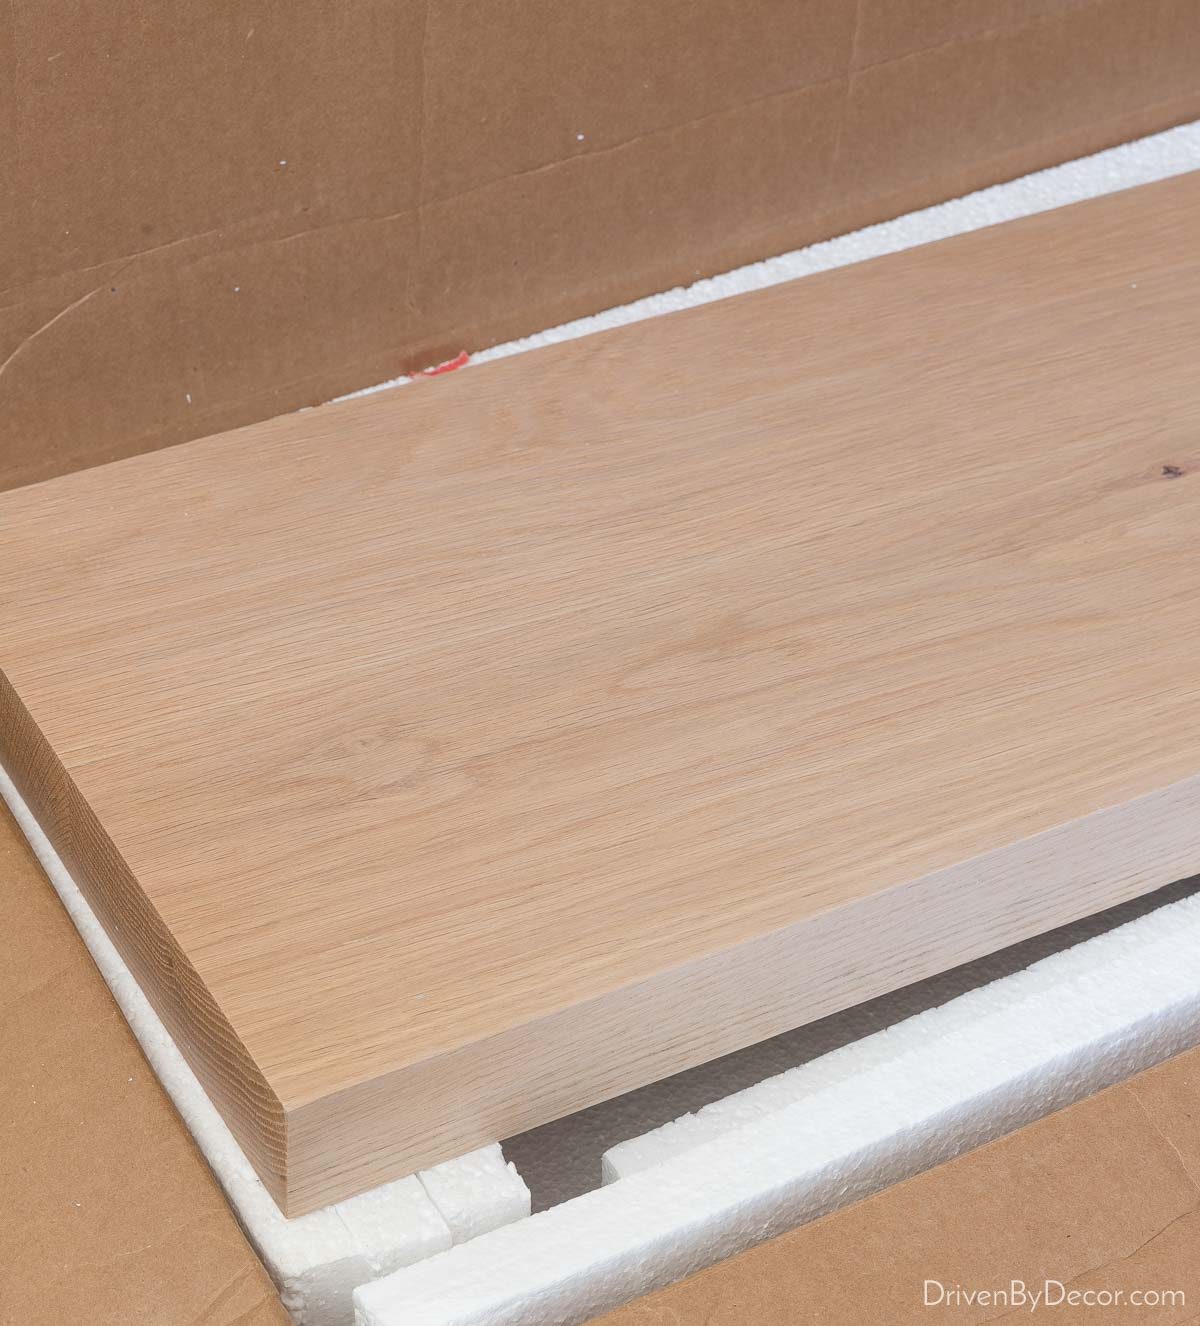
If they look familiar it's because they were made by the same company that made {these floating shelves} in the bathroom in our old house (see {this floating wood shelves post} for more details on stain and size):
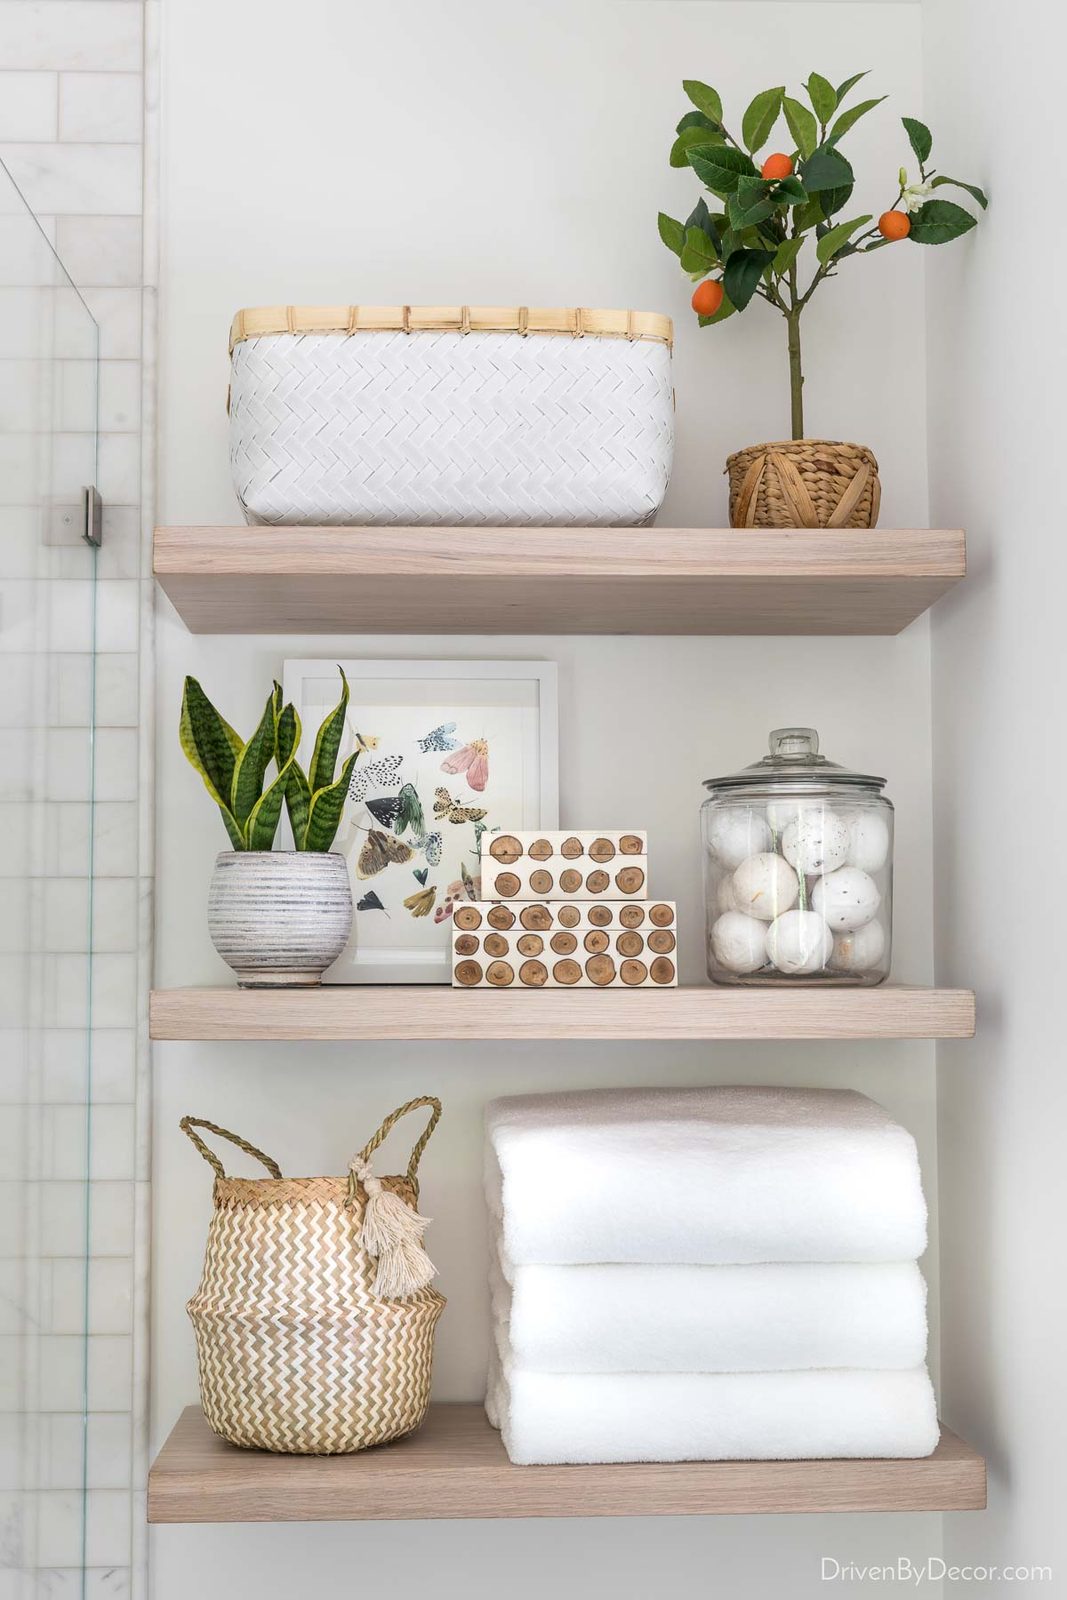
Shelf Sources: Floating shelves | White woven storage bin (medium) | Kumquat tree – no longer available | Gray & white striped planter (holding snake plant) | Colorful moth art print | White wood frame | Pair of decorative stacked boxes – no longer available | Glass canister (1 gallon size) | Bath bombs | Belly basket with tassel | Kept bath towels | Large lidded basket for hamper (under shelves)
While they're known for their floating shelves, they'll also make regular shelves without the floating shelf holes in the back if you put a note in the “add your personalization” section when ordering from them online.
Instead of being fixed in place like our current shelves, our new oak shelves will rest on shelf pins that are height adjustable. There's a bit of collateral damage that comes with this unfortunately – it means that the wallpaper on the back of the shelves will need to be replaced since it wasn't possible to wallpaper behind the shelves with their current design.
The good news is that I'm super excited about what The plan is to install in its place! Remember how I had fallen in love with {this grasscloth wallpaper} and wanted to use it in our hall bathroom but decided the price tag was just too high? A friend of mine lucked into two rolls of it at the Serena & Lily Outlet in CA (where they were marked WAY down) and sent them my way!
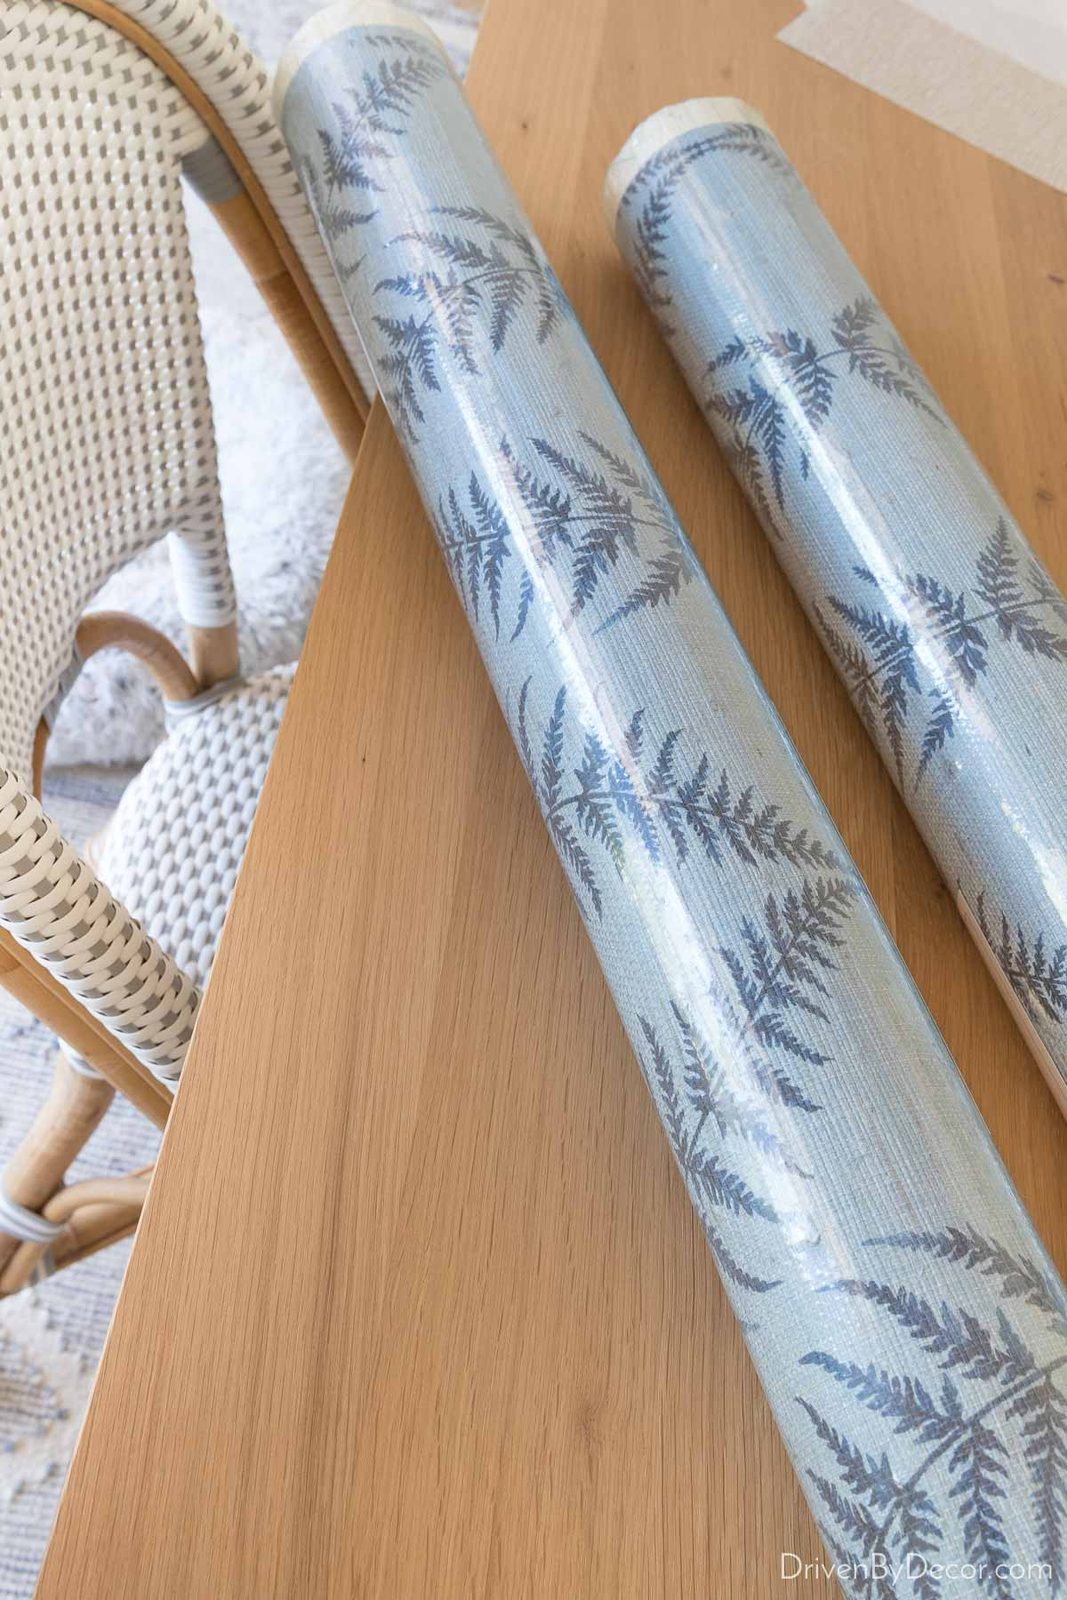
It's not enough paper to wallpaper our powder room but is the perfect amount for the back of our shelves!
We're also swapping out our current ceiling fan for {this simple 3-blade ceiling fan} later this week when my electrician is scheduled to come knock out a bunch of projects. And did you notice that I took down the vertical blinds covering our sliders and added drapes? I used my tried and true Emery drapes with cotton lining (available {here}) in 100″ wide white panels. They are hung on {these budget-friendly drapery rods} with {these drapery rings}.
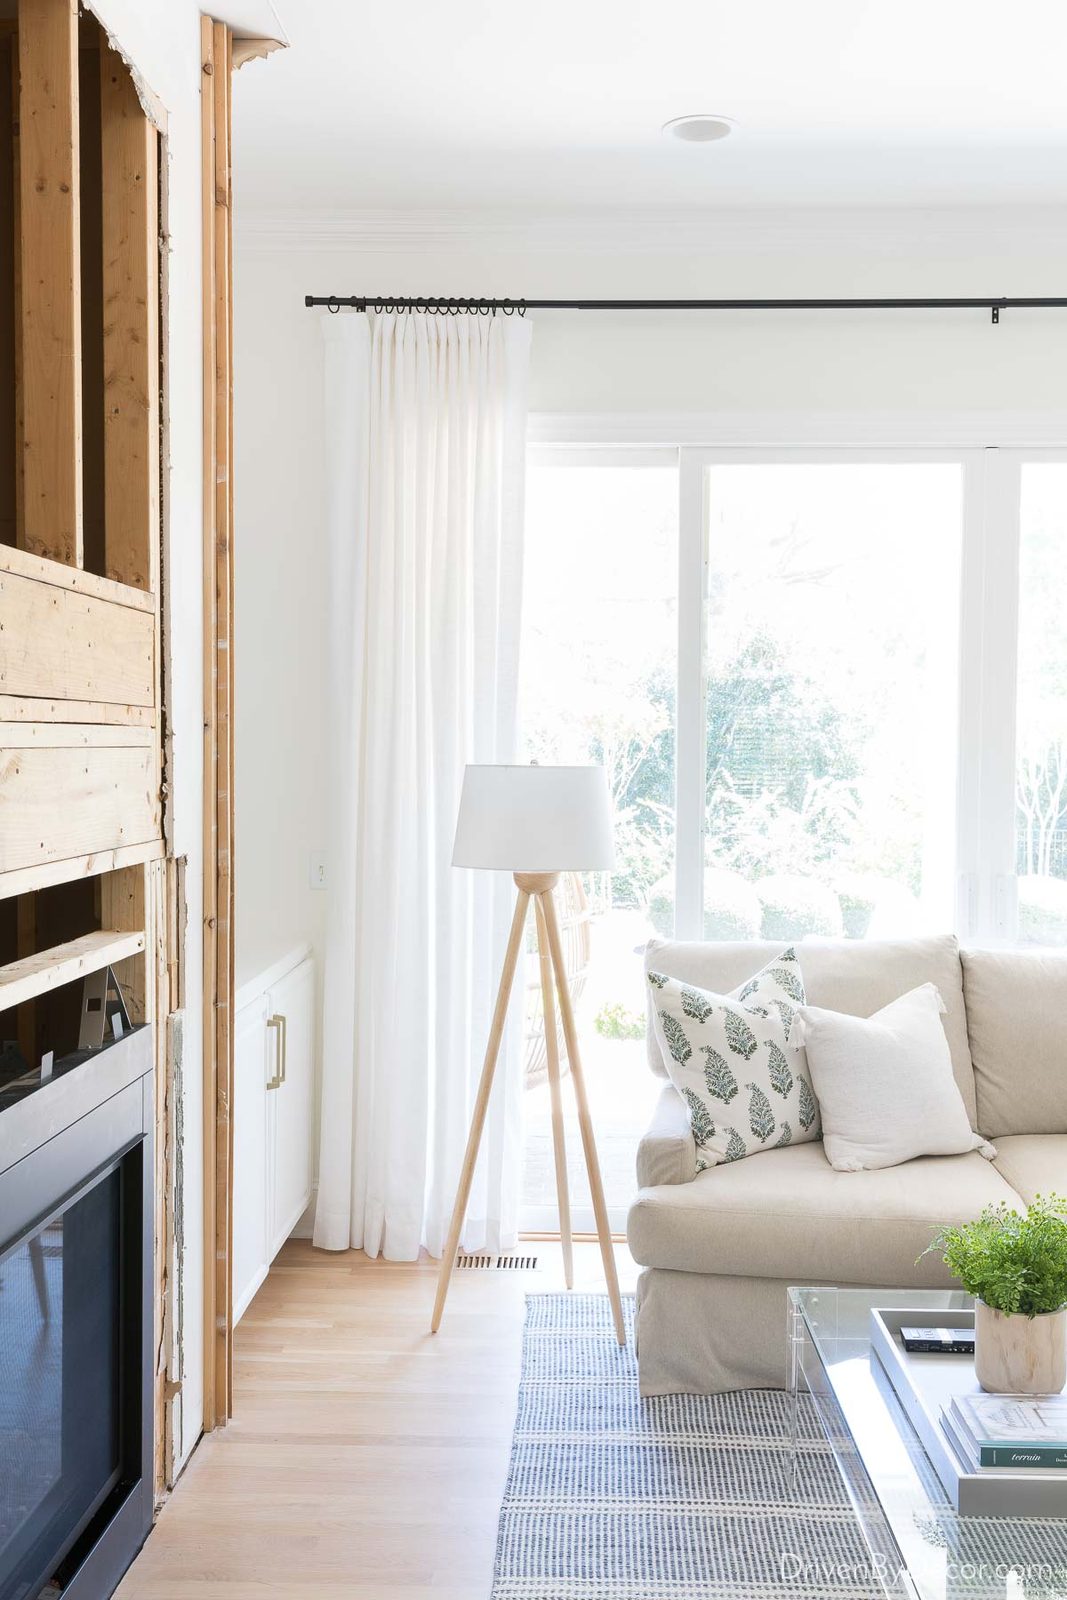
Other Family Room Sources:Tripold floor lamp | Blue/white area rug | Sectional | Floral paisley pillow | White tassel pillow | Coffee table (similar) | Coffee table tray (similar)
Hall Bathroom Renovations
When we moved in, our hall bathroom looked like this:
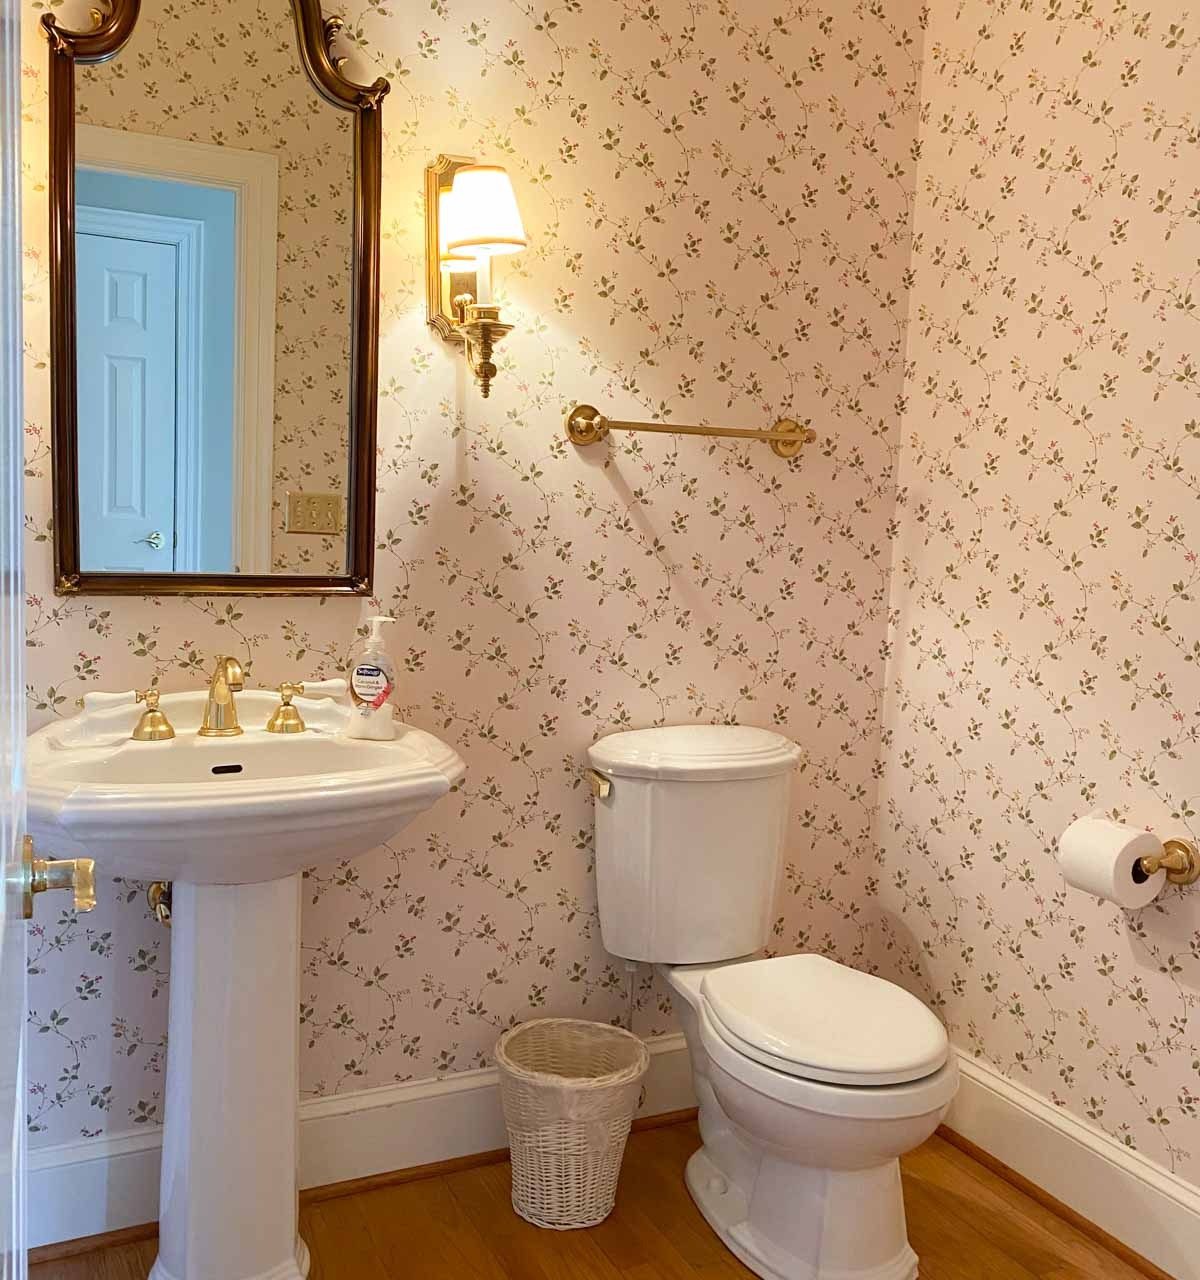
Before we refinished our hardwoods, we pulled the toilet and pedestal sink since we knew we'd be replacing them and didn't want them to sand around their footprint. Since then, I removed the wallpaper, did a ton of patching and sanding (the wallpaper did NOT come off easily), and added shiplap to the bottom ⅓ of it (I hired out for the shiplap since my amateur miter saw can't cut boards this wide). Here's how things are currently looking:
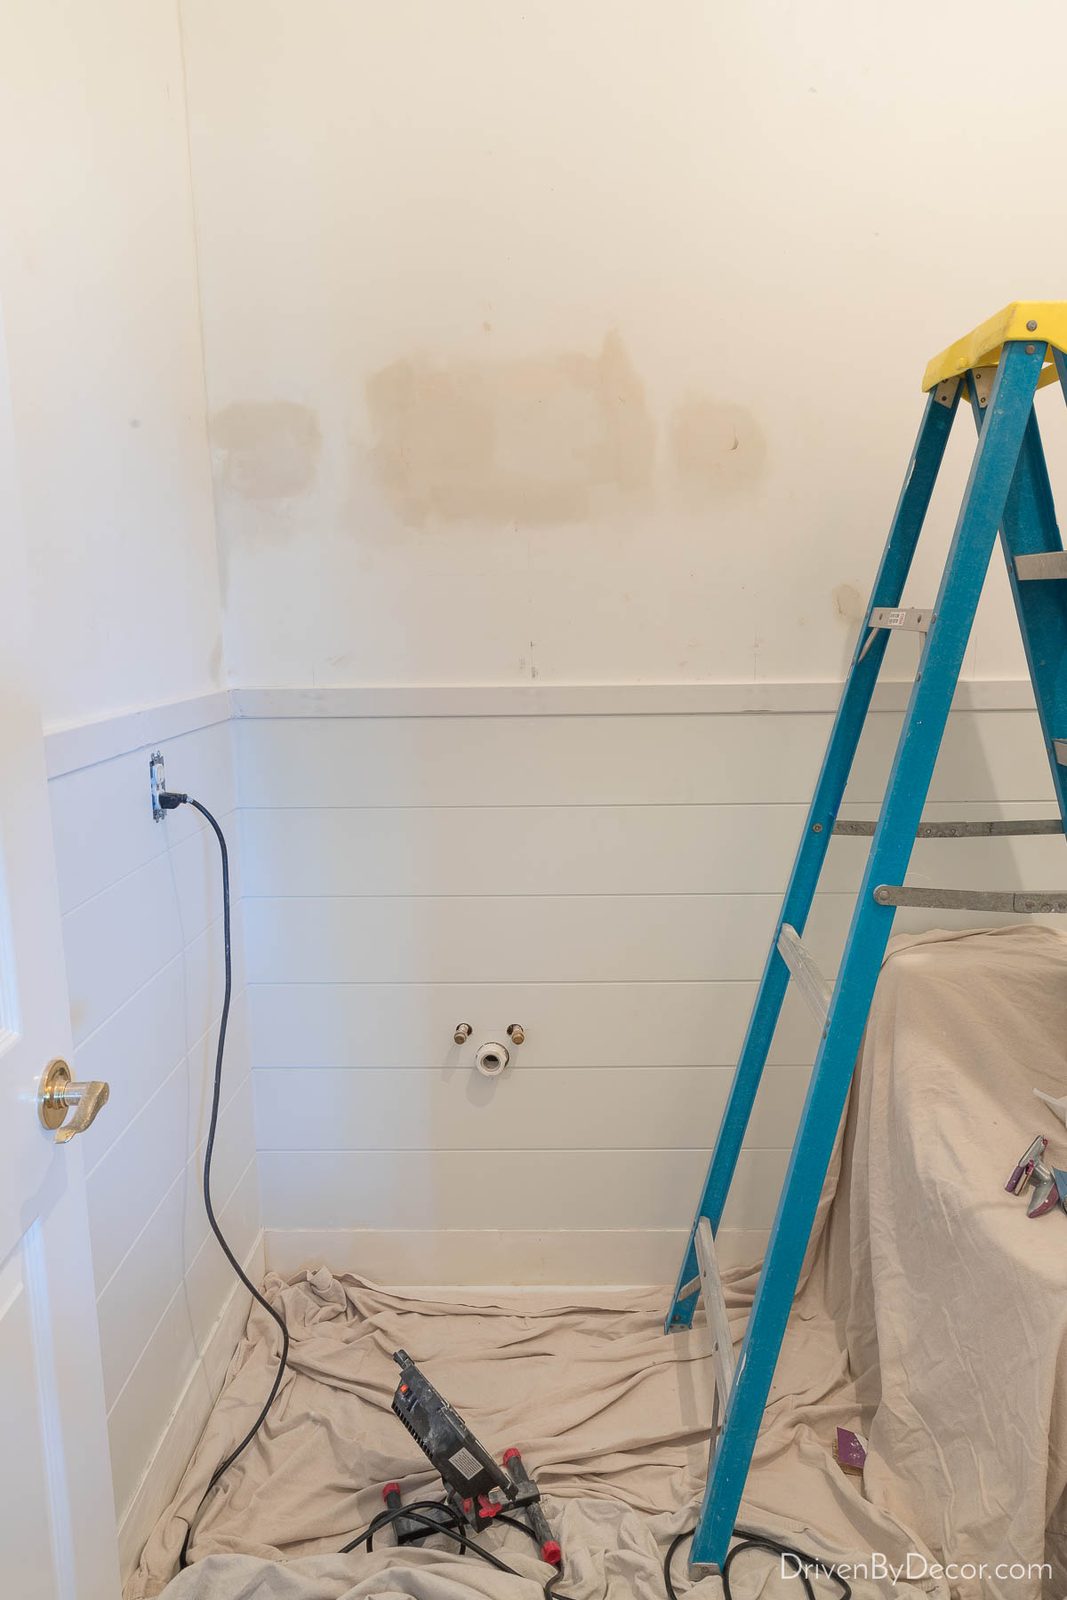
Now I'm just waiting on the electrician to pull through the wiring for the sconce (several weeks back he removed the side sconces and left the wire in the wall where we can fish it out for {this new over-the-mirror light}):
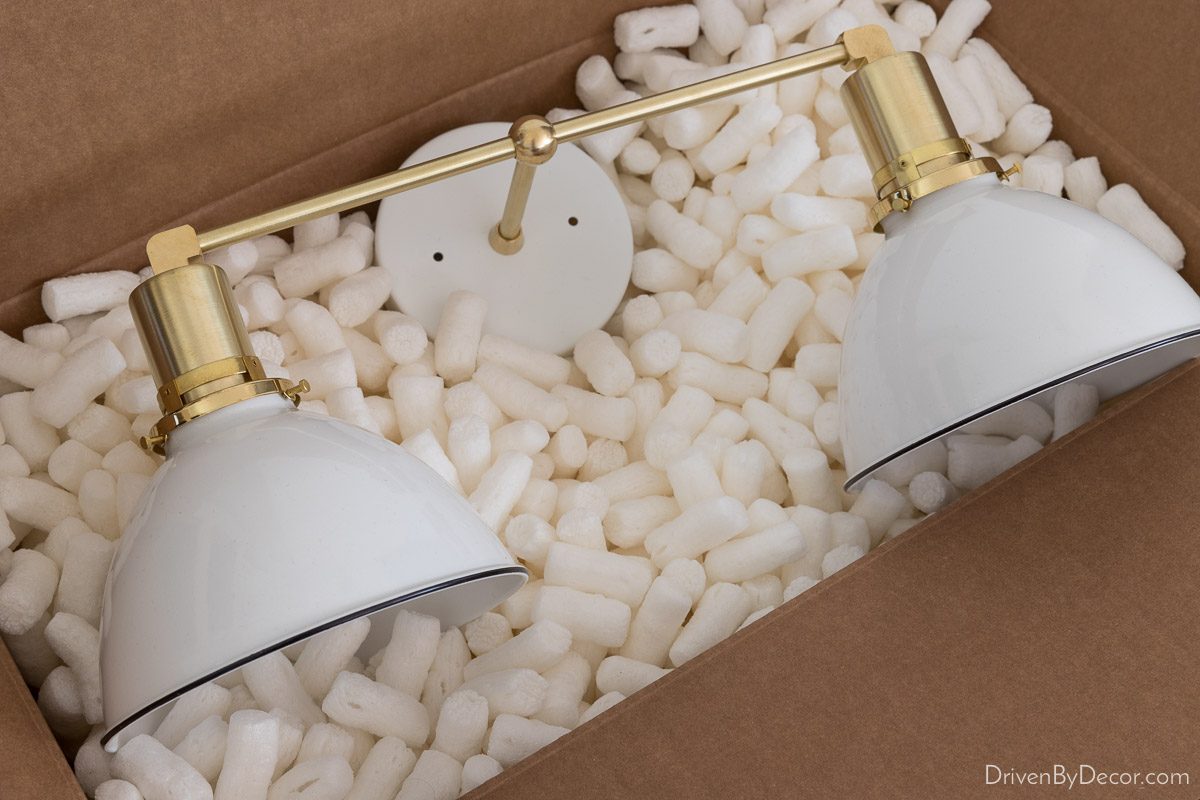
He'll also (hopefully) be installing {this new overhead ceiling light}:
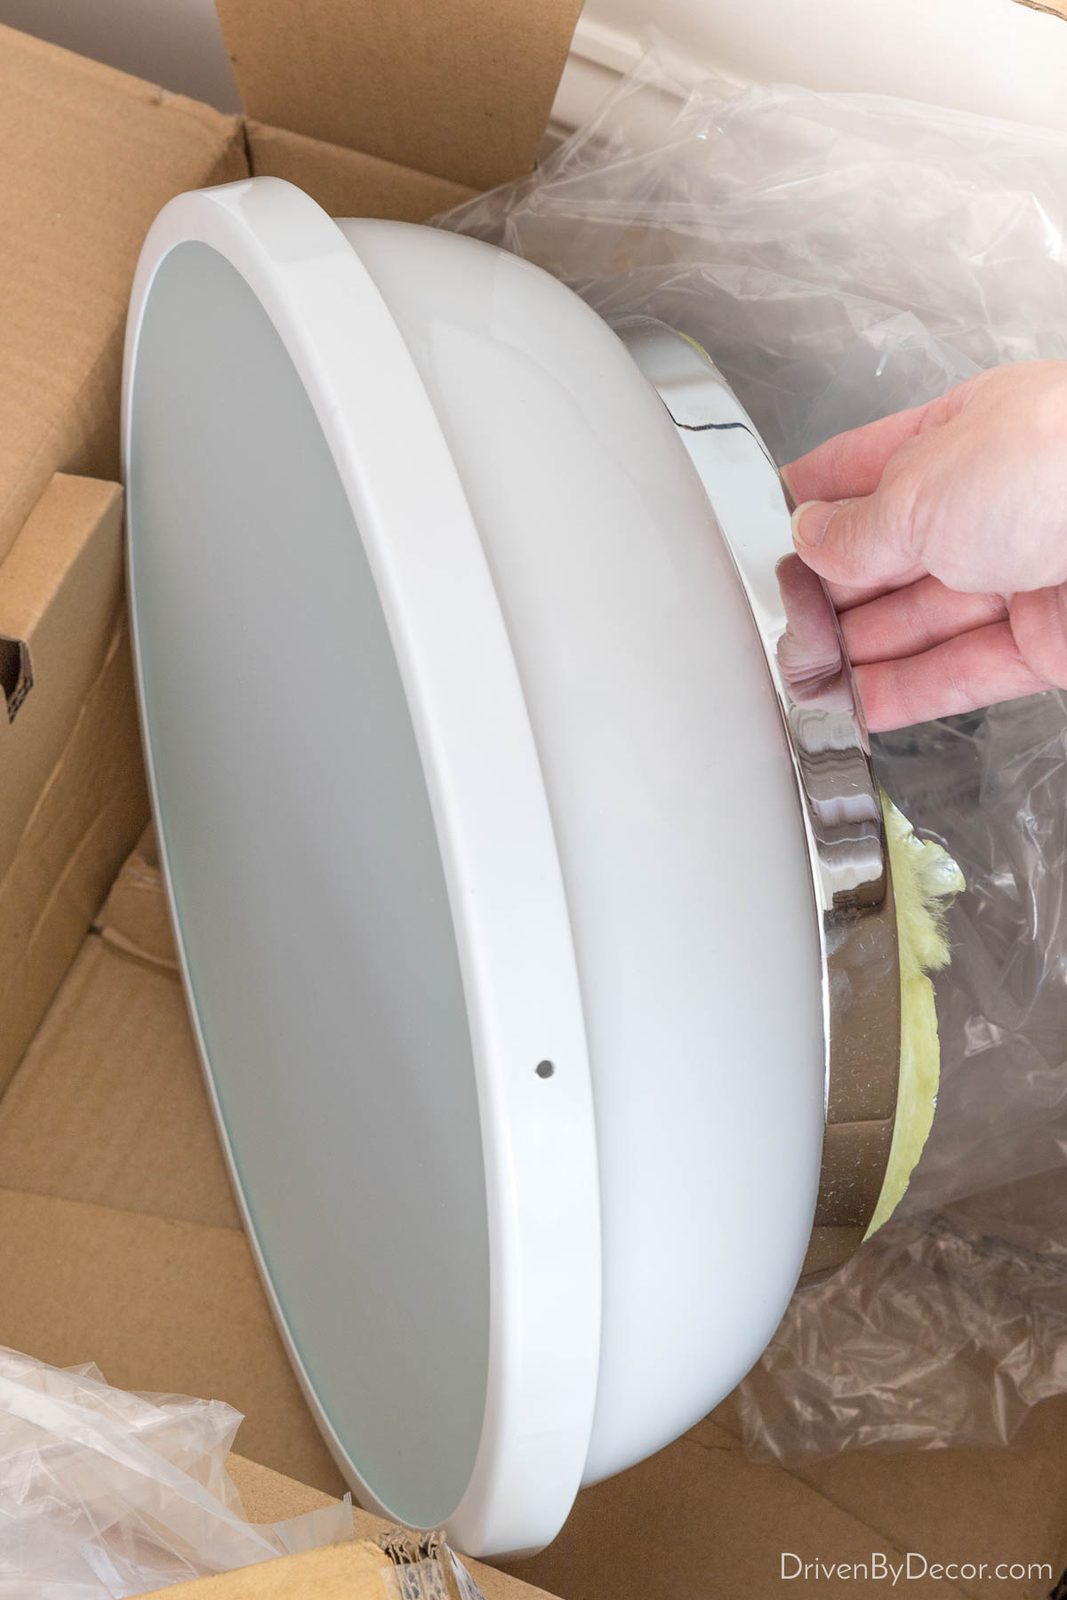
I say “hopefully” because the overhead light in there now is an off-center recessed eyeball light that shines on a blank side wall (maybe they had a piece of art there?). It could be that he won't be able to move the light box to the center of the room – we will see…
As I shared before, I chose {this small navy vanity} for the space ({this navy vanity} is a very similar in-stock option). And I ordered {this faucet} in brushed nickel:

If it looks familiar, that's because I used it in the master bathroom redo in our old house and loved it so it was an easy choice. I'm putting {this mirror} over the vanity:
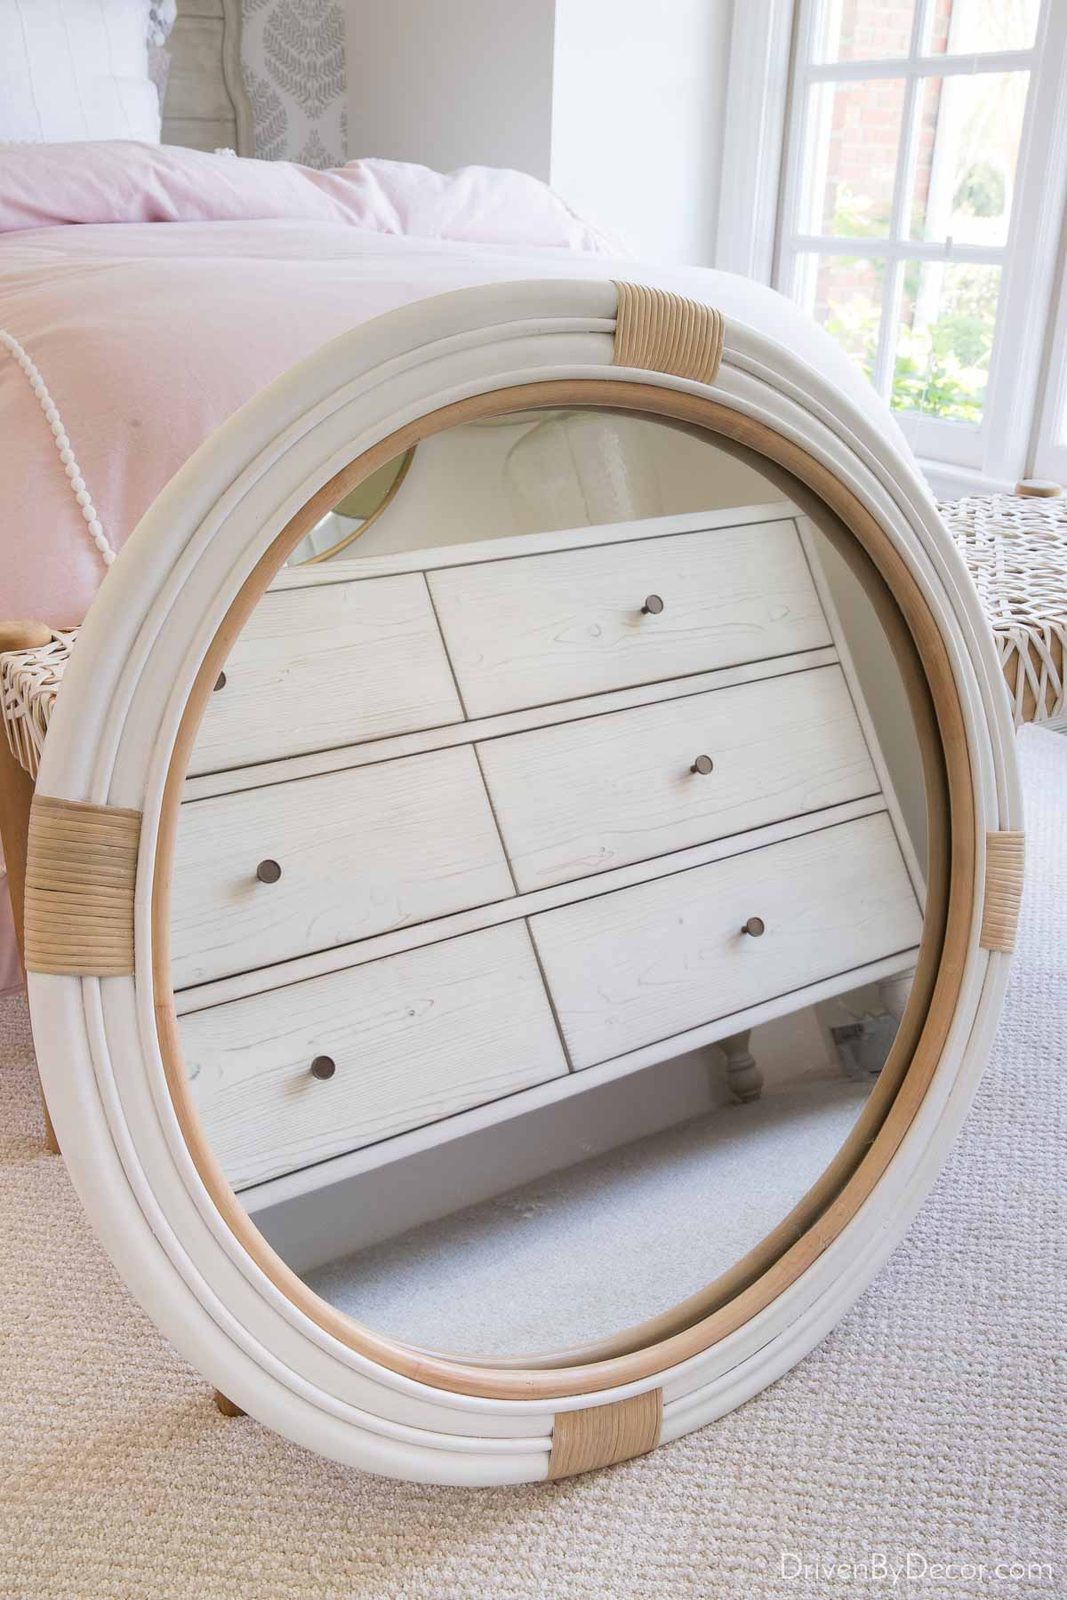
and {this art print} over the toilet:

And yes, all of these things (vanity, faucet, lighting, etc.) are stashed in various rooms of our house while we wait to install them so it's truly an obstacle course in this house!
Our Bedroom Renovations
Throwing it back to when we moved in, this is what our bedroom looked like:
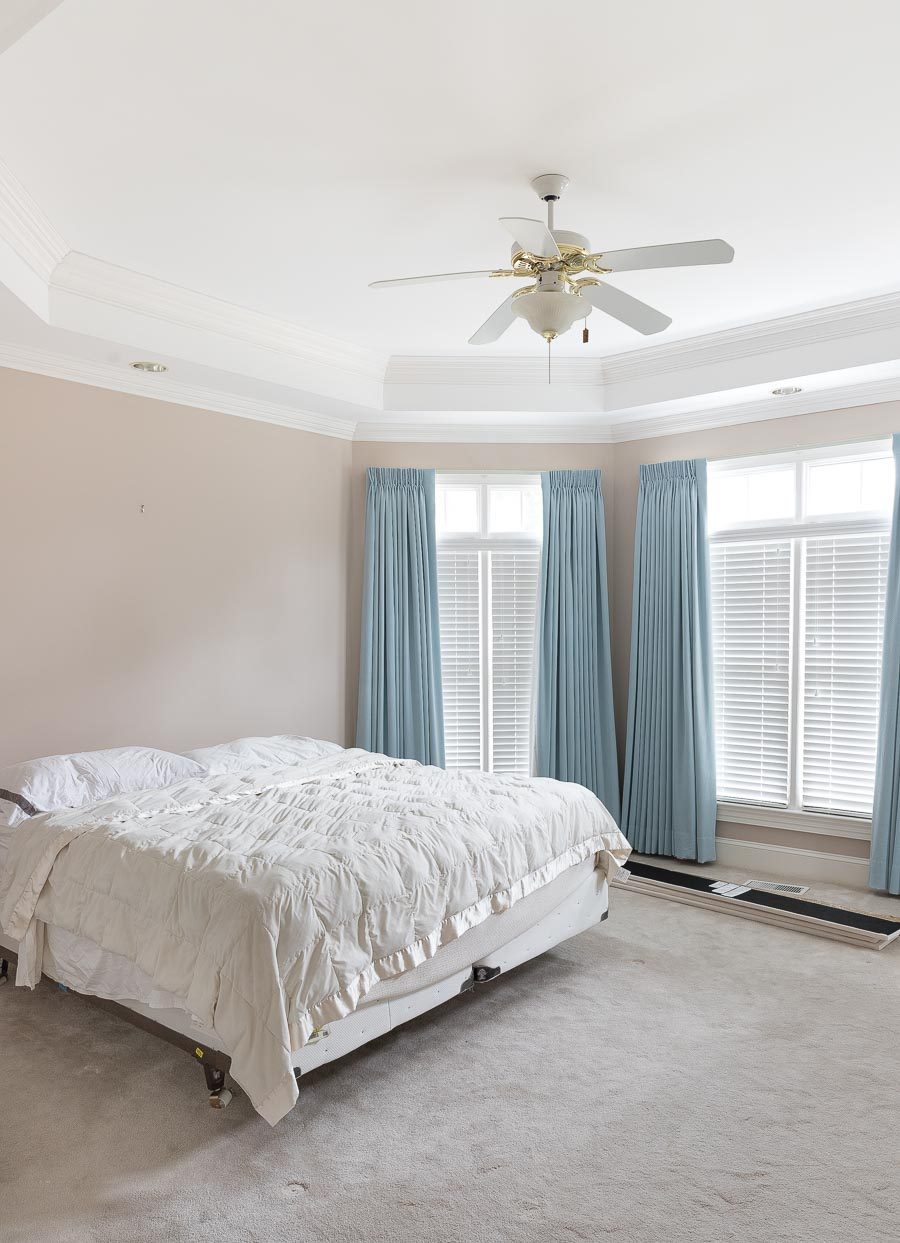
We replaced the carpeting in this room and the other two bedrooms several months back and are now moving on to working on the rest of the space. The drapes in this room were really faded and splotchy and they literally covered half of the window when fully open due to the way they were hung. Last weekend I took them down and patched the hardware holes in preparation for painting the room and putting up new drapes – you can see how much bigger the windows look without anything covering them:
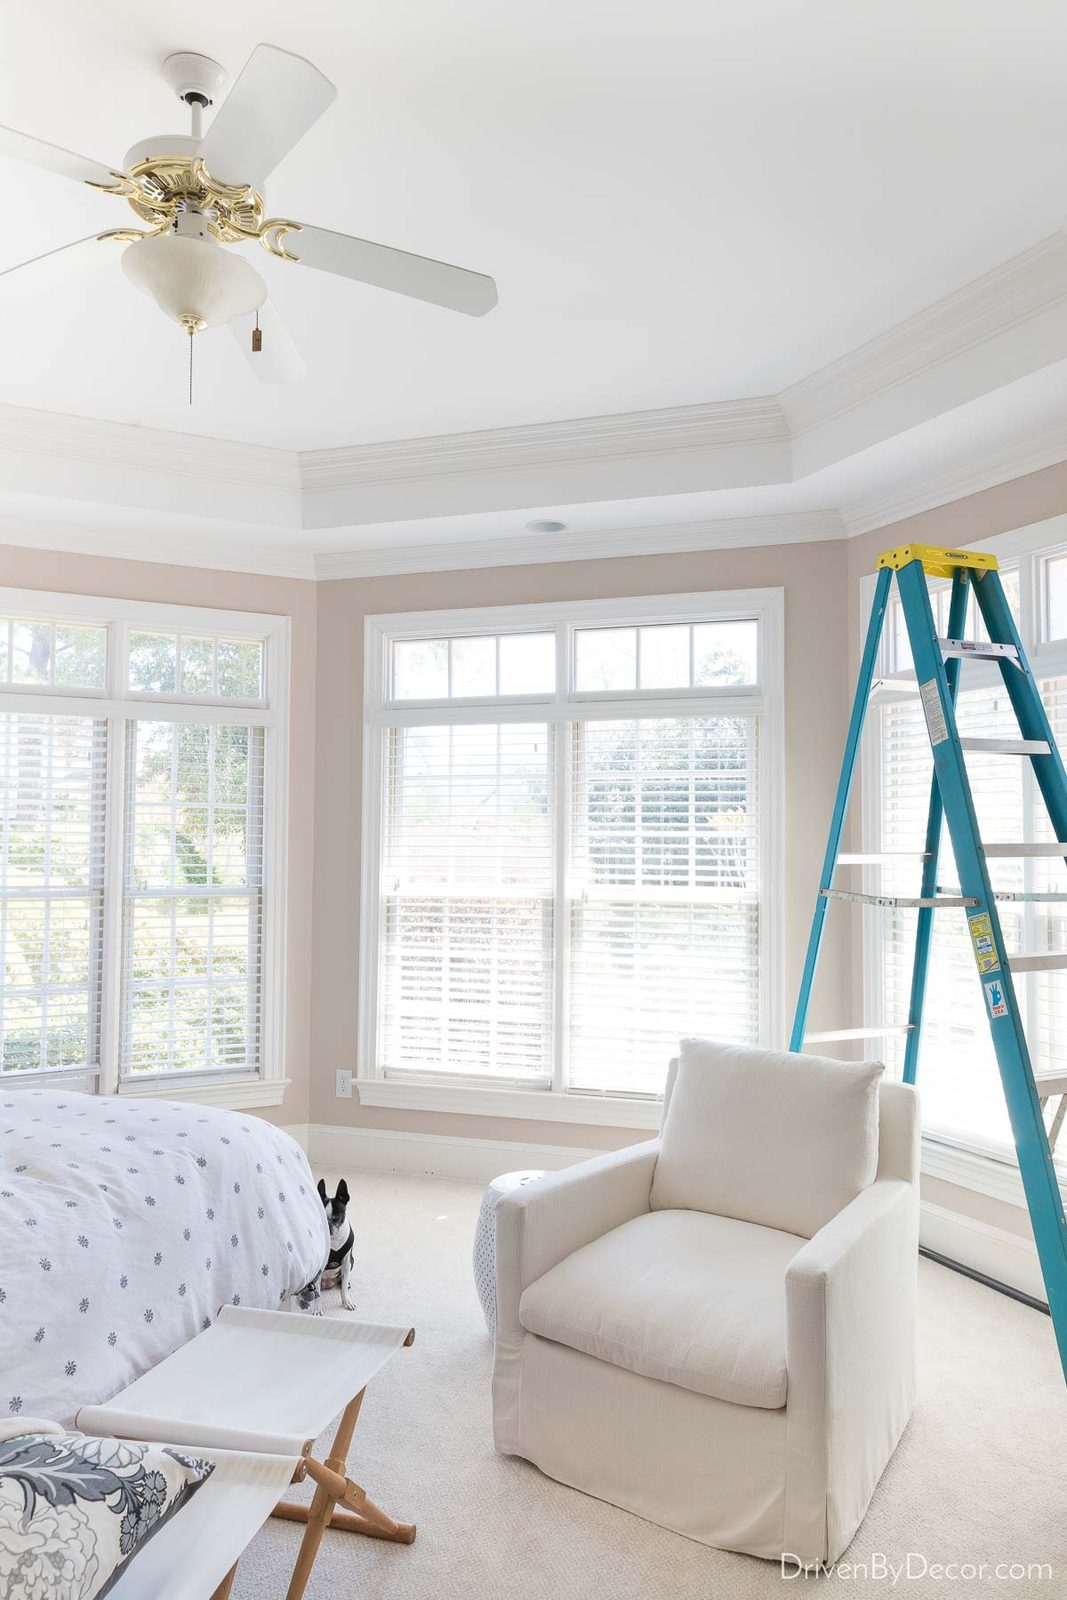
Other room sources:Patterned pillow | Teak stools (similar) | Swivel chair
In order to be able to pull the new drapes further back where they don't cover much of the windows when open, I'll be installing one continuous rod with corner connectors. I'm using {these corner connectors} that are hinged so that they can fit into any corner along with {these curtain rods & wall brackets}, {these simple endcap finials}, and {these rings}:

The finish is described as antique bronze which is not a finish that I would normally choose but they look more like a soft black than a bronze color to me. For drapes I'm going with {these white Emery drapes} again but in the blackout version. Pottery Barn now has an option to order the Emery drapes in custom measurements {here} which is solid because in this room none of the standard lengths would work. I was planning to order the standard drapes in a longer-than-needed length and have them hemmed but the added cost to order the custom length was about what I would have spent having them hemmed but with a lot less hassle.
I also ordered {this chandelier} (also available {here}) several months ago when it was on sale and when it finally arrives (it's another backordered item) it will replace the heinous ceiling fan above our bed:
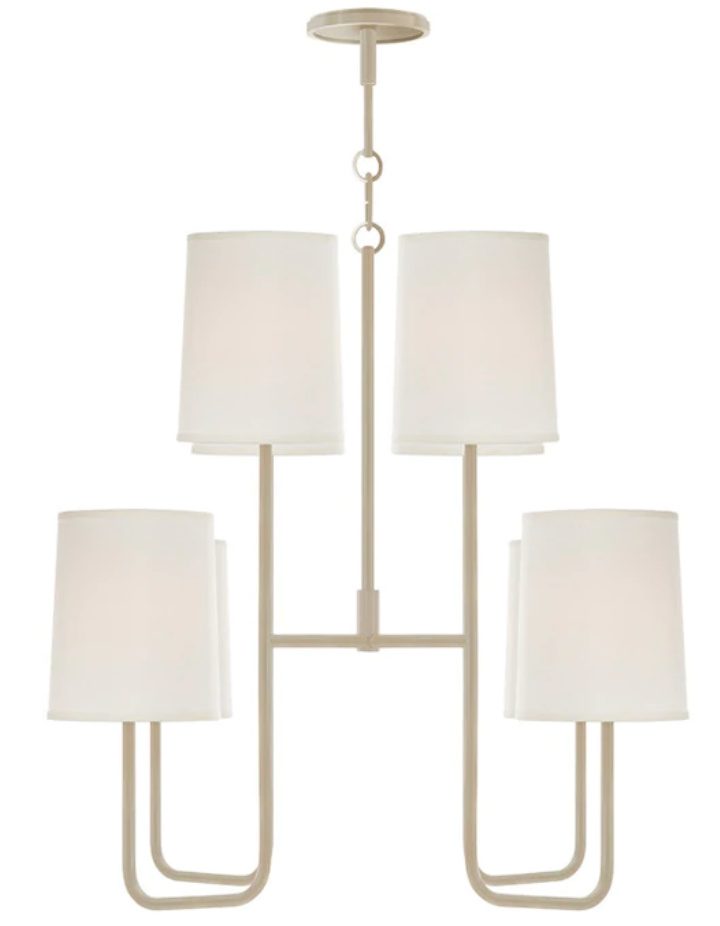
I know some people would never take a ceiling fan out of a bedroom in the south, but our bedroom stays the coolest of any room in the house during the summer so the household has never used it. Plus we have and love {this Dyson air purifier and fan} that we can always use as a fan if needed.
Front Door Makeover
The household has had a love-hate relationship with our glass front doors since moving in. A strong choice is the light that comes in through the glass but without anything covering it, our house is a fish bowl that you can look right into at night. The previous owners' solution to this issue was to install wood blinds on the back of the doors: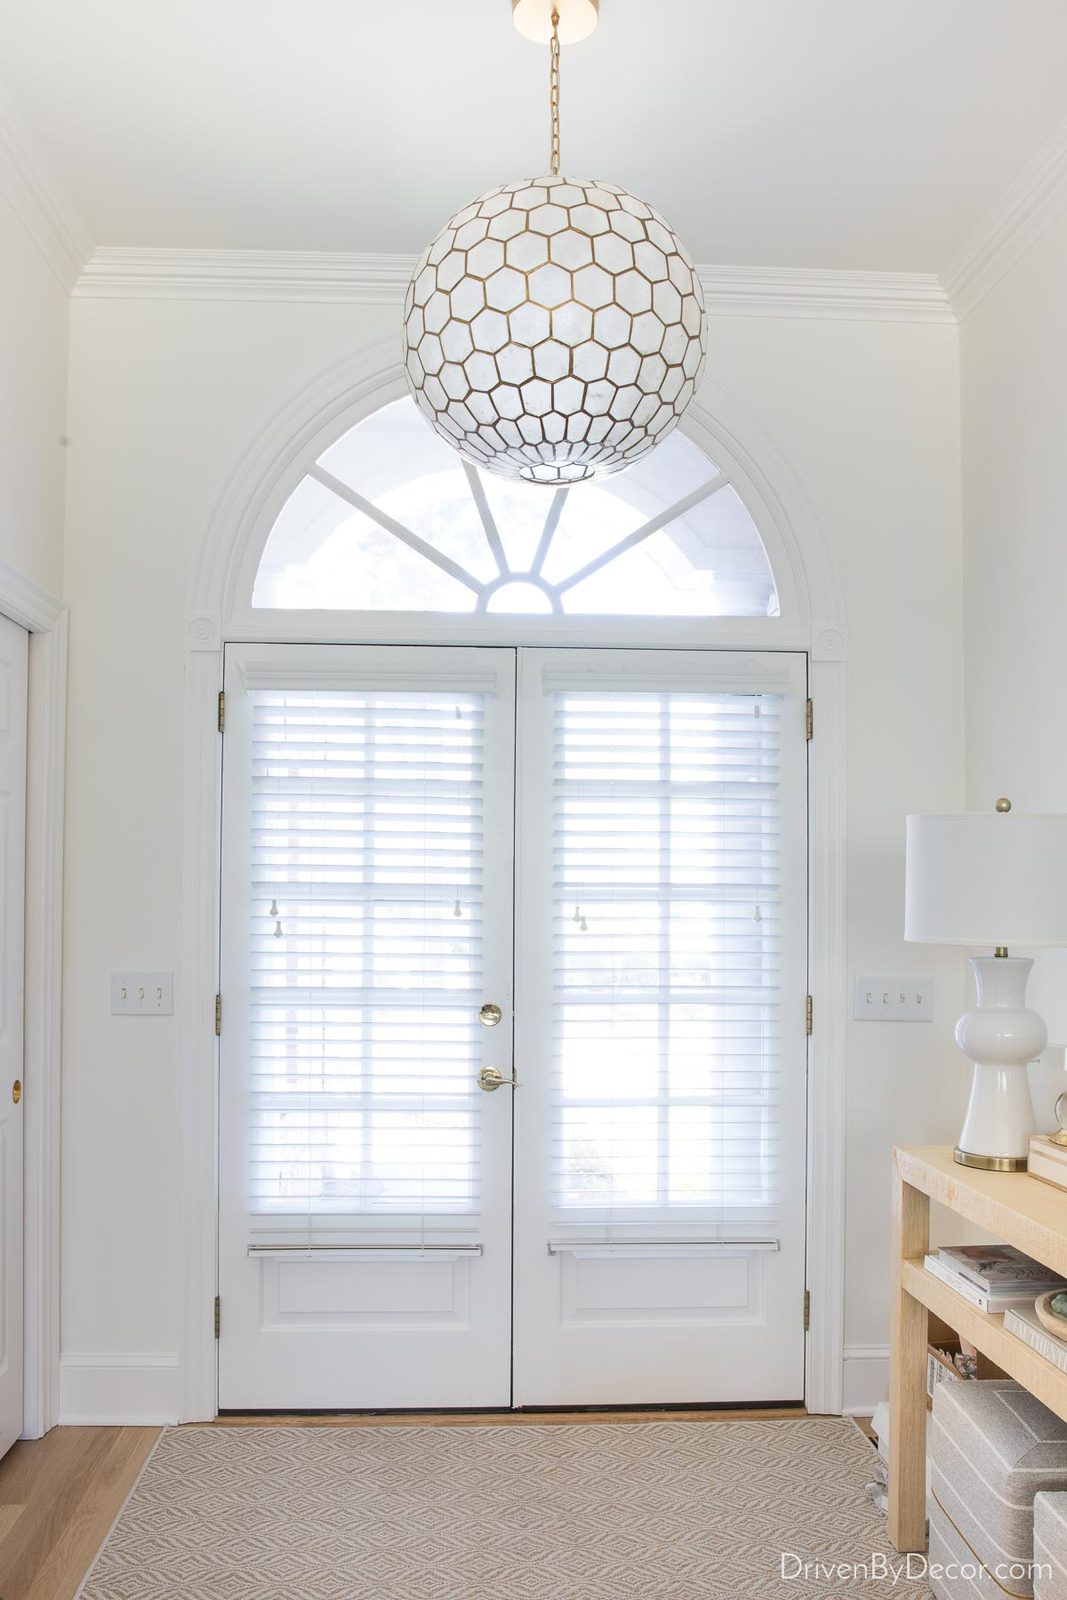
Entryway Sources:Capiz chandelier | Rug | Linen console (also see {this similar console} | White table lamp | 30″ x 40″ Framed art print | Decorative ivory box | Decorative snail | Wave coral – HomeGoods | Shallow wood bowl | Glass beads | Cube ottomans
But even when they're tilted open, the blinds block so much light from coming in and if you unhook them from the bottom and pull them all the way open, it blocks a good chunk of the top of the glass, the cord dangles all the way to the floor, and they clang against the door when you open it. After looking into a number of different possible solutions, The household has decided to install Lutron's Serena Smart shades on the back of both front doors. Lutron has been one of my brand partners for years and I LOVE their Caséta lighting system that the Serena shades work with. The Serena shades are motorized and can be put on a schedule so for example, I can set them to go down at 6pm every night and up at 8am when it's dark outside to prevent the fish bowl effect. And with their roller shades, they roll all the way up so won't be covering up a large chunk of the glass when open like my current blinds do.
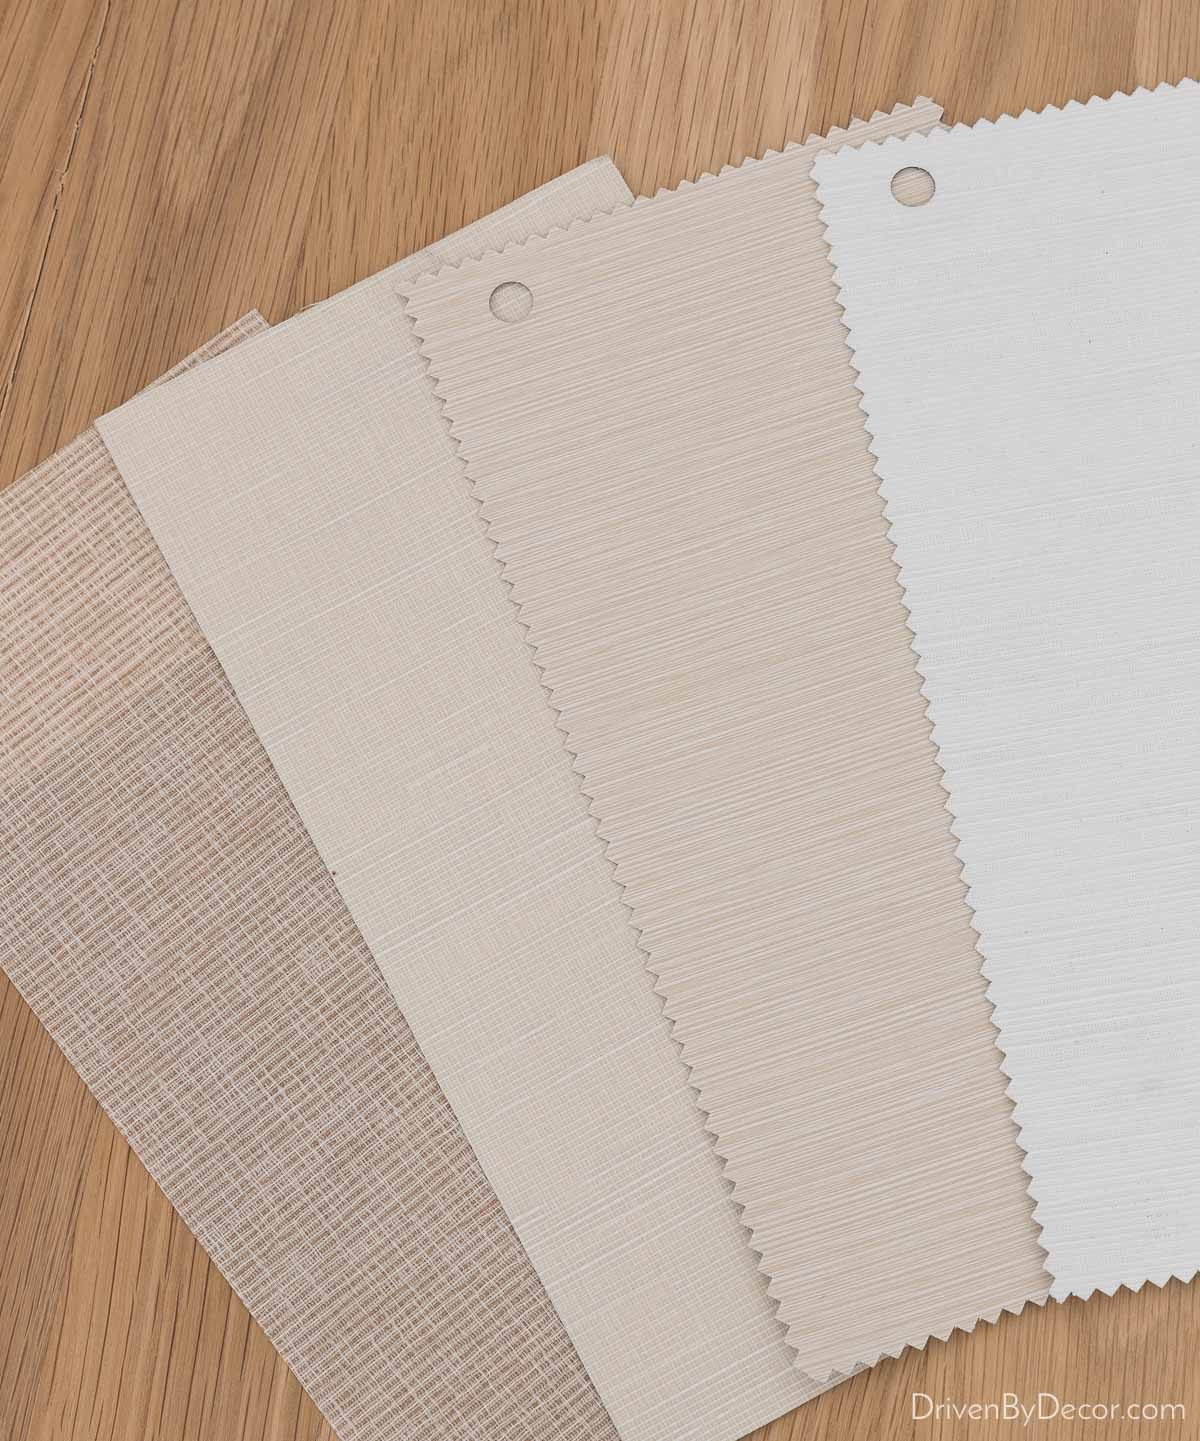
I ordered a bunch of different fabric options for my shades and am currently debating between these four favorites:
Another issue it will solve is with my door hardware. In order for the blinds to cover the front door and not hit the door handle, they installed the front door lever backwards which looks pretty funky:
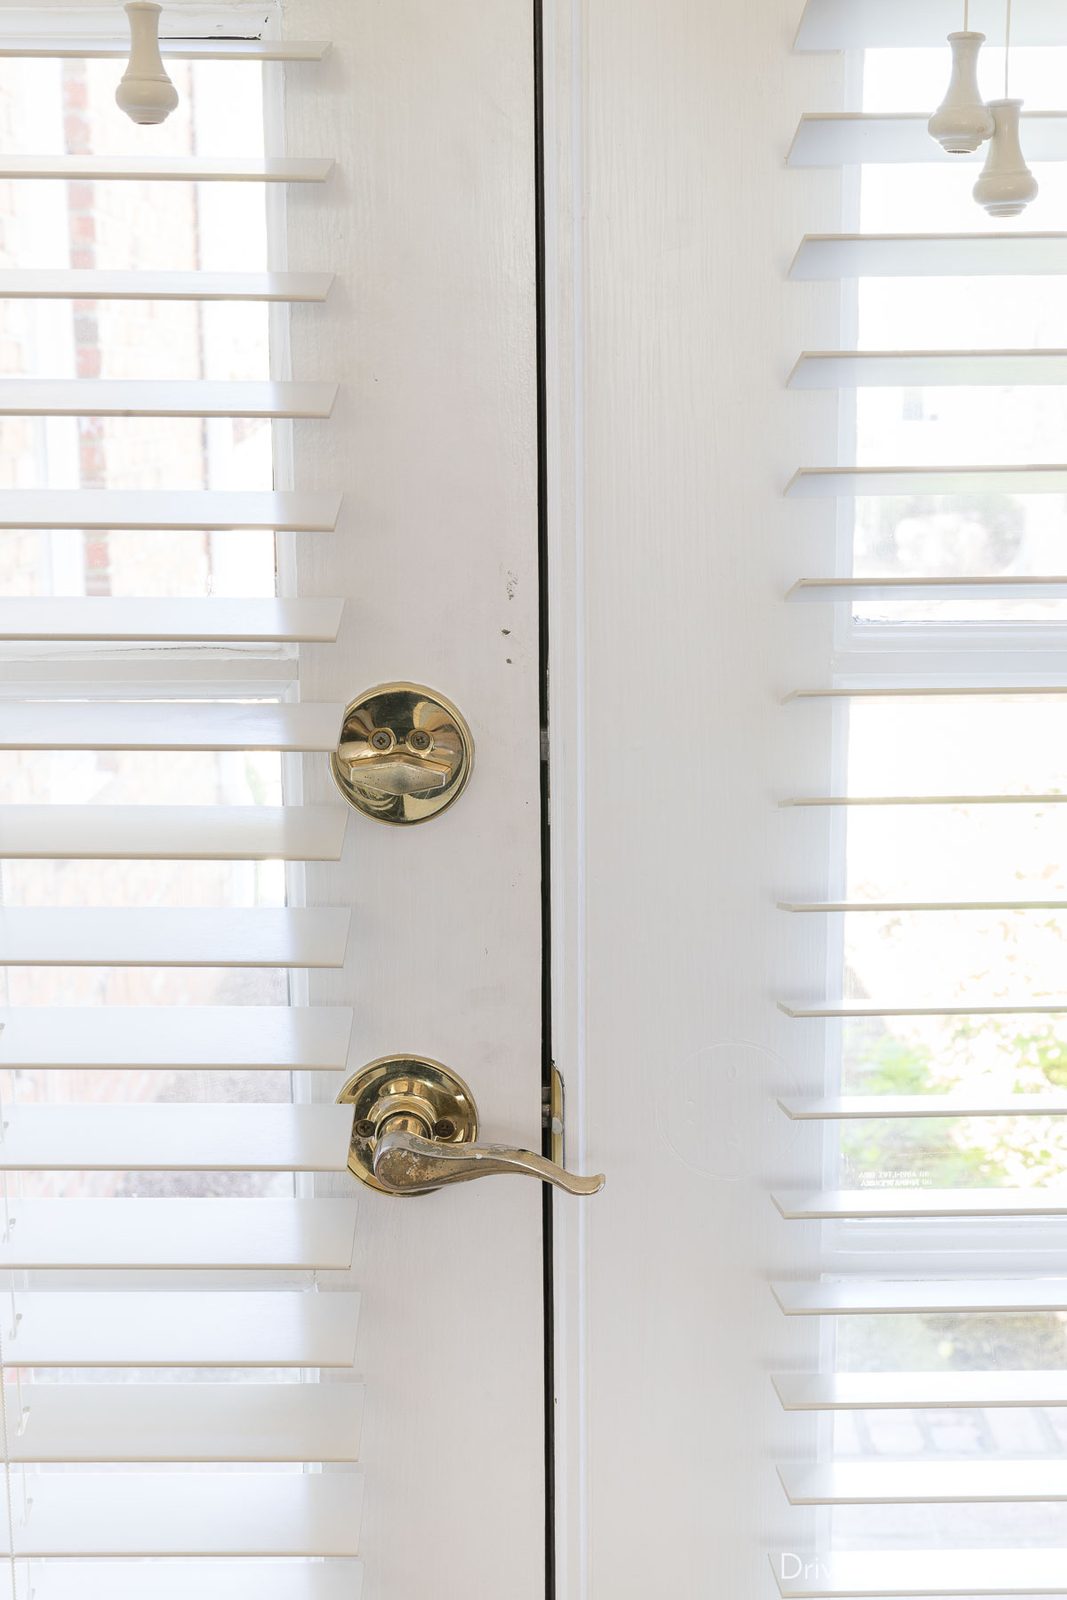
With roller shades, the shade will go down behind the lever rather than getting hooked on it so it can be oriented correctly. New door hardware is on the to-do list (all of the levers throughout our house are as worn as this one!) but I'd have the same issue with any new knob or lever too so the Serena shades will be a great solution for all of my front door woes
And last but not least…
Girls' Bedroom Renovations
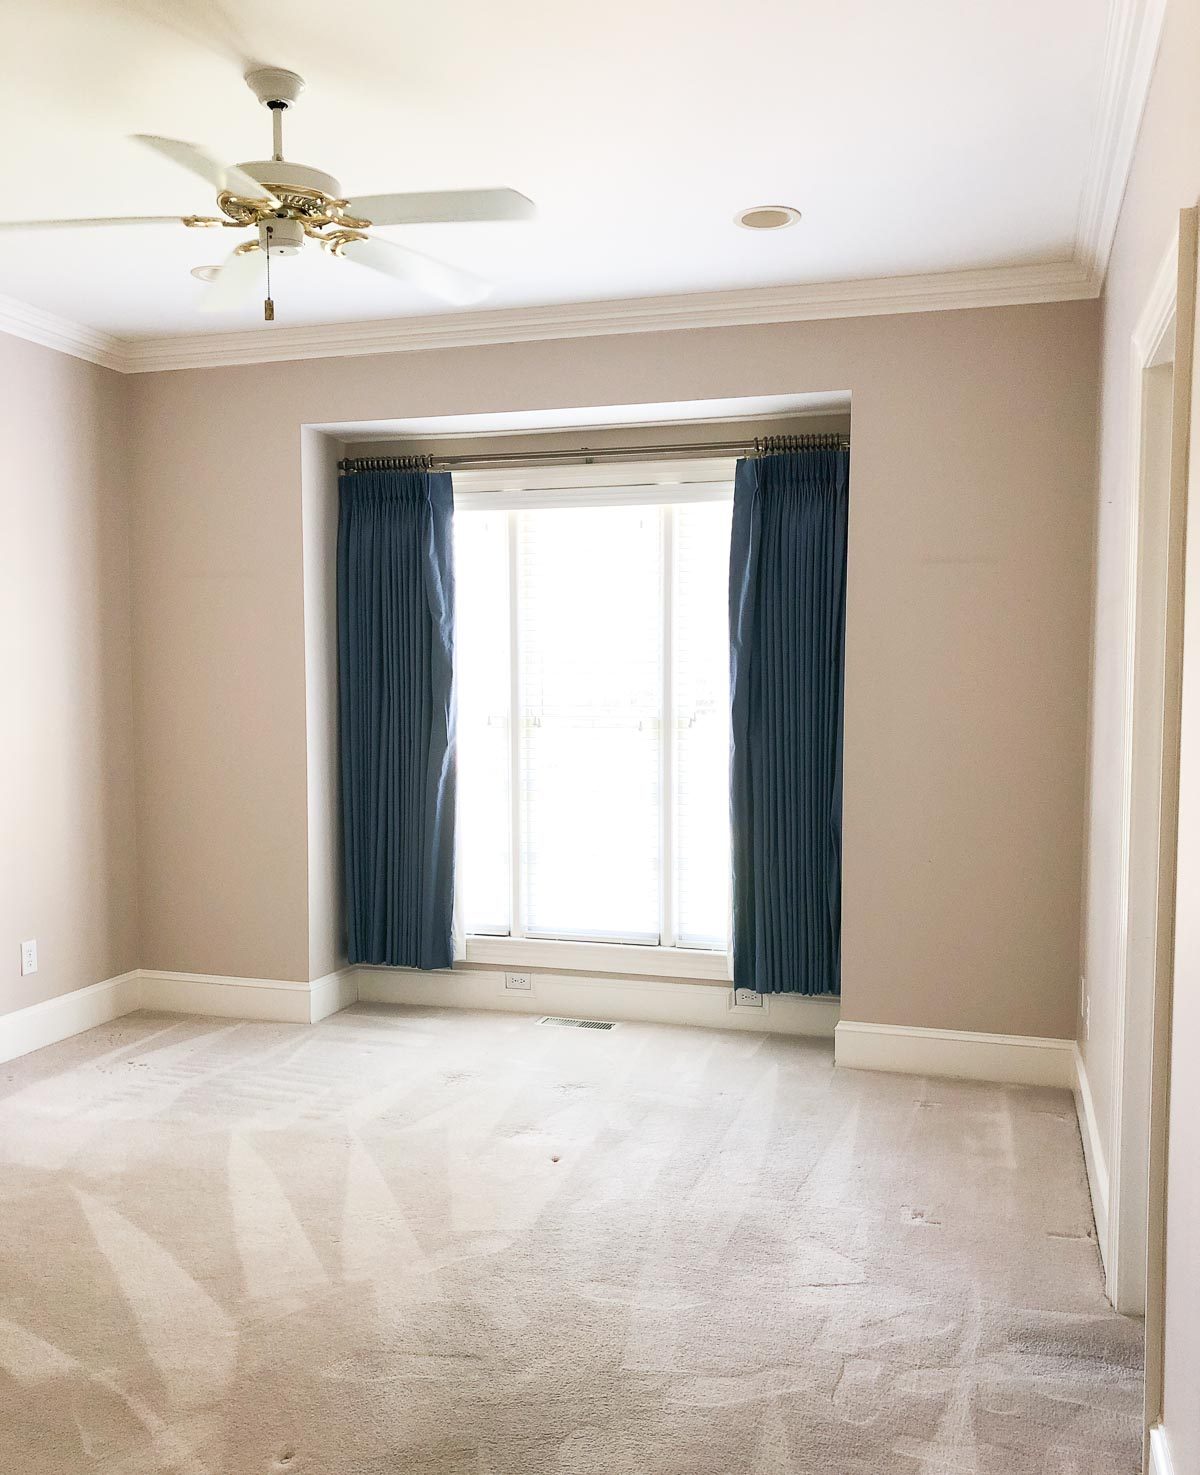
Figuring out the best solution for the recessed windows in the girls' bedroom initially stumped me. The previous owners placed a drapery rod and drapes within the recessed window niche but that blocked half of the windows on both ends:
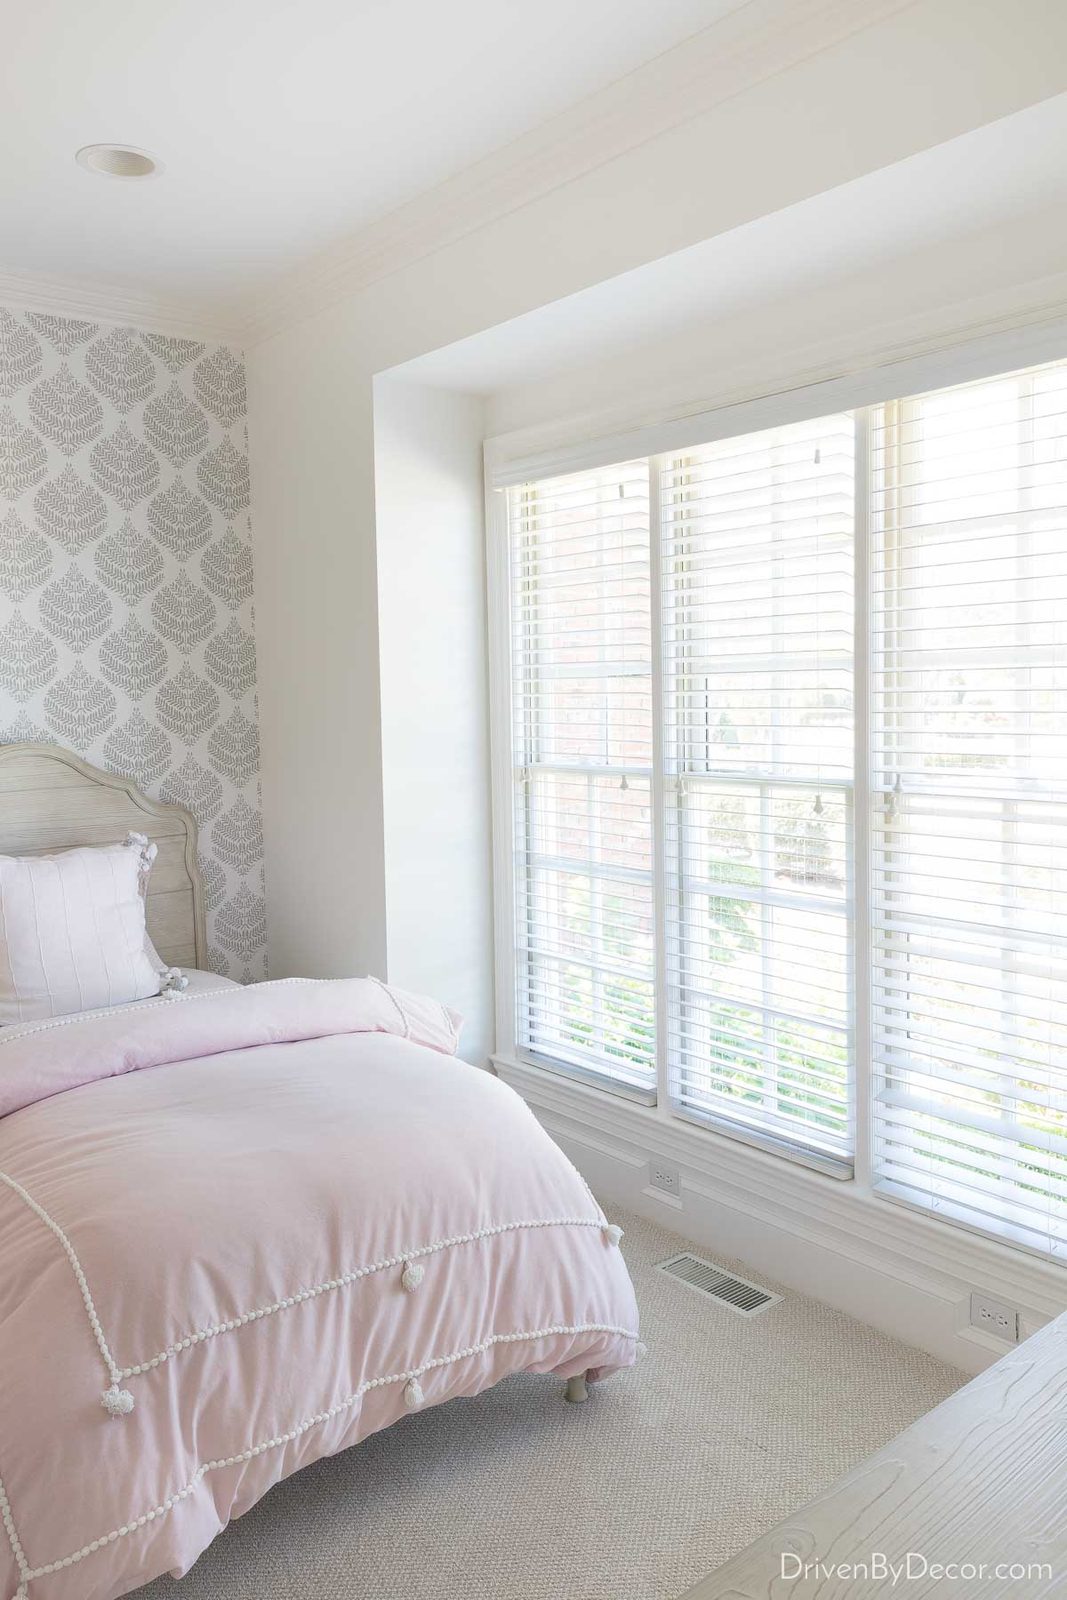
Room Sources: Gray damask peel & stick wallpaper | Curved wood beds | Tassel pillow cover | Tassel duvet covers
My plan is to add Serena shades to this room too (I'm going with one of their blackout options) in place of the wood blinds. They will roll all of the way up when open so won't be blocking light from coming into the room like the wood blinds do. And since this bedroom is on the front of our house, I'll program them the same as our front door blinds so that they're down when it's dark outside.
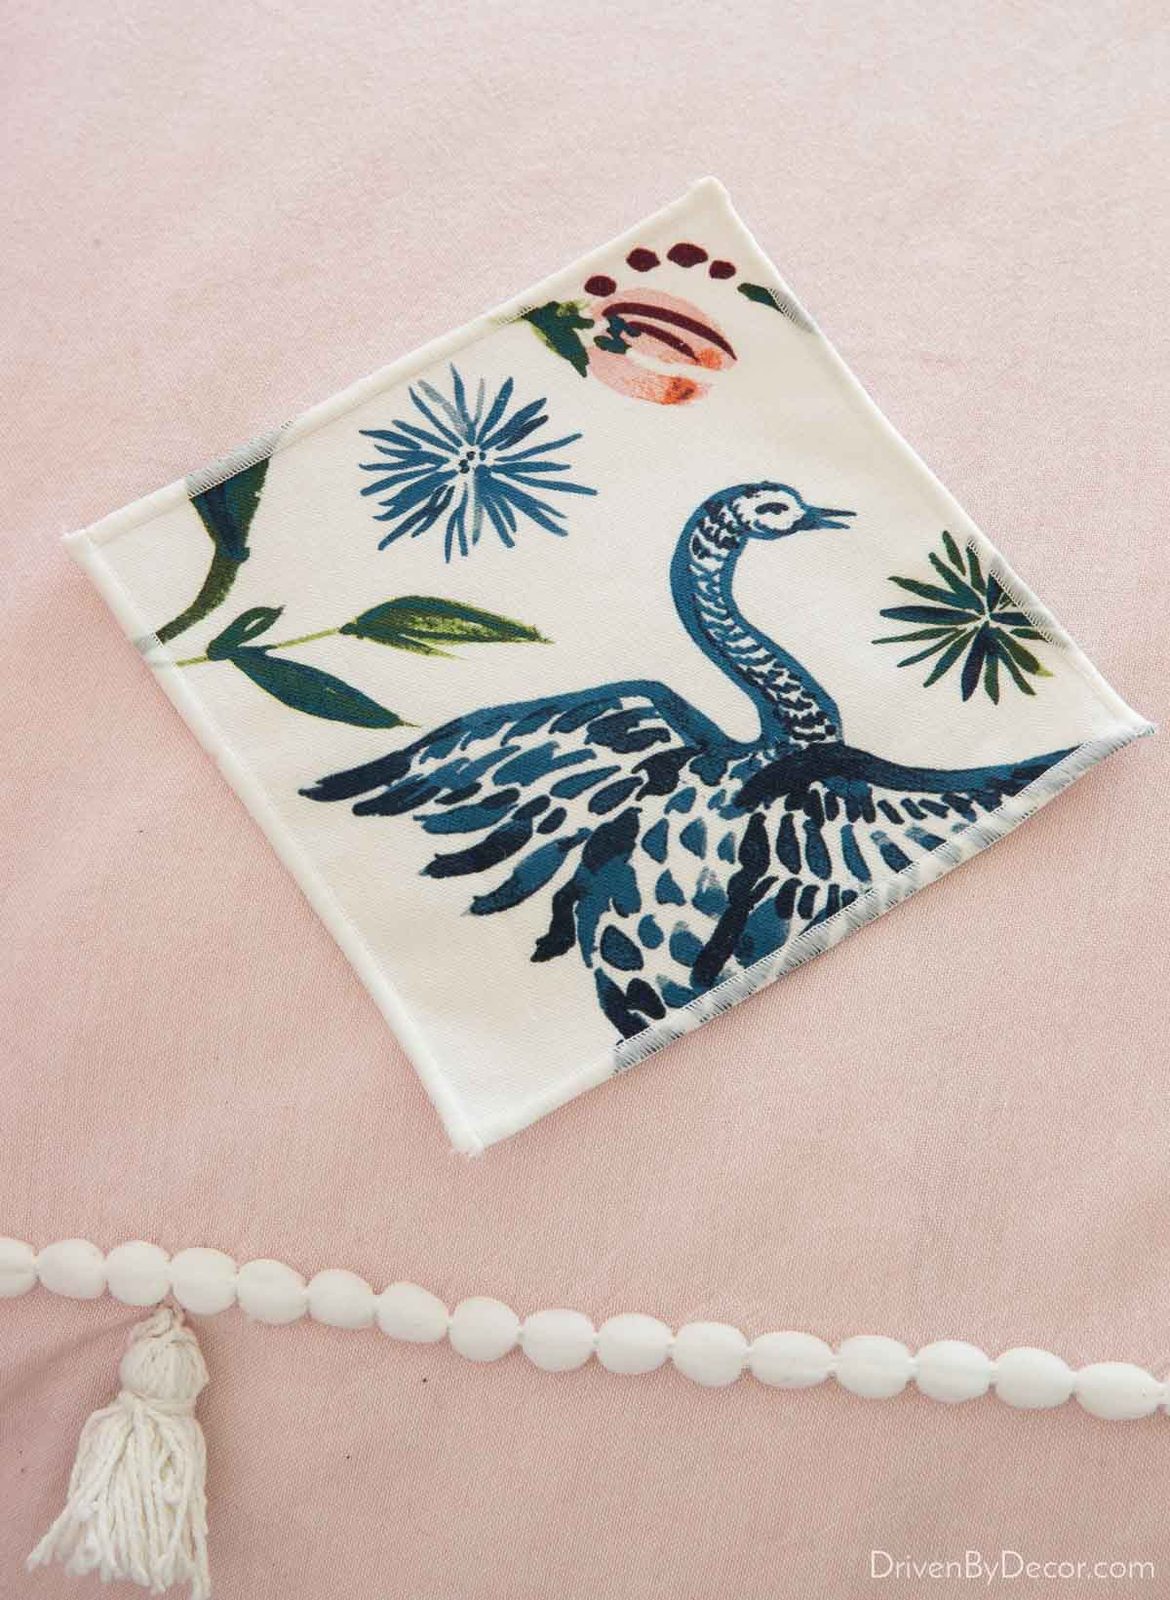
Since the shades will be doing all of the light control, I can then add drapes framing the window on the outside of the niche that are purely decorative. Drapes do SO much to soften a room – they'll make a huge difference in cozying up this space! I haven't pulled the trigger yet, but I'm crushing on {these curtains} that have the prettiest pattern with all of the preferred colors:
For drapery rods I might go with acrylic rods with brass hardware like {these} that I used in the home office of our old house.
There's a lot of soon-to-be-action with our primary bathroom too (remember what this sucker looks like?! ):
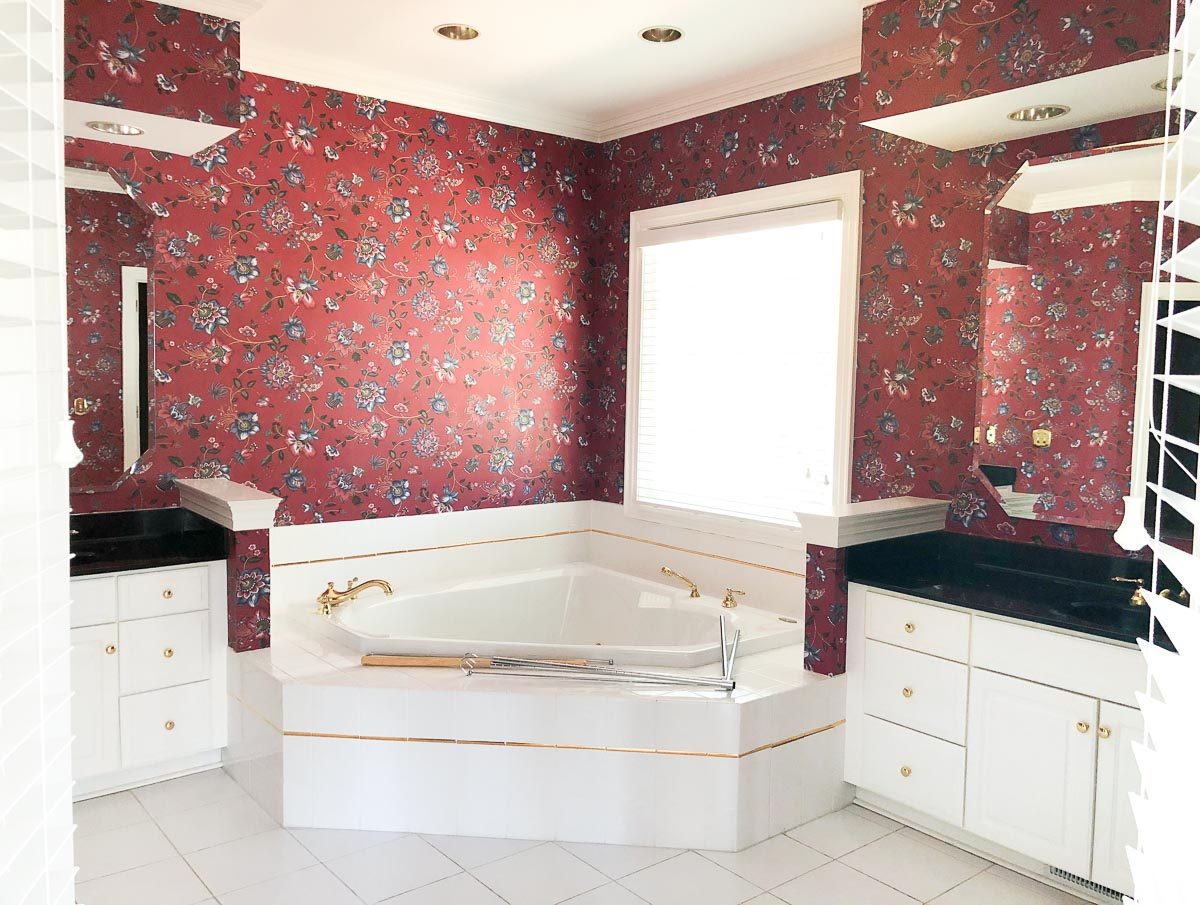
but that's going to be a major gut redo that's deserving of its own post! We decided to hire an architect to draw up plans for it (the household has learned our lesson on this one in the past – the price of an architect is so worth it to have plans that remove any ambiguity or miscommunications with contractors). We're meeting with her in the next week or two to finalize them and will have more to share soon!
Thanks as always for stopping by! The household has added a bunch of new kept finds to my Shop page including these:

and several others – head over to my Shop page {here} to look at the latest!
XO,

Elsewhere in the house
 MiscellaneousScoring Big at Juliska's Tent Sale
 MiscellaneousRepose Gray vs. Agreeable Gray
 MiscellaneousA Peek at Our Home Remodeling Plans
 MiscellaneousSix Home Decor Trends to Watch For in 2021
 MiscellaneousThe 5 Best Buy Labor Day Deals You Can't Afford to Miss
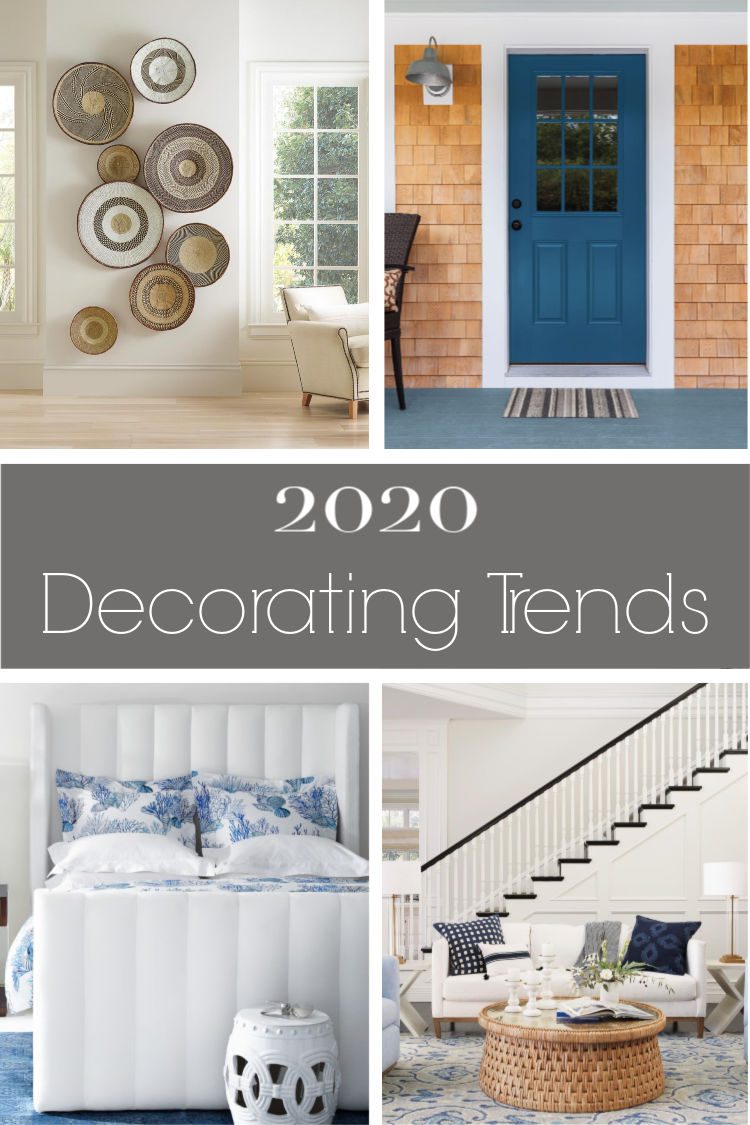 MiscellaneousSix Home Decor Trends to Watch in 2020
 MiscellaneousHome Plans and Projects for the New Year
 MiscellaneousWe Sold Our House
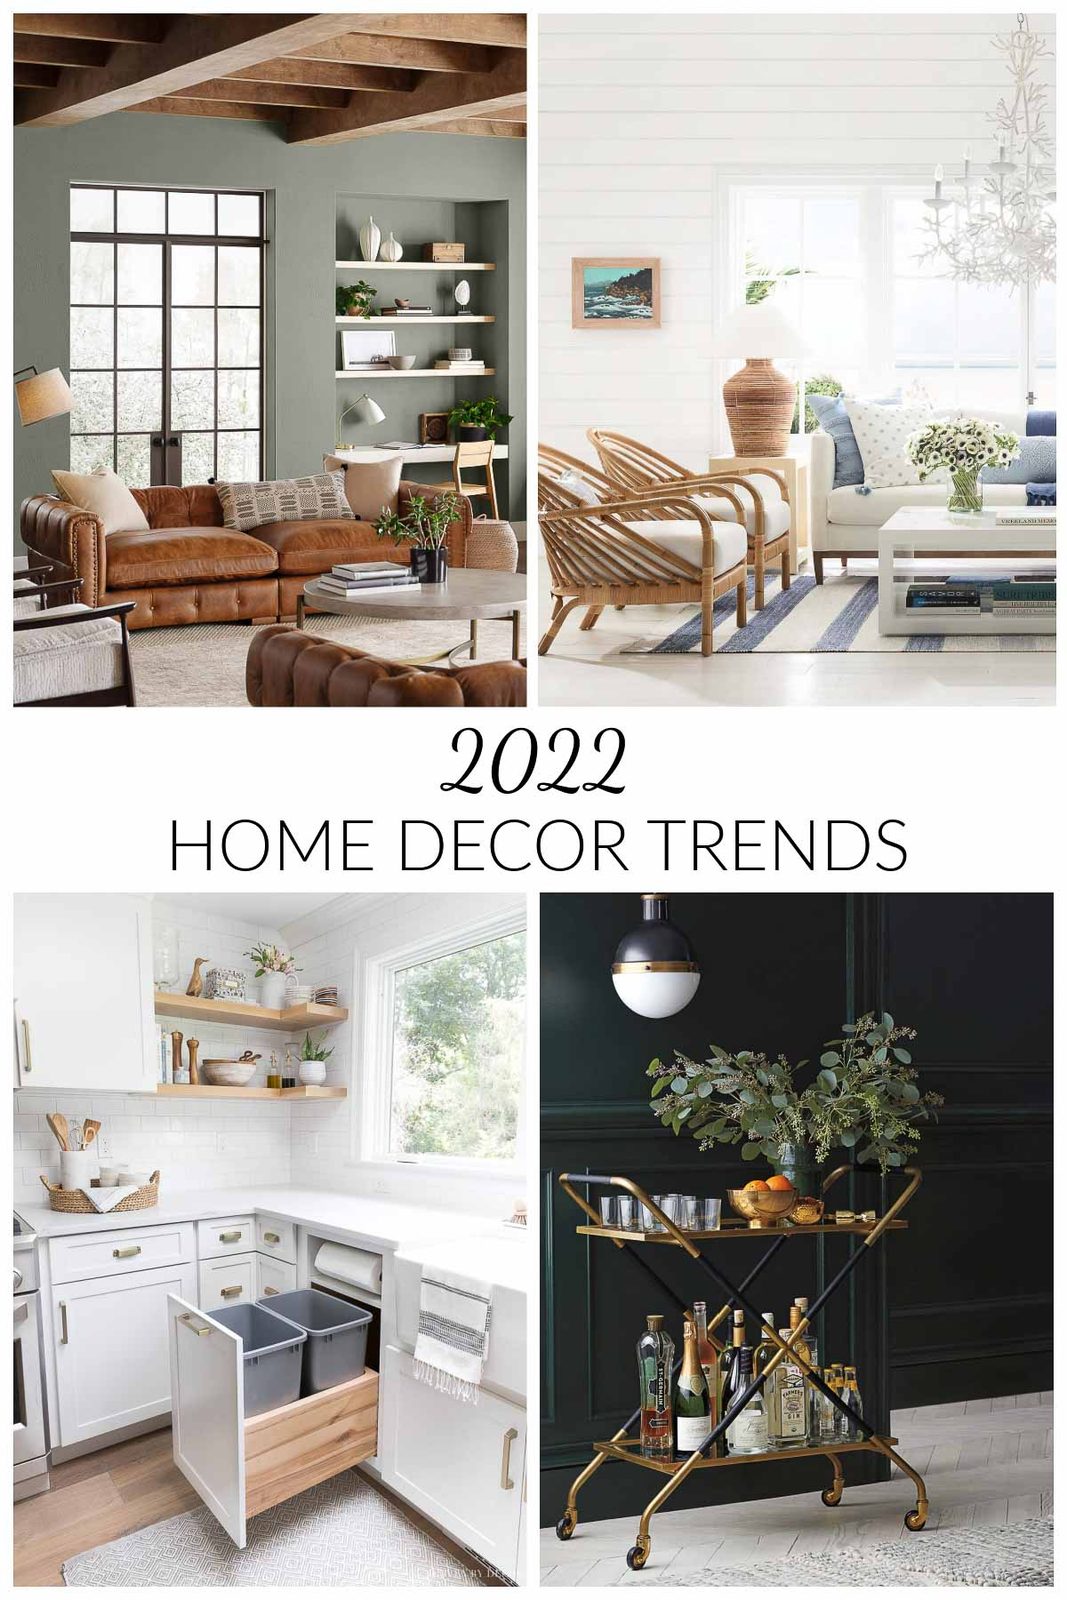 MiscellaneousEight Home Decor Trends to Watch for in 2022