
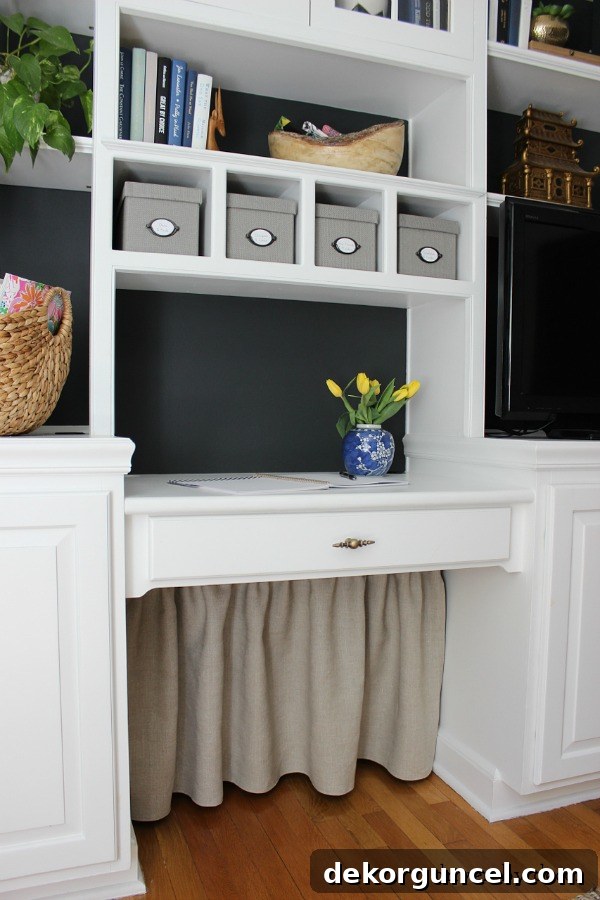
Tired of Desk Cord Clutter? Discover This Easy DIY Skirt Solution for a Serene Home Office!
Cord clutter – it’s a persistent, often infuriating eyesore that plagues countless homes and offices. If you’re anything like us, the tangled web of wires under your desk, especially within built-ins, can be a constant source of visual frustration. In our home office, those dangling cords and wires are a necessary evil, feeding into cabinets where our printer, cable box, and other essential TV components reside. While they’re indispensable for functionality, their unsightly presence has always diminished the overall aesthetic of our carefully curated space. These aren’t just cords; they’re daily reminders of disorganization, marring what should be a peaceful and productive environment.
Well, enough was enough! Those ugly cords and wires finally picked a battle with the wrong person. After dedicating a simple, enjoyable half-hour to a creative DIY project, they are now completely out of sight and out of mind, transforming our office from cluttered to composed. This isn’t just about hiding wires; it’s about reclaiming visual calm and enhancing the functionality and beauty of your workspace. Get ready to banish the visual noise of electronic spaghetti and embrace a sleeker, more streamlined aesthetic with this incredibly easy and effective solution. The impact of such a small change can be truly remarkable, proving that even the most stubborn clutter can be conquered with a little ingenuity.
The Persistent Problem: Battling the Under-Desk Wire Mess
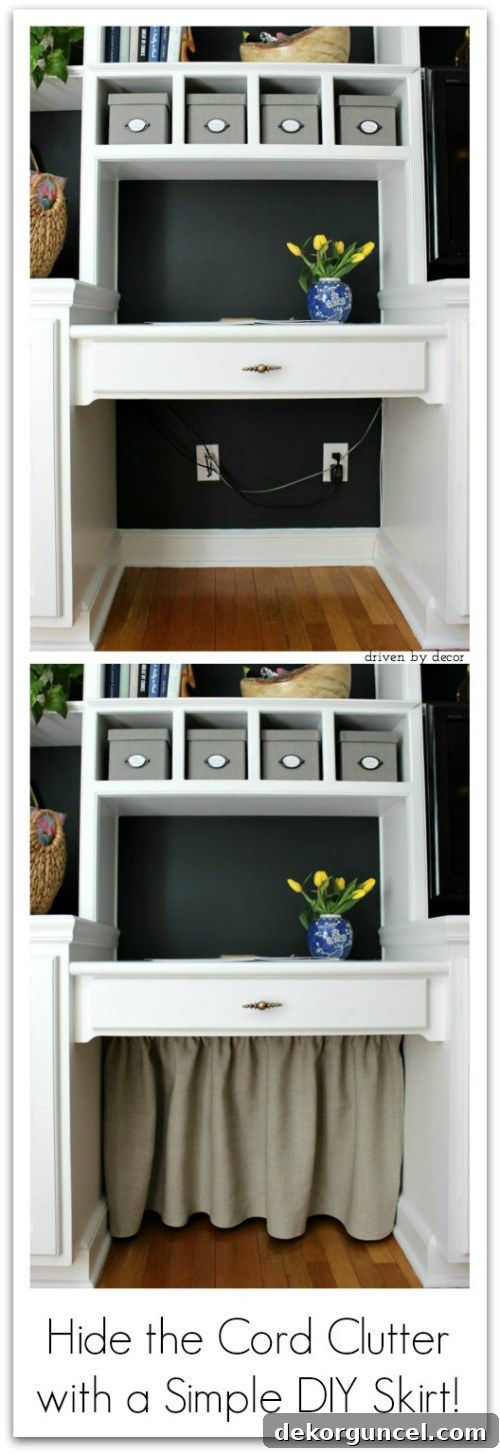
Imagine walking into your home office, ready to tackle your day, only to be greeted by a chaotic spectacle beneath your desk. Instead of a clean, inspiring space, you’re faced with this:
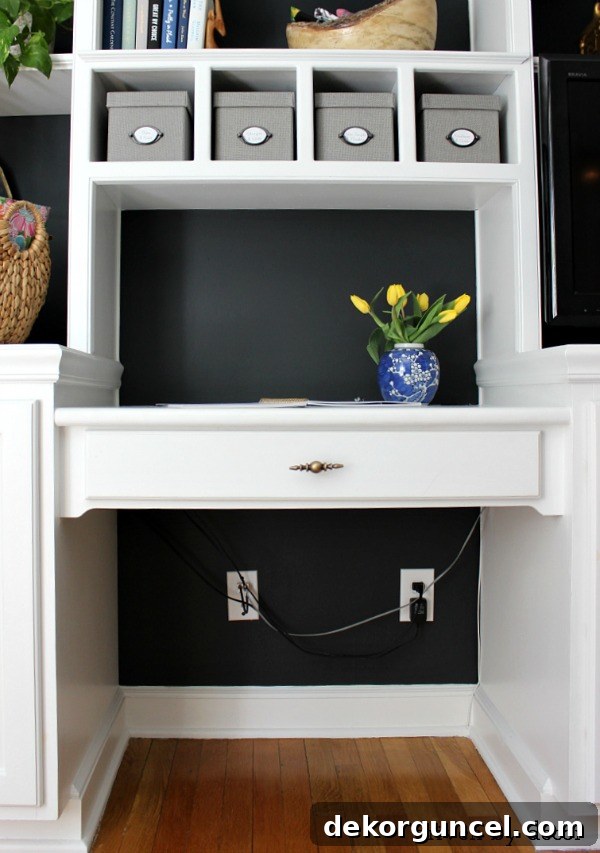
This image is a stark reminder of the reality many of us face. Power cords, Ethernet cables, USB wires, charging cables – they all converge into an unsightly tangle. Not only does this mess look unprofessional and distracting, but it can also be a dust magnet, a tripping hazard, and a nightmare to sort through when you need to plug or unplug something. For built-in desks, the problem can feel even more pronounced, as the elegant custom cabinetry is undermined by the exposed technological chaos. This visual clutter can subtly contribute to stress and diminish your ability to focus, making your home office feel less like a sanctuary and more like a technical storage room. Effective cable management is more than just aesthetics; it’s about creating a harmonious and efficient working environment.
The Elegant Solution: A Simple DIY Desk Skirt
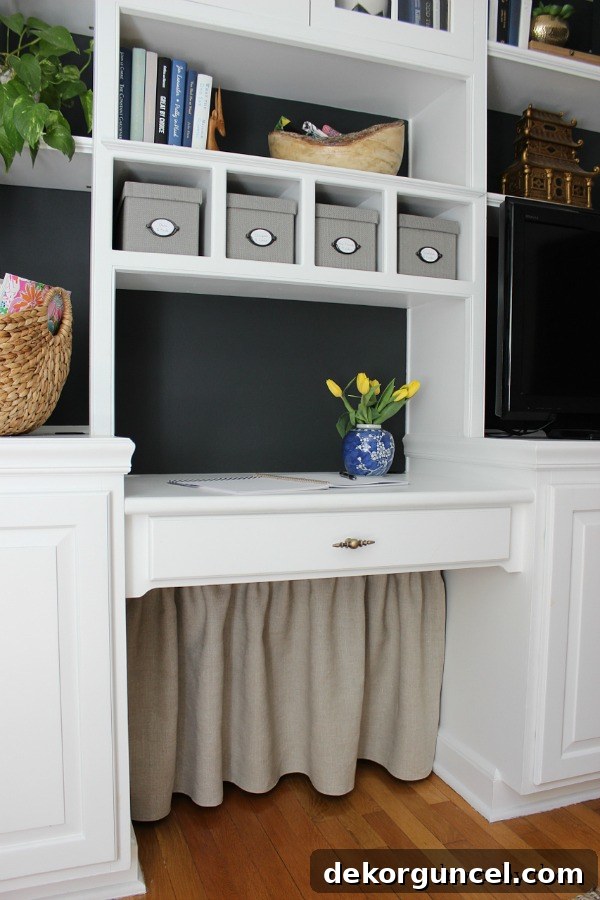
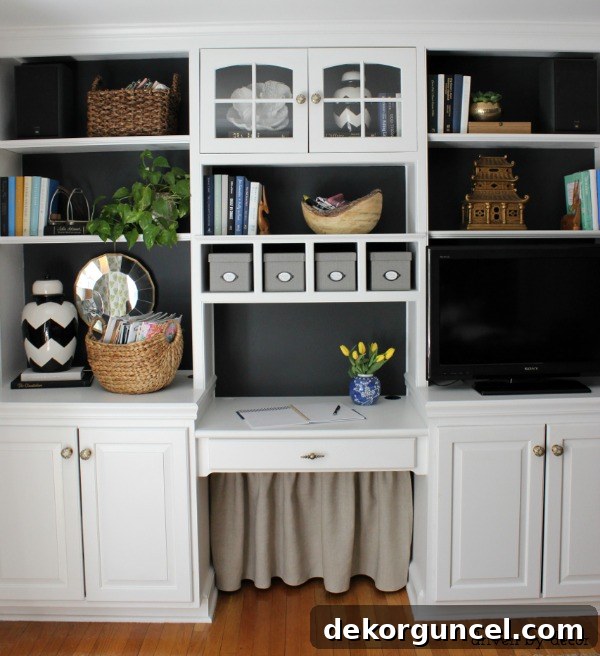
Thankfully, there’s a refreshingly simple and elegant solution to this common dilemma. With a minimal investment of time and resources, you can transform your workspace from visually jarring to perfectly serene. Our built-ins are now sporting a softer, far less cord-cluttered look:
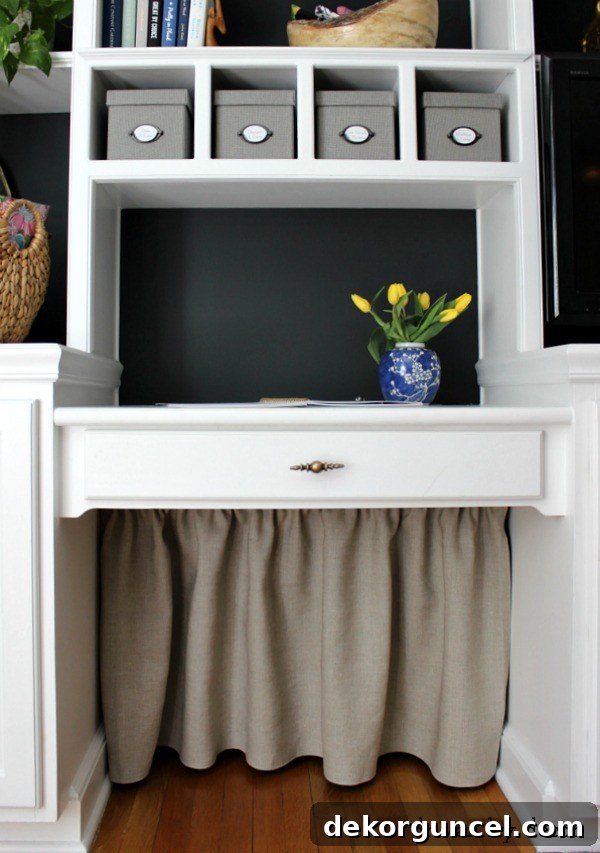
This DIY fabric skirt acts as a beautiful visual barrier, concealing all those necessary but unsightly wires and cables while maintaining easy access whenever needed. It instantly elevates the entire look and feel of the room, turning a previously annoying area into an integral part of your decor. The beauty of this project lies in its simplicity and the dramatic impact it has on the overall ambiance of your home office. No more glaring wires, just a smooth, continuous line that contributes to a sense of order and tranquility. It’s a testament to how small, thoughtful DIY projects can yield significant improvements in your living and working spaces.

Your Step-by-Step Guide to a Clutter-Free Desk
Creating this desk skirt couldn’t be simpler, even for those who shy away from sewing projects. I’m excited to share exactly how I achieved this transformation in just minutes! (Please note: this post includes affiliate links – you can find my full disclosure statement {here}.)
Gather Your Materials:
All you truly need are three main items to bring this vision to life. First, a small-diameter tension rod, which is the cornerstone of this no-drill solution. I found the perfect one {here}, designed to fit snugly within your desk opening without any hardware. Second, you’ll need a length of fabric. For a pleasing gathered look, aim for fabric that’s roughly twice the width of the area you intend to cover. The beauty of this project is that you can often use what you already have; I personally utilized leftover fabric from our window seat cushion, perfectly tying the office aesthetic together. Finally, you’ll need a way to finish your edges – either a sewing machine for a traditional approach or a fusible bonding web like Stitch Witchery for a quick, no-sew alternative. Choosing the right fabric is key: consider the overall decor of your home office. A lightweight fabric like cotton or linen will drape beautifully, while a patterned fabric can add a touch of personality. Solid colors, on the other hand, provide a clean, minimalist look.
Measure and Cut Your Fabric:
Begin by accurately measuring the width of the opening under your desk where the skirt will hang. As mentioned, multiply this width by two to account for generous pleats and gathers, which will give your skirt a fuller, more luxurious appearance. Next, measure the desired length from where the tension rod will sit to just above the floor, ensuring the skirt covers all wires without dragging. Add an extra 3 inches to this length: 1.5 to 2 inches for the top rod pocket and another 1 inch for the bottom hem. Once your measurements are finalized, carefully cut your chosen fabric to these precise dimensions. Accuracy in this step ensures a professional, tailored finish that looks intentionally designed, not just a quick fix.
Crafting the Rod Pocket:
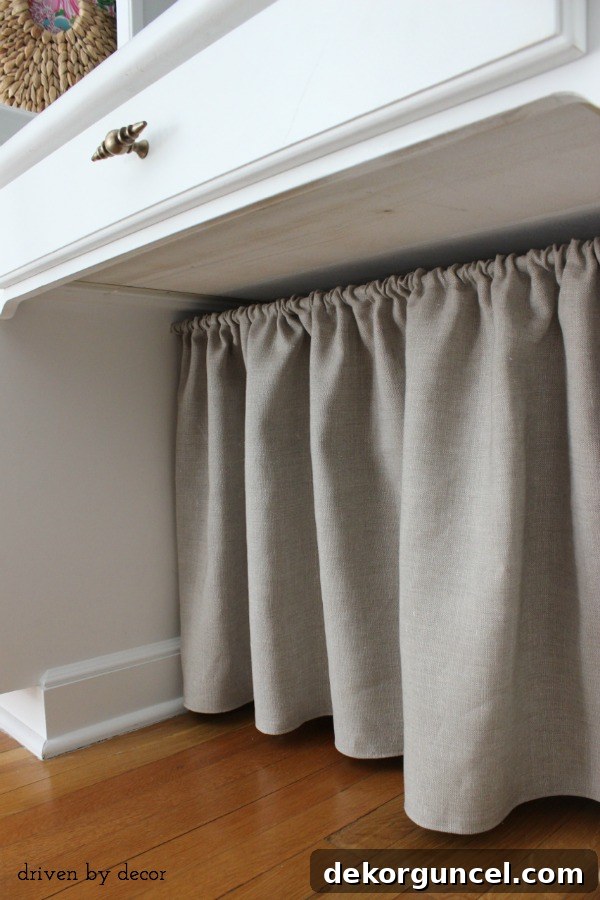
This is where your fabric transforms into a functional skirt. Lay your fabric flat, wrong side up. Along the top edge, fold over about 1 ½″ – 2″ of fabric. This measurement should be sufficient to create a comfortable pocket for your tension rod. Iron this fold down firmly to create a crisp, clean crease. Now, using your sewing machine, stitch along the bottom edge of this fold. Make sure to sew a straight line to create a neat channel. If you’re opting for the no-sew method, place your fusible bonding web inside the fold, press with a hot iron according to the product instructions, and allow it to cool completely. This technique will create a durable, seamless pocket without a single stitch.
Finishing Touches: Hemming the Skirt:
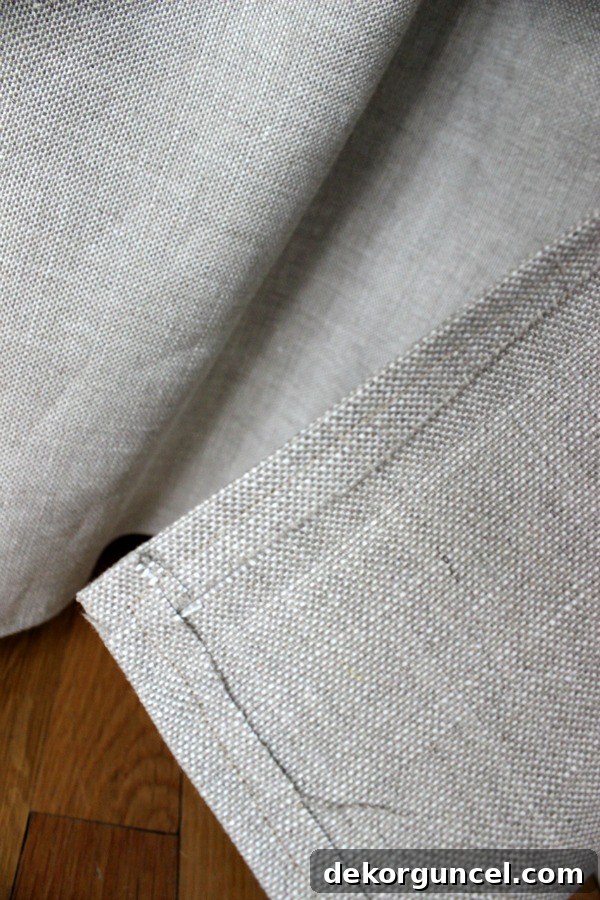
To give your desk skirt a polished appearance and prevent fraying, you’ll need to hem the sides and bottom. For the vertical sides, fold over ½″ of the fabric edge towards the wrong side, iron it flat, and then sew it in place. Repeat this for the bottom edge of the fabric, ensuring your hem is even and straight. Don’t worry if your sewing isn’t perfectly straight on the back side – since you don’t see the unfinished side of the skirt, minor imperfections are completely hidden once installed. This is one of those forgiving DIY projects where the end result looks fantastic even if your craftsmanship isn’t professional grade. This step adds durability and a clean finish, preventing the fabric from unraveling over time.
Installation: The Final Step:
Once your fabric skirt is prepared, simply thread your tension rod through the newly created pocket. Adjust the rod to the correct width of your desk opening, ensuring it’s securely nestled between the sides. Let the fabric hang, allowing the gathers to fall naturally. Step back and admire your handiwork! It’s truly amazing how such a simple addition can dramatically alter the perception of your workspace. One more office project is officially checked off the list, leaving behind a sense of accomplishment and a visibly improved environment.
Why This Simple DIY is a Game Changer for Home Office Organization
This DIY desk skirt isn’t just a temporary fix; it’s a strategic upgrade for any home office grappling with cable clutter. Its benefits extend far beyond mere aesthetics:
- Instant Aesthetic Upgrade: Immediately transforms a messy, distracting area into a clean, inviting one. The soft fabric adds warmth and texture, making the often-harsh technological components disappear behind a stylish facade.
- Improved Focus and Productivity: Visual clutter is a known contributor to mental fatigue and reduced concentration. By hiding the tangled wires, you create a calmer environment conducive to better focus and enhanced productivity.
- Cost-Effective Solution: Compared to expensive custom cabinetry or complex wire management systems, this DIY project is incredibly affordable. You might even use fabric you already have, making it virtually free.
- Easy Access and Flexibility: Unlike permanent enclosures, a fabric skirt on a tension rod allows for instant access to your cables, outlets, or equipment whenever you need to adjust, plug, or unplug something. Simply slide the fabric aside or remove the rod.
- Customizable Design: Choose any fabric that matches your existing decor, allowing you to seamlessly integrate the solution into your home’s aesthetic. From minimalist linen to vibrant patterns, the possibilities are endless.
- Protects Cords: While not its primary purpose, the skirt can offer a degree of protection to your cables from dust accumulation or accidental nudges, potentially prolonging their lifespan.
Beyond the Desk: More Cord Management Ideas for a Truly Tidy Home
Achieving a clutter-free home office is a fantastic start, but the battle against cord chaos often extends to other areas of the house. Are you looking for another smart way to reduce the cord clutter throughout your home? Tackling the charging station for all your family’s devices is another common pain point, and my family charging station offers an equally easy DIY that might be right up your alley:
My family charging station is an easy DIY that might be up your alley:
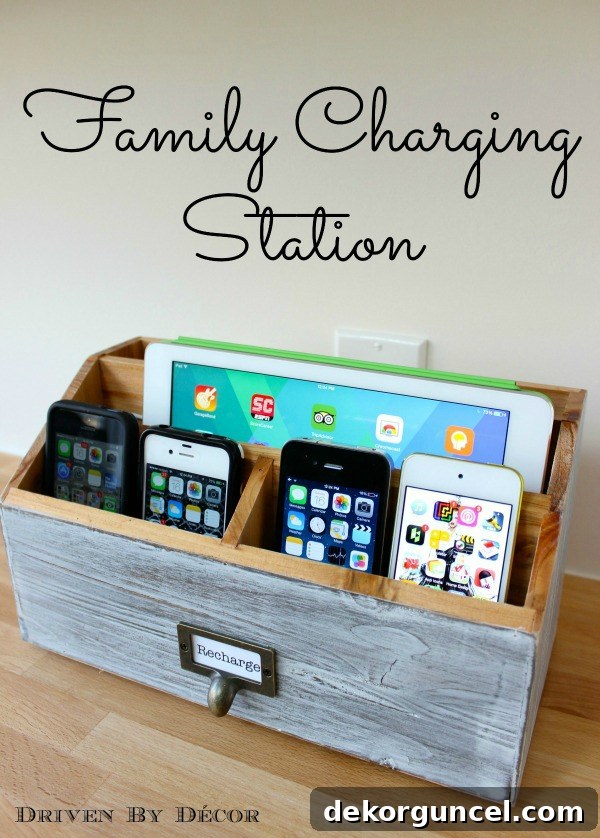
This project transforms a simple letter sorter into a dedicated hub for phones, tablets, and other gadgets, keeping them organized and their charging cables neatly contained. Furthermore, consider investing in cable ties, sleeves, or adhesive clips to secure loose wires behind entertainment centers, TV stands, and bedside tables. Power strips with surge protectors can centralize multiple device connections into one discreet unit, reducing the sprawl of individual plugs. Small decorative boxes or baskets can also conceal routers, modems, and their accompanying wires, turning them into a decorative feature rather than an eyesore. Embracing a holistic approach to wire management across your home will significantly contribute to a more organized, peaceful, and visually appealing living space.
Your Newly Organized Space Awaits!
The satisfaction of stepping into a beautifully organized and clutter-free home office is truly unparalleled. With this simple DIY desk skirt, you’ve not only solved a pervasive problem but also added a touch of personalized style to your workspace. It’s proof that sometimes, the most effective solutions are also the most straightforward. We encourage you to give this project a try and experience the immediate benefits of a serene and streamlined environment.
I’ll see you guys back here tomorrow when I’ll be sharing some favorite blogger projects!
