
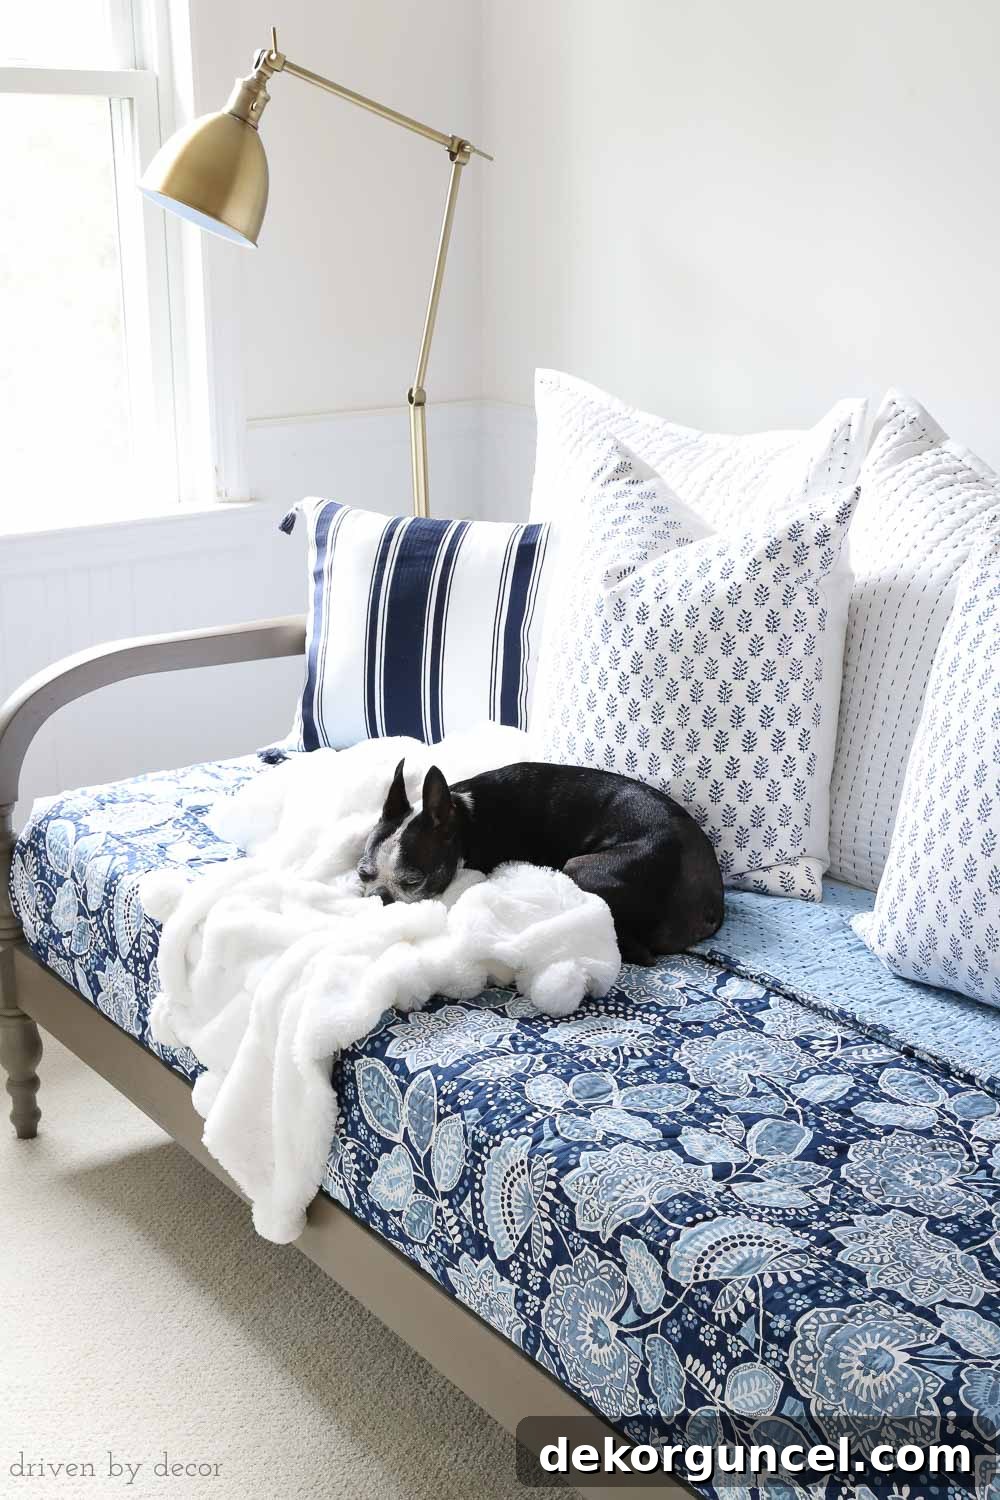
Over the years, many readers have reached out, eager to redecorate a room but expressing a common dilemma: “I just don’t know where to start!” This feeling of overwhelm at the beginning of a home decorating project is completely understandable. In fact, tackling the initial steps of designing a space can often be the most challenging part, which is precisely why structured challenges like the One Room Challenge (ORC) prove so invaluable for many – myself included. They provide the necessary motivation and clear deadlines to dive in and transform a space. With an unexpected extra week added to the recent ORC, it felt like the perfect opportunity to share a comprehensive guide, offering practical tips and a step-by-step approach to help you embark on your own bedroom makeover journey. Our aim is to demystify the process, from identifying your starting point to implementing the finishing touches, ensuring you create a bedroom sanctuary you’ll absolutely adore. (Please note: this post contains affiliate links, meaning I may earn a small commission at no extra cost to you if you make a purchase through these links. For full transparency, our complete disclosure statement is available here.)
Step 1: Discover Your Core Inspiration (The “One Thing” That Speaks to You)
The secret to beginning any successful room design without feeling paralyzed by choice? Start with just one thing – a single item that deeply resonates with you. It truly is that simple! Instead of feeling pressured to make every single design decision simultaneously (a sure recipe for overwhelm that often leads to abandoning the project before it even begins), focus your energy on selecting one element you absolutely love and want to build your entire room’s aesthetic around. In a bedroom, this pivotal piece might be a captivating piece of art, a stunning set of drapes that frame your windows beautifully, or, most commonly, a luxurious and inviting bedding set. For my recent ORC transformation, Vera Bradley’s Traveler’s Floral quilt served as the perfect springboard, dictating the color palette and overall mood for the entire space. It provided a clear direction and made subsequent choices much easier to navigate.
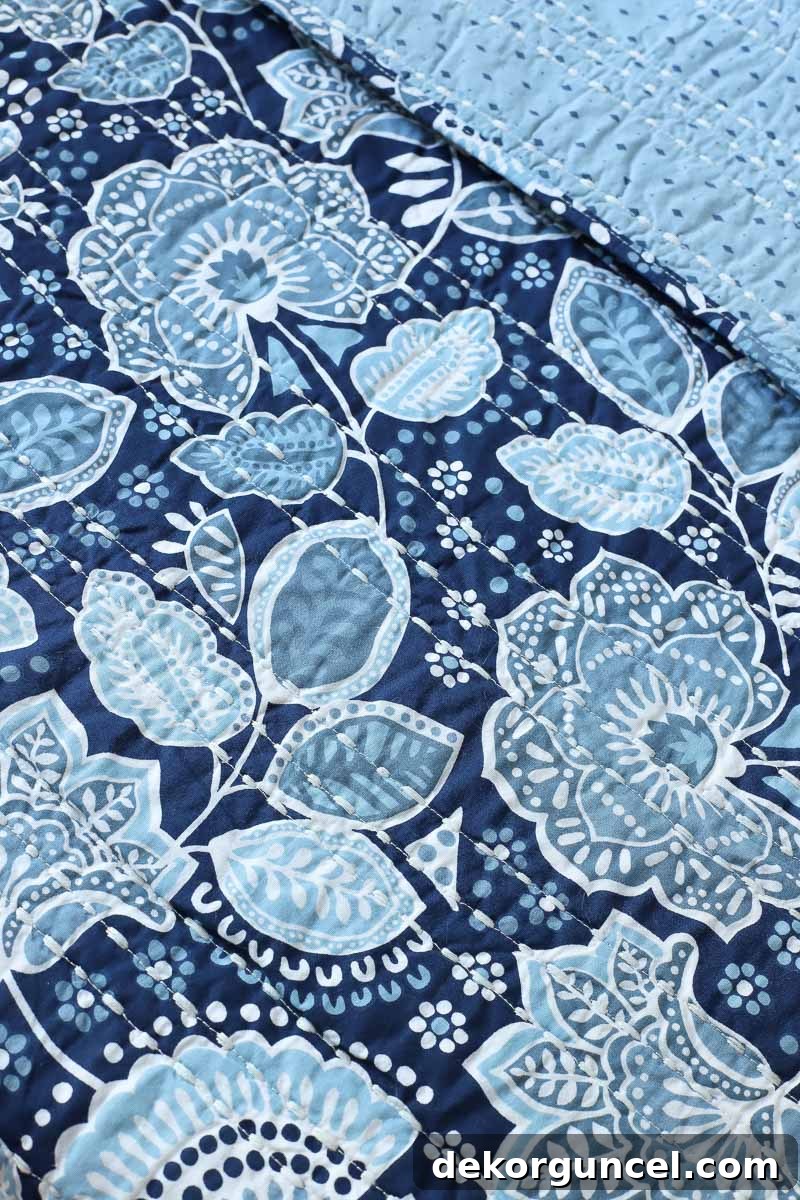
Isn’t it gorgeous? What I particularly appreciated about this quilt was its thoughtful design, featuring a coordinating pattern on the reverse side. This allows for versatility – you can flip it over for an entirely different look, or simply fold back the top edge to reveal a subtle peek of the complementary design, adding an extra layer of visual interest and depth to your bed styling.
Step 2: Define Your Foundation with Key Furniture Pieces
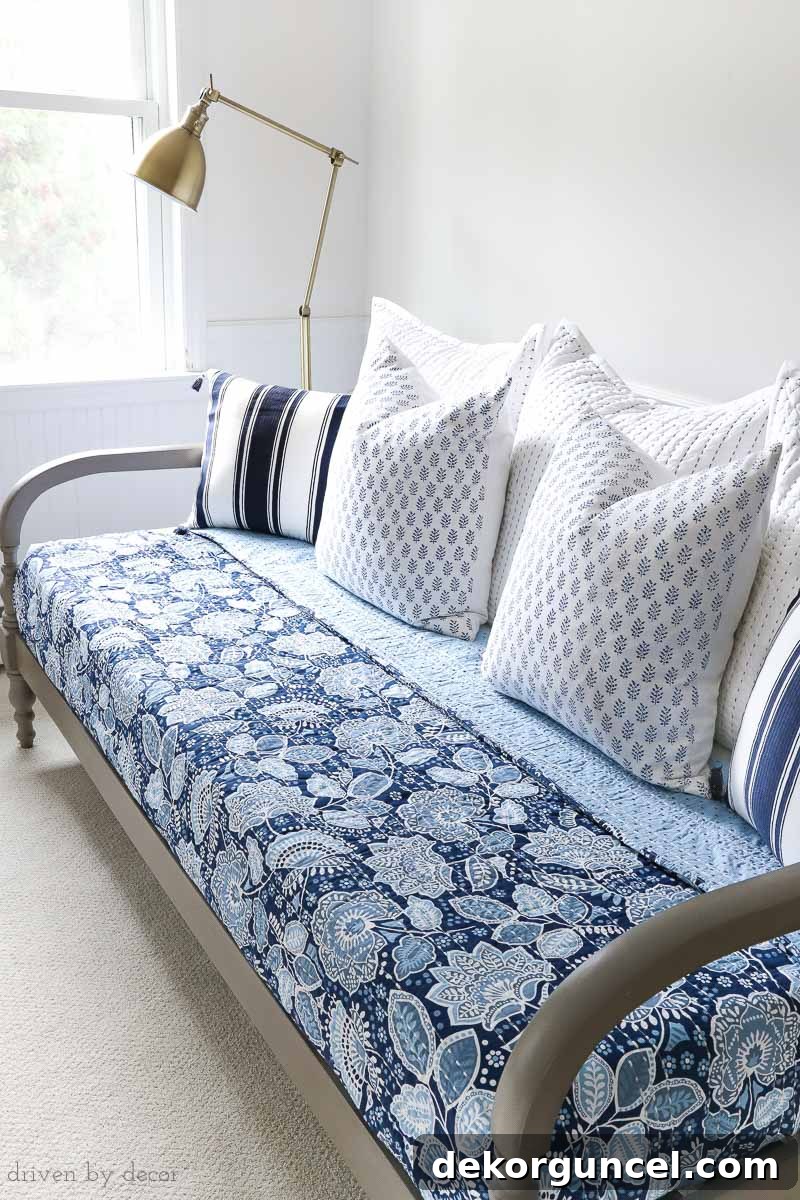
Once you’ve identified your core inspiration, the next crucial step in your bedroom makeover is to strategically select your large furniture pieces. These items typically represent the most significant investment in your space, both financially and aesthetically, so thoughtful consideration here is key. For my ORC project, I opted for a stylish daybed finished in a warm, inviting gray. My personal preference leans towards neutral furniture pieces, and for good reason. Choosing neutral tones for items like beds, dressers, and nightstands offers immense flexibility. If I decide to refresh the look of my room in the future, I can achieve a dramatic transformation with simple, inexpensive changes to bedding, throw pillows, or accessories, rather than incurring the substantial cost and effort of replacing major furniture. Having moved homes frequently, I also value how neutral furniture pieces effortlessly adapt to new environments; a bed from a previous bedroom might find a new purpose as a chic seating option in a foyer or guest room in our next house. However, while neutrals work wonders for my lifestyle, if you’re a true color enthusiast and are confident that a vibrant purple tufted headboard will bring you as much joy a decade from now as it does today, then absolutely embrace that bold choice and make it a central feature of your design!
Step 3: Harmonize with Textiles: Pillows, Drapes, and Soft Furnishings
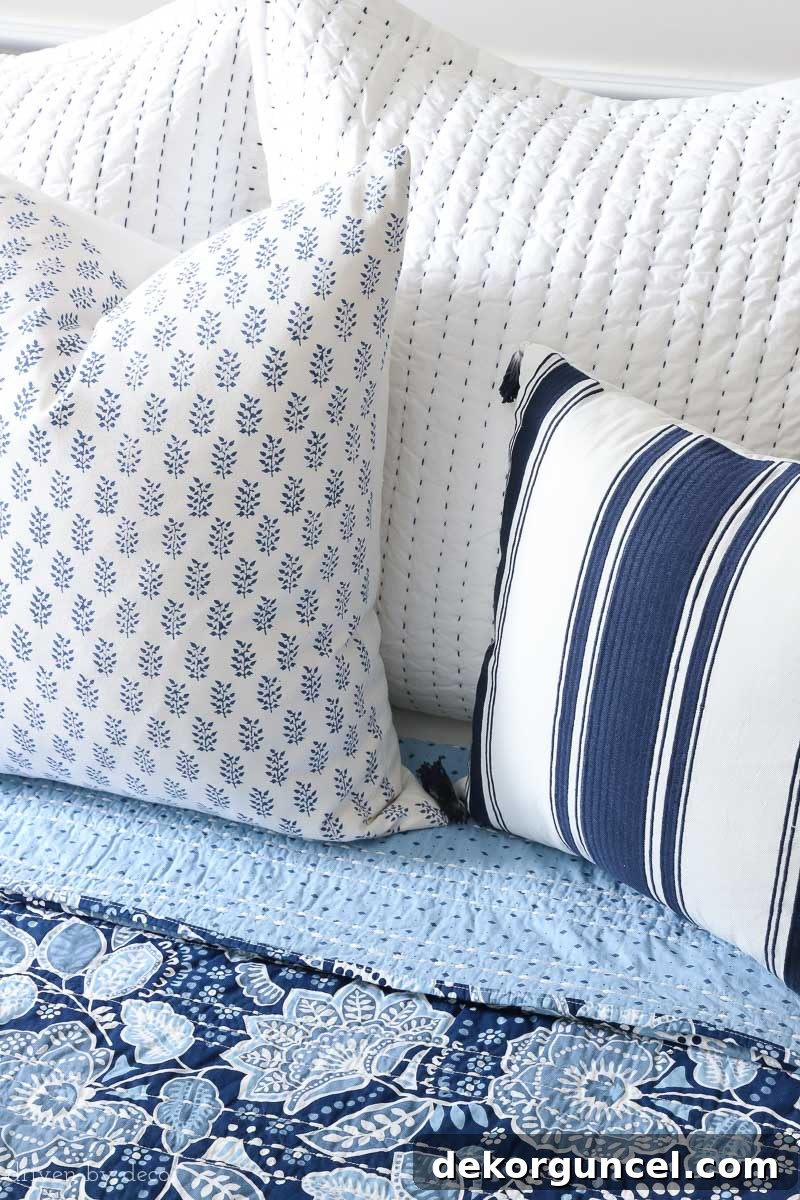
With your dream bedding (or drapes, or art – whatever your initial inspiration was) firmly chosen as your design anchor, it’s time to infuse texture, warmth, and personality into your bedroom by selecting coordinating pillows and fabrics. This is where you can truly let your creativity shine! While there are no hard-and-fast rules, a time-tested and winning combination I rely on repeatedly involves mixing solid colors with patterns of varying scales: a bold, large-scale pattern, a more subtle, small-scale pattern, and a graphic stripe. This dynamic interplay of visuals creates depth and keeps the eye moving without overwhelming the space. If your design journey began with bedding, start by checking if there are readily available coordinating pillows or shams. While I generally steer clear of complete “bed in a bag” sets, I always assess the coordinating options. If I find them appealing, I’ll typically incorporate a couple into my room design. The Traveler Floral bedding I selected, for example, offered charming coordinating pillow options, including matching shams that are perfect for making up the bed for overnight guests. Adding these adorable Cabana Stripe tassel pillows to the mix was an absolute no-brainer; their navy stripes beautifully complemented the floral print, creating a cohesive and inviting look.
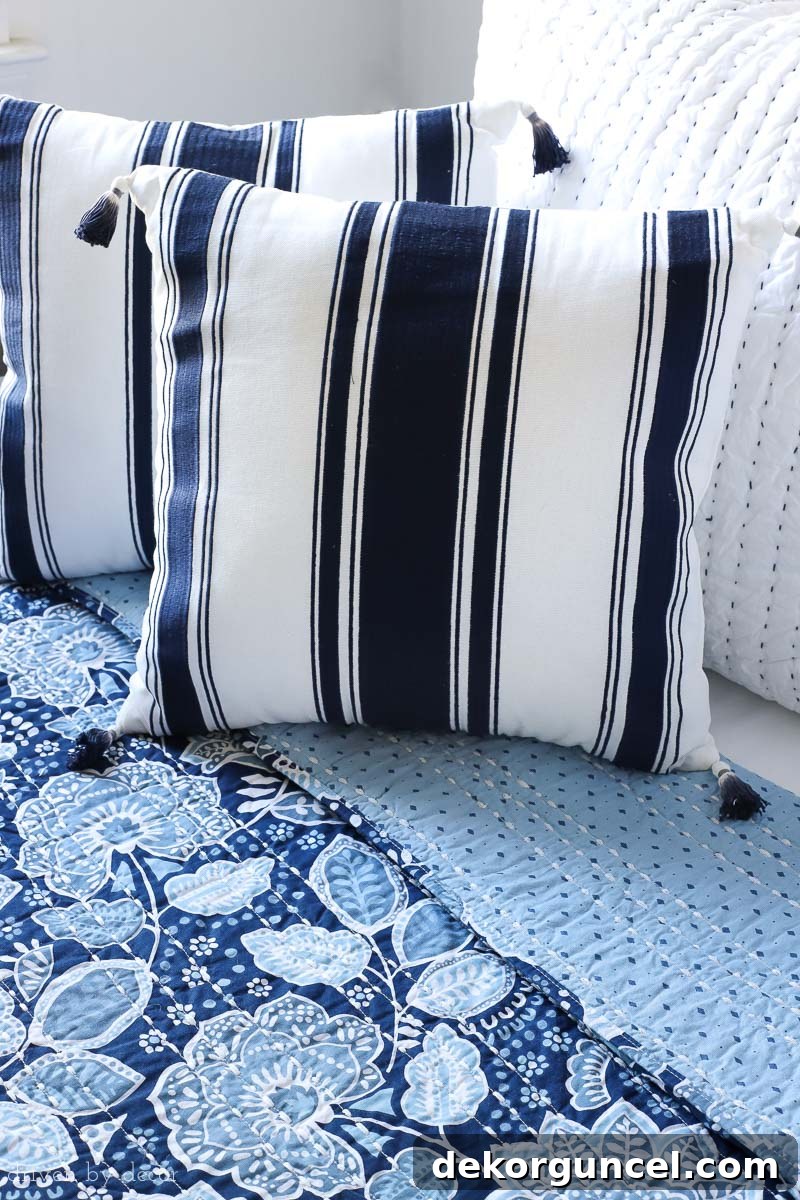
This phase is also an excellent opportunity to “shop your house.” You might be surprised by the treasures you uncover in other rooms – items that, when repurposed, can seamlessly integrate into your new bedroom scheme. For my own project, the final assortment of pillows included not only the Cabana Stripe tassel pillows but also a pair of smaller blue and white patterned pillows I borrowed from my daughter’s room (they were a perfect match for the quilt!) and three generously sized quilted Euro shams in solid white with a subtle navy stitch, providing a clean, elegant backdrop. The key is to experiment and layer until you achieve a look that feels balanced, comfortable, and uniquely yours. Don’t be afraid to mix and match textures and patterns; the goal is a curated, collected feel, not a perfectly matched showroom display.
Step 4: Select Your Wall Color or Wallpaper Strategically
Now that your primary textiles and foundational furniture are in place, it’s finally time to address your walls! You might have noticed that choosing paint or wallpaper was deliberately NOT the very first step in this process. This sequencing is critical, and it’s a mistake many new decorators make. Far too often, people pick a paint color before anything else, only to find themselves struggling and frustrated trying to locate fabrics and furnishings that complement that randomly chosen wall color. Consider the vast number of paint colors and wallpaper designs available on the market; it is infinitely easier to find a paint color or wallpaper pattern that harmonizes beautifully with your pre-selected bedding, drapes, and other fabrics than it is to reverse-engineer the process. For my space, I chose two distinct wallpapers that coordinate flawlessly with my bedding and pillows: this elegant blue herringbone wallpaper for the main sleeping area and this charming blue watercolor vine pattern for the small craft room adjacent to it. I absolutely cannot wait to see them installed on the walls, bringing the entire vision to life!
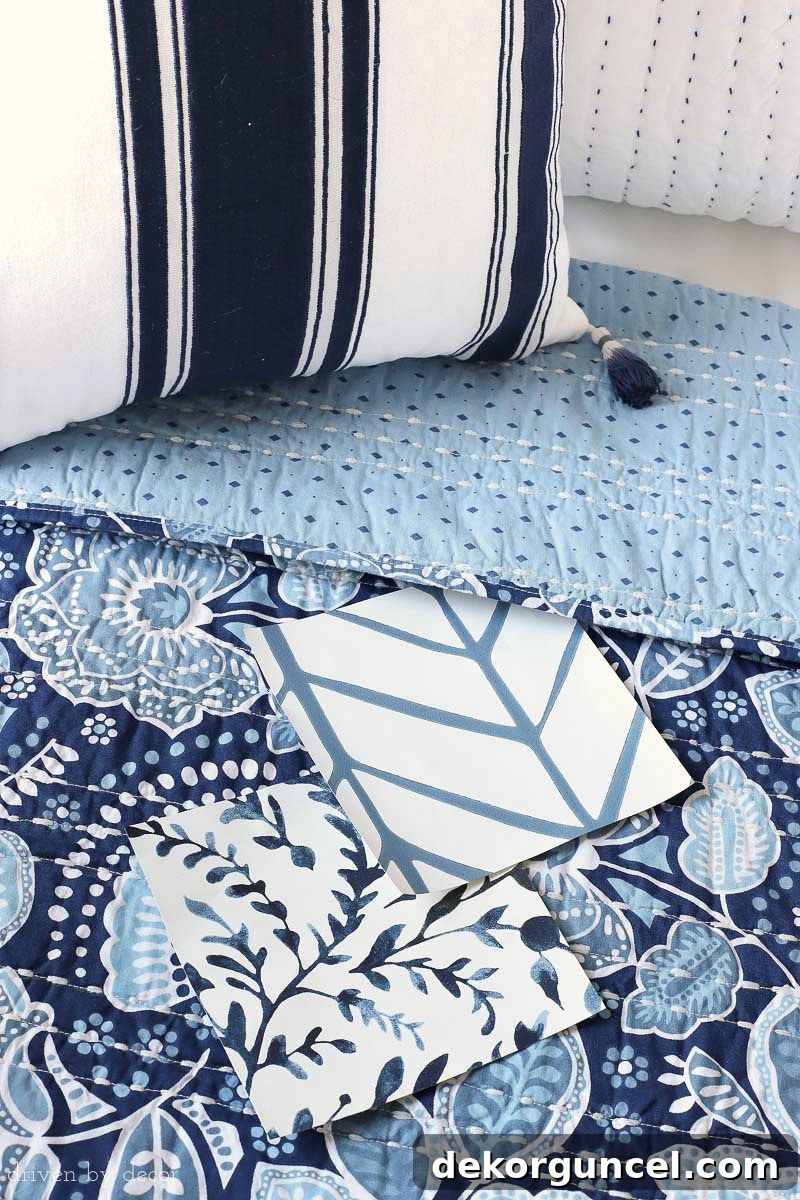
When making your final selection for wall treatments, remember that perfection isn’t the goal; coordination and harmony are. For instance, in my current bedroom design, I probably have at least ten different shades of blue subtly weaving throughout the space, yet they all work together beautifully because they coordinate rather than clash. Don’t feel confined to a single color or even two; while I opted for a primarily blue and white palette, you can absolutely introduce multiple complementary colors into your mix. The key is to test swatches on your wall in different lighting conditions and step back to assess how they interact with your existing textiles and furniture, ensuring the chosen color or pattern enhances the overall atmosphere you’re striving to create.
Step 5: Introduce Depth and Character with Mixed Metals and Textures
This is a design principle I apply to virtually every single room I decorate: the strategic incorporation of mixed metals and varying textures. The thoughtful combination of different finishes within a space – think natural woods, gleaming metals, rich textiles, and painted surfaces – is instrumental in achieving that coveted “collected over time” aesthetic. This layered approach adds depth, visual interest, and a sense of history to a room, preventing it from feeling sterile or one-dimensional. For my ORC project, I’m utilizing a blend of diverse finishes, including various metals, on the frames that will be thoughtfully arranged above the daybed. To further enhance this layered look, I’ve also integrated this elegant brass swing arm lamp, which not only provides functional lighting but also contributes a sophisticated metallic gleam that beautifully complements the overall design. Consider where else you can introduce different metals: perhaps a brushed nickel curtain rod, matte black hardware on a dresser, or a vintage silver decorative tray. The goal isn’t to have every metal everywhere, but to create a harmonious blend that feels intentional and visually appealing. Don’t forget other textures too, like wicker baskets, ceramic vases, or wool throws, which further enrich the tactile experience of the room.
Step 6: Accessorize and Personalize for the Finishing Touch
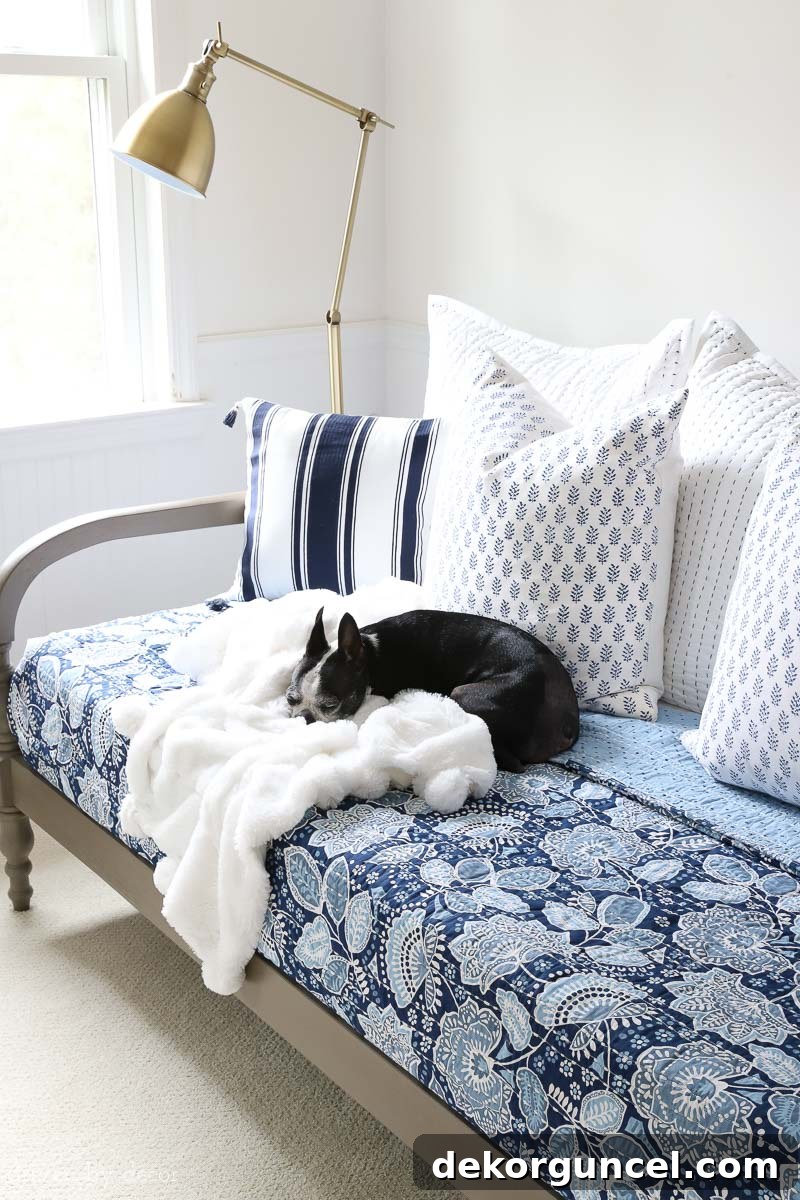
Finally, we arrive at my absolute favorite stage of the decorating process: accessorizing! This is where you get to scour for all those delightful goodies that truly complete and personalize your space. And remember, “shopping” doesn’t necessarily mean hitting retail stores; it can just as effectively mean thoughtfully “shopping your own house” for items that can be repurposed or moved to their perfect spot. Begin by making a list of the “holes” in your room – those spots that feel empty or unfinished. This might include a cozy ottoman for extra seating, a captivating piece of art for that blank wall, a practical yet stylish side table next to your bed, or perhaps some greenery to add life. Once you have your list, start your search! It’s important to understand that you don’t need to find every single accessory all at once. For instance, if you’re searching for a large, impactful piece of art but haven’t yet found “the one,” it’s perfectly acceptable – and often preferable – to leave that wall space blank until you discover something you truly adore. Many of my most beloved and successful room designs are those that have evolved organically over time. This approach allows me to patiently wait for pieces that genuinely speak to me, rather than feeling pressured to make impulsive purchases just to declare the room “100% done.” Embracing this patient process ensures that your final space is filled with items you love and that truly reflect your personality and style, creating a bedroom that feels genuinely curated and comfortable. Last week, I gave you a sneak peek at a few of the accessories destined for my ORC room, including an incredibly soft throw blanket that my beloved dog, Hope, has already claimed as her own cozy spot.
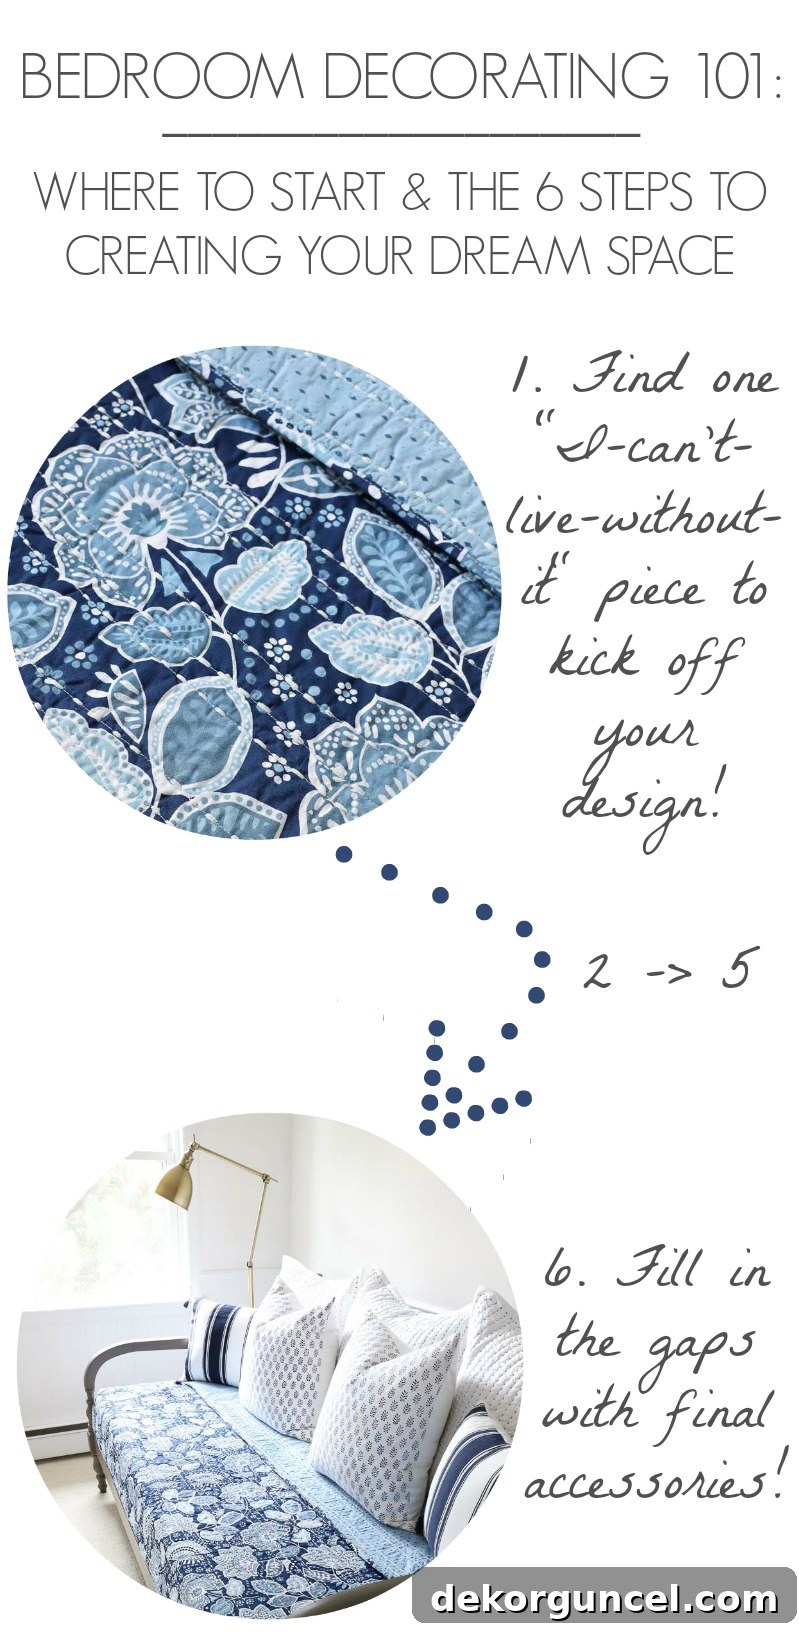
However, you’ll have to stay tuned for the grand reveal to see how all the elements come together (I’m still on the hunt for a few last-minute gems!). I sincerely hope this comprehensive guide has been helpful and empowers you to approach your next bedroom makeover with confidence and excitement. If you’re not currently planning a room transformation, I encourage you to Pin the image below so you can easily find these invaluable tips when the perfect time for your dream bedroom project arrives!
Enjoy creating your beautiful new space and have a wonderful weekend everyone!
XO,


For your convenience, here is a detailed source list of items featured or discussed in this bedroom makeover guide, to help you recreate a similar look or find inspiration for your own project:
Blue Vera Bradley Traveler’s Floral quilt (available in various sizes, twin size shown) | Matching Traveler’s Floral pillow sham | Vera Bradley Cabana Stripe tassel pillow | Blue & white block print pillow covers | White quilted Euro shams with navy stitch detailing | Versatile Daybed frame | Elegant Herringbone wallpaper | Serene Watercolor leafy vine wallpaper | Stylish Brass floor lamp | White pom pom throw – this specific item is no longer available, but {this throw} offers a very similar cozy look and feel.