
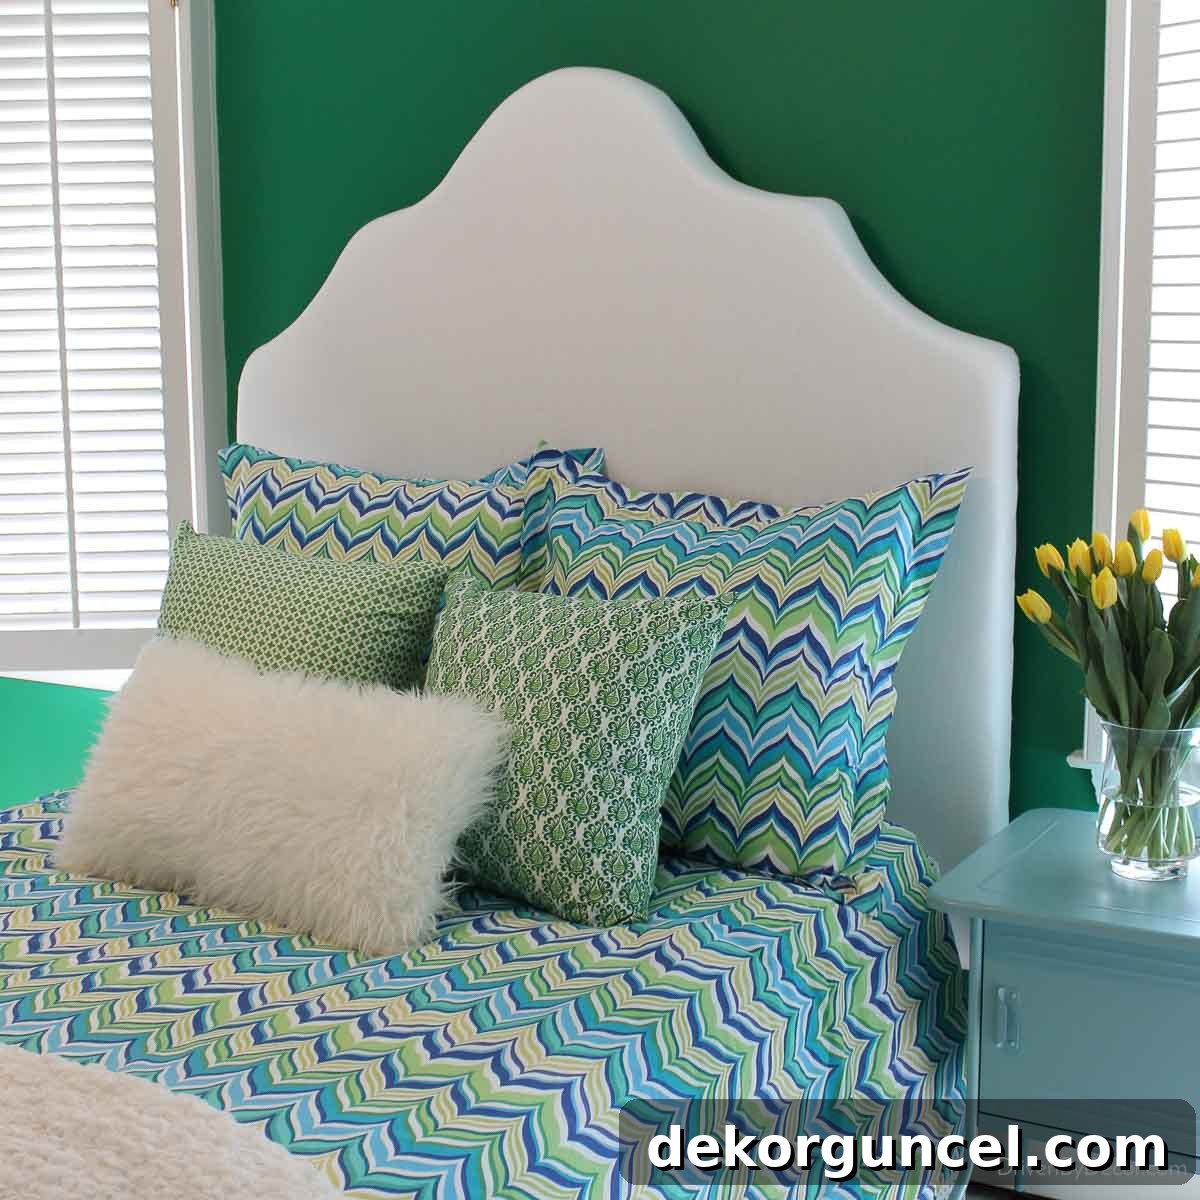
Craft Your Dream Headboard: A Step-by-Step DIY Upholstery Guide
Dreaming of a luxurious upholstered headboard that perfectly complements your bedroom decor? Discover how to create a stunning custom headboard yourself for a fraction of the cost! This detailed guide will walk you through every step, making a high-end look achievable on any budget.
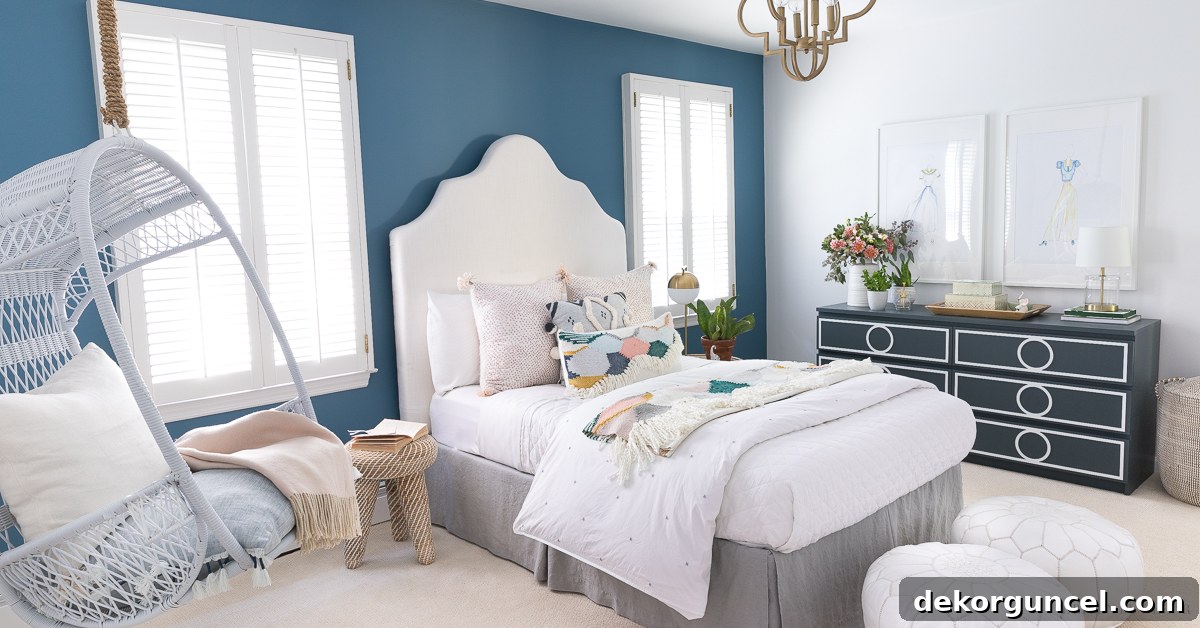
Transforming a bedroom into a personalized sanctuary often starts with a statement piece, and nothing quite elevates a space like a beautifully upholstered headboard. For many, the idea of a custom, designer-quality headboard conjures images of exorbitant price tags—often reaching four figures for even modest designs. This was exactly the dilemma I faced when my daughter envisioned her ideal tween bedroom. Rather than letting budget constraints dictate style, I decided to embark on a rewarding DIY journey to create the upholstered headboard she desired.
What I discovered was a project that, while requiring a bit of time and patience, was surprisingly manageable and incredibly satisfying. The immense satisfaction of crafting something beautiful with your own hands, tailored precisely to your taste and space, is unparalleled. This comprehensive tutorial will demystify the process, demonstrating that anyone can achieve a sophisticated, custom upholstered headboard without breaking the bank. Get ready to unleash your inner designer and bring your bedroom vision to life! (This post includes affiliate links to helpful products, enabling us to continue providing valuable content. For full disclosure details, please refer here.)
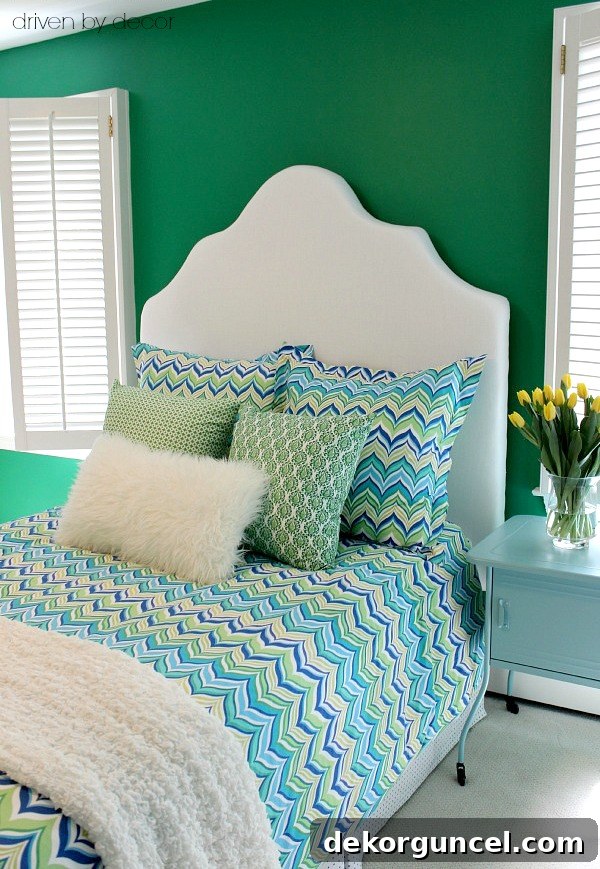
Essential Supplies for Your DIY Upholstered Headboard Project
Before diving into construction, gather all your materials. Having everything on hand will ensure a smooth and efficient crafting process. Here’s a detailed list of what you’ll need to create your custom headboard:
- ½″ MDF or Plywood Sheet: This will form the sturdy base of your headboard. MDF (Medium-Density Fiberboard) offers a very smooth finish ideal for upholstery, while plywood is lighter and more resistant to moisture. Choose based on your preference, budget, and intended environment. Ensure the sheet is large enough for your desired headboard dimensions.
- Jigsaw: Essential for cutting out the headboard’s custom shape. If you don’t own one, consider borrowing from a friend or checking local tool rental services. Some home improvement stores may also offer custom cutting services for complex shapes.
- Mending Plates, Wood Glue, and a 2 x 4 (Optional): These items are only necessary if you plan to create an extra-tall headboard by attaching additional pieces to the base, providing robust reinforcement and stability.
- Rolls of 2″ Upholstery Foam: The key to a plush, comfortable headboard. Accurately measure your headboard’s surface area to determine how many rolls you’ll need. Two-inch thickness provides excellent cushioning without making the headboard overly bulky.
- Spray Adhesive: A strong adhesive is crucial for securely attaching the foam to the MDF/plywood base. Look for a heavy-duty upholstery or craft spray adhesive that promises a lasting, durable bond.
- Fabric and 2-3 Layers of Batting: Select a durable fabric that complements your bedroom’s aesthetic. Consider upholstery-grade fabric for longevity, or explore creative, cost-effective alternatives like curtain panels. Ensure you have enough fabric to cover the entire headboard, plus several inches of overhang on all sides for stapling. Batting adds an extra layer of softness and helps smooth out the foam’s edges, giving a professional, rounded finish.
- Electric Knife: While optional, an electric knife makes cutting upholstery foam incredibly precise and easy, resulting in clean, smooth edges. Regular knives can tear or create uneven cuts.
- Staple Gun and Staples: An indispensable tool for upholstery, used to secure the batting and fabric to the headboard base. An electric staple gun can significantly reduce hand fatigue, especially for larger projects.
- French Cleat Picture Hanger: This robust hanging system provides secure and level mounting for your finished headboard. It efficiently distributes weight and simplifies the wall installation process.
- Measuring Tape and Pencil: For accurate measurements and marking during the design and construction phases.
- Safety Gear: Always wear safety glasses when operating power tools like a jigsaw, and consider gloves when using spray adhesive to protect your hands and eyes.
Step 1: Prepare Your Headboard Base – MDF or Plywood Selection
The foundation of your DIY upholstered headboard begins with a sturdy board. Head to your local home improvement store, such as Lowe’s or Home Depot, and purchase a ½″ sheet of MDF or plywood. I personally opted for MDF due to its incredibly smooth surface and uniform consistency, which creates an excellent base for upholstery projects. When determining the ideal size, consider the width of your bed (twin, full, queen, king) and your desired headboard height. A standard headboard typically extends a few inches beyond the width of the mattress on each side to create a balanced look. For example, for a queen-sized bed, you might aim for a headboard width of around 62-64 inches. The initial height will depend on your desired final aesthetic, but remember you can always add to it in Step 4 if you want a taller design. Many stores offer the convenience of cutting the sheet to your precise width specifications for free, saving you the hassle of handling large pieces at home. Make sure to keep any leftover scrap pieces; they might prove incredibly useful for extending the headboard’s height later on!
Pro Tip for Measurements: Before making any cuts, carefully measure your bed frame and the space in your room. Visualize the headboard in place to ensure your chosen dimensions are proportionate to your bed and fit comfortably within the room’s layout. Always double-check your measurements to ensure a perfect fit.
Step 2: Design Your Headboard – Trace the Outline
Now comes the truly creative part: shaping your custom headboard. Lay your MDF or plywood sheet flat on a large, clean surface, ensuring it’s stable. Using a measuring tape and pencil, draw a precise line down the exact center of your board, from top to bottom. This centerline is absolutely crucial for ensuring perfect symmetry in your design. Next, sketch out your desired headboard shape. If you’re aiming for a classic arched top, like the one I created, here’s a simple trick: find a large circular object (like a dinner plate, a bucket lid, or use a large compass) and place it at the top center of your board, aligning it meticulously with the centerline. Trace half of the circle to create the top curve. From this elegant base, you can then draw the rest of your headboard’s side contours, connecting them smoothly to the bottom edge. For straight-edged designs, simply mark your desired height and width directly.
Design Inspiration: Don’t limit yourself to just arches! Consider other popular headboard shapes that can dramatically change your bedroom’s ambiance: a gentle camelback curve, elegant winged sides for a touch of drama, or even a simple rectangular modern design for a minimalist look. You can find numerous templates online for inspiration, or simply freehand a unique shape that speaks to your personal style. Remember, this is your chance to create a truly one-of-a-kind piece that reflects your personality!
Step 3: Precision Cutting – Bring Your Design to Life
With your design meticulously traced, it’s time to bring your vision to life by cutting out the headboard shape. This is where your jigsaw becomes your best friend. Carefully cut along one half of your traced design, following the lines as precisely as possible. Once one half is perfectly cut, you’ll use this piece as an invaluable template to ensure perfect symmetry. Flip the cut-off piece over and align it precisely with the centerline on the uncut side of your board. Trace around it, then use your jigsaw to cut out the second half. This clever method guarantees a mirror image, resulting in a beautifully balanced and symmetrical headboard. If you’re not comfortable operating a jigsaw, consider asking a handy friend or a professional for assistance—my friend had the entire shape cut out in under ten minutes! Always wear safety glasses when using power tools to protect your eyes.
Jigsaw Handling Tips: If you’re new to using a jigsaw, it’s wise to practice on a scrap piece of wood first to get a feel for the tool. Go slowly and maintain a steady, firm hand to achieve clean cuts. For intricate curves, consider using a jigsaw blade specifically designed for curved cuts. Always ensure the wood is securely clamped to your workbench to prevent any movement during cutting, which can lead to inaccuracies or potential accidents.
Step 4: Elevate Your Design – Creating an Extra-Tall Headboard (Optional)
For those who adore the dramatic flair and commanding presence of an extra-tall headboard, this optional step is a game-changer. If your initial MDF or plywood sheet isn’t tall enough to achieve your desired height, simply repurpose the scrap pieces you saved from Step 1. Cut these scraps into strips that match the width of your headboard and are sized to add the desired extra inches. For instance, I added 6 inches to my daughter’s headboard, piecing together two smaller scraps to span the entire width. Do not worry about minor imperfections or how these extension pieces look; they will be completely concealed by the layers of foam, batting, and fabric, creating a seamless finish.
Secure these additional pieces to the bottom of your main headboard with a strong wood glue and reinforce them thoroughly using mending plates on both the front and back. This ensures a robust, stable, and long-lasting connection. Before you get too carried away with adding height, remember to carefully measure your doorways and staircases! You’ll want to ensure your magnificent new headboard can actually make it into the room where it belongs without any frustrating logistical challenges. A little foresight here can save a lot of frustration later on.
Reinforcement Best Practices: Apply a generous and even amount of wood glue along the edges where the pieces meet, then position the mending plates strategically for maximum strength. Use screws that are appropriate for the combined thickness of your MDF/plywood to prevent them from protruding through the front surface. Allow the glue to dry completely according to the manufacturer’s instructions before proceeding to the next steps.
Step 5: Create Depth – Adding a Wood Spacer (Optional)
While many DIYers can comfortably skip this step, it’s a clever and practical solution for specific design needs and one that I haven’t seen addressed often in tutorials. In my daughter’s bedroom, windows flanked the bed on either side, and I planned to install drapes. To allow the drapes to fall gracefully behind the headboard rather than being squashed or impeded, I needed to create a few inches of space between the headboard and the wall. My solution was to attach two 2×4 wood boards to the back of the headboard – one positioned about a third of the way down from the top and another approximately 8-10 inches from the bottom. These boards effectively act as spacers, ensuring the headboard stands proud of the wall, allowing ample room for the drapes.
To securely attach these spacer boards, choose screws that are slightly shorter than the combined depth of your MDF/plywood and the 2×4 board. This critical detail prevents the screws from protruding through the finished front surface of your headboard. Screw them in from the front of the headboard into the spacer boards, ensuring a strong and stable attachment. This simple addition creates a custom, built-in look and cleverly solves practical design challenges, allowing your drapes to hang beautifully and your headboard to appear more substantial and thoughtfully integrated into the room’s design.
Considerations for Spacers: Beyond accommodating drapes, spacers can also prove invaluable for other scenarios. They can be useful for concealing electrical outlets behind the bed, compensating for uneven wall surfaces, or simply to add a sense of architectural depth and dimension to your headboard, making it a more prominent focal point. The thickness of your chosen spacer boards will directly determine how far your headboard sits off the wall, so plan accordingly based on your specific needs and desired aesthetic.
Step 6: Secure Mounting – Install the Hanging Hardware
Congratulations! Your headboard’s base is now perfectly prepped, shaped, and ready for its transformation. Before you begin the exciting upholstery process, it’s the ideal time to install the hanging hardware. This makes the job significantly easier as the board is considerably lighter and more manageable to handle without the added bulk and weight of foam and fabric. Carry your soon-to-be upholstered headboard into its designated room and determine the ideal hanging height. A popular and aesthetically pleasing choice is to align the bottom of the headboard with the top of your box spring, but this is ultimately a personal preference that can vary based on your mattress height and desired visual impact.
Smart Tip: Installing hanging hardware *before* upholstery prevents any potential damage or dirtying of your pristine fabric and allows for easier maneuvering of the lighter board. Plus, you can easily mark and drill without worrying about snagging or tearing any delicate material.
Based on a smart recommendation from my friend Lisa, I opted for a French cleat hanger system to mount the headboard securely to the wall. French cleats are renowned for their strength, reliability, and ease of installation, efficiently distributing the headboard’s weight evenly across the wall. The system consists of two interlocking parts: one piece screws directly into the wall, and the other attaches to the back of your headboard. The wall-mounted cleat typically features multiple screw holes along its length, allowing you to easily find and secure it into wall studs for maximum stability and safety.

Many French cleat kits even come with a small built-in level, simplifying the process of mounting it perfectly straight. Once the wall piece is securely fastened, the corresponding part is screwed onto the back of your headboard (if you added spacers in Step 5, attach it to the spacer board for a perfectly flush look). The two pieces then seamlessly slide and lock together, providing a sturdy, virtually invisible hanging mechanism for your DIY upholstered headboard. You can find a similar high-quality French cleat system here.
Alternative Mounting Options: While French cleats offer superior stability, other mounting methods exist. You could attach sturdy legs to the bottom of your headboard that sit between your mattress and frame, or use heavy-duty D-ring hangers for a lighter headboard, though these often require more precise measuring for level installation.
Step 7: The Plush Factor – Covering Your Headboard with Foam
Now for the truly “upholstered” part of your headboard! It’s time to add the plush comfort and luxurious feel of foam. I highly recommend using 2-inch thick upholstery foam, readily available in rolls, similar to these options. The quantity you’ll need will depend on the precise dimensions of your headboard and the length of the foam rolls; typically, two to three rolls suffice for most standard bed sizes. Roll out your foam on a large, flat, and clean surface, place your meticulously cut headboard base on top, and carefully trace its exact shape onto the foam.

Once traced, use an electric knife, such as this highly effective tool, to cut the foam along your traced lines. An electric knife makes remarkably smooth and clean cuts through upholstery foam, far superior to what you can achieve with scissors or a utility knife, preventing jagged edges and ensuring a professional, even finish. After the foam is perfectly shaped, apply a generous and even layer of spray adhesive (like 3M’s 77 Super Adhesive Spray, found here) to the MDF or plywood surface. Carefully position the cut foam onto the adhesive, pressing down firmly to ensure a strong, bubble-free bond across the entire surface. Allow the adhesive to set according to the manufacturer’s instructions.
Foam Selection & Application Tips: For maximum comfort and durability, consider a medium-density upholstery foam. When applying spray adhesive, always work in a well-ventilated area to avoid inhaling fumes, and follow the manufacturer’s instructions for optimal curing time. Ensure full and even coverage of the MDF to prevent any loose spots in the foam that could create an uneven surface.
Step 8: Smooth Finish – Layering with Batting
With the foam securely attached to your headboard base, the next crucial step is to add two to three layers of batting. Batting serves several important purposes: it creates a beautifully smoother transition over the foam edges, adds an extra touch of softness and luxurious comfort, and crucially, protects your chosen upholstery fabric from direct contact with the foam, which can sometimes degrade fabric over time. Lay the batting evenly over the foam-covered front of your headboard. Ensure it drapes over all edges with a few inches to spare on each side, providing ample material for stapling.

Now, flip the headboard over so the batting-covered side is facing down. Begin stapling the batting to the back edge of the MDF/plywood, starting from the center of one side and working your way outwards. As you staple, pull the batting tautly and evenly, ensuring there are no wrinkles, bumps, or slack on the front surface of the headboard. Work your way around the entire perimeter, paying close attention to corners and curves, where you might need to make small relief cuts in the batting to allow it to lay flat without bunching. While heavy-duty staplers are often recommended for upholstery, I found that a light-duty electric stapler worked perfectly for this project. Its ease of use allowed me to quickly secure the batting and fabric, and conveniently, staples were simple to remove if I needed to adjust for a tighter pull or correct a wrinkle.
Batting Tips: For a truly plush and cushioned feel, you can certainly add an extra layer or two of batting. Polyester batting is commonly used for its loft, resilience, and hypoallergenic properties. Always ensure your staples are fully embedded into the MDF to prevent them from catching on the final fabric layer or creating any snags.
Step 9: The Grand Finale – Covering with Fabric
With the batting securely in place, it’s time for the exciting step of adding your chosen fabric. This is where your headboard truly begins to take on its unique personality and visual appeal! Lay your fabric over the batting-covered headboard, ensuring it’s perfectly centered and positioned exactly as you want it. If your chosen fabric isn’t wide enough to cover the entire headboard in one seamless piece, you’ll need to carefully seam pieces together beforehand. A fantastic and incredibly budget-friendly tip is to use fabric window panels, especially if you’re looking for a specific color or texture at a significantly lower cost per yard. I personally utilized white cotton Target window panels, which were incredibly economical and offered a chic, clean, and versatile look.

Just like you did with the batting, flip the headboard over and begin stapling the fabric securely to the back of the MDF/plywood. Start in the middle of each side and work your way outwards, pulling the fabric tautly and evenly as you go. This meticulous attention to tension is critical for preventing any wrinkles, puckers, or sagging on the front and visible sides of your headboard. Take your time during this process, constantly checking the front to ensure a smooth, professional, and flawless finish. You might find yourself removing and re-stapling a few times, especially in the initial stages, to achieve maximum tautness and eliminate any fabric imperfections. Precision here makes all the difference in the final aesthetic.
Expert Tip for Curves: When you reach the curved areas of your headboard, cut small slits into the excess fabric on the back side. This clever technique allows the fabric to conform smoothly to the curve without bunching or creating bulk, enabling you to pull it as tightly as possible for a perfectly tailored finish. For an extra neat appearance, fold the raw edges under neatly before stapling them into place.
Fabric Selection Guide: Consider the durability of your chosen fabric for daily use; upholstery-grade fabrics like linen, velvet, or performance fabrics are popular choices for headboards due to their resilience and aesthetic appeal. If using a patterned fabric, ensure your pattern repeat is accounted for and that it’s perfectly centered before you begin stapling. It’s always a good idea to buy a little extra fabric, just in case!
Step 10: The Grand Reveal – Hang Your Custom Headboard!
The exciting moment you’ve been working towards has finally arrived! With your hanging hardware already securely in place from Step 6, installing your beautiful, finished DIY upholstered headboard is incredibly straightforward. Simply lift your headboard and align the two perfectly interlocking parts of the French cleat system. The headboard piece will effortlessly slide onto and lock into the wall-mounted cleat, creating a secure, stable, and remarkably robust attachment. Step back, take a moment, and admire your handiwork – you’ve successfully created a stunning, custom piece of bedroom furniture that perfectly reflects your style!
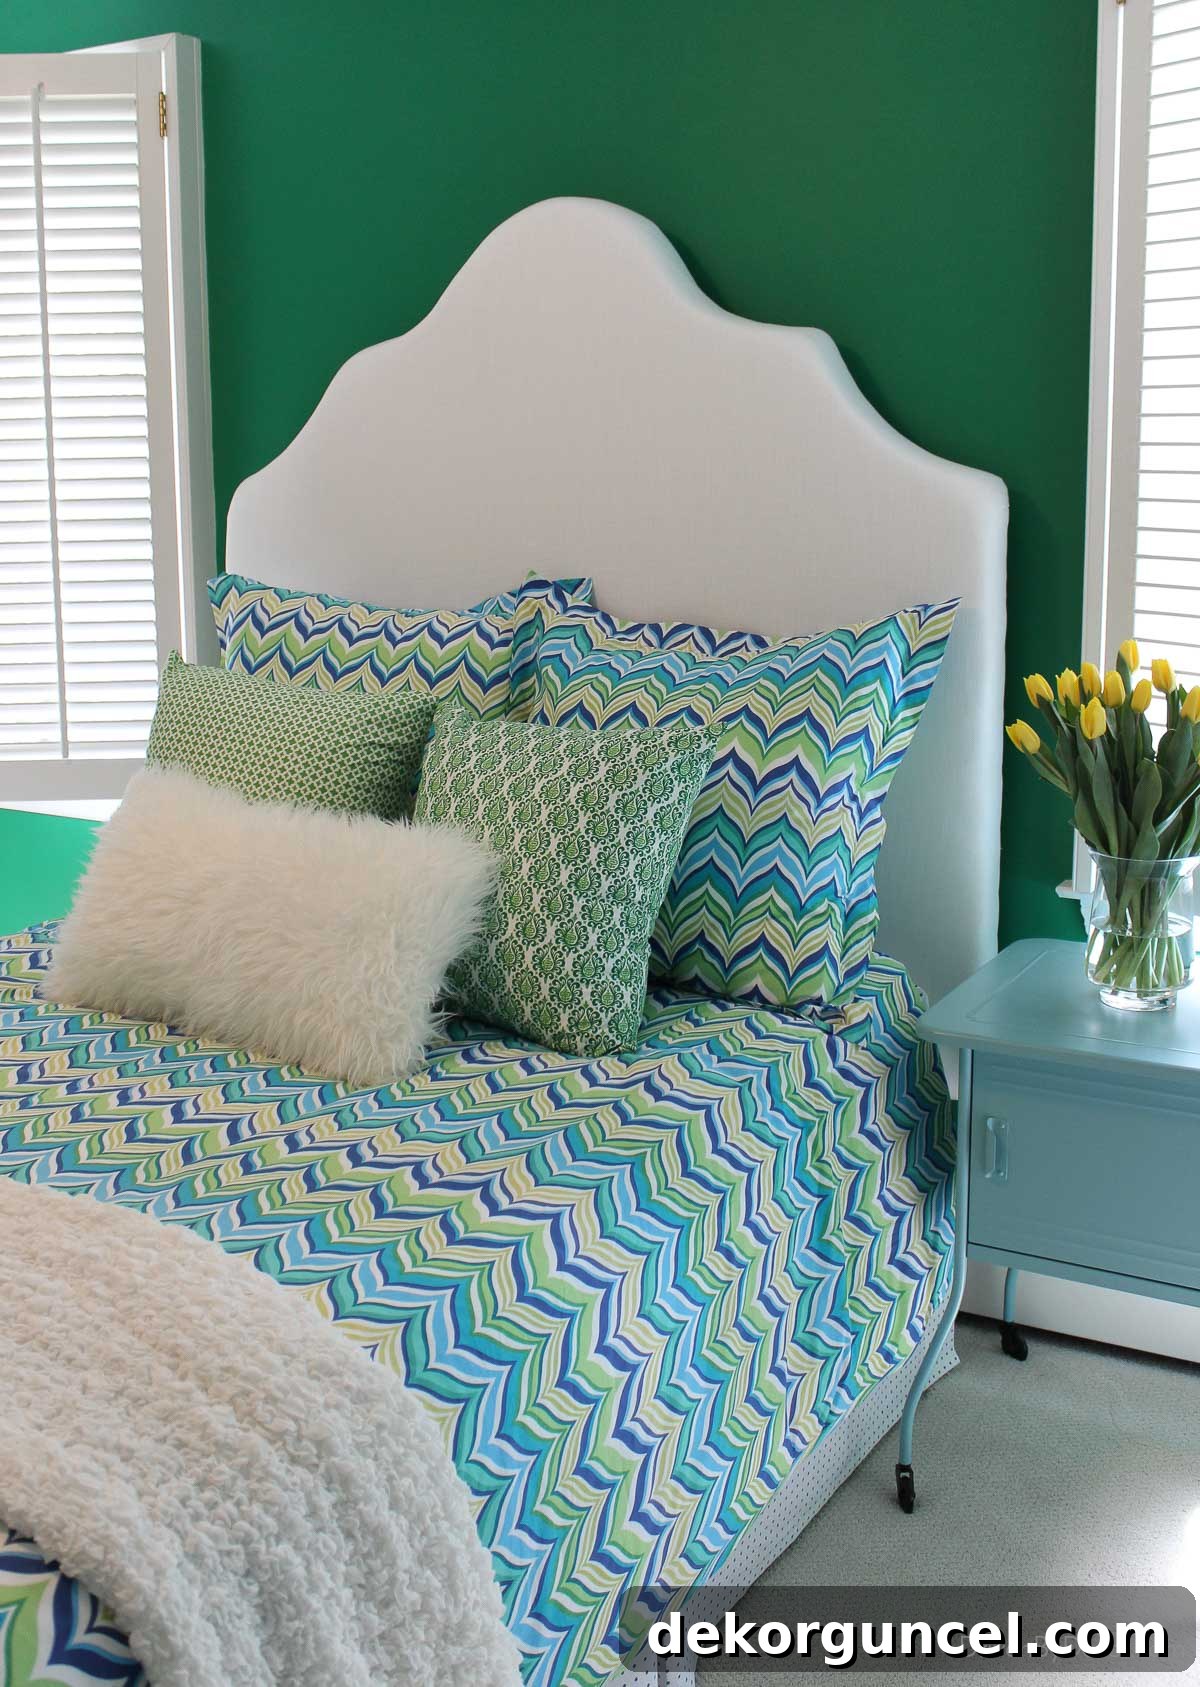
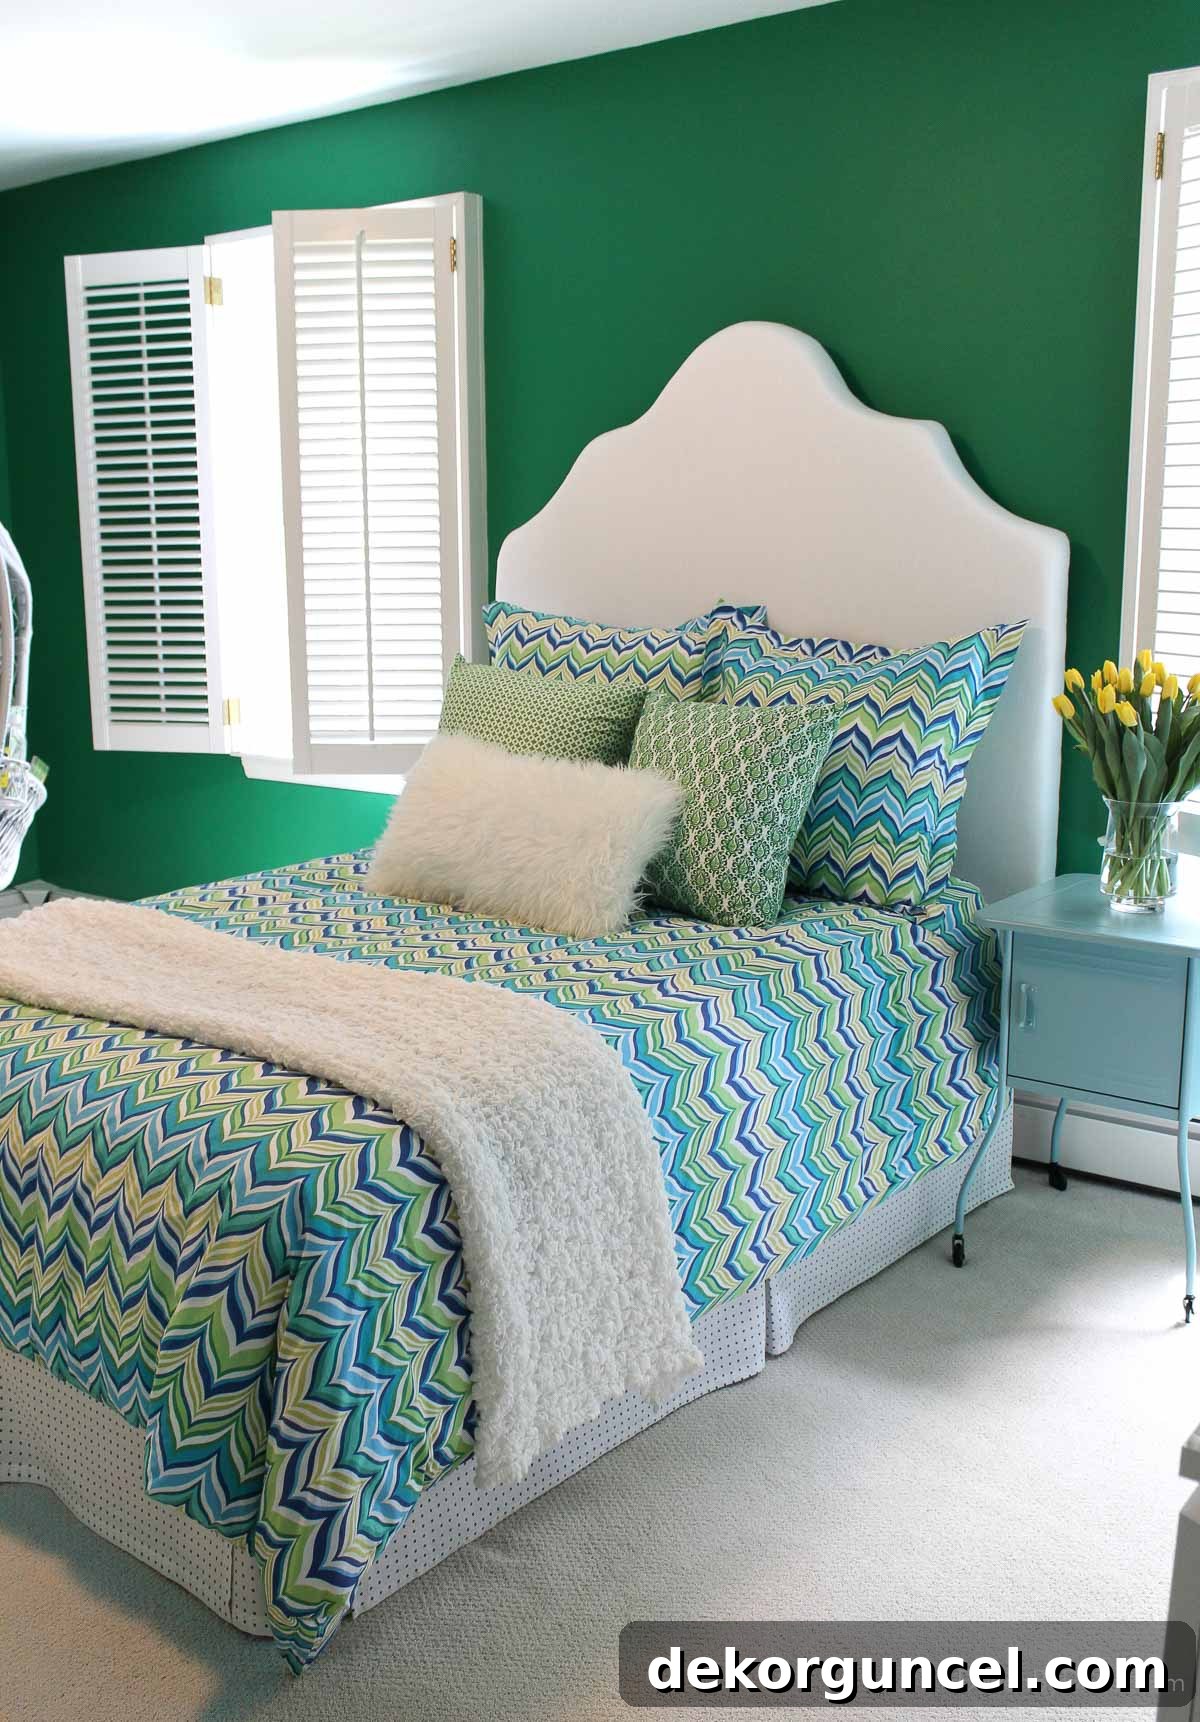
Update! It’s wonderful to see how versatile and enduring this DIY upholstered headboard truly is. Several years after its initial creation, we decided to refresh this room with a completely new aesthetic. The headboard seamlessly adapted to the updated space, proving its timeless design and exceptional durability. You can explore all the details and see exactly how it fits into the new decor in my post about her boho bedroom colors.
Thank you for joining me on this creative journey! Crafting your own upholstered headboard is a deeply satisfying project that delivers a high-end, designer look without the high-end price tag. It’s an investment in your home that beautifully combines personal style with practical savings. If you’ve enjoyed this detailed tutorial, I encourage you to explore my other favorite DIY home projects to continue enhancing your living space with unique, handmade touches!
