
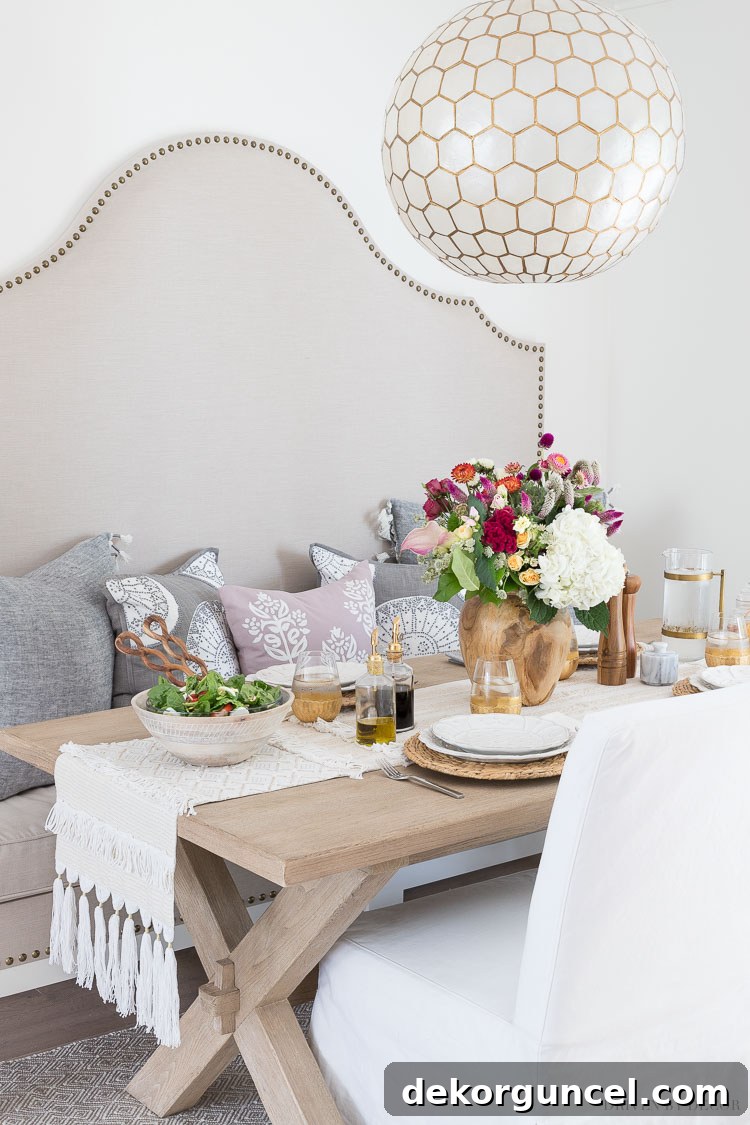
Transforming Our Kitchen Breakfast Nook: A Journey of Style and Functionality
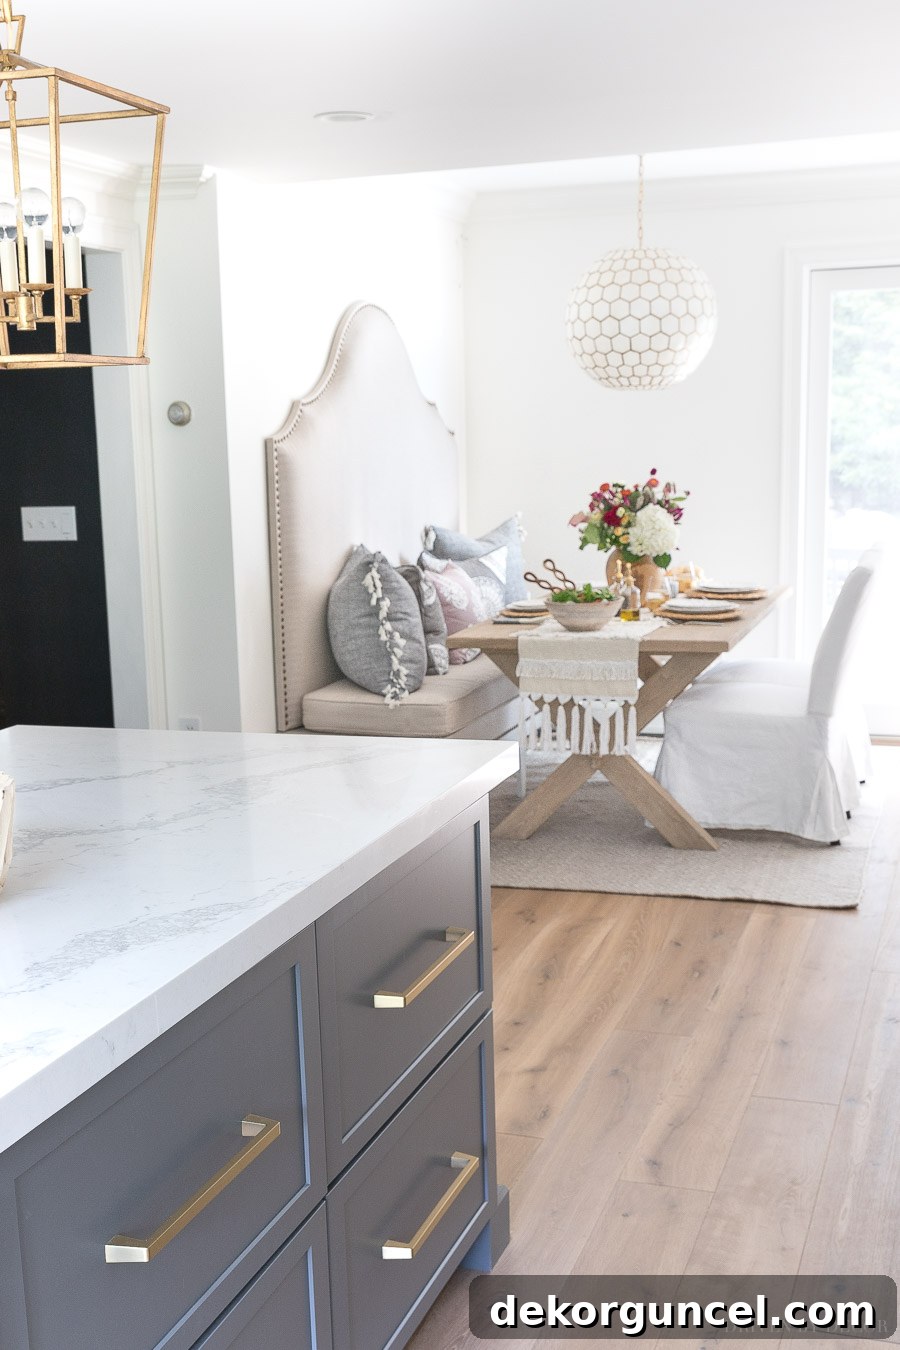
Our home renovation journey began with a significant kitchen remodel, but the transformation didn’t stop there. We also dedicated considerable effort to revitalizing our adjoining breakfast nook, an area that, despite its charm, presented unique challenges due to our home’s historic and “added-on” nature. Our house, an older property, boasts a rather unconventional layout, a testament to its evolution through various additions over the years, long before we called it home. One such addition is this very kitchen breakfast nook, seamlessly connecting to the main kitchen space. You might notice the short wall to the left, adorned with what used to be our antiquated thermostat. This wall once marked the original back of the house, making us incredibly fortunate that a previous owner envisioned and executed the expansion, creating this valuable extra space for dining and gathering.
Addressing the Foundation: Leveling Up Our Breakfast Nook Floor
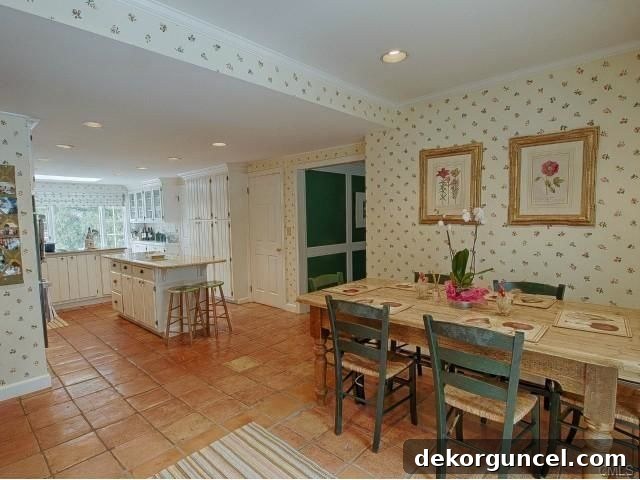
While we were grateful for the additional space, the breakfast nook wasn’t without its quirks. A significant issue was the uneven flooring where the nook met the main kitchen area. A notorious row of unlevel red saltillo tiles created a consistent tripping hazard, making the transition between spaces not only unsightly but also unsafe. As an integral part of our comprehensive kitchen renovation, achieving a perfectly level floor throughout both areas became a top priority. This seemingly simple desire triggered a much larger undertaking: an excavation crew had to be brought in to jackhammer out the entire concrete slab of our breakfast nook. Witnessing the rubble being loaded onto a conveyer belt, right where our kitchen table would eventually stand, truly highlighted the scope of our project.
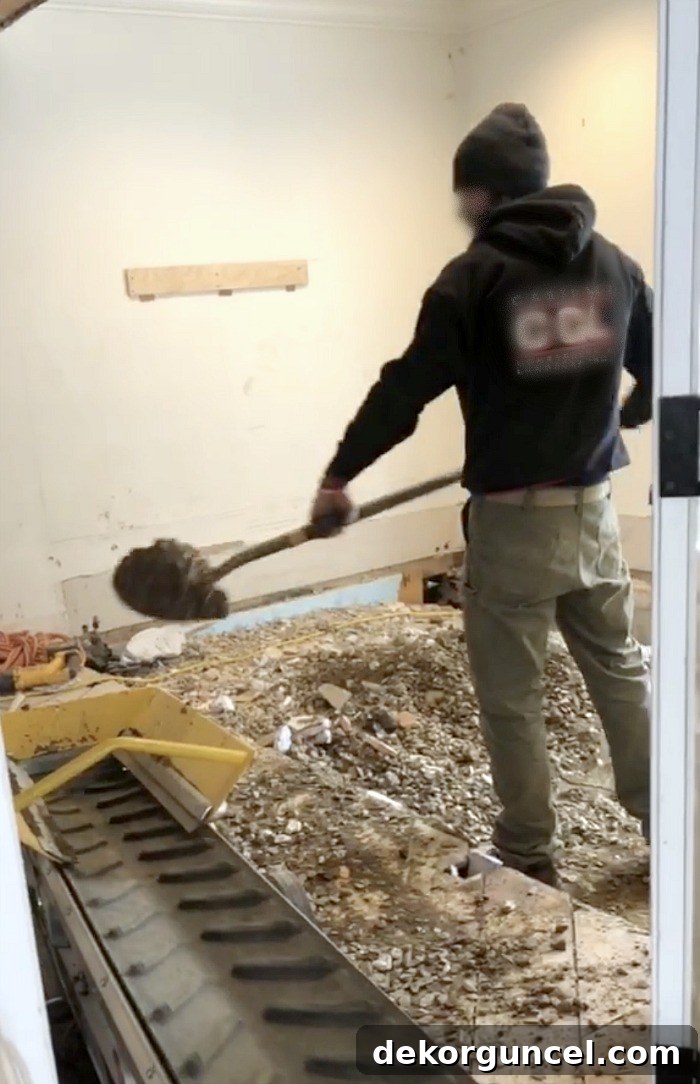
Reflecting on that intense period, I often wonder how we navigated the chaos of such a demanding renovation. Yet, we persevered, and the dramatic “before and after” transformation speaks for itself. The same view, just six months later, now presents a picture of serene sophistication:
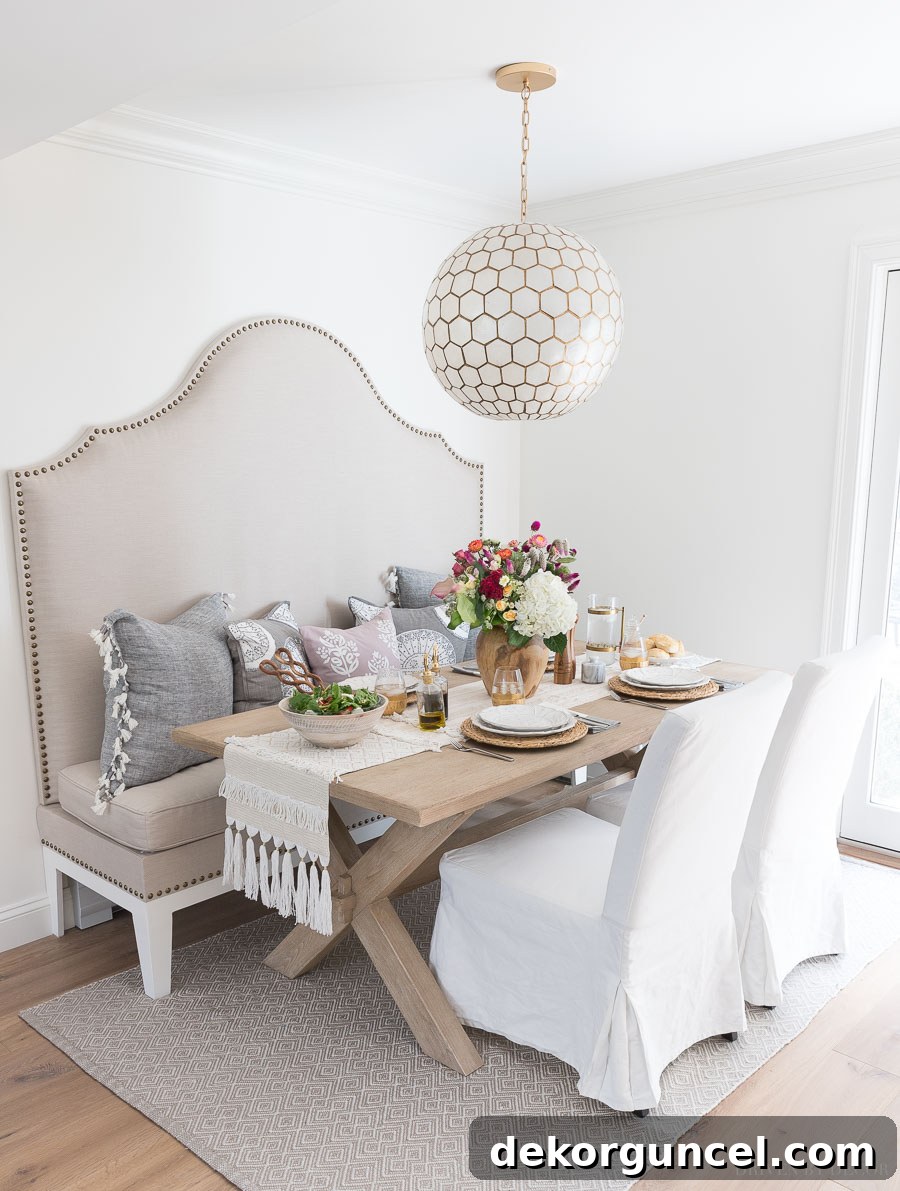
Our persistence paid off immensely. Not only are the floors now perfectly level, but the problematic red saltillo tile has been replaced with beautiful engineered hardwoods. These stunning floors (for more details, you can read my post on our Hallmark wood floors) seamlessly extend from the main kitchen area directly into the breakfast nook, creating a unified flow and, most importantly, eliminating any potential tripping hazards. This crucial change laid the groundwork for the entire space’s aesthetic and functional uplift.
A Glimpse into the Past: Before the Floor Transformation
For those who might have forgotten the original state, here’s a “before” photograph of both our kitchen and breakfast nook from when we first purchased our home. It clearly illustrates the dated tile and overall aesthetic we were eager to leave behind:
Crafting the Perfect Dining Space: Table, Seating, and Ambiance
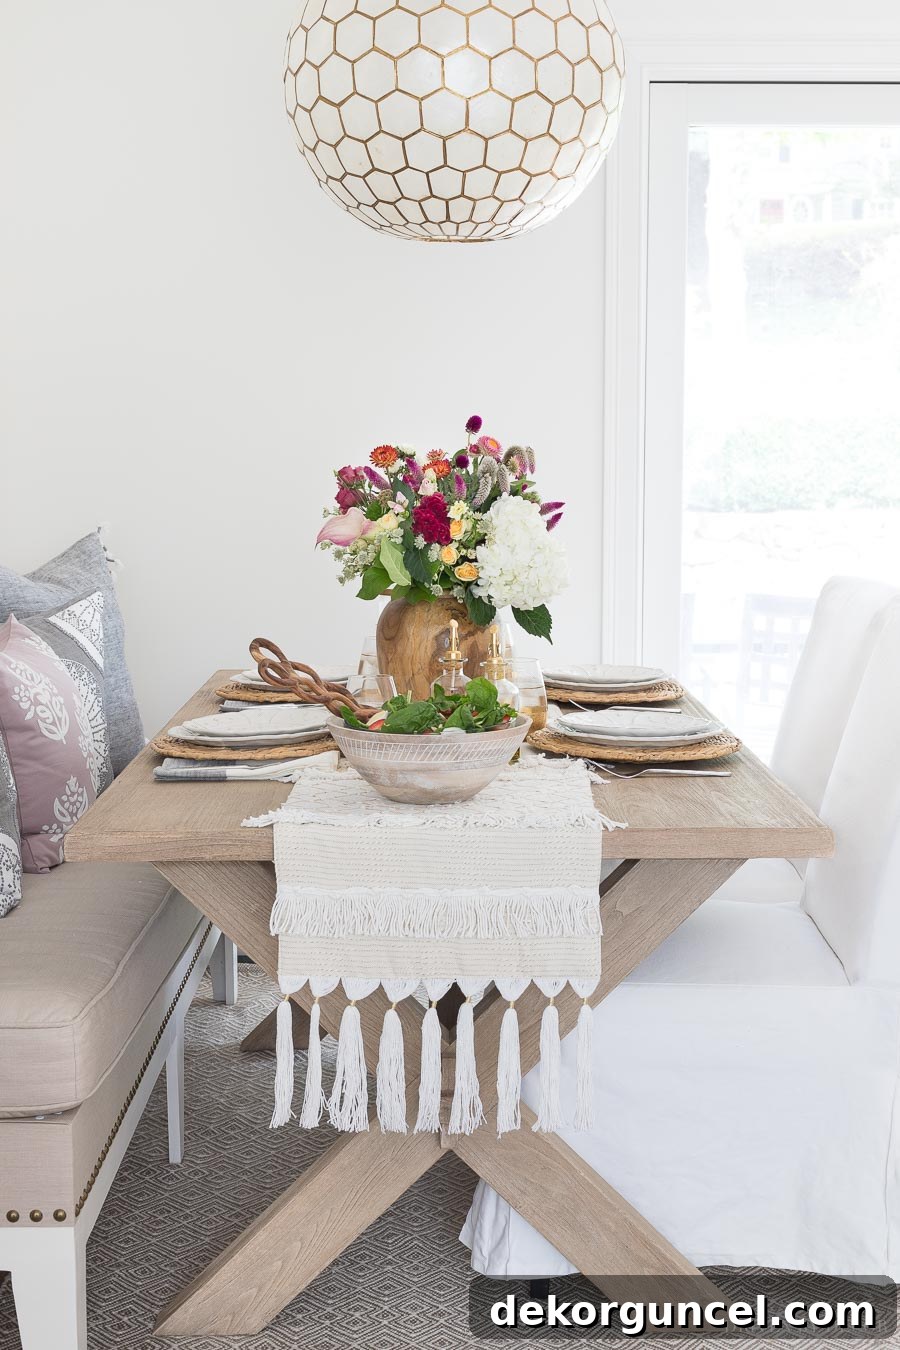
Beyond the flooring, we also embarked on a table refresh. Our previous kitchen table, while functional, felt a bit too “chunky” for the newly streamlined and airy feel of the renovated space. To make way for a more contemporary design, we decided to sell our old office desk – finally parting with my last piece of mahogany furniture, a truly satisfying moment! Our old kitchen table found a new purpose in our home office, where its style fit perfectly. The quest for a new kitchen table was a thoughtful process. It had to be a trestle table, a necessity to comfortably accommodate our existing banquette seating, and I was also determined to keep the cost reasonable. After extensive searching, I finally selected {this elegant wood trestle table}, which has proven to be a beautiful and harmonious addition to the nook. If you’re also searching for the ideal dining table, you might find inspiration in my post detailing my top ten favorite trestle dining tables.
To ensure its longevity and protect its natural beauty without altering its color, I waxed the tabletop. This protective measure is essential for any heavily used surface, especially in a dining area. For a detailed guide on how to maintain your own wood furniture, check out my post on how to protect a wood table.
Adding Warmth and Light: Rugs and Overhead Lighting
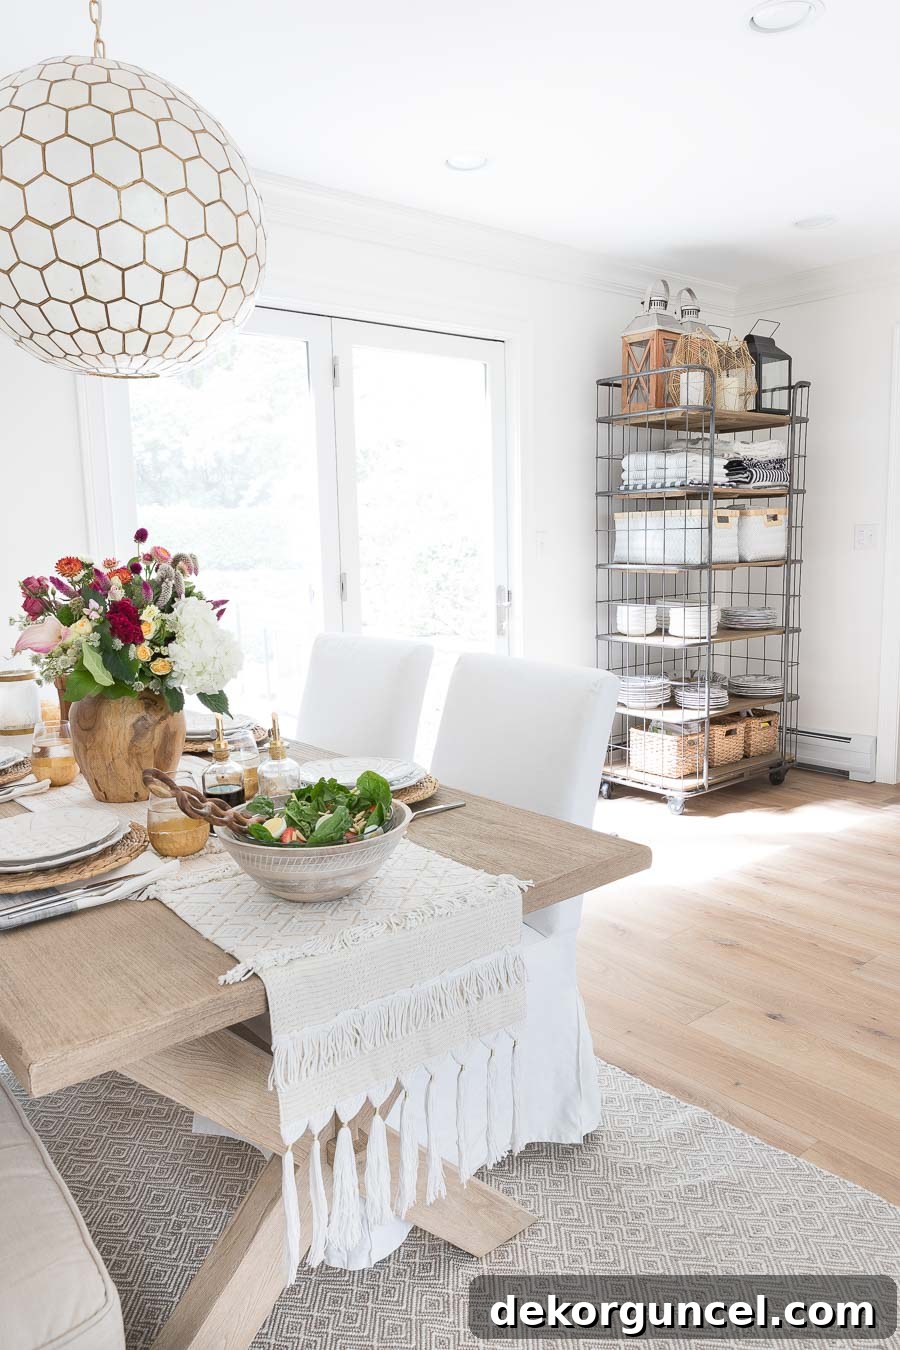
With the new wood flooring, I realized we needed something to break up the “wood on wood” aesthetic and introduce a layer of softness. While we hadn’t used a rug under the kitchen table before, it became a crucial element this time. I was so captivated by the rug we had by our kitchen sink that I decided to purchase it in a larger size specifically for under our dining table (you can find it {here}). Its appealing pattern and, more importantly, its indoor/outdoor versatility make it incredibly easy to clean, a significant advantage in a busy eating area prone to spills and stains.
Lighting was another key upgrade. Previously, the breakfast nook relied solely on recessed can lighting, which lacked the warmth and focal point we desired. During the renovation, I had our electrician wire the space for a new light fixture directly above the kitchen table. My choice, {this elegant capiz honeycomb pendant} from Serena & Lily (mine is the 22.5″ D version), instantly transformed the space. Its beautiful design and the subtle gold honeycombs perfectly echo other gold accents throughout our main kitchen area, including {these gold pendants over our island}, {these pulls on our cabinet doors}, and {these pulls on our cabinet drawers}, creating a truly cohesive and inviting atmosphere.
Maintaining Comfort and Style: Banquette and Chairs
My DIY banquette seating remained a cherished feature, a testament to the hard work put into its creation – there was simply no way I was parting with it! To refresh its look and enhance its comfort, I simply updated it with some inviting new pillows, adding a touch of softness and renewed charm.
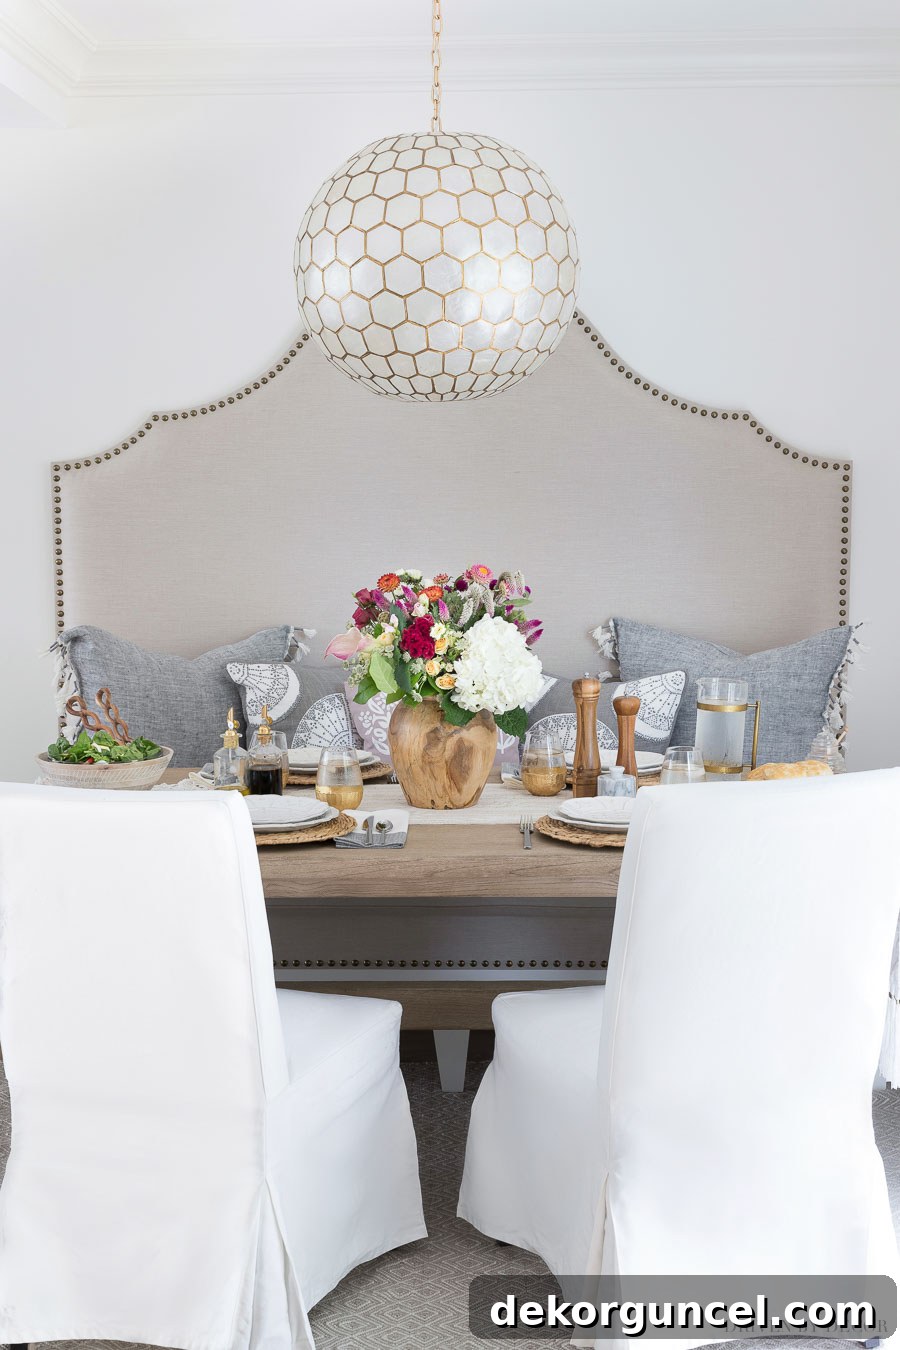
Opposite the banquette, we have two IKEA HENRIKSDAL chairs, beautifully dressed in long white slipcovers. Although IKEA no longer carries this specific model, they are quite similar to {these slipcovered dining chairs} available elsewhere. The slipcovers offer both a stylish aesthetic and practical ease of cleaning, a must-have for any dining area.
Elevating Tabletop Decor: Thoughtful Accessories
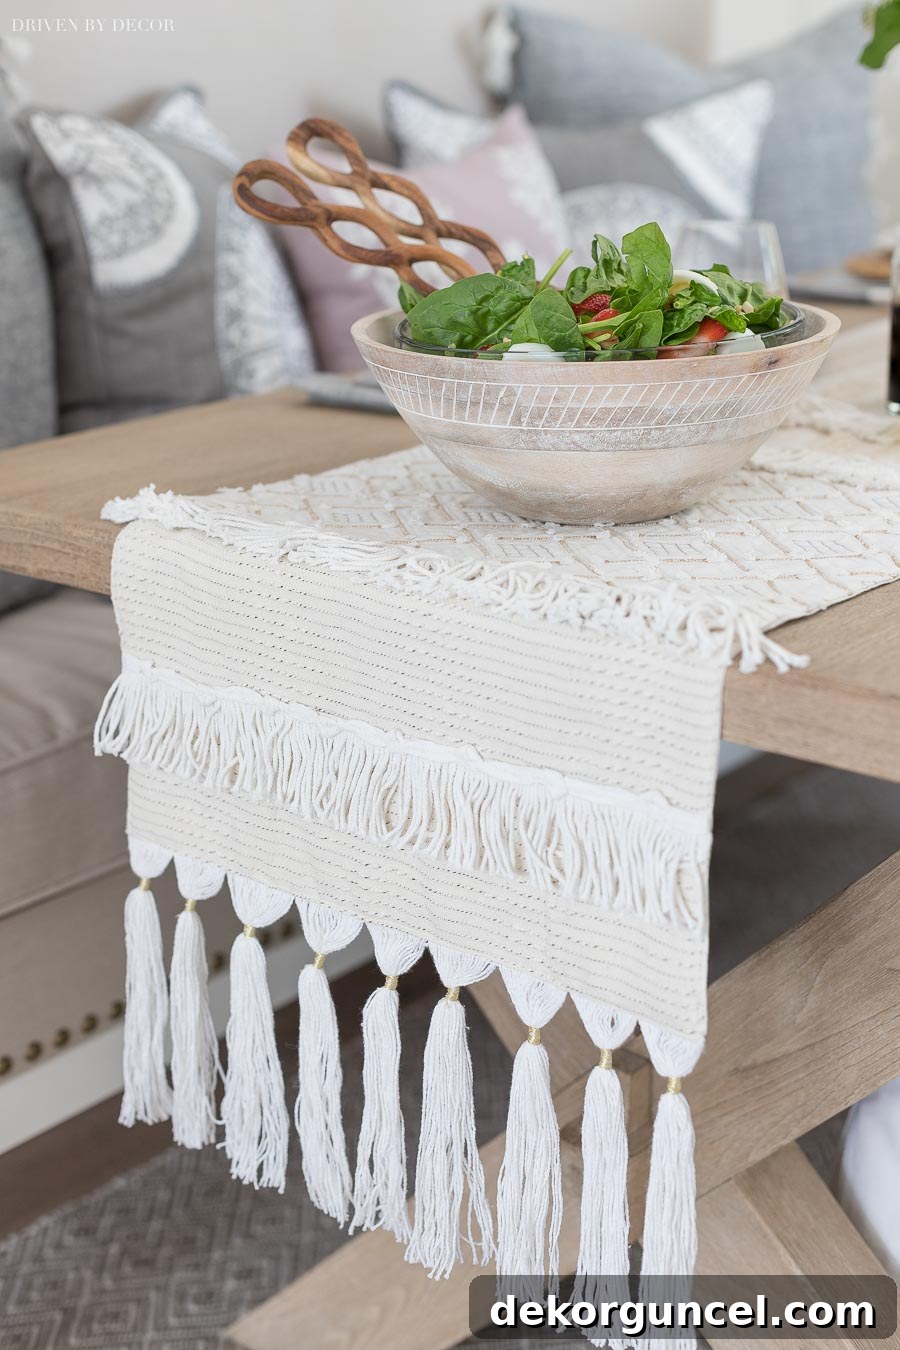
To complete the look, I introduced a selection of new accessories to our table, bringing natural textures and a touch of sophistication. This included a beautiful wood vase filled with fresh flowers (though I plan to swap them for high-quality faux flowers once these fade), and a neutral, textured table runner. These elements work together to create an inviting and visually appealing tablescape that feels both elegant and approachable.
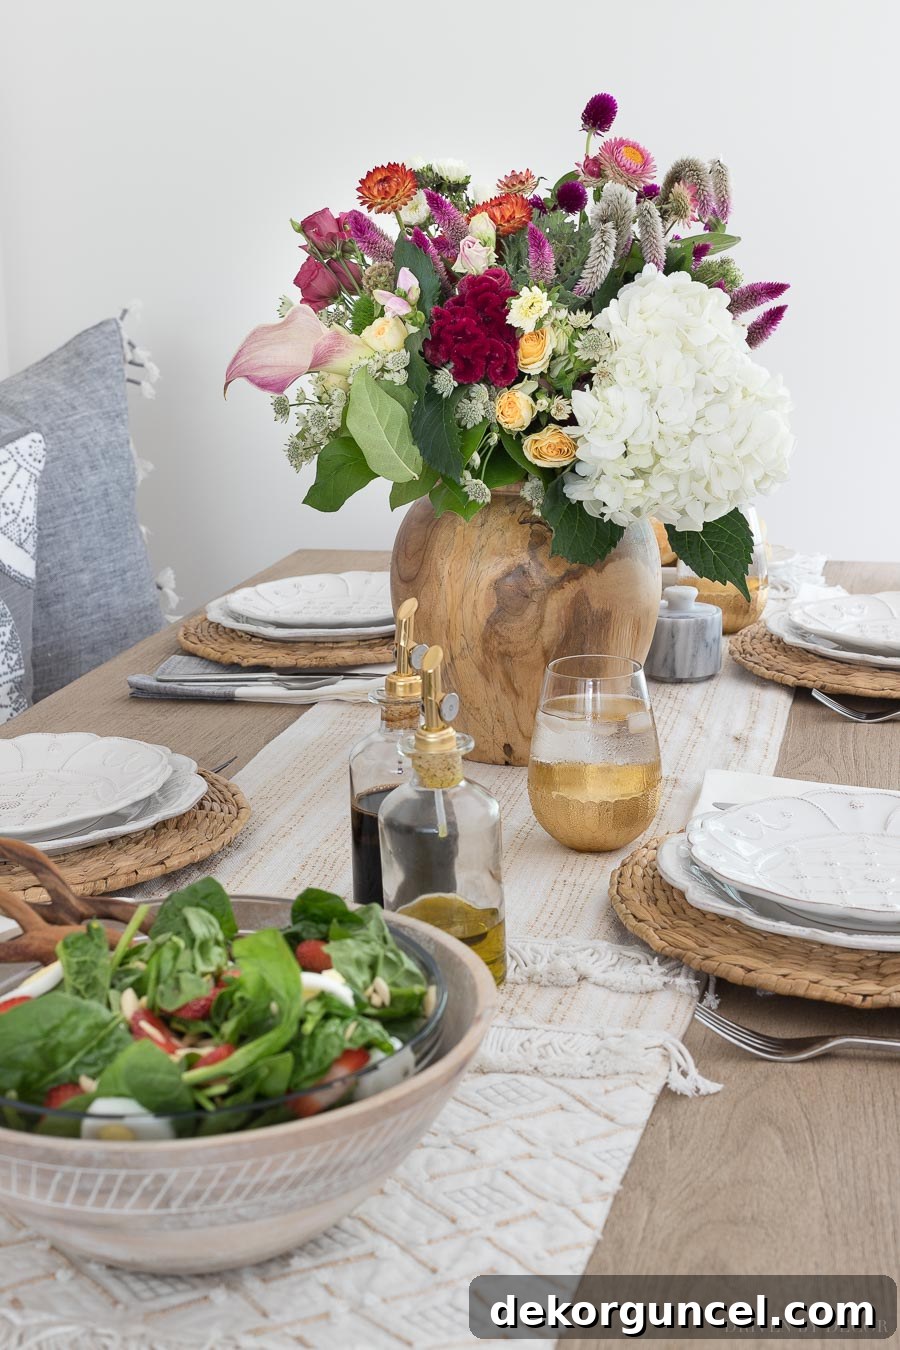

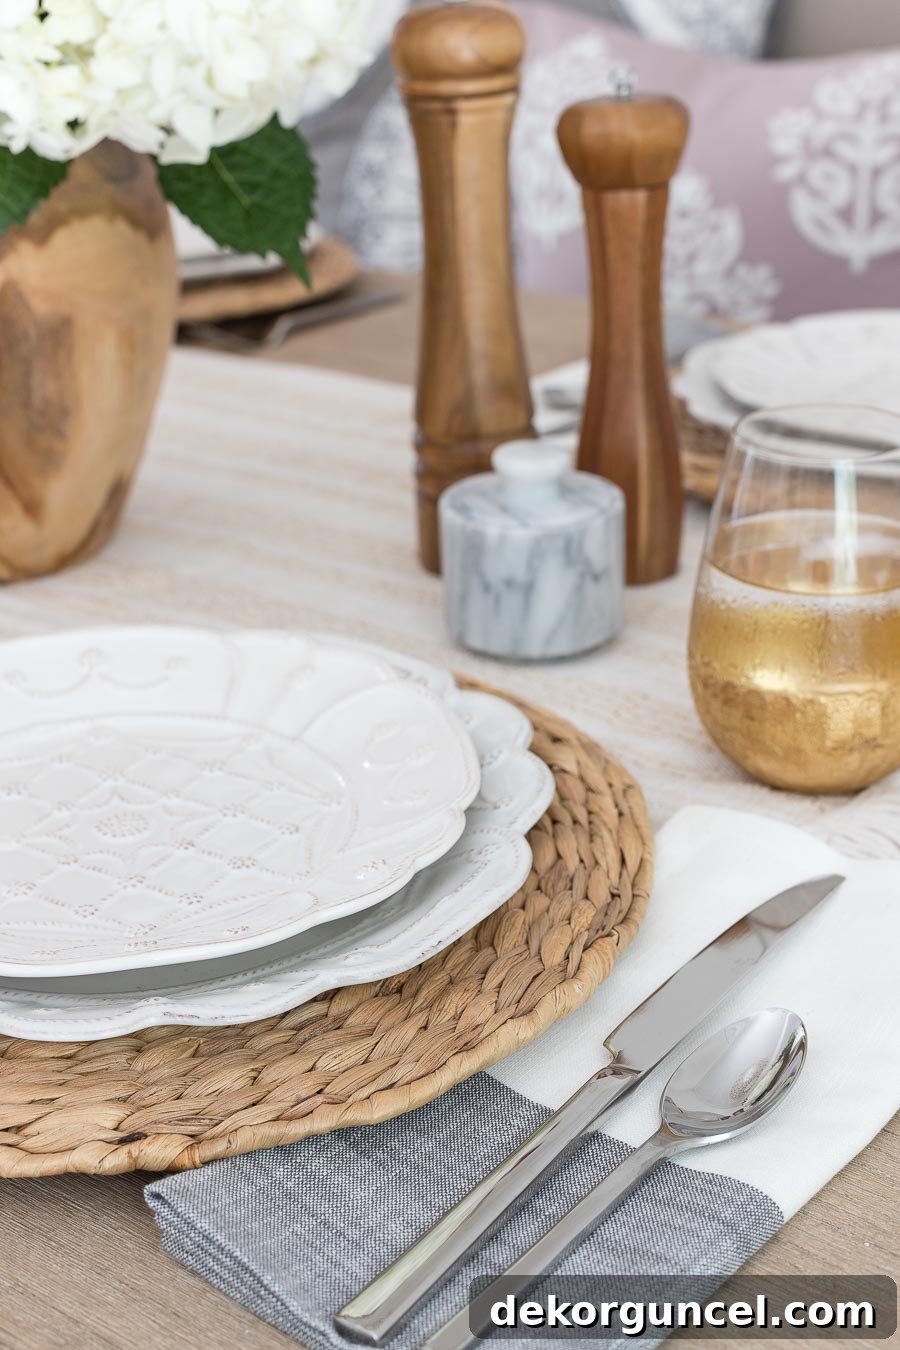
My woven chargers, discovered during a lucky thrifting expedition, are very similar to {these hyacinth placemats}. I adore them for the way their rich texture instantly elevates any table setting, adding depth and a touch of artisanal charm. The plates are {these elegant Juliska plates}, which I was fortunate enough to acquire at one of their local warehouse sales – a true find!
At one end of the table, you’ll find {this elegant glass and brass pitcher}. While it’s marketed as a “martini pitcher,” I find its design makes it a truly gorgeous water pitcher, perfect for everyday use or entertaining. Beside it sits {this charming honey jar with a wood dipper} – a nod to our family’s love for honey and biscuits!

Smart Storage Solutions: The Rolling Baker’s Rack
Moving to the other end of our kitchen, I maintained the existing setup, which includes our incredibly versatile rolling baker’s rack. This piece is a true workhorse in our kitchen, providing essential storage space. It’s home to the lanterns we use on our patio, neatly folded extra tablecloths and outdoor throws, various storage bins for miscellaneous items, and additional dinnerware. I originally found this particular rolling rack at the RH Outlet, but I recently discovered a very similar, more budget-friendly version {here} for those interested in adding functional storage with style. It’s an ideal solution for keeping a busy kitchen organized and clutter-free, especially for items that need to be easily accessible yet neatly tucked away.
The Finer Details: Door Color and Hardware Upgrade
Finally, let’s talk about one of the smaller, yet impactful, changes: our new door hardware and a fresh coat of paint! The door leading to our garage is situated just off the kitchen. To enhance the overall cohesion of the space and tie it into our new kitchen design, I made the decision to paint this door to match the sophisticated gray of our kitchen island. This simple alteration instantly created a more unified and deliberate aesthetic, elevating a utilitarian feature into an intentional design element.
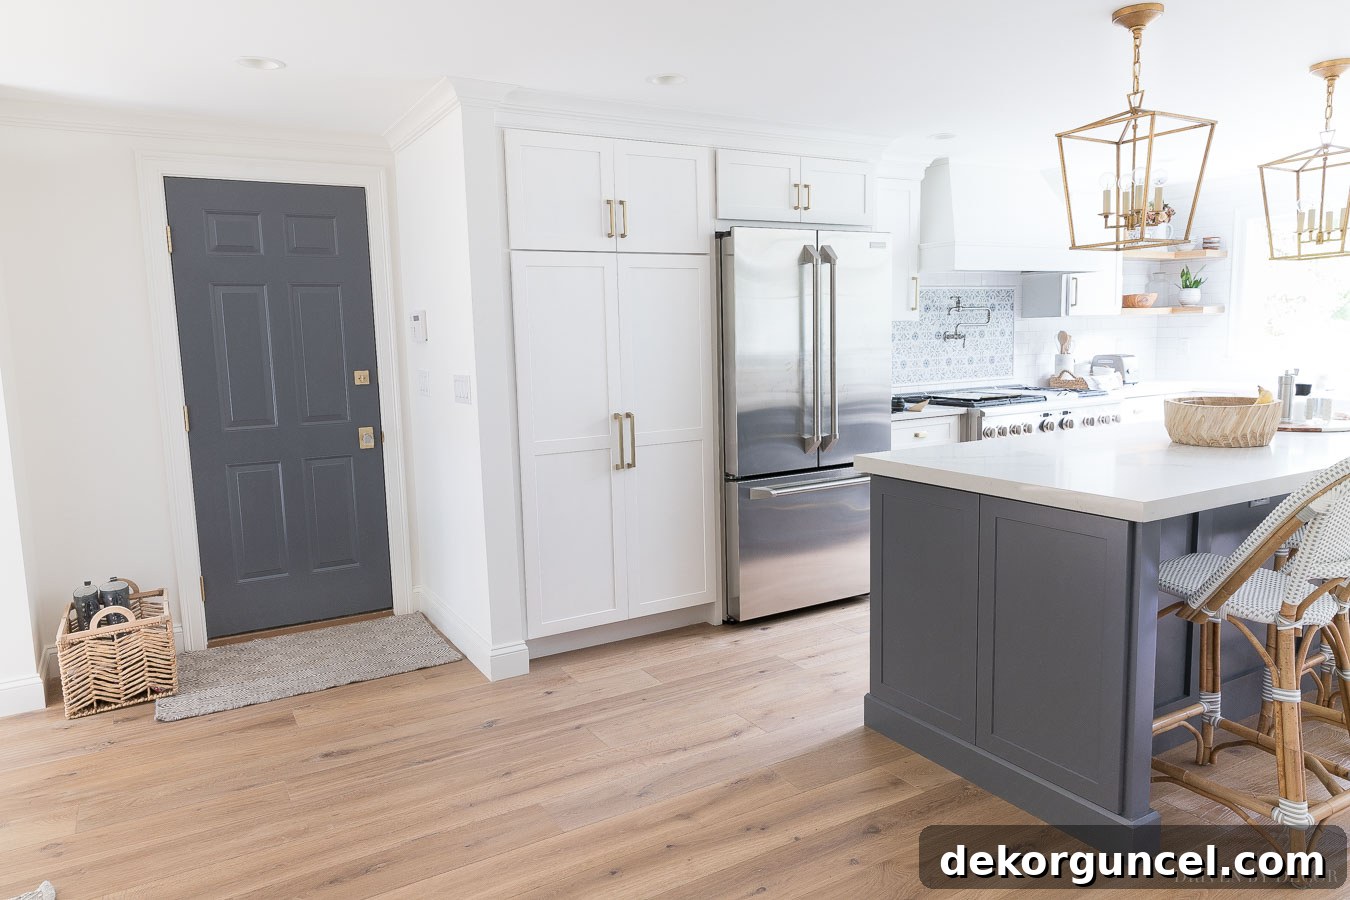
The journey to find the perfect gray paint color for the door was quite an endeavor. My first attempt involved trying to color-match paint to a sample of my kitchen island (which is “Moonstone,” a specific color option from MasterBrand’s Diamond line of cabinets). Unfortunately, the match was far from ideal. Undeterred, I then gathered several dark gray color strips from various paint brands. Benjamin Moore’s “Charcoal Slate” immediately stood out as a close contender. I decided to give it a try, and to my delight, it was an almost perfect match! The subtle nuances of this deep gray beautifully complement the existing palette without overwhelming the space, striking just the right balance.
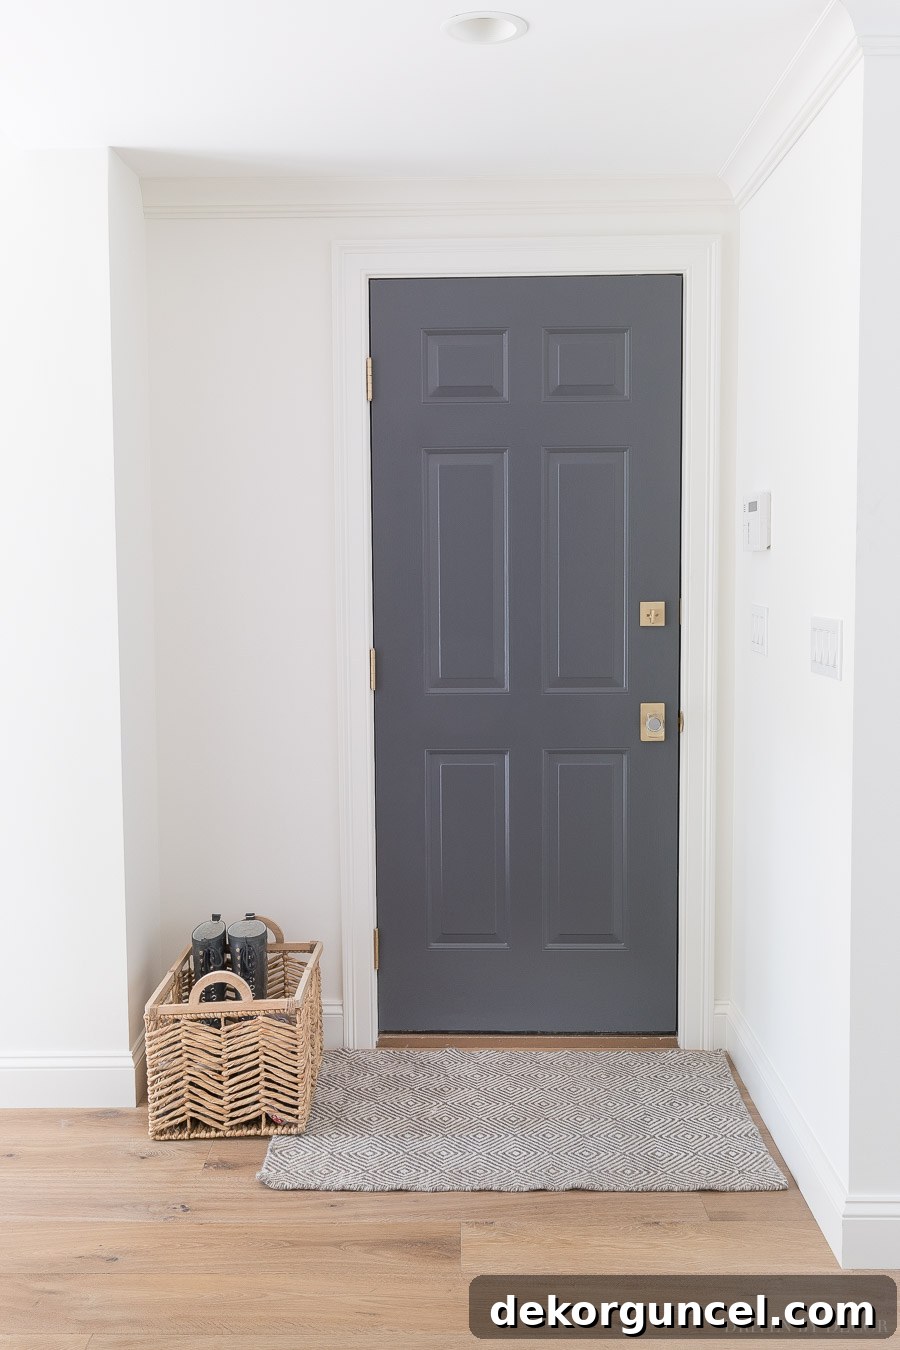
Once the paint was dry, the final touch was adding our new door hardware. We chose Emtek’s modern rectangle rosette paired with their modern crystal Windsor knob in Satin Brass (available {here}, courtesy of Emtek). The moment it was installed, I knew this gray and gold combination was a match made in heaven! I absolutely adore it! It perfectly embodies the harmonious blend of modern clean lines and traditional elegance, creating a sophisticated statement on the door. The crystal knob adds a touch of classic charm, while the rectangular brass rosette grounds it with a contemporary edge, making the hardware itself a piece of functional art.
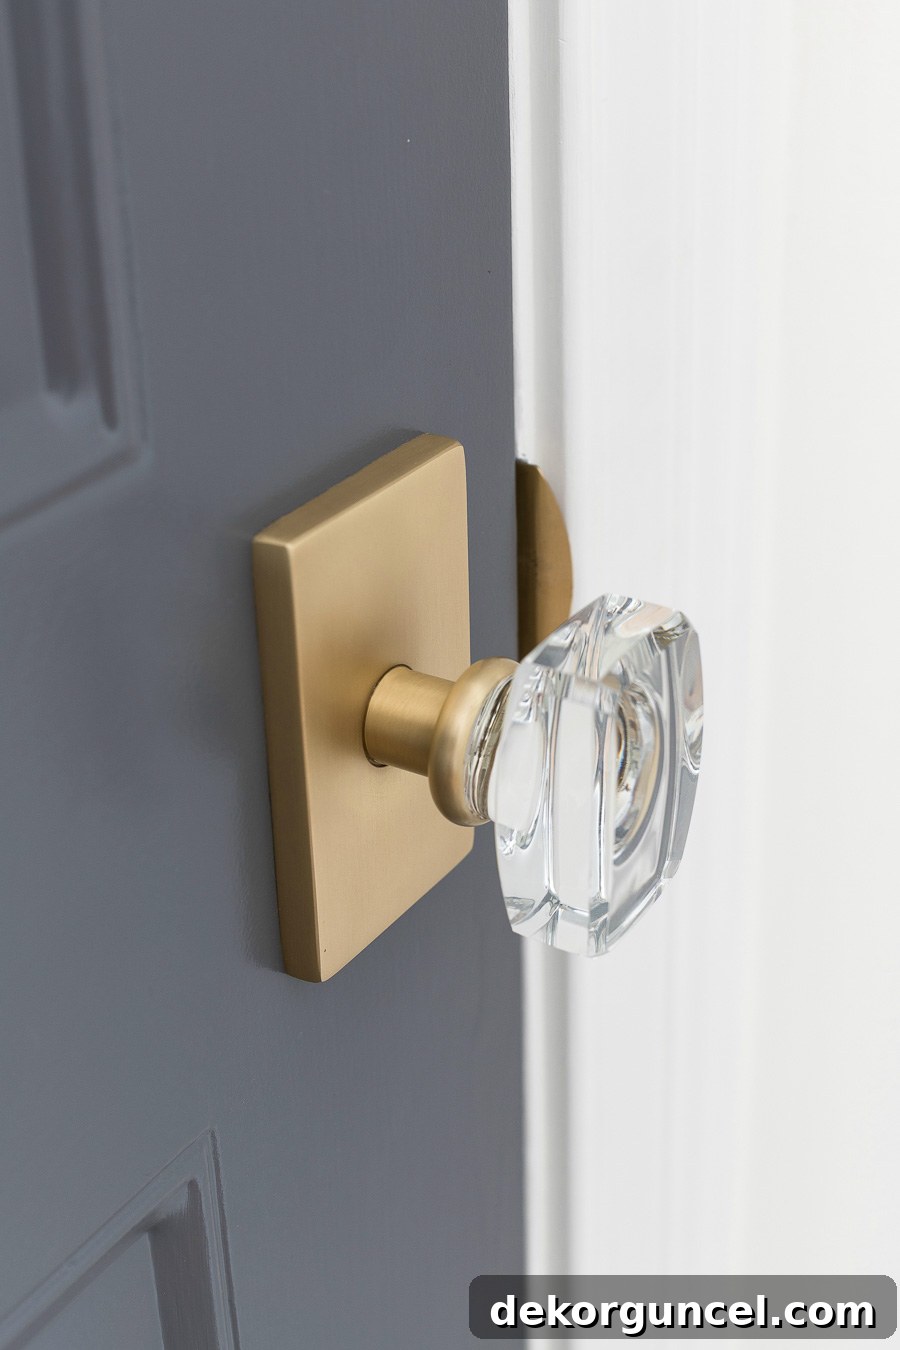
The beauty of this hardware isn’t limited to the gray door; it looks equally stunning on our white doors. This same exquisite pair graces our closet doors, situated directly across from our rolling baker’s rack, continuing the theme of sophisticated detailing throughout the space. Over time, I’ve systematically replaced all the disparate door hardware styles on our first floor – which was previously a mishmash of different knobs – with this elegant crystal and brass combination. The result is a consistent, polished look that I couldn’t be happier with. This careful attention to detail, from the flooring and furniture to the lighting and hardware, truly brought our kitchen and breakfast nook renovation to a beautiful and cohesive conclusion. Thank you so much for joining me on this tour of our transformed home!
XO,
