
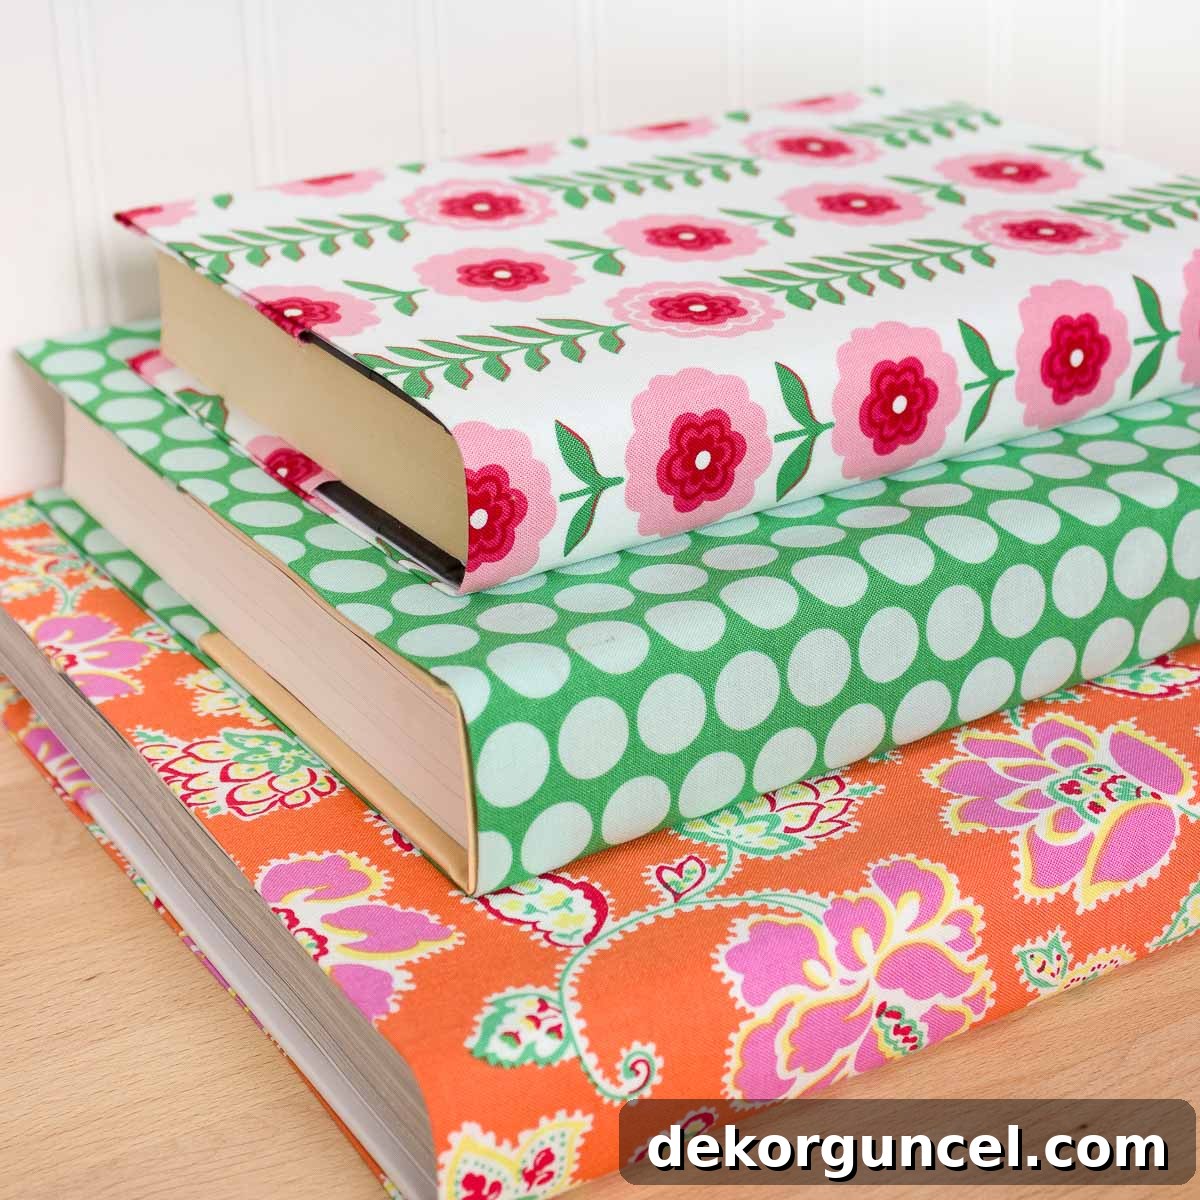
Transform your home decor with custom fabric book covers – no sewing required! Discover the simple secrets to stylish book makeovers.
Are you looking to infuse personality and charm into your living spaces without the fuss of complex DIY projects? Look no further than this incredibly simple, no-sew guide to creating beautiful fabric book covers. If the thought of threading a needle or operating a sewing machine sends shivers down your spine, you’re in good company. My crafting secret weapon, Stitch Witchery, paired with a reliable steam iron, makes transforming ordinary books into stunning decorative pieces not just possible, but effortlessly enjoyable. This tutorial empowers you to craft custom book covers from your favorite fabrics, turning even the plainest or most well-worn books into captivating accents that reflect your unique style. (Please note: This post contains affiliate links. For a full disclosure statement, please refer here.)
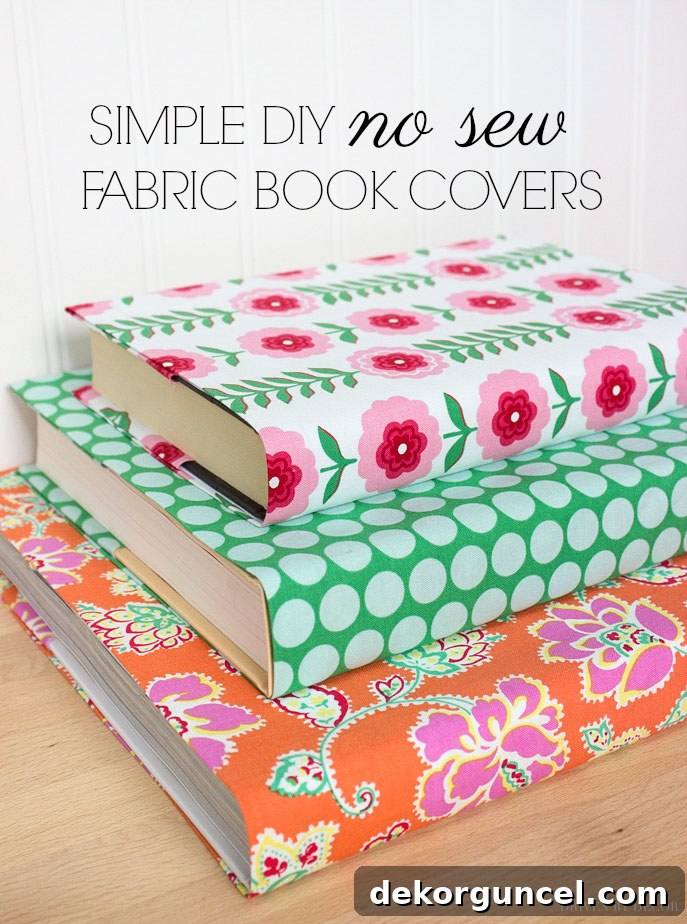
As someone who enjoys refreshing my home’s aesthetic with the changing seasons or simply when inspiration strikes, I designed these covers to be completely removable. This means you can effortlessly swap them out to match new decor themes, holiday celebrations, or evolving color palettes. The beauty of this method lies in its simplicity: no sewing, no messy glues, and absolute flexibility. Beyond their decorative appeal, these fabric covers offer a practical solution for protecting school books, journals, or treasured novels from wear and tear. While making your own offers unparalleled customization, if you prefer to purchase ready-made options, an excellent source for quality book covers can be found here. Get ready to unlock a world of creative possibilities and give your books a stylish new lease on life!
Ready to add a touch of handmade elegance to your bookshelf or console table? Here’s a detailed guide on how to craft your own fabric book covers:
Essential Supplies for Crafting No-Sew Fabric Book Covers
Embarking on this easy DIY project requires just a few key items, most of which you might already have on hand. The star of the show, naturally, is your chosen fabric. This project is an ideal way to utilize those beautiful fabric remnants you’ve been holding onto – perhaps a piece too small for a pillow but too lovely to discard. Medium-weight fabrics are your best bet. They offer enough opacity to hide the original book cover without being so thick that they become difficult to fold and bond smoothly. Think upholstery fabrics, canvas, or even durable cottons. Avoid anything too sheer or overly bulky for the best results. Beyond your fabric, you’ll need a pair of sharp fabric scissors (like these) to ensure clean, precise cuts, a trusty tape measure for accurate dimensions, and the magic ingredient: a ⅝″ roll of Stitch Witchery. This heat-activated adhesive webbing is the secret to our no-sew success. Finally, a good steam iron is crucial to activate the Stitch Witchery and create crisp, professional-looking folds. Gather these simple tools, and let’s get started on transforming your books!
Step 1: Precise Measuring, Cutting, and Prepping Your Fabric
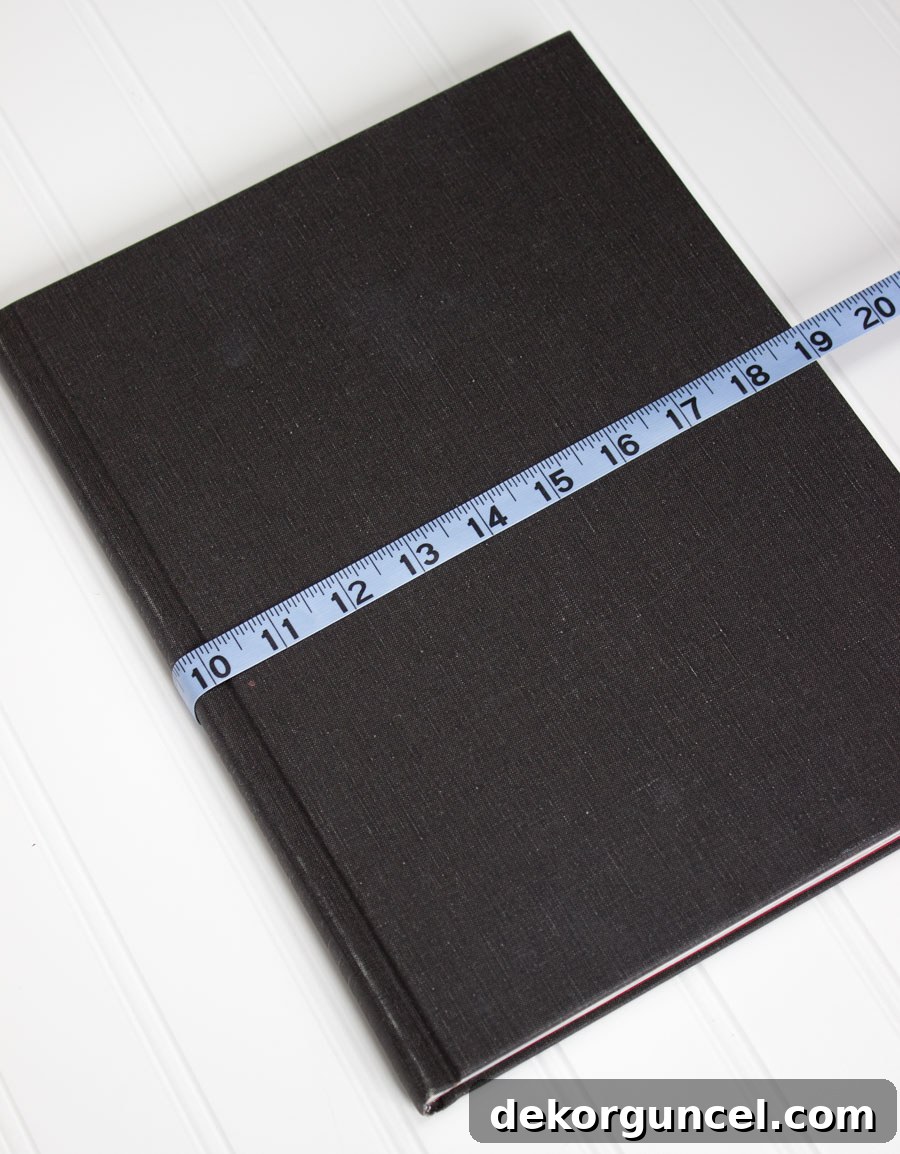
Accuracy in your initial measurements is key to a perfectly fitting book cover. Begin by measuring the height of your chosen book. Then, measure its “wrap-around” width. To do this, place the book closed on a flat surface and measure from the front edge, across the spine, to the back edge. In the example, this measurement was 19 inches. Take your time with these measurements, as they form the foundation for your entire project. Once you have these dimensions, it’s time to cut your fabric. You’ll need a piece that is 1 ½ inches taller than your book’s height measurement and a generous 8 inches wider than your book’s wrap-around width. The extra height accounts for the finished top and bottom edges, while the additional width provides ample material for the secure end pockets that will hold the book in place. After cutting, lay your fabric flat. If there are any creases or wrinkles, use your iron to smooth them out thoroughly. A perfectly flat piece of fabric ensures clean folds and a professional finish, making the subsequent steps much easier to execute.
The foresight of making the covers removable is a game-changer for home decorators. Unlike glued-on covers, these fabric sleeves offer the ultimate flexibility. Imagine effortlessly swapping out a spring floral pattern for a cozy autumn plaid, or transitioning from bright summer hues to sophisticated winter textures. This adaptability not only keeps your decor fresh and dynamic but also allows you to experiment with different styles without commitment. It’s an economical way to achieve a high-end, curated look, as you can repurpose existing fabrics or scour remnant bins for affordable treasures. Furthermore, the absence of messy adhesives means you can easily clean or store your covers, preserving them for future use. This thoughtful design ensures your books are not just covered, but adorned in a way that truly complements and enhances your living space over time.
Step 2: Creating Crisp, Finished Long Edges with Ironing
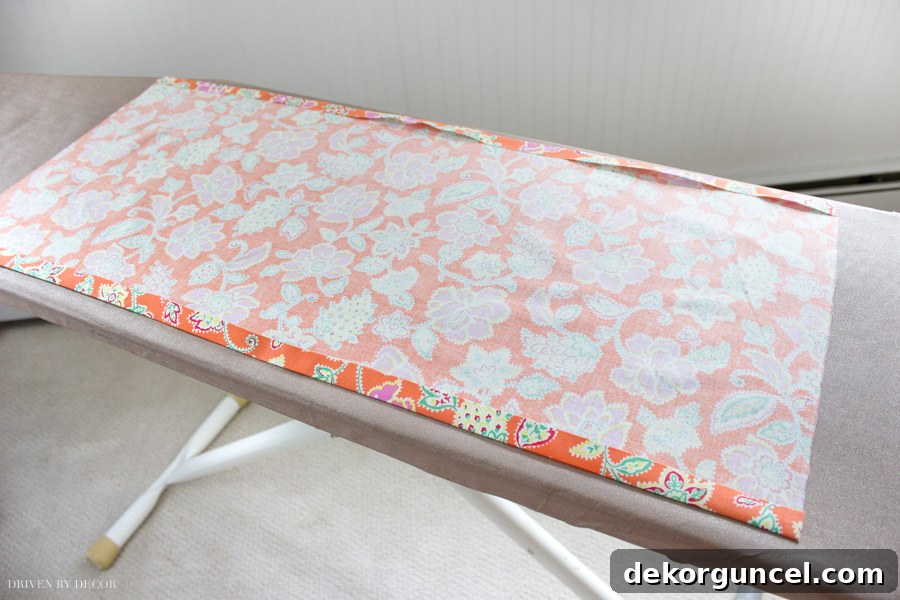
With your fabric cut and smoothed, the next step is to create neat, finished edges along the top and bottom of your fabric piece. This is where your iron truly shines. Lay your fabric flat on an ironing board with the wrong (unfinished) side facing up. Carefully measure and iron a ¾-inch fold along the entire length of both the top and bottom edges of the fabric. The key here is precision: use your tape measure to ensure the fold is consistent from one end to the other. Press firmly with your iron to create a sharp crease. This initial ironed fold sets the stage for a clean, professional look and makes the bonding process much simpler. These folds will become the beautifully finished top and bottom edges of your book cover, preventing any fraying and adding a polished touch. Take your time, ensuring each fold is perfectly straight and crisp.
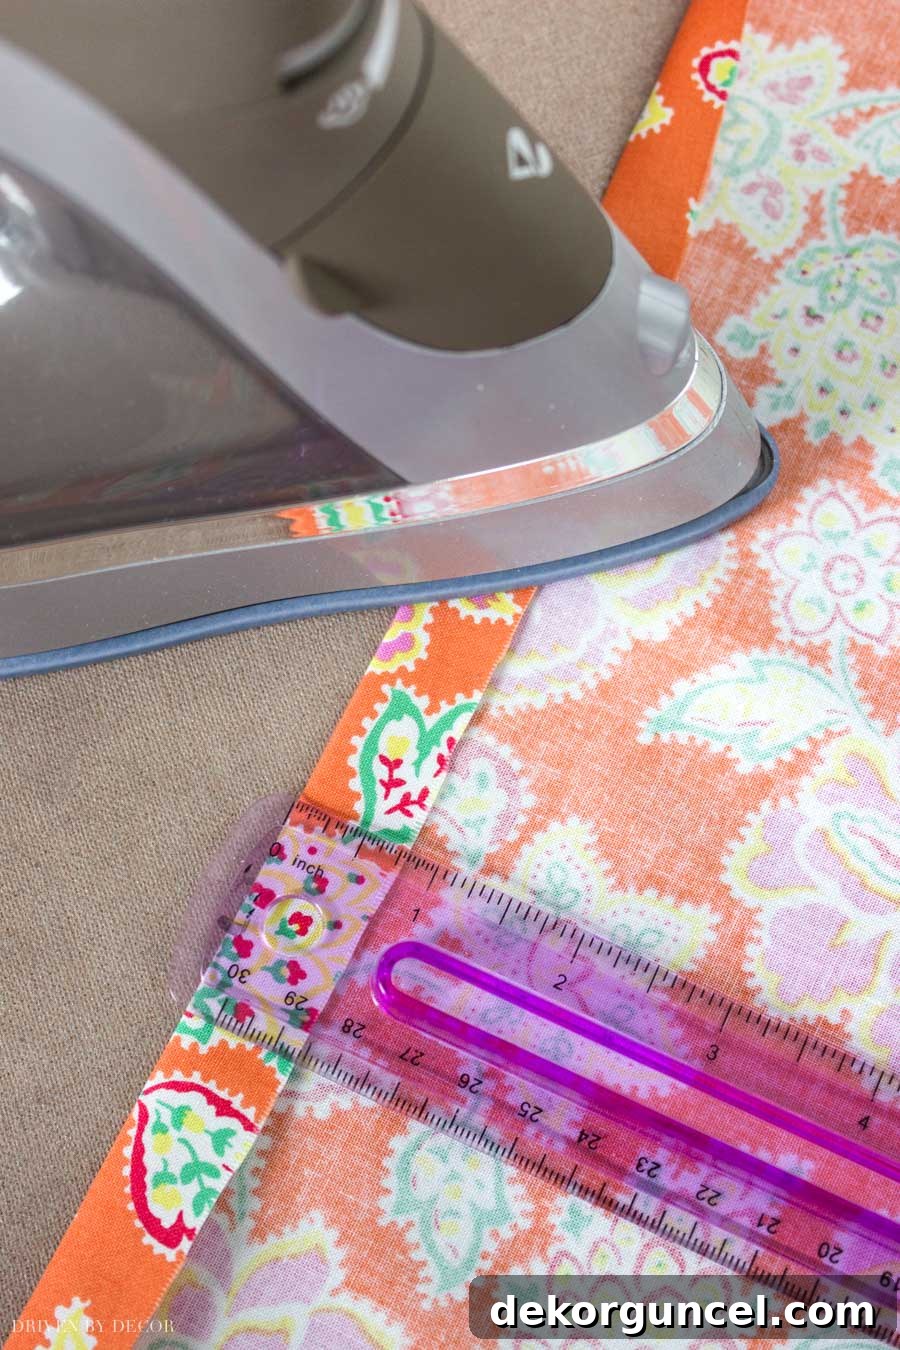
Once you’ve completed ironing both the top and bottom long edges, your fabric piece will have two perfectly creased lines, providing a preview of the refined edges your finished book cover will boast. This simple step, while seemingly minor, is crucial for both aesthetics and durability. It prevents the raw edges from fraying and gives the cover a more substantial, professional feel. Without sewing, these ironed folds are the foundation of a polished product, showcasing the elegance that can be achieved with careful attention to detail and the magic of Stitch Witchery. You’re well on your way to a beautifully finished, custom book cover!
Step 3: Securely Bonding the Long Edges with Stitch Witchery
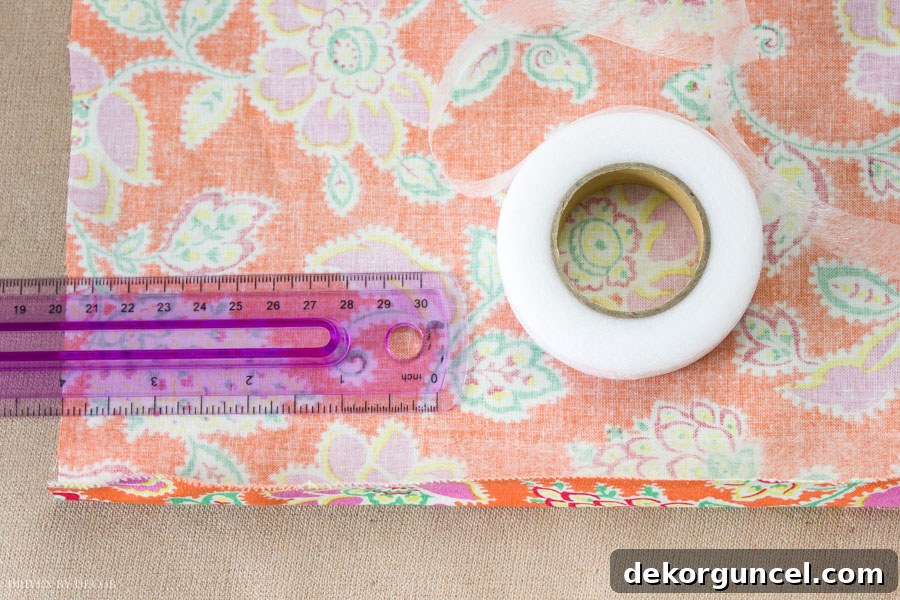
Now comes the moment to unleash the power of Stitch Witchery, our no-sew hero. Take a length of the Stitch Witchery adhesive webbing and carefully place it underneath one of the ¾-inch fabric folds you just created. It’s important to position the Stitch Witchery strategically: start approximately 4 inches in from each end of the fabric. This means your piece of Stitch Witchery will be 8 inches shorter than the overall fabric length, leaving the ends unbonded for later pocket creation. This precise placement ensures that the ends of the cover remain flexible, which is essential for forming the book-end pockets in the final step. The Stitch Witchery, a thin web of heat-activated adhesive, will permanently bond the fabric folds when heat is applied.
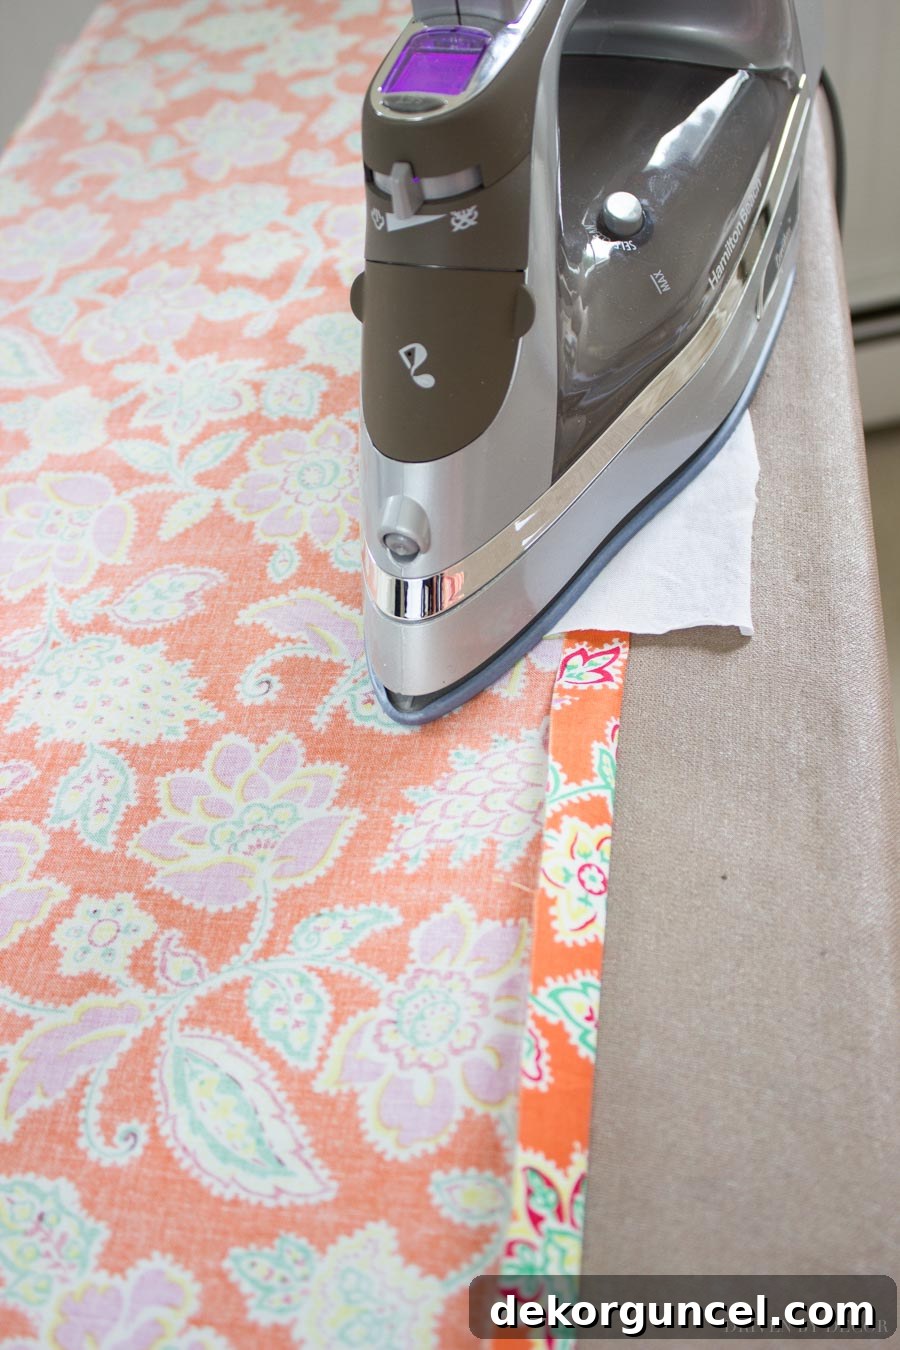
To activate the Stitch Witchery and create a strong, lasting bond, place a slightly damp cloth (a pressing cloth or a clean kitchen towel works well) directly on top of the fabric fold, ensuring the Stitch Witchery is tucked neatly inside. Using your iron set to the “wool” setting (or a medium-high heat with steam), press down firmly for about 20 seconds. The steam from the damp cloth helps to melt the adhesive, allowing it to penetrate the fabric fibers for a secure bond. Lift the iron and cloth, then move to the next section, overlapping slightly, and repeat the pressing process until the entire length of the first folded edge is bonded. Once complete, repeat this entire bonding process on the second folded edge (the other long side of your fabric). You’ll be amazed at how secure and professional these “sewn” edges appear, all without a single stitch!
Step 4: Forming the Secure Book-End Pockets
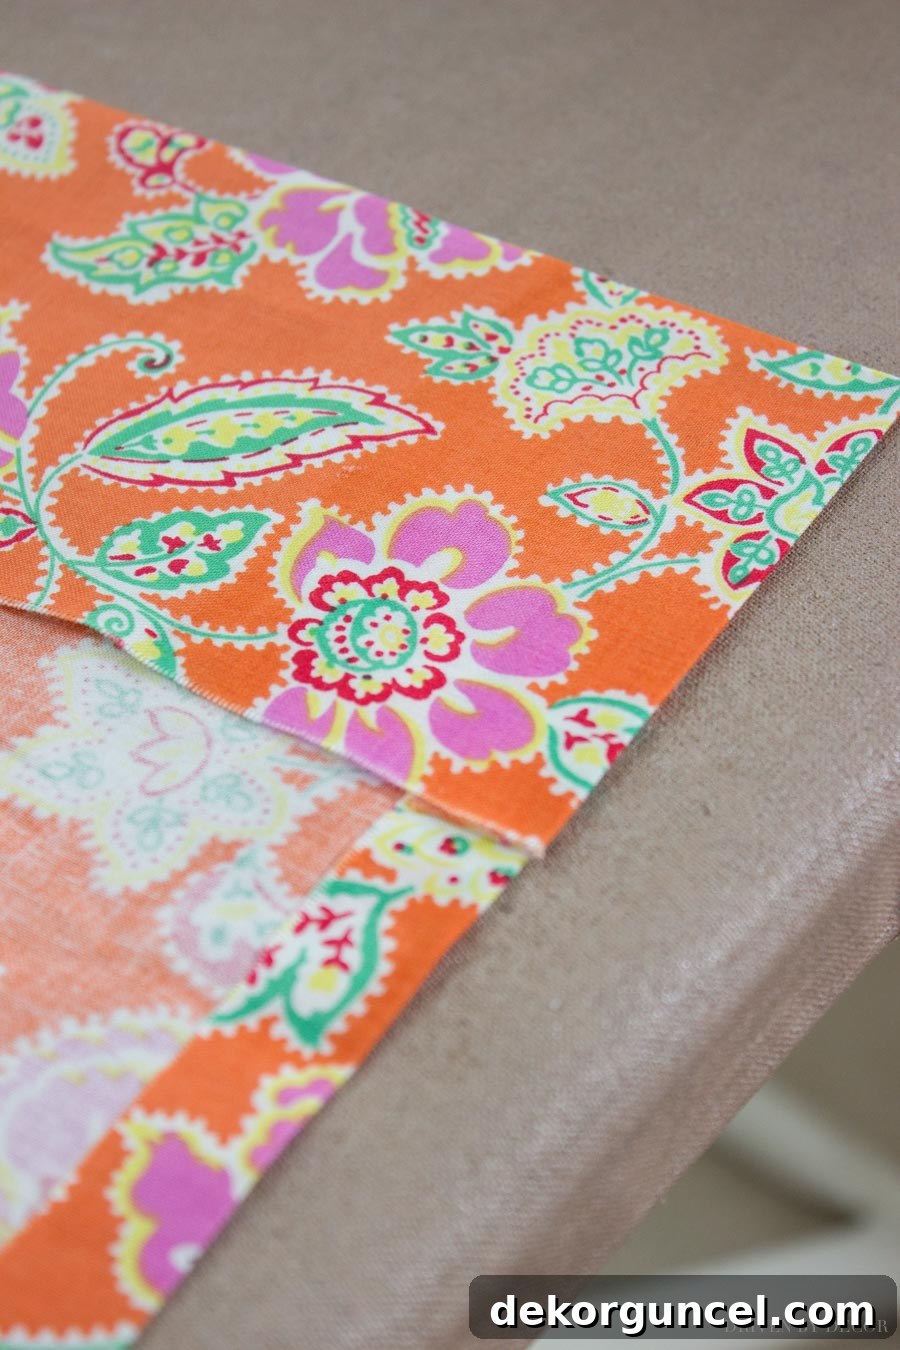
The final crucial step in creating your no-sew fabric book cover is to form the pockets on each end, which will snugly hold your book in place. These pockets are what make the cover removable and reusable. To begin, fold your fabric over by 4 inches from one of the short ends. This 4-inch fold creates the depth of your pocket. Now, take a 4-inch piece of Stitch Witchery and carefully place it inside the top portion of this newly created fold. It can be a little tricky to see the Stitch Witchery against the fabric, but if you look closely, you’ll notice a thin, gauzy white strip where it’s positioned. Once the Stitch Witchery is in place, activate the adhesive by again using your iron and a damp cloth, pressing firmly for about 20 seconds as described in the previous step. This will bond the top edge of your pocket, securing the fold.
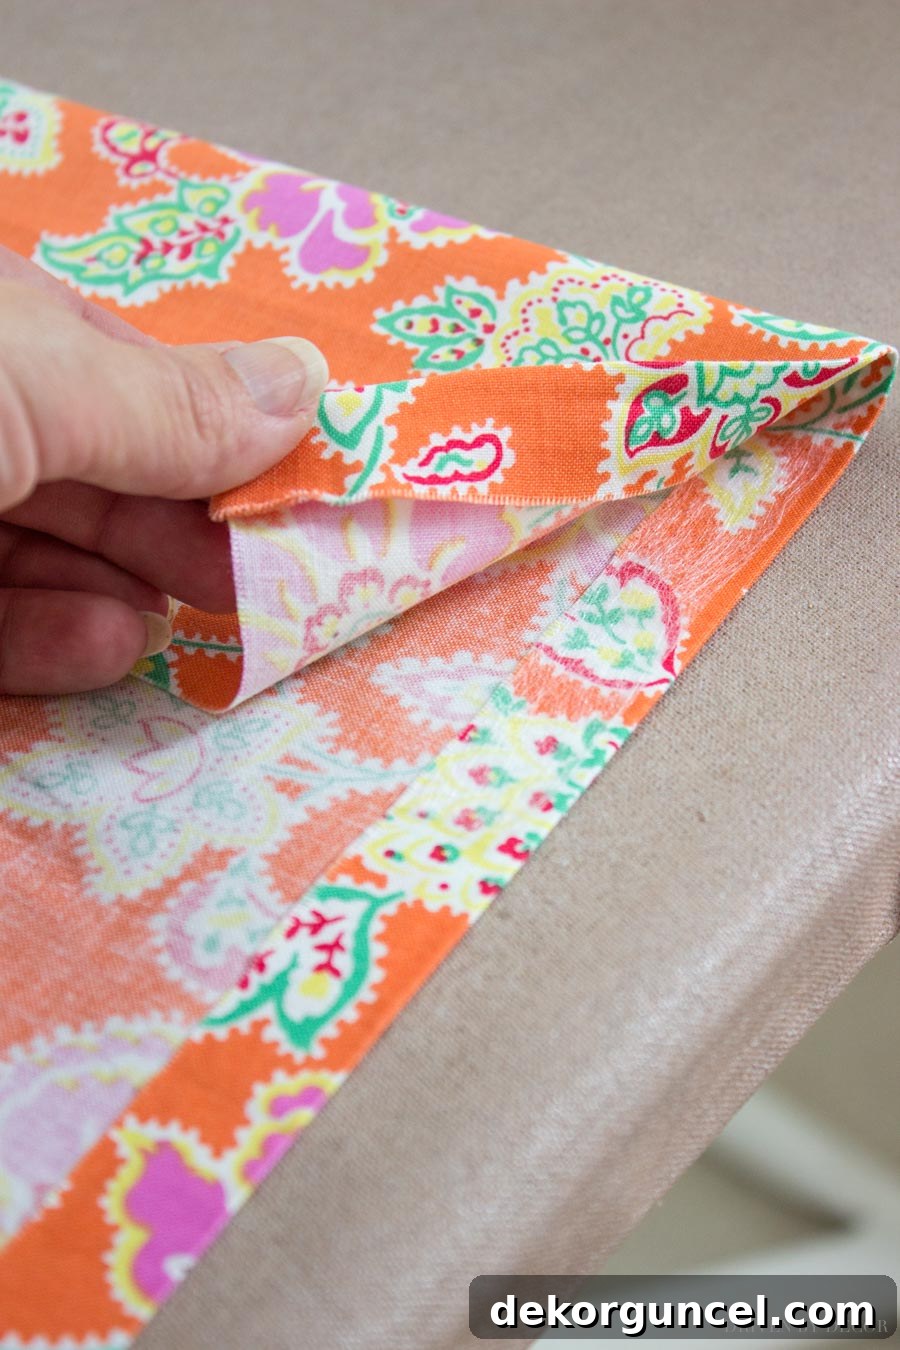
To complete the pocket, you’ll need to repeat this process for the other three sections of the pocket: one for the bottom of the fold on this same end, and then two more 4-inch pieces for the top and bottom folds of the pocket on the opposite end of the book cover. Essentially, each end pocket will have four smaller sections of Stitch Witchery: one near each corner of the folded-over fabric. This ensures the pocket is fully secured and robust enough to hold the book cover. Once all four sections are bonded on both ends, your fabric book cover will have strong, defined pockets. These perfectly finished ends will provide a polished look and a secure fit for your book, making it ready for display or protection. Admire your handiwork – your no-sew fabric book cover is now complete and ready to dress up your favorite read!
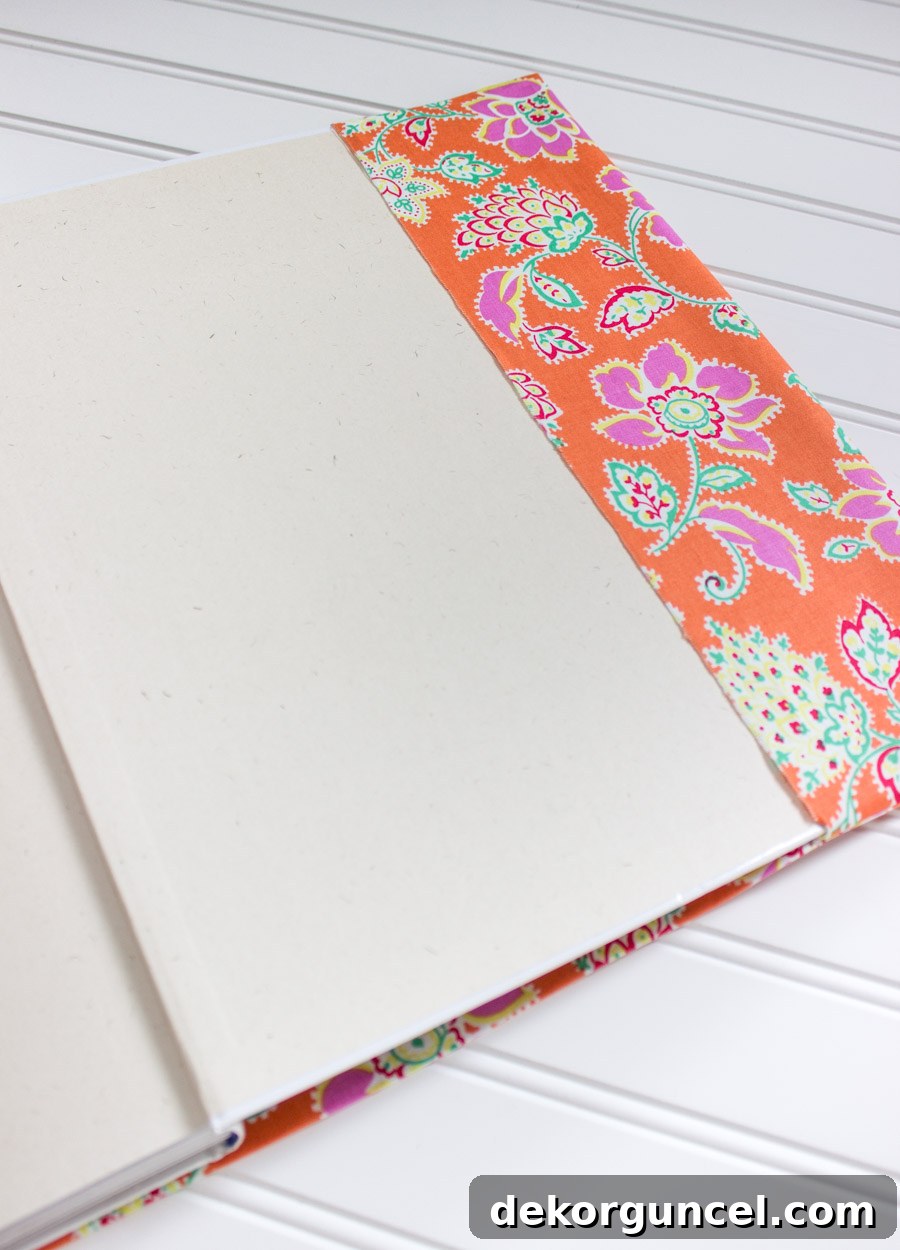
Congratulations! Your beautiful new fabric book cover is ready. Simply slide the front and back covers of your book into the newly created pockets, and watch as your book transforms into a chic decorative accessory. The snug fit ensures that the cover stays in place, providing both protection and aesthetic appeal.
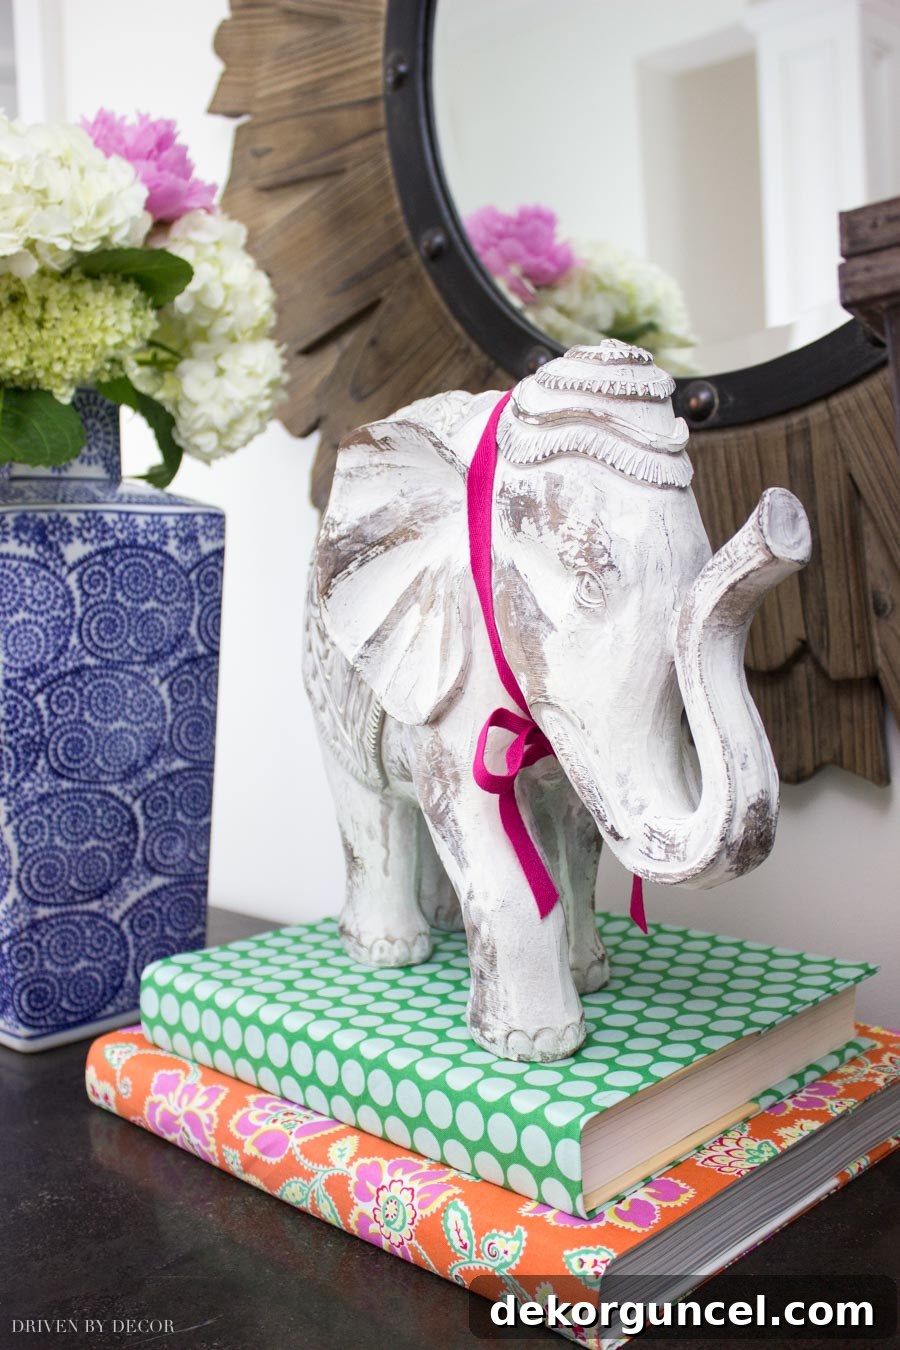
Now that you’ve created these charming fabric book covers, the only remaining task is to decide where to display them! They are incredibly versatile and can enhance almost any room in your home. One of my favorite spots for a stack of these newly covered books is on the entry console in our foyer. The vibrant colors and intriguing patterns instantly liven up the space, adding a welcoming touch and a burst of seasonal cheer, especially perfect for summer. Imagine a carefully curated stack on your coffee table, a single elegant book on your nightstand, or a row of coordinating covers adorning your home office shelves. They’re not just covers; they’re conversation starters and expressions of your personal style. Feel free to mix and match patterns, or create a cohesive collection with a single fabric. The possibilities are endless, and the impact on your home decor is surprisingly significant.
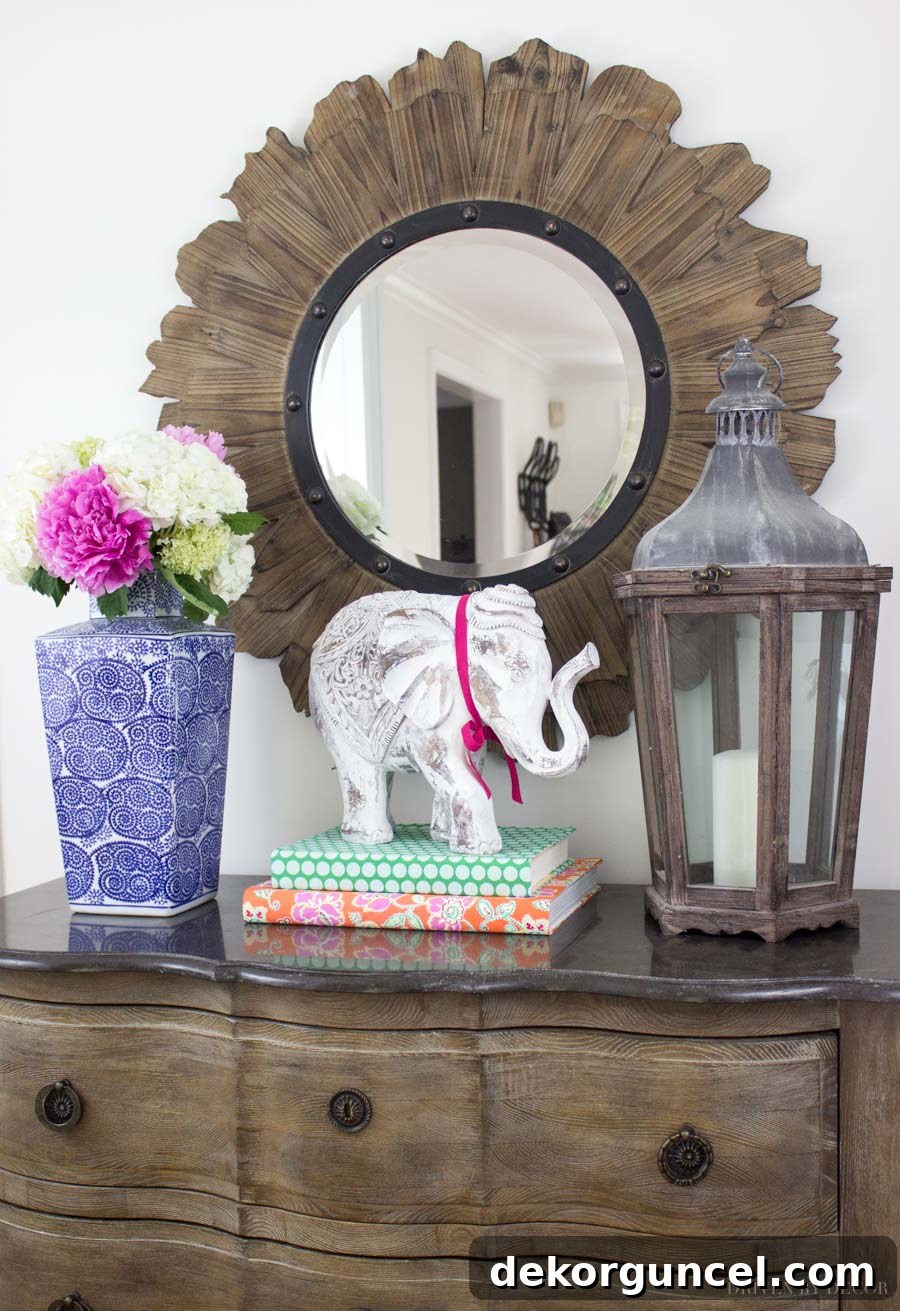
If you’re currently working on dressing up your entryway and looking for more inspiration, I have a wealth of other ideas to share! Be sure to explore my comprehensive post dedicated to creative entryway decor ideas for more tips and tricks to make a grand first impression.
Once you’ve experienced the sheer simplicity and effectiveness of Stitch Witchery for this project, you’ll undoubtedly find yourself hooked! Its versatility extends far beyond book covers, making it an invaluable tool for anyone who prefers not to sew. I’ve personally utilized this fantastic heat-activated adhesive for a myriad of creative endeavors around my home. For instance, I created a custom, no-sew DIY bed skirt from a flat sheet – a project that proves you don’t need expert tailoring skills to achieve a perfectly fitted and stylish result:
I’ve also used Stitch Witchery to add functional and decorative elements, such as creating a charming fabric pocket for my DIY framed cork bulletin board. This project demonstrates how easily you can incorporate fabric details to elevate everyday items:
These examples are just a glimpse into the endless possibilities Stitch Witchery offers for effortless home decor and crafting. So, don’t let the lack of sewing skills deter you from creating beautiful, personalized items for your space. Embrace the simplicity and satisfaction of no-sew projects!
Thanks for stopping by and happy crafting!
