DIY Framed Cork Board
The sequence matters: decide the footprint, then the finish, then the accessories. Sharing the step by step of creating a DIY framed cork board!
While keeping my island completely clutter-free every day is pretty much an impossibility, I decided that a kitchen bulletin board was a must-have for at least keeping the clutter in check. So I revamped an old bulletin board of mine to create this fabric-covered framed bulletin board with a cute little stash-all pocket:
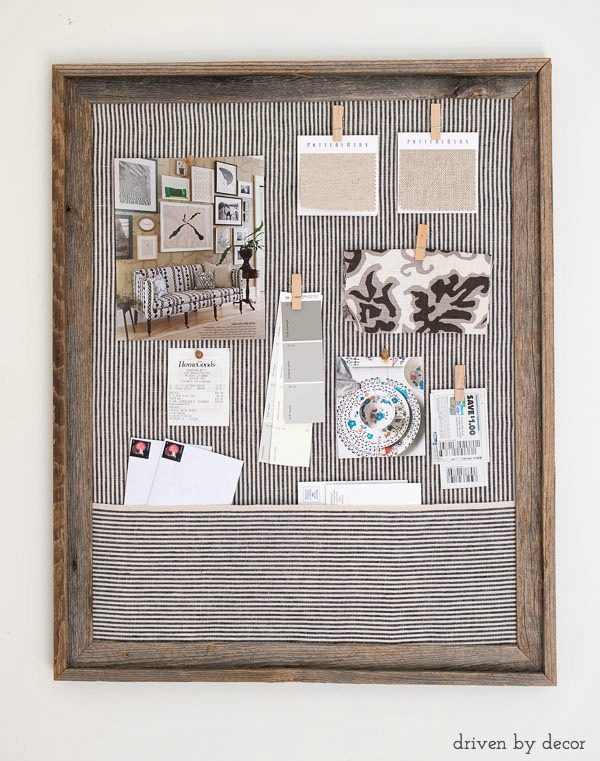
It's hanging on a small wall that's right by the door to our garage so it's in a great spot to grab things from on my way out the door. Here are the how-to steps for making this stylish cork board (postincludes commissionable affiliate links; for more information see my full disclosure statement {here}).
The supplies that you'll need are:
An open backed frame (mine is a 22″ x 28″ barnwood frame from Hobby Lobby) but {this online frame} is very similar
Thick unframed cork board – you can get them at most craft stores like Hobby Lobby and JoAnn Fabrics
Fabric – enough to cover your board and create the pocket – I used pieces of {this tickling stripe fabric} that I had left over from my DIY macrame fringe table runner
Spray adhesive – {this one} is the preferred
Glue gun and staple gun (I recently got {this heavy duty staple gun} and it's so much better than the cheapie that The household has been using for years)
Picture hangers and duct tape or brackets to secure the cork board to the frame
Pushpins, thumbtacks, and small clothespins like {these}
Step 1. Cut Your Cork Board and Fabric to Size
Cut your cork board cut just a little bit smaller than the size of your frame opening. The easiest way to cut a cork board is with a table saw but you can also use a utility knife like I did (don't worry if your cork board edges are jagged – they won't show). Cut your fabric so that it's several inches wider and longer than your cork board on each end.
Step 2. Adhere and Staple Your Fabric to Your Cork Board
Lightly spray your cork board with spray adhesive (do this in a well-ventilated area and don't use too much adhesive), center your fabric over your cork board, and smooth it out over the entire surface so that it adheres well. Next, flip your cork board over to the back, pull the fabric tight, and use a staple gun to staple it all the way around:
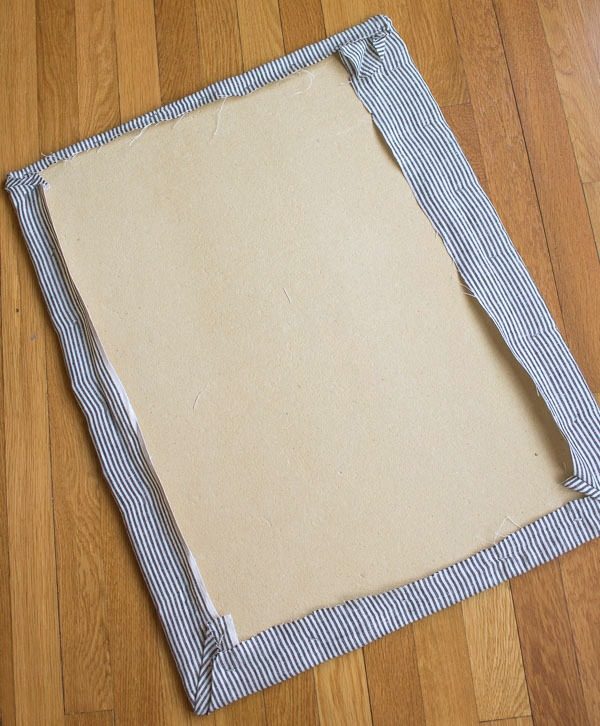
Beware that if you choose a pinstriped fabric like I did, it's a little challenging to get all of the stripes perfectly straight (you can see in my final product where they go a little wonky at the left top corner) – non-linear patterns are easiest.
Step 3. Make The Pocket
To create the pocket, simply cut another piece of fabric (I used the same fabric going in a different direction but you could use a totally different coordinating fabric too) several inches wider than the width of your cork board and a few inches taller than you want your pocket. I was lucky because the selvage of my fabric provided a nice little boarder that I used at the top of the pocket – if your selvage isn't attractive, just sew under the top ½″ to create a nice edge (or iron it down with Stitch Witchery). Position this second piece of fabric where you want it at the bottom edge of the cork board,
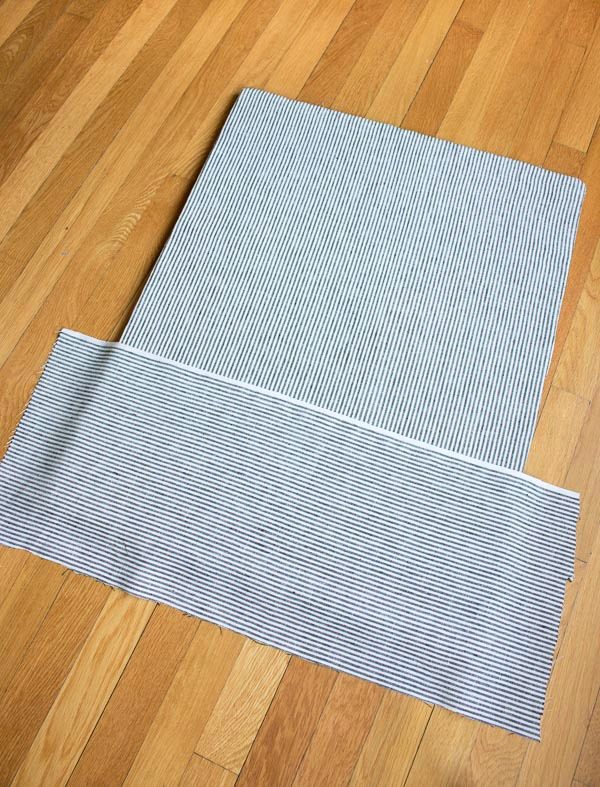
flip it over and staple the fabric tightly at the ends and bottom. Then simply pop your fabric-covered cork board into the frame. To secure it, I actually just duct taped the cork board to the frame at the back but you could also glue gun it in or screw a few corner brackets on the back of the frame.
Step 4. Add Hanging Hooks
Finally, add hanging hooks to the back of it (I used two D-ring hooks) and throw it up on the wall – done!
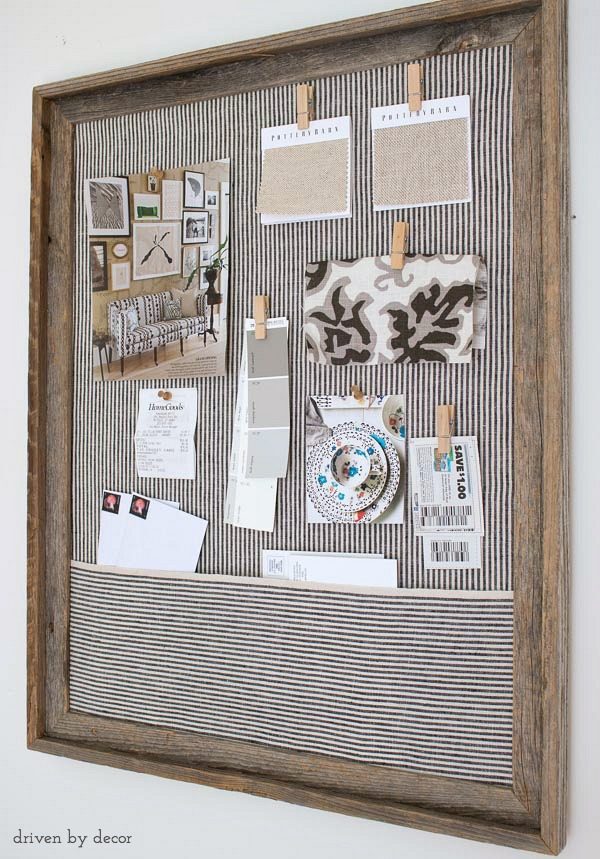
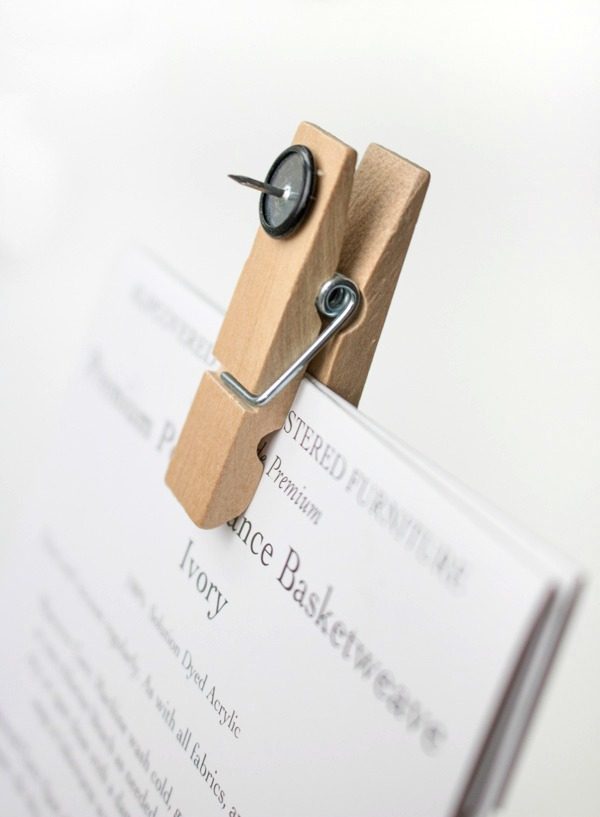
I'm sure my cork board won't look this neat and uncluttered for long – right now it's holding some Pottery Barn fabrics that I'm eyeing for a sectional, a sample of my living room drapery fabric that I need to shop for a few spring pillows, and a bunch of less glamorous stuff like coupons and outgoing mail. Since I don't like to put holes through some of these things, instead of using pushpins I hot glued thumbtacks to the back of a few small clothespins so I can clip them on instead:
Now that The household has tackled some of our kitchen island paper clutter, The household has motivated to get the rest of my kitchen better organized too (the scene behind our cupboard doors is pretty scary). Do readers have any kept pointers or products to get the job done?
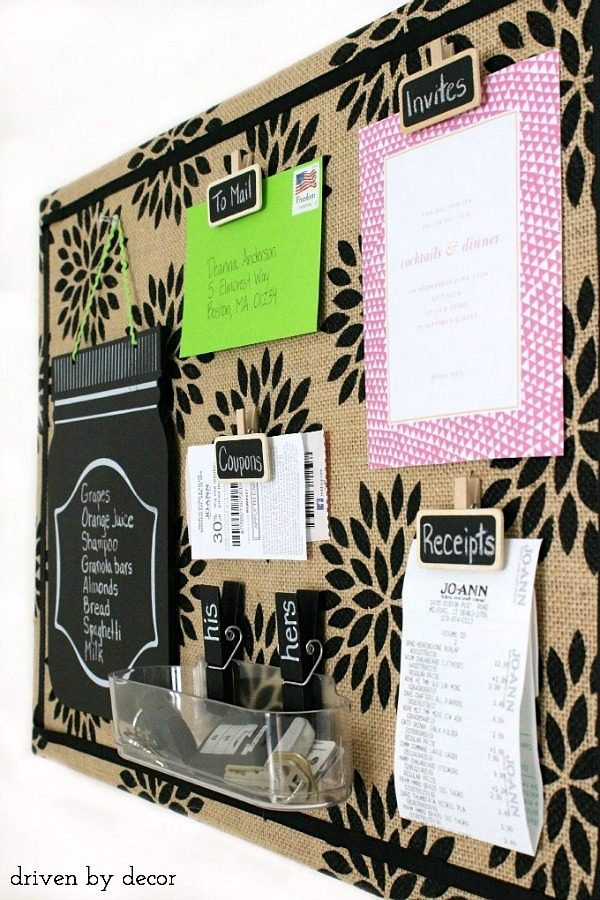
If you're looking for another DIY cork board idea, look at my DIY burlap bulletin board:
Update: The household has since renovated our kitchen and added tons of storage and organizational elements to it – look at all of my kitchen cabinet storage approaches!

Elsewhere in the house
 DIY ProjectsWays to Protect a Wood Table: How I Sealed Our Restoration Hardware and Pottery Barn Tables
 DIY ProjectsWays to Hang Peel and Stick Wallpaper
 DIY ProjectsMake Your Own Art: 5 Unfussy Approaches
 KitchensMarble Contact Paper For Countertops: An unfussy Fix for Ugly Countertops
 DIY ProjectsFabric Book Covers (Without Any Sewing)
 BedroomsWays to DIY Shiplap Walls on the Low-cost
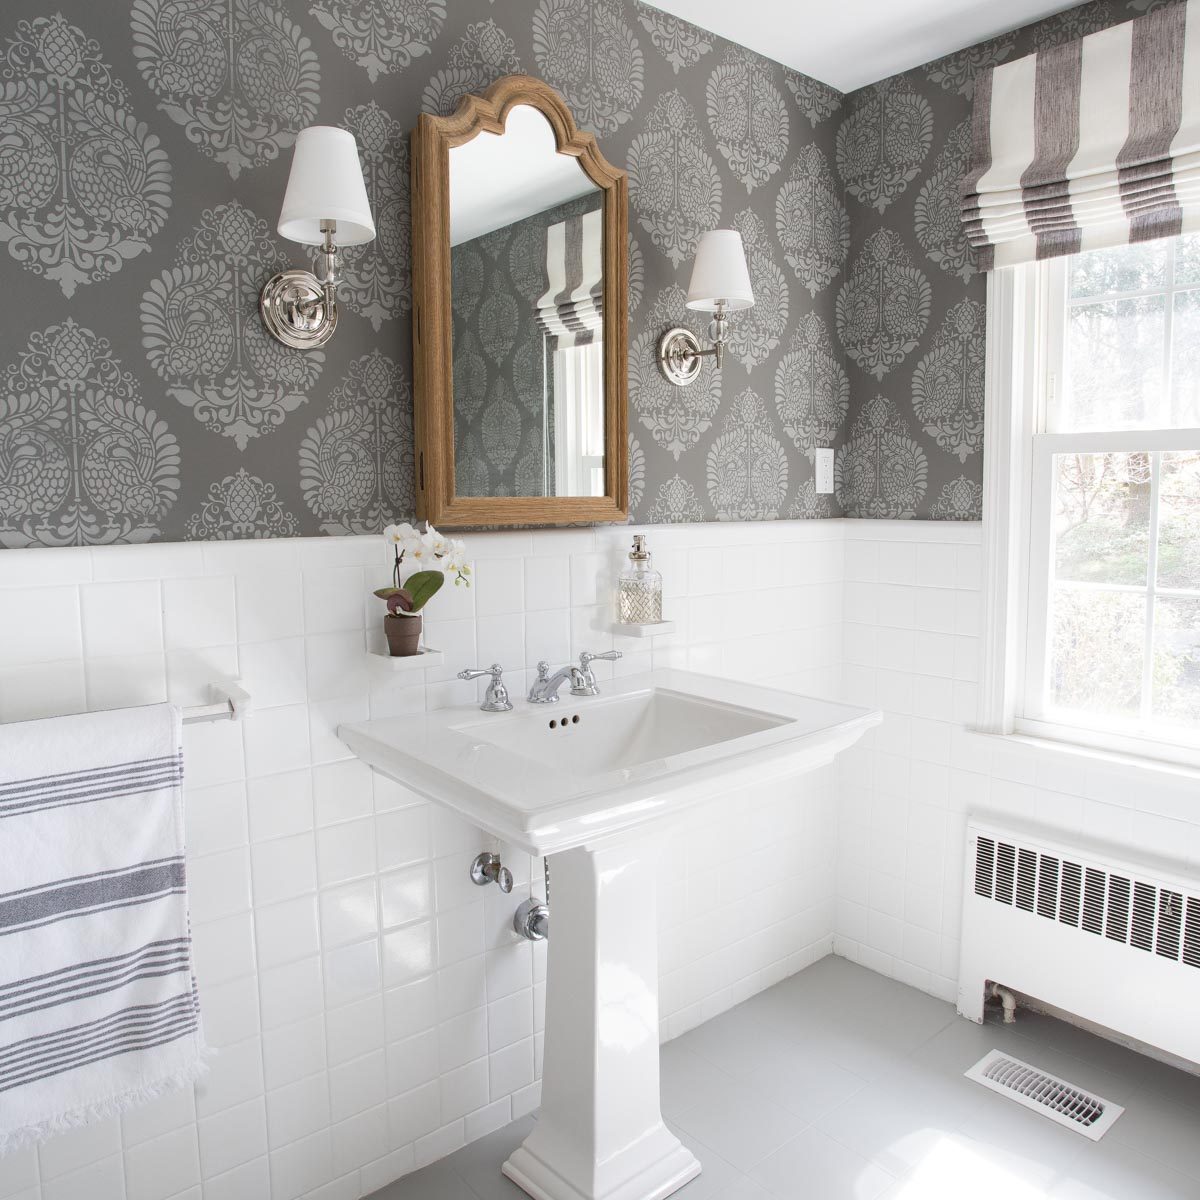 DIY ProjectsWays to Stencil a Wall to Create a Stunning Space
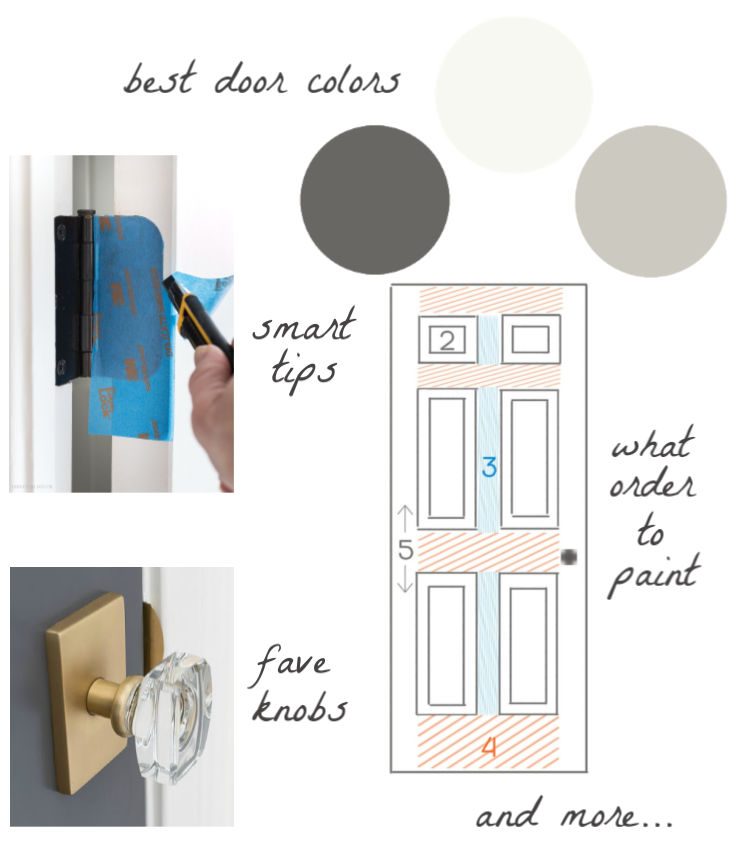 DIY ProjectsWays to Paint a Door: My Best Pointers for Painting Interior Doors
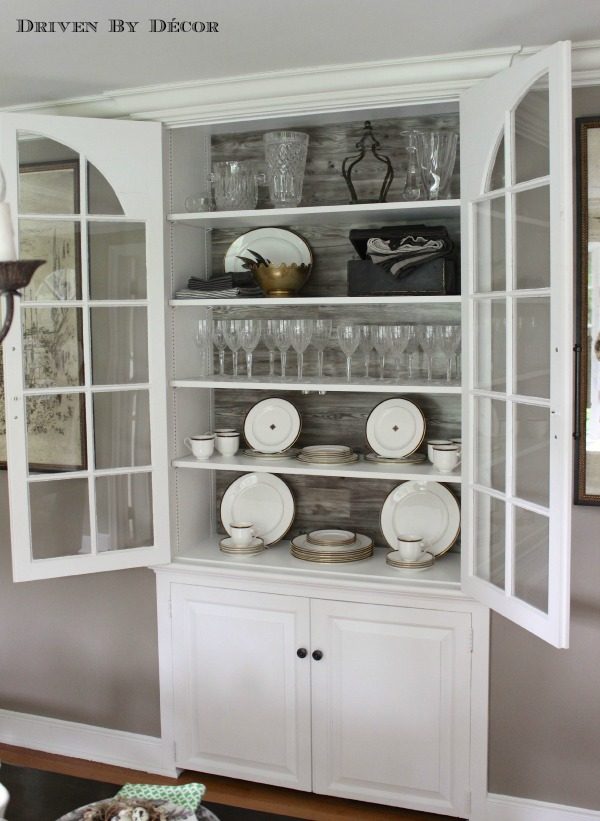 Dining RoomsAn unfussy DIY Cabinet Update With Pergo