Super Unfussy DIY Charging Station
Measurements come first here, because a good-looking piece in the wrong spot still fails. Would you love to have an uncluttered spot for charging your electronics? That's exactly what I was looking for when I created my simple DIY charging station. It's been a real shift at our house!
Our charging cords now stay there 24/7 and our electronics all have a home for easy charging. Ready to make your own? I'll show you how! (post includes commissionable links; for more information, see my full disclosure statement {here})
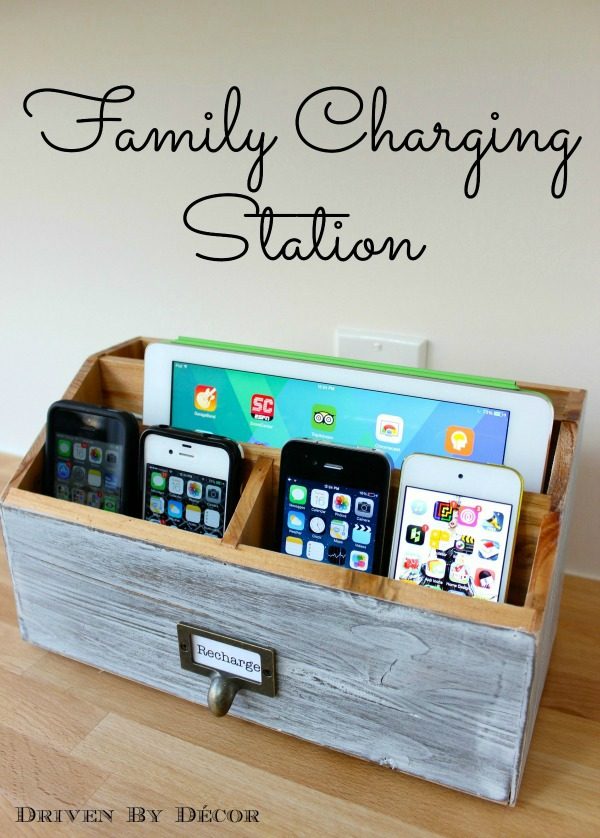
DIY Charging Station
I created my charging station with an inexpensive open desktop wood organizer that I scored at HomeGoods. I wanted one where I could fit four iPhones across the front row and an iPad in the middle. Another great option that you can order online is {this desktop storage set}.
The first step in this DIY is to figure out where you want the holes for your cords, which will be coming up from the bottom. I drilled small pilot holes first to make sure they were in the right place and then drilled bigger holes that would fit the smallest sized end of each charger cord.
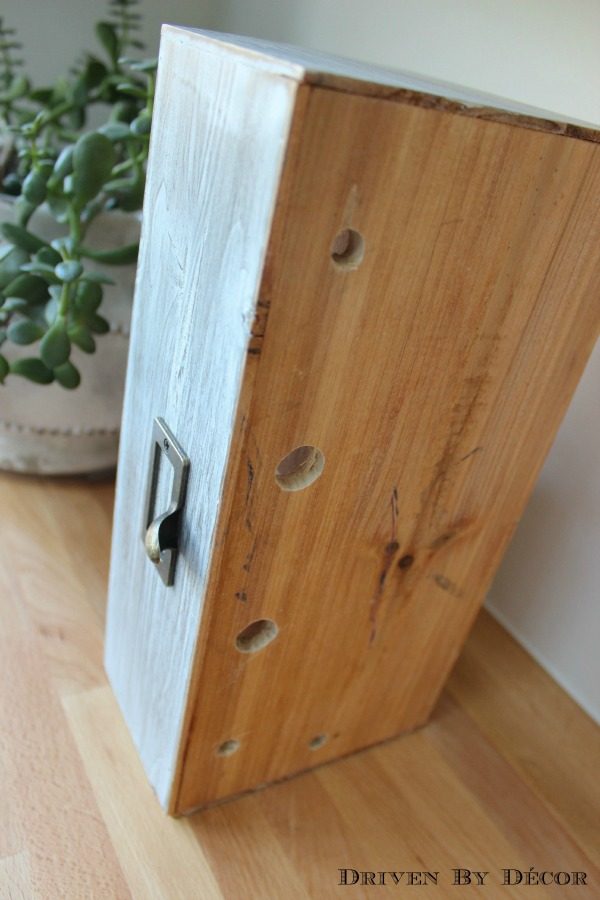
My charging station was right in front of my outlet so I used short charging cords similar to {these}. They stay in the charging station full time so there's no more searching for cords!
You'll also want to add circular felt pads such as {these} to the bottom of your organizer. They create just enough space for the cords for go underneath the charging station and plug in at the outlet behind it.
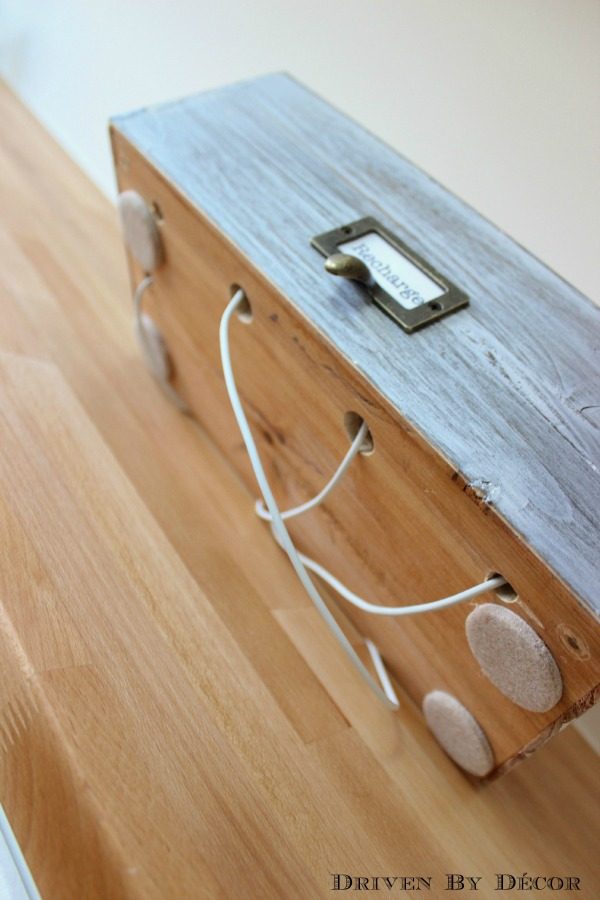
And I typed up a little “Recharge” label to add to the front:
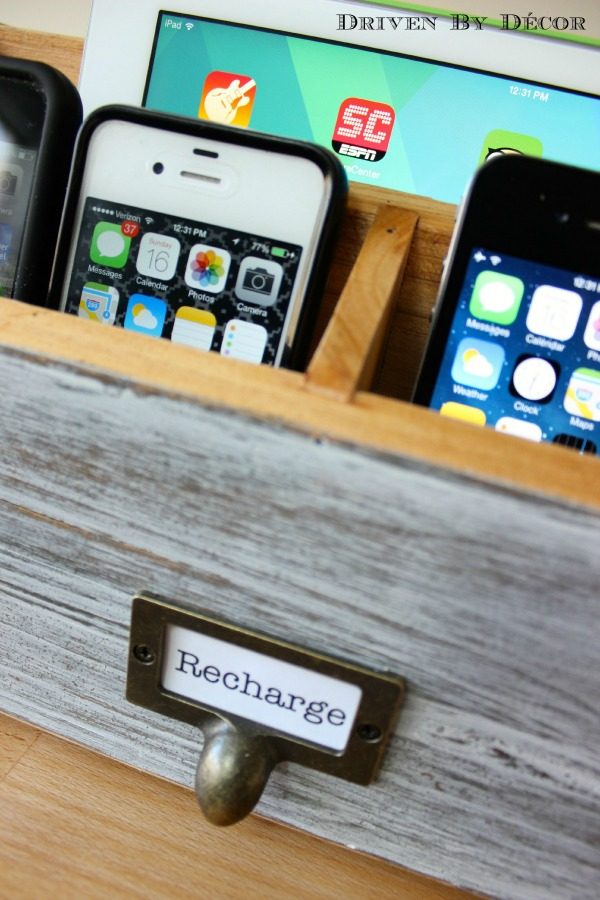
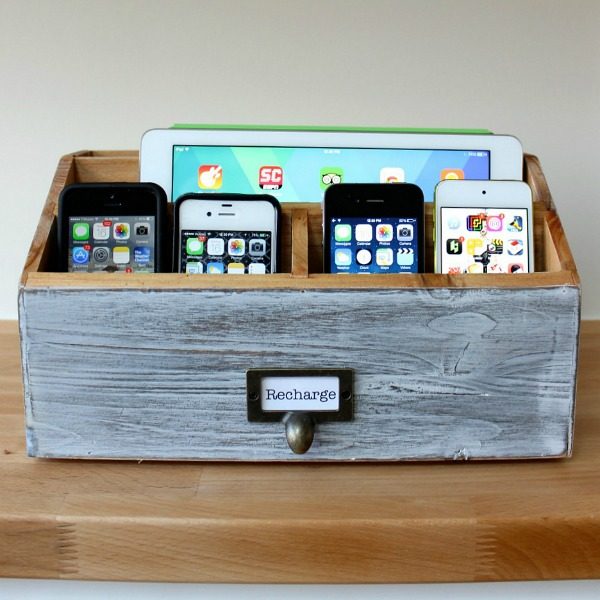
Consider a USB Outlet
If you peek behind the charging station, you'll see the other part of this project: an outlet that we converted to a 4-port USB charger:
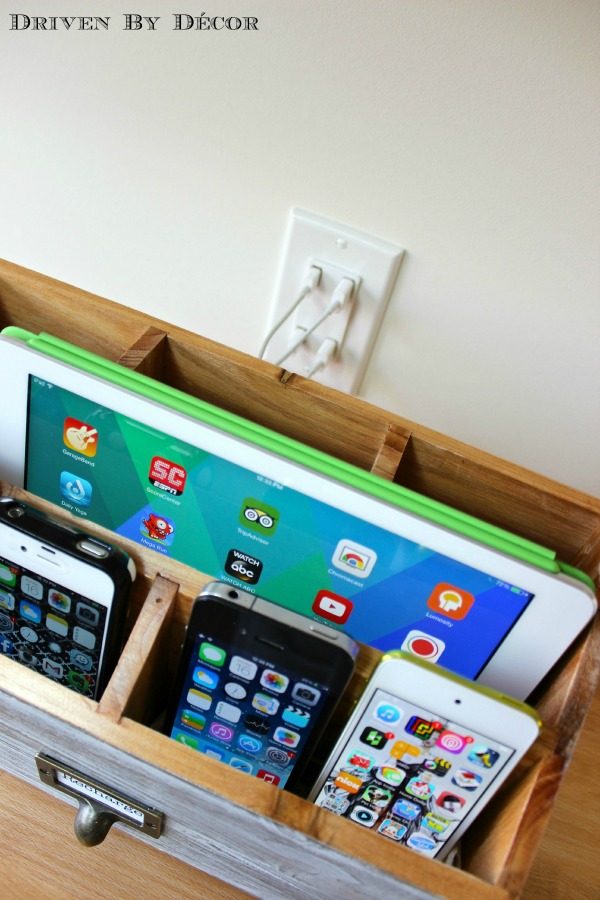
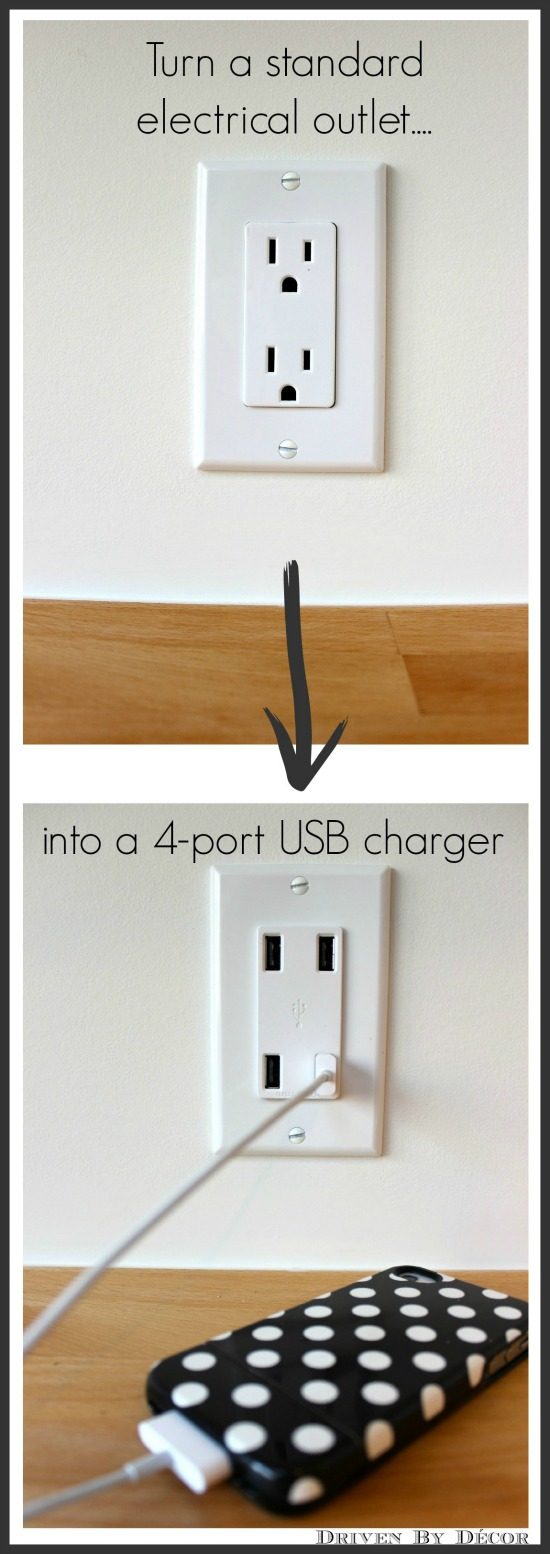
My husband and I rarely mess with anything electrical but this project was as easy as it comes. We used {this 4-port USB charger}. The faceplate isn't included so add one of {these Decora wall plates} to your shopping list if your existing cover is the more traditional two hole type.
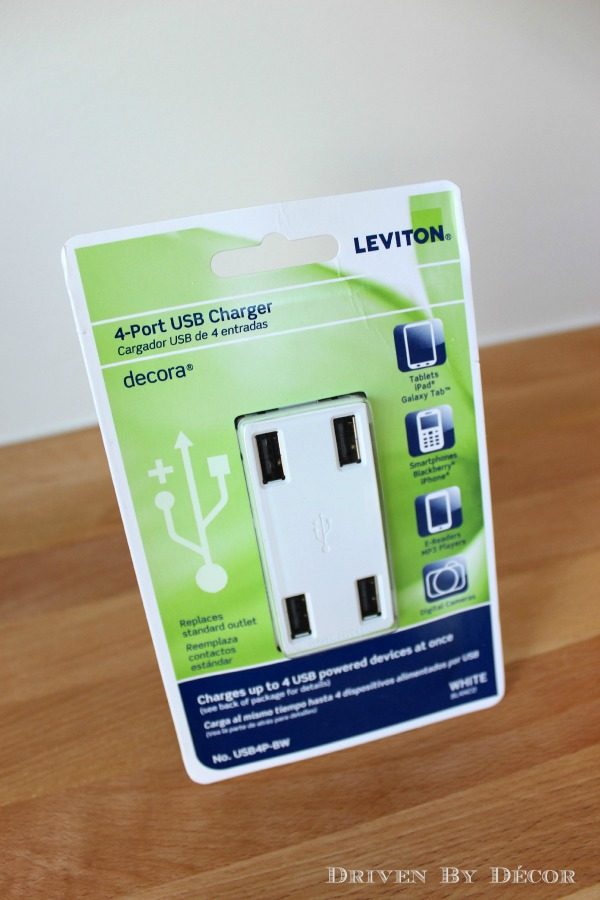
For installation, we followed the instructions included with the USB outlet. First we turned off the power to the outlet at the circuit breaker and tested it to be certain that the power was off. We then removed the faceplate from the old outlet, pulled the outlet out of the box, and removed the wires from it.
The USB charger comes with three colored wires connected to it – we connected these wires to the same colored wires coming out of outlet box, twisting the strands tightly together. We then screwed on the plastic connectors, secured them with electrical tape, and mounted the USB charger device in the wall box. Done in under five minutes!
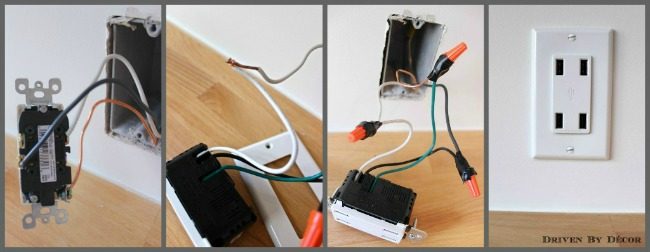
A few things about the installation:
1.The Leviton USB charger is fairly deep and fits into standard electrical wall boxes but some older boxes may be too shallow to accommodate it. Make sure your wall box measures at least 3″ x 2″ x 2.5”
2. I am NOT an electrician – our install was very simple but your wiring may be different. Read the instructions included with the USB charger and consult an electrician if you are not sure about any part of them.
There's also an option to have your regular outlet plus two USB ports that you can find that {here} (again, remember to buy a wallplate too!).
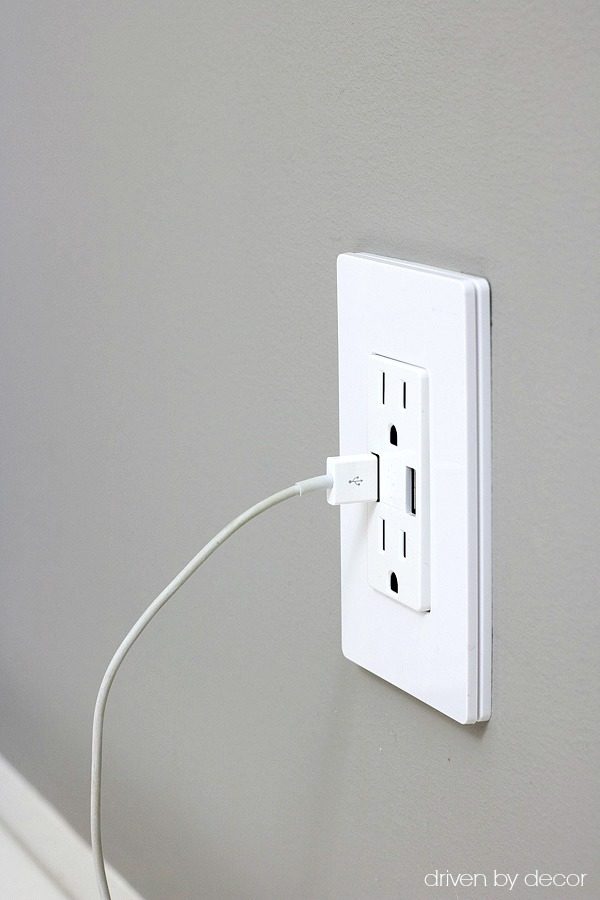
I'm so glad to have one of our little daily dilemmas solved! It really is the simplest of DIYs but if you don't have the time or interest in doing your own DIY project, we have {this bamboo charging station} in our office and it's also a great option:
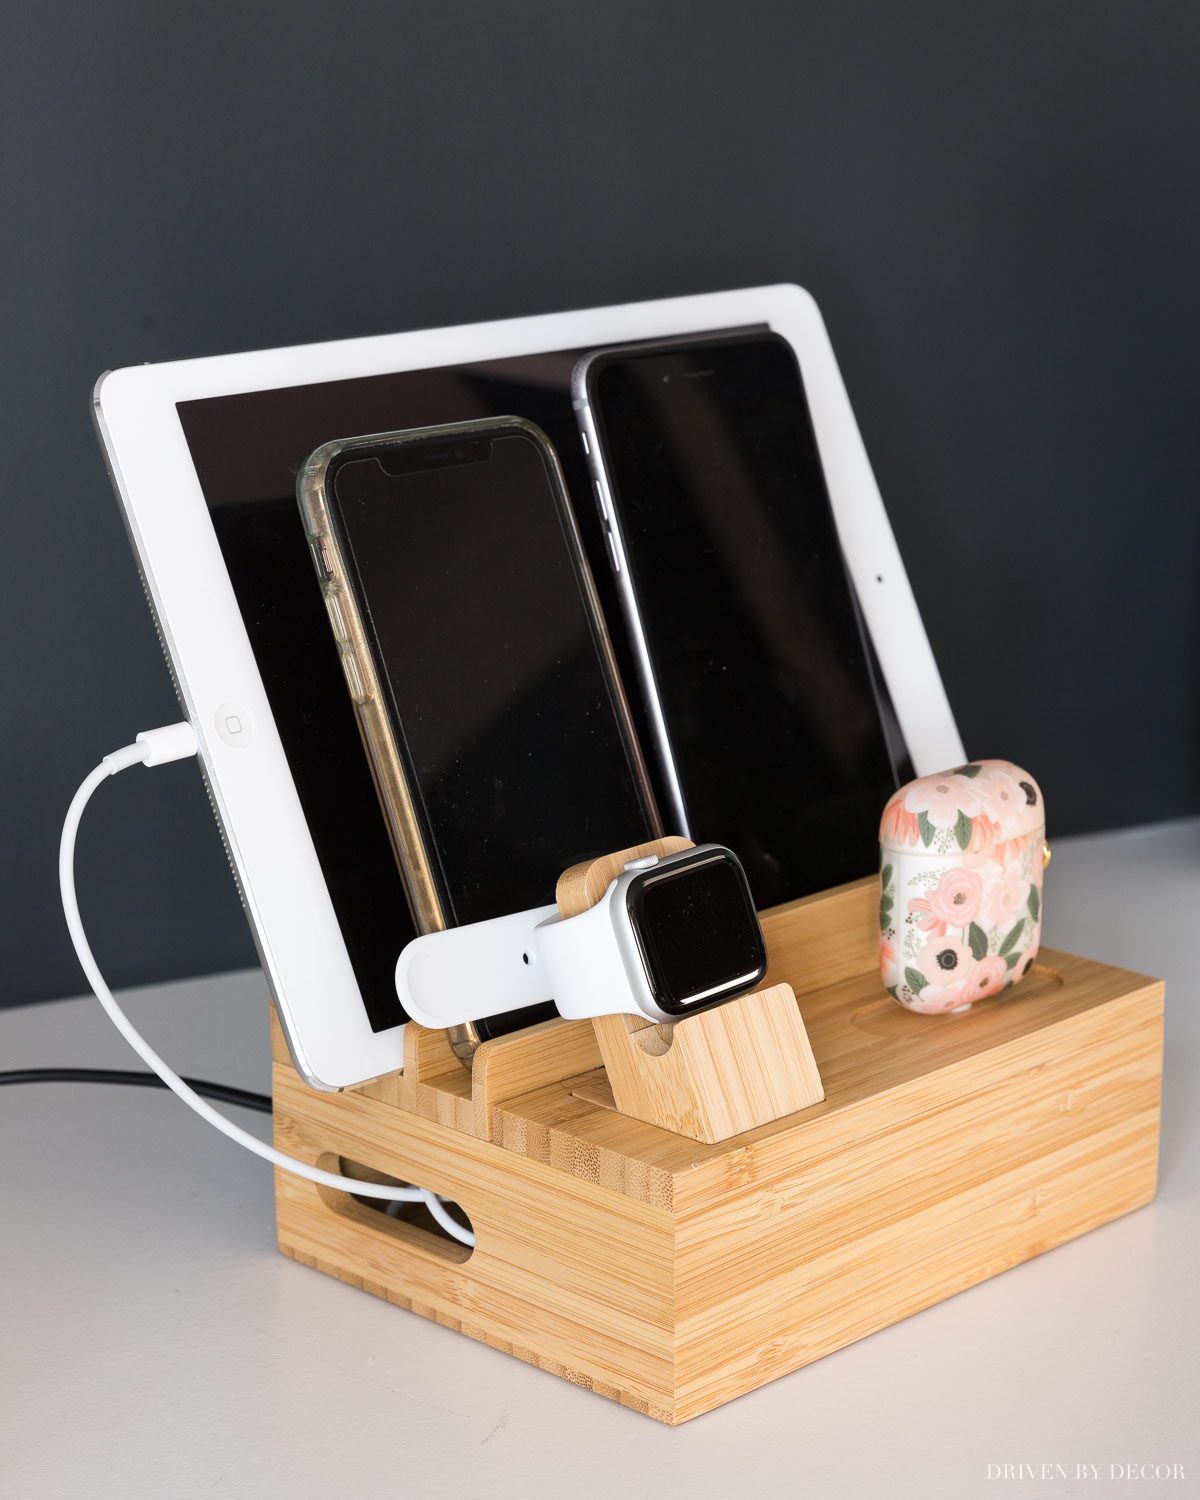
If you want other approaches for whipping your workspace into shape, be sure to look at my post on kept desk organization approaches.
Another option to consider is adding an outlet to the inside of a drawer for hidden charging of your electronics – we did that as part of our kitchen redo:
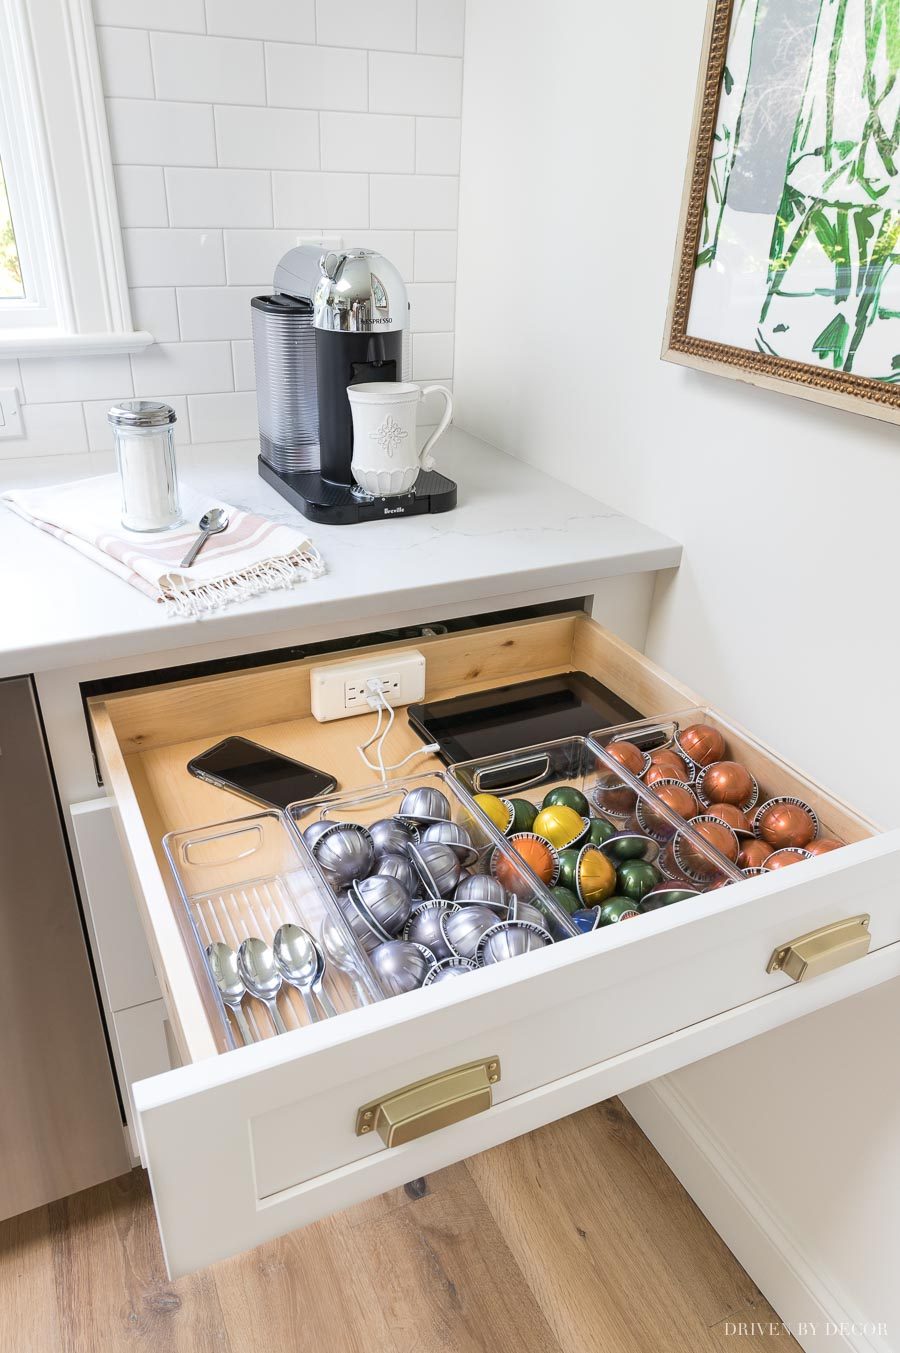
We ordered ours as part of our new kitchen cabinets but you can also buy {this in-drawer docking outlet} to add to an existing drawer in your kitchen. Look at my post on kitchen drawer organizers for more approaches of smart storage solutions for your kitchen.
And one last idea… if you're looking to charge your phone easily at your bedside, consider a lamp with a built-in USB outlet in the base – both polished and functional! We have a pair of these USB lamps in our guest room and guests really appreciate how easily it is to charge their phones bedside:
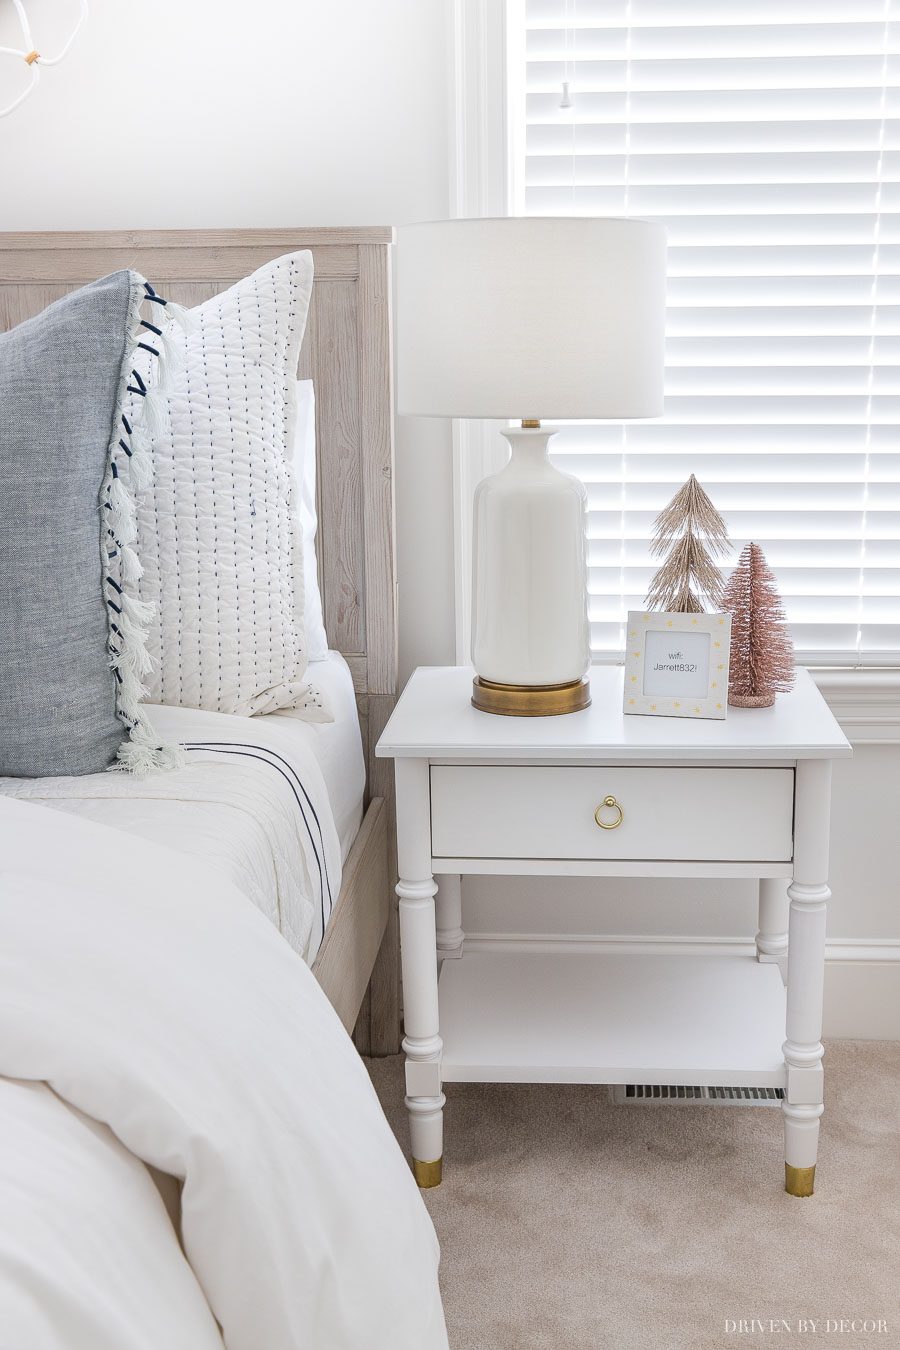
Our exact lamps are no longer available but you can find several options for table lamps with built-in usb outlets {here}.
Thanks for stopping by everyone! If you're looking for more ways to get your home organized, be sure to look at my other home organization posts {here}!

Elsewhere in the house
 DIY ProjectsStar Anise Wreaths: An unfussy DIY
 DIY ProjectsWays to Make a Tassel: An unfussy DIY
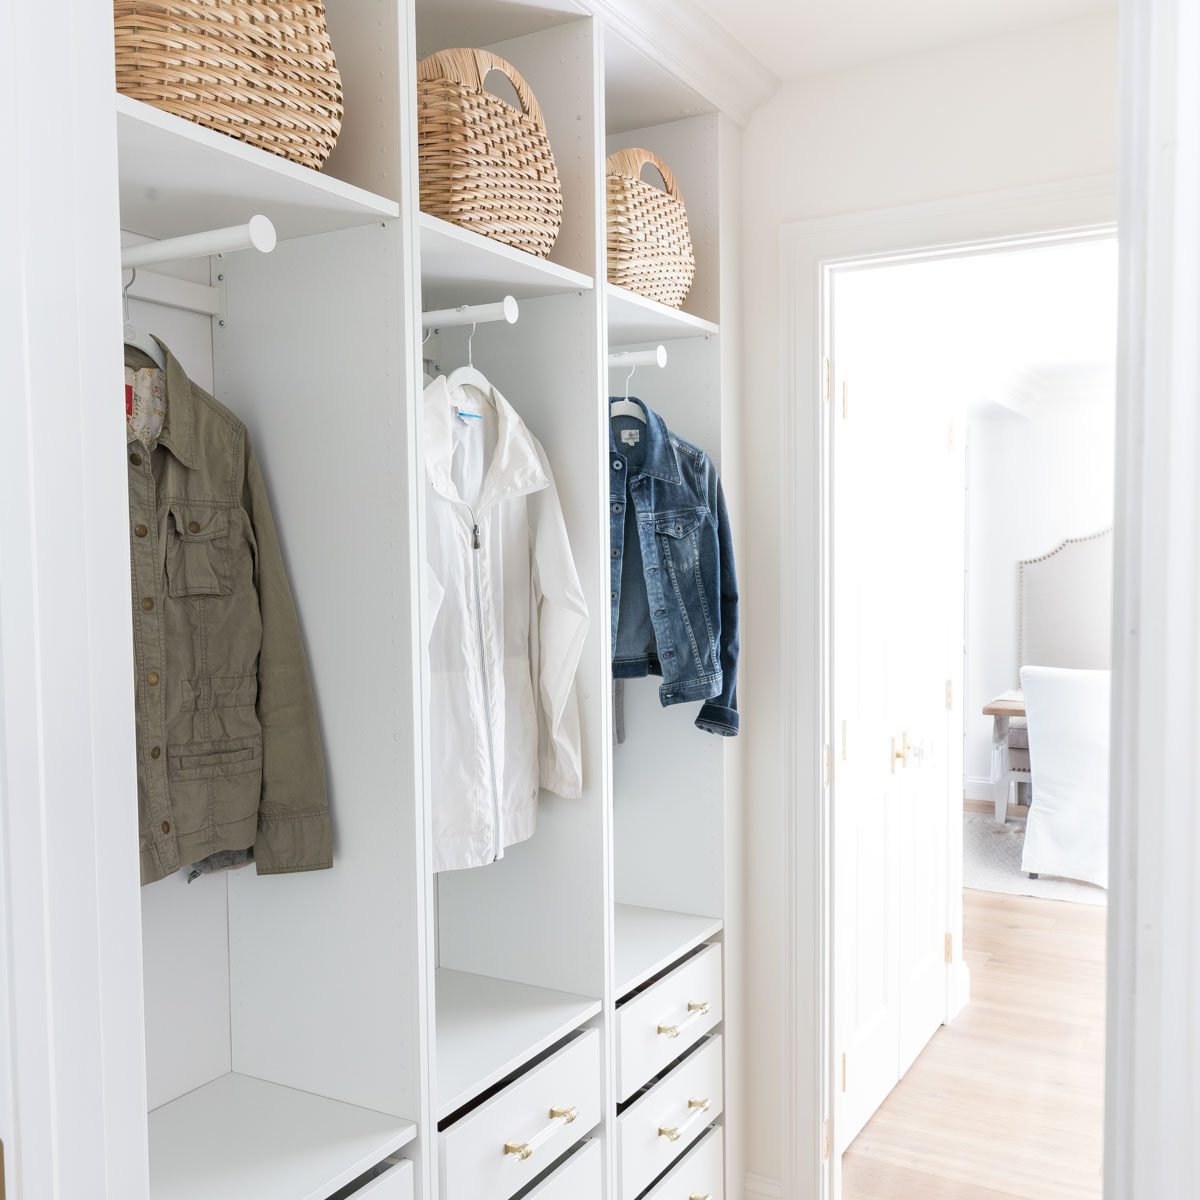 DIY ProjectsOur IKEA PAX Mudroom
 DIY ProjectsDIY Macrame Fringe Table Runner
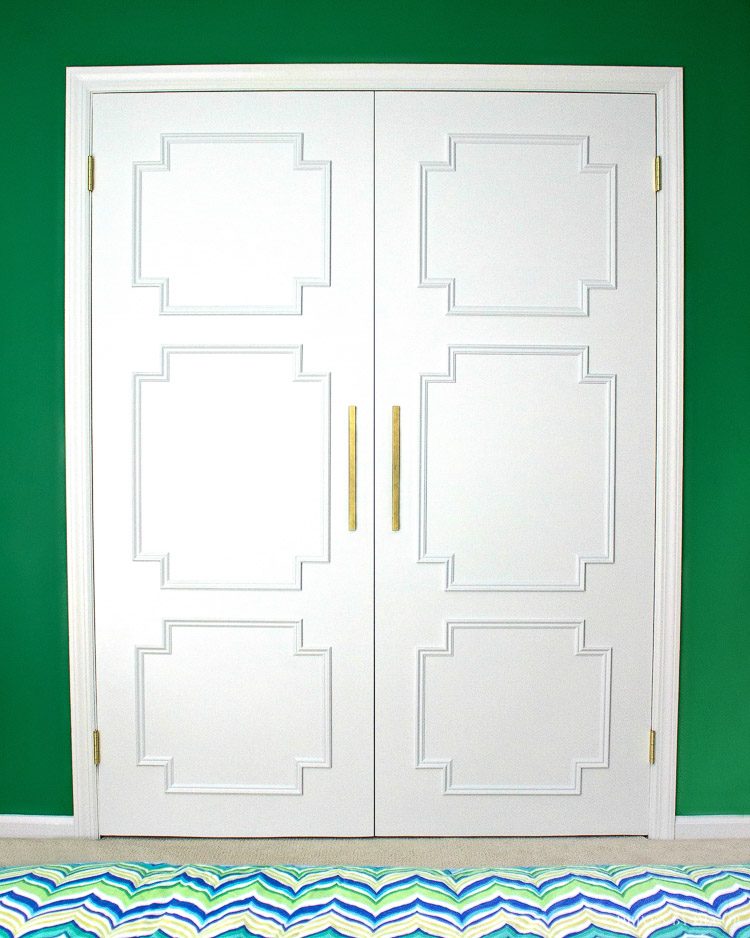 DIY ProjectsThe Step by Step: Flat Panel Door Makeover
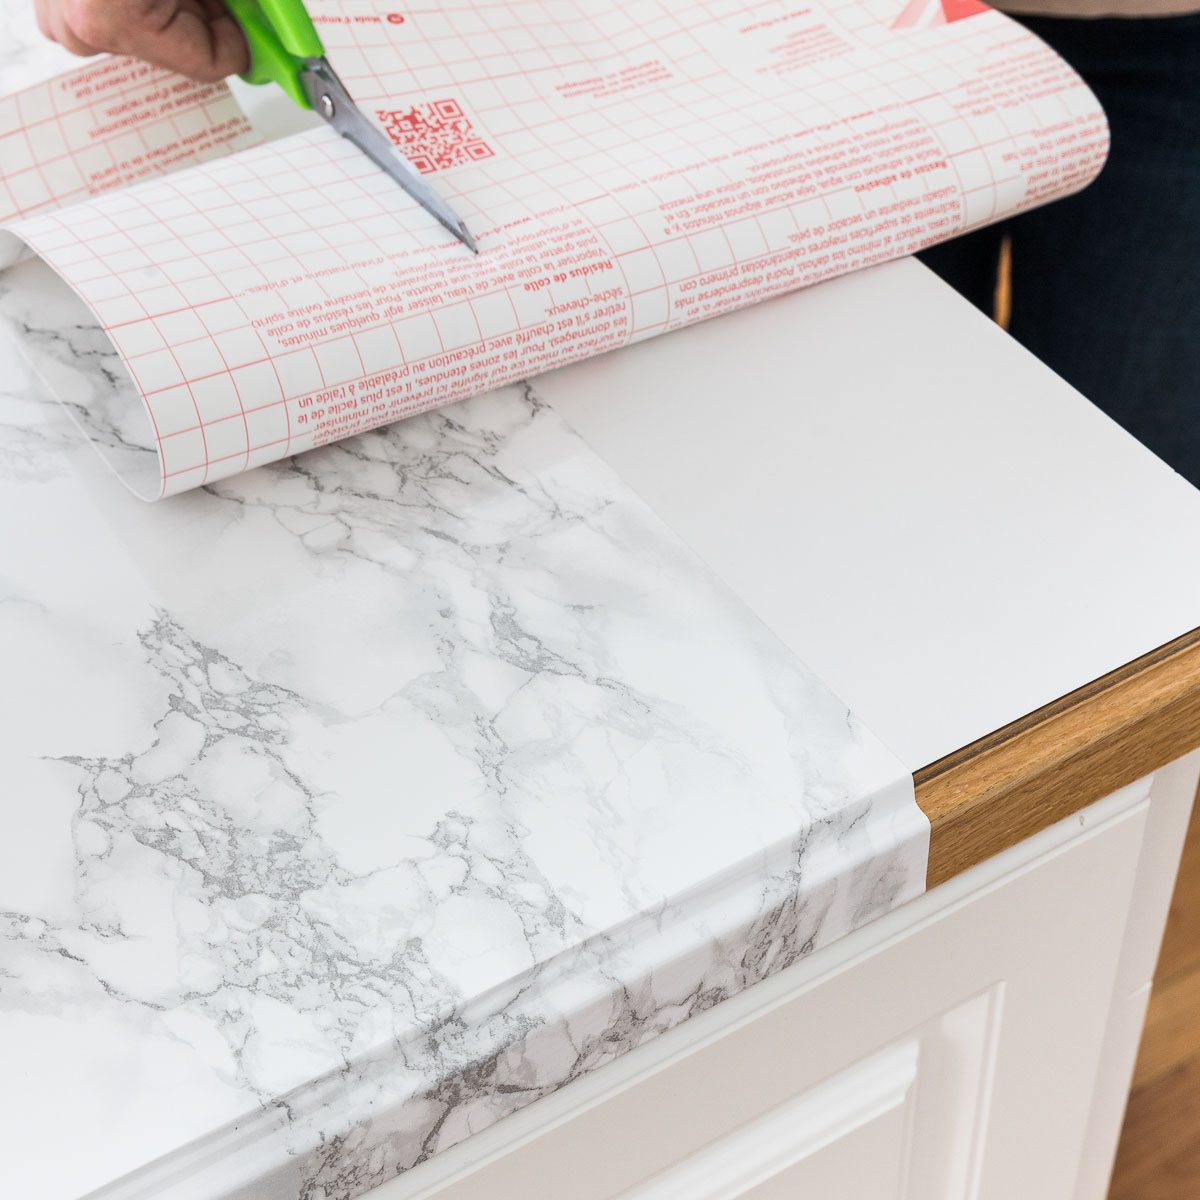 KitchensMarble Contact Paper For Countertops: An unfussy Fix for Ugly Countertops
 DIY ProjectsWays to Hang Peel and Stick Wallpaper
 BathroomsOur Painted Bathroom Vanity: The “Before” and “After” and How-to Walkthrough
 DIY ProjectsCabinet Pull Holes Slightly Off? Here's What to Do