
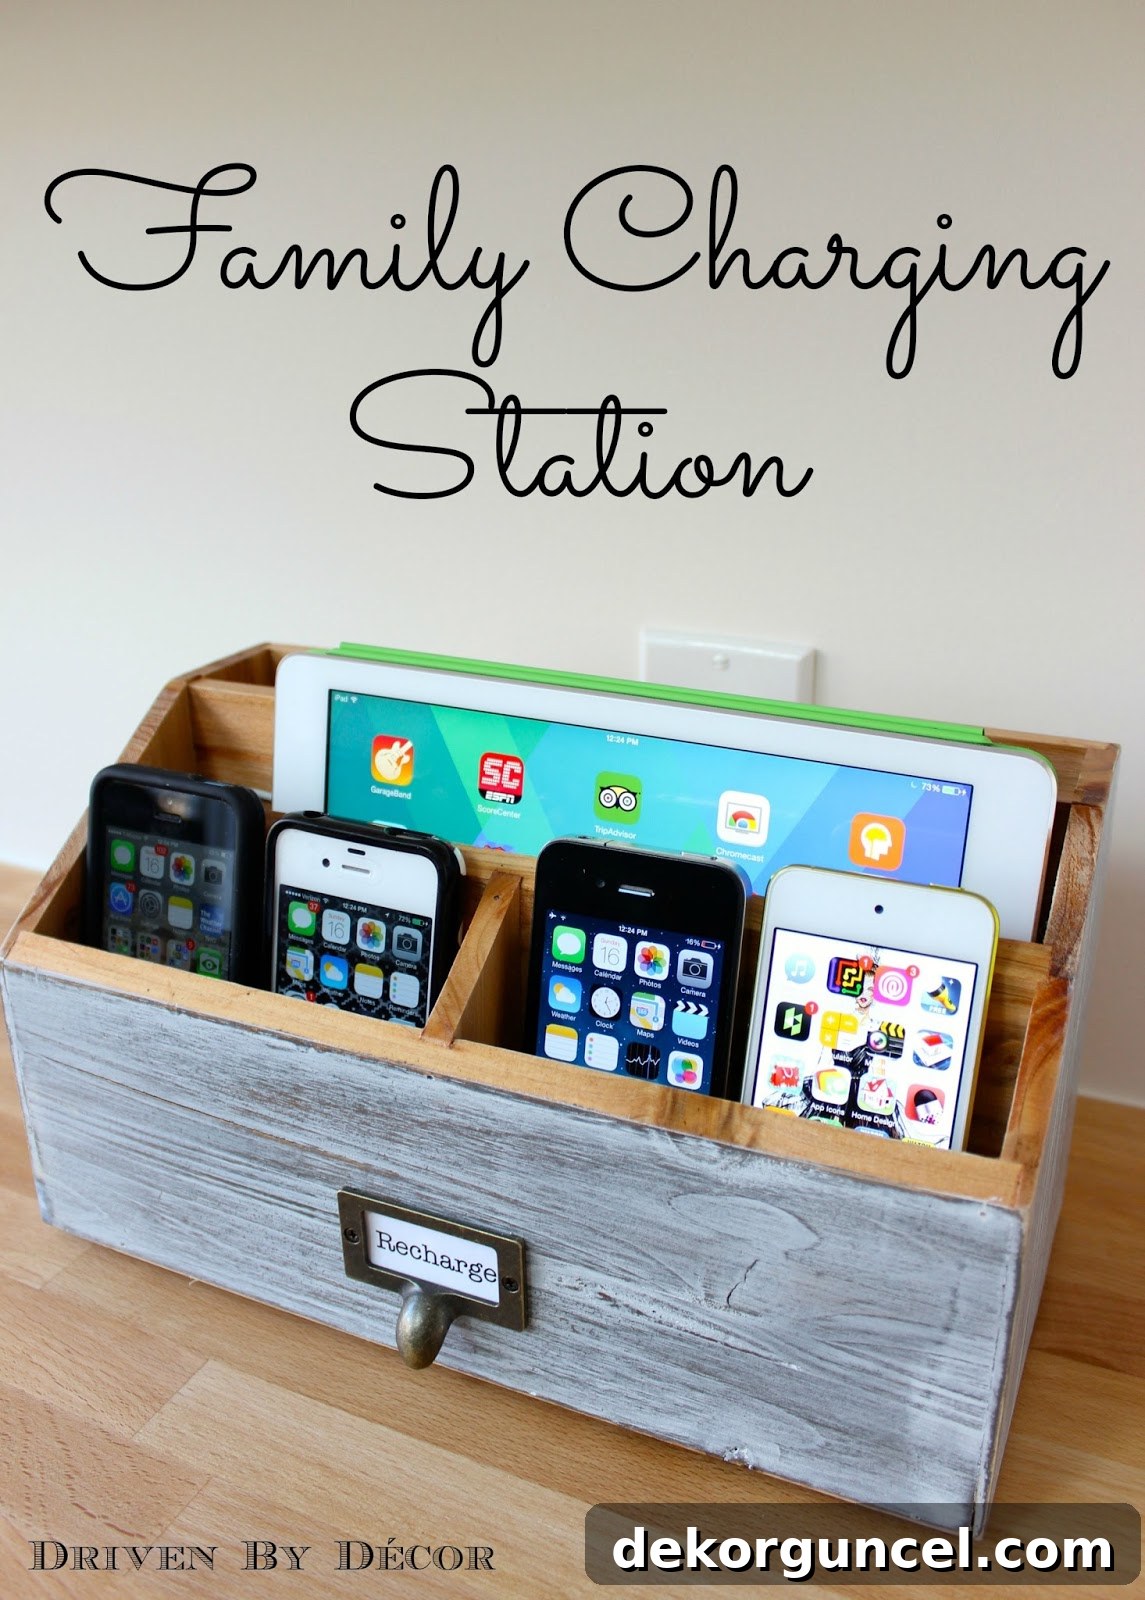
Revolutionize Your Space: Create a Clutter-Free DIY Charging Station
Are you tired of the endless tangle of charging cables cluttering your countertops, nightstands, or desk? Do you find yourself constantly searching for an available outlet or a specific charging cord? If so, you’re not alone. In today’s digitally driven world, our homes are filled with an ever-growing array of electronic devices, each demanding its own power source. This often leads to a chaotic mess of wires and misplaced gadgets, creating daily frustrations and an unsightly appearance.
Imagine a serene, organized spot where all your electronics can charge neatly and efficiently, always ready for use. That vision became a reality for me when I embarked on a simple yet incredibly impactful DIY project: creating a dedicated family charging station. This ingenious solution has been an absolute game-changer in our household, transforming our daily routine and bringing a sense of calm to our tech-heavy lives. Our charging cords now reside permanently in their designated spots, and every smartphone, tablet, and wearable device has a clear home for effortless charging. Ready to reclaim your space and simplify your life? Join me as I guide you through the straightforward steps to build your very own DIY charging station! (This post includes commissionable links; for more information, please see my full disclosure statement here)
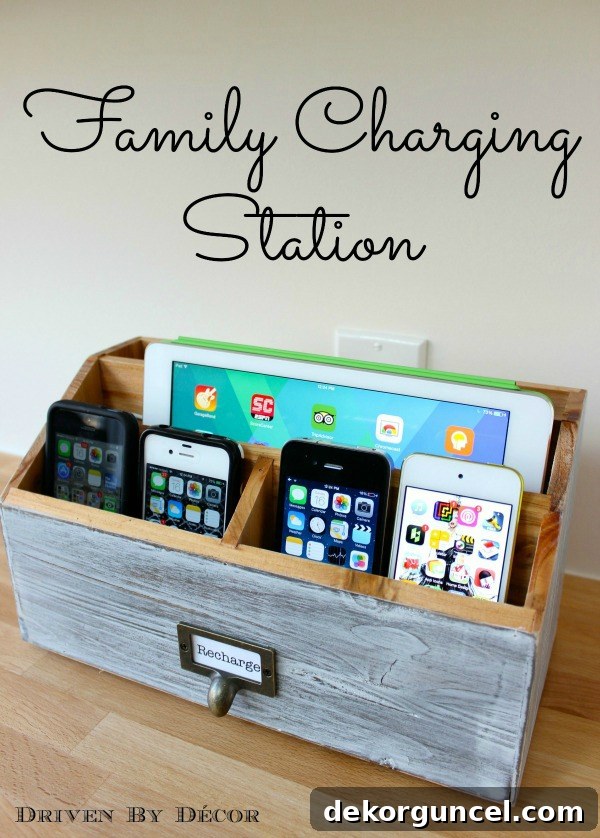
Crafting Your Custom DIY Charging Station
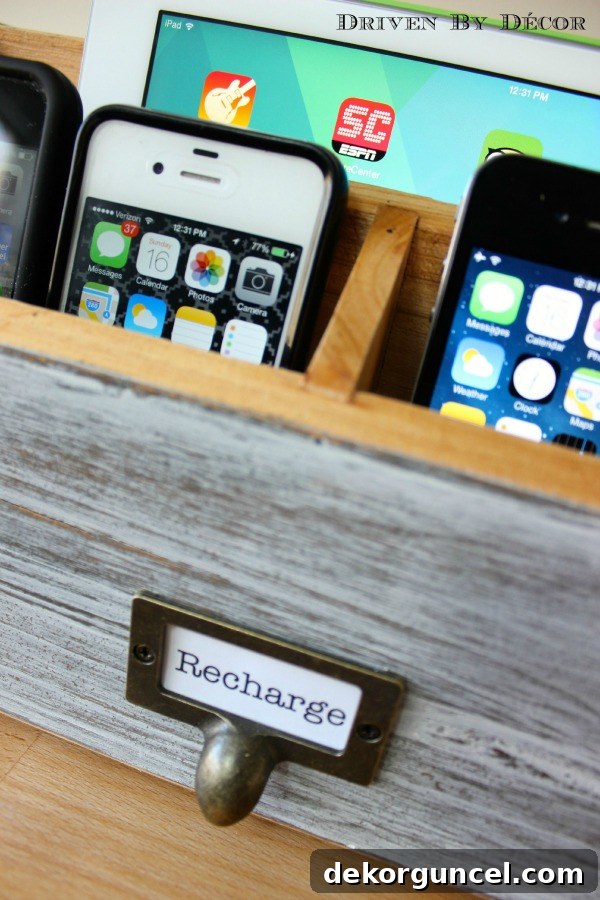
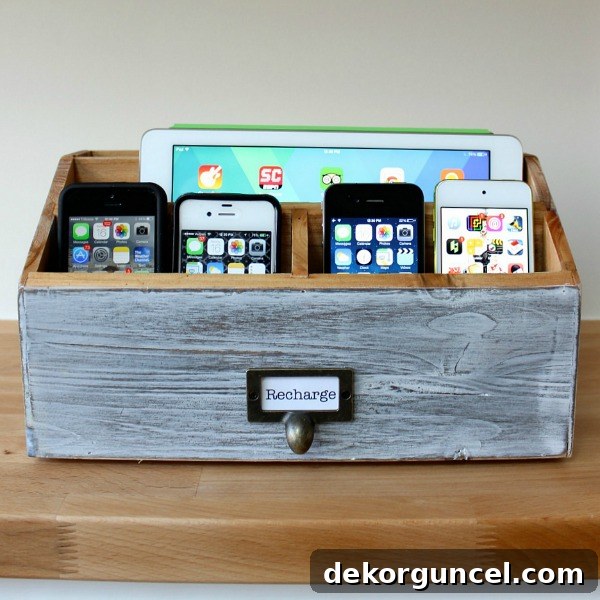
The foundation of my charging station project began with an affordable, open desktop wood organizer. I discovered this perfect piece at HomeGoods, specifically chosen for its dimensions, which allowed me to comfortably fit four iPhones across the front row and an iPad in the central compartment. When selecting your organizer, consider the number and size of devices you typically charge. You want something sturdy, aesthetically pleasing, and with enough depth and width to accommodate your electronics without feeling cramped. If you prefer the convenience of online shopping, a fantastic alternative that offers similar functionality and style is this versatile desktop storage set, readily available to order and customize.
The very first hands-on step in building your custom charging hub is to meticulously plan and mark the locations for your charging cord holes. These holes are crucial for routing your cables discreetly from underneath the organizer to your devices. Begin by placing your devices in their intended slots within the organizer, then carefully mark where each cord naturally exits the device. I highly recommend drilling small pilot holes first. This allows you to verify the exact placement before committing to larger holes, ensuring precision and preventing mistakes. Once satisfied with the pilot holes, proceed to drill larger holes that are just wide enough to fit the smallest end of each charger cord. The goal is a snug fit that keeps the cables from falling through, yet allows for easy insertion and removal.
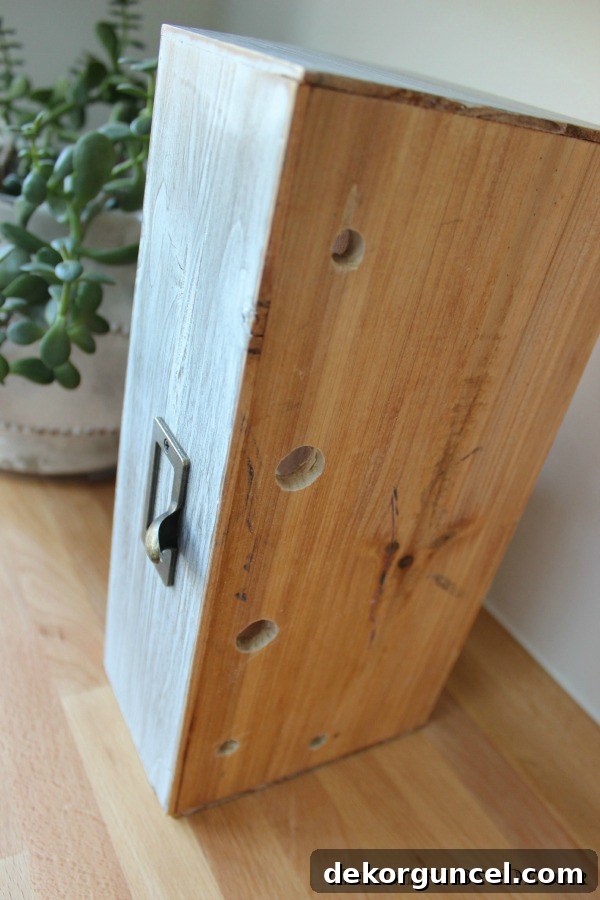
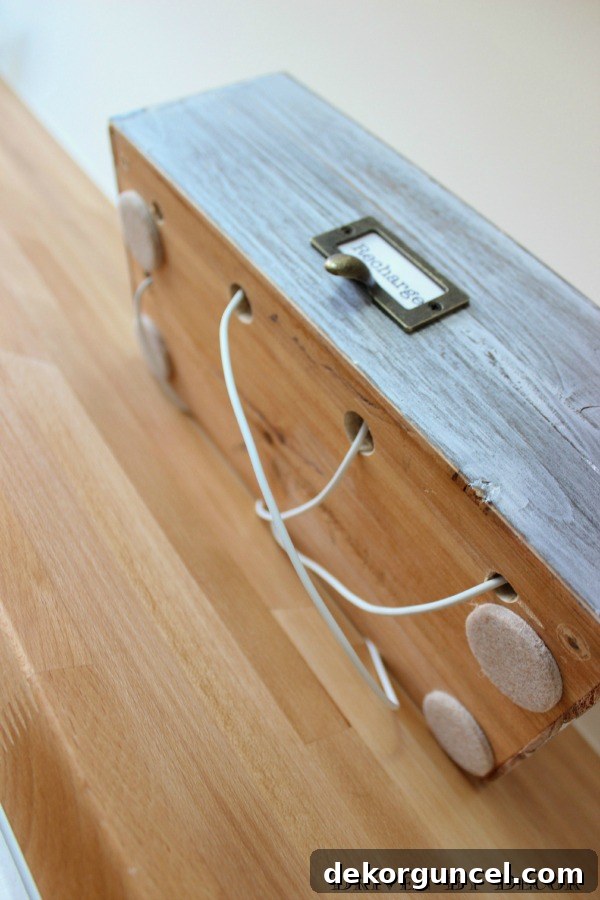
For optimal tidiness and functionality, the choice of charging cords is paramount. Since my charging station is positioned directly in front of a wall outlet, I opted for shorter charging cords, similar to these compact options. The beauty of using shorter cords is that they eliminate excess slack and prevent the frustrating tangle that long cables inevitably create. Once installed, these dedicated cords remain a permanent fixture of the charging station, meaning no more frantic searching for a charger when a device is running low. This simple organizational hack saves precious time and eliminates a common source of daily frustration.
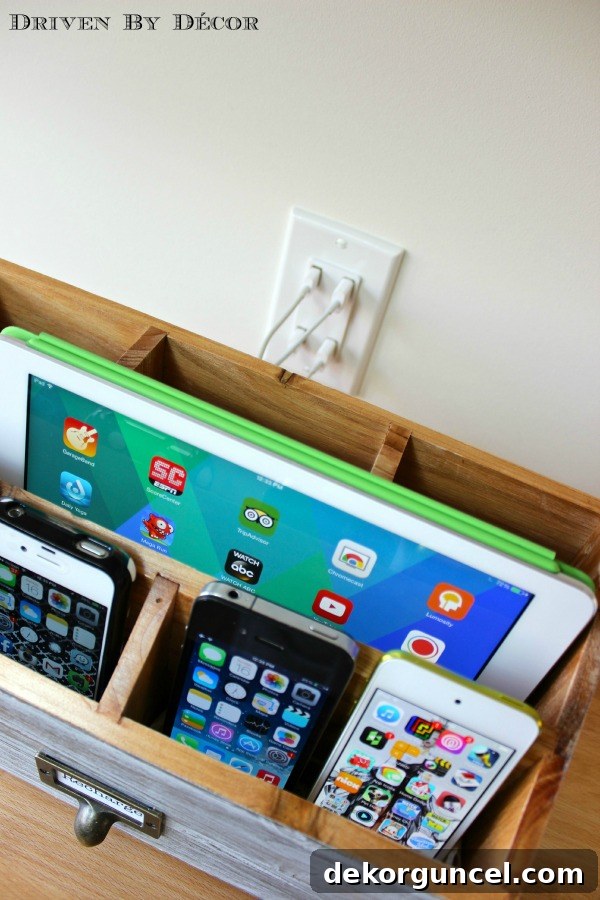
An often-overlooked yet critical element for this DIY charging station is the addition of circular felt pads to the bottom of your organizer. Products like these adhesive felt pads are ideal. These pads serve a dual purpose: they provide crucial protection for your furniture surfaces, preventing scratches and scuffs, and more importantly, they create a small but sufficient gap between the base of the organizer and the surface it rests upon. This subtle elevation allows the charging cords to pass cleanly and unobtrusively underneath the station and plug into the outlet behind it without being pinched or straining. This detail ensures a clean look and proper cable management.
To add a touch of personality and clear functionality, I designed a small “Recharge” label to adorn the front of my charging station. This isn’t just a decorative element; it serves as a subtle reminder of the station’s purpose and adds a polished, finished look to the entire project. You can easily create your own label using a word processor and printer, selecting a font and style that complements your home decor. A simple label like this enhances the aesthetic appeal and reinforces the organizational intent.
Elevate Your Charging Experience with a USB Wall Outlet
While the DIY charging station itself is a triumph in organization, we decided to take our setup a step further to maximize efficiency and minimize the need for bulky adapters. If you peek behind our newly organized charging station, you’ll uncover the “secret sauce” of this project: a standard wall outlet that we cleverly converted into a multi-port USB charger. This upgrade is a brilliant solution for homes with numerous USB-powered devices, as it eliminates the need for multiple wall bricks, making for an even cleaner and more streamlined charging environment.
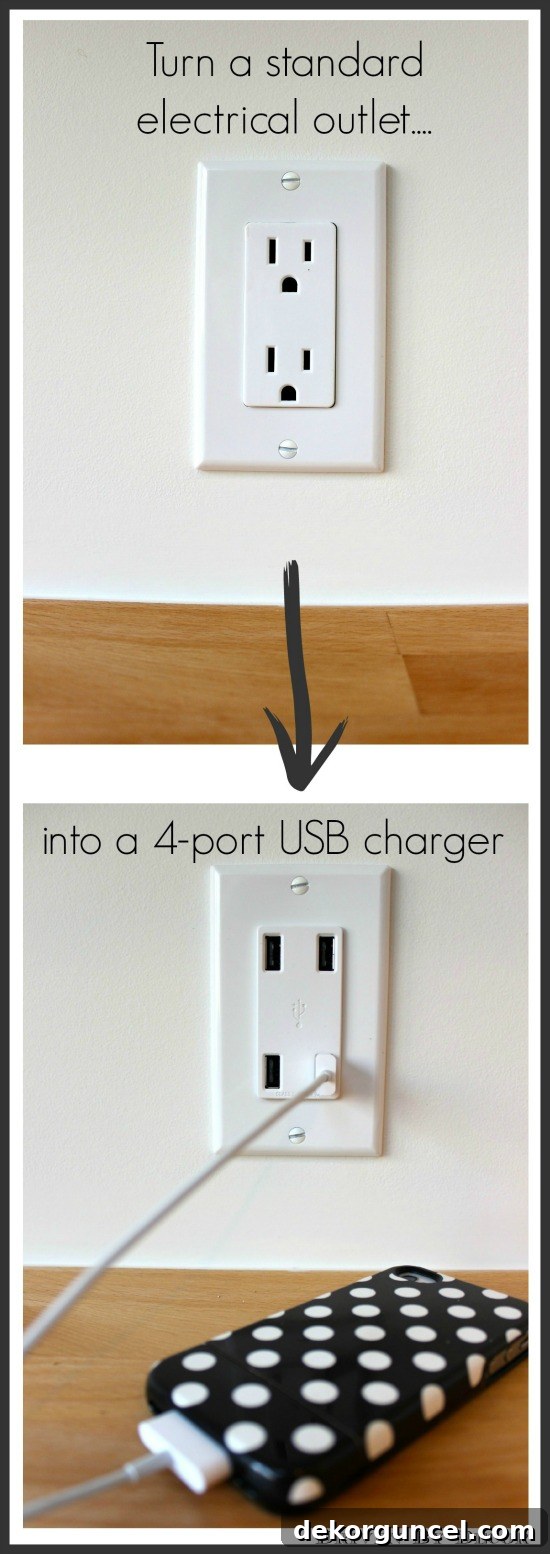
My husband and I are generally cautious when it comes to electrical work, but we found this particular project surprisingly straightforward and safe, provided you follow the instructions carefully. We utilized this specific 4-port USB charger, which has proven to be incredibly reliable. It’s important to note that the faceplate for these types of outlets is typically sold separately. Therefore, if your existing outlet cover is the traditional two-hole style, remember to add one of these modern Decora wall plates to your shopping list to ensure a seamless and professional finish.
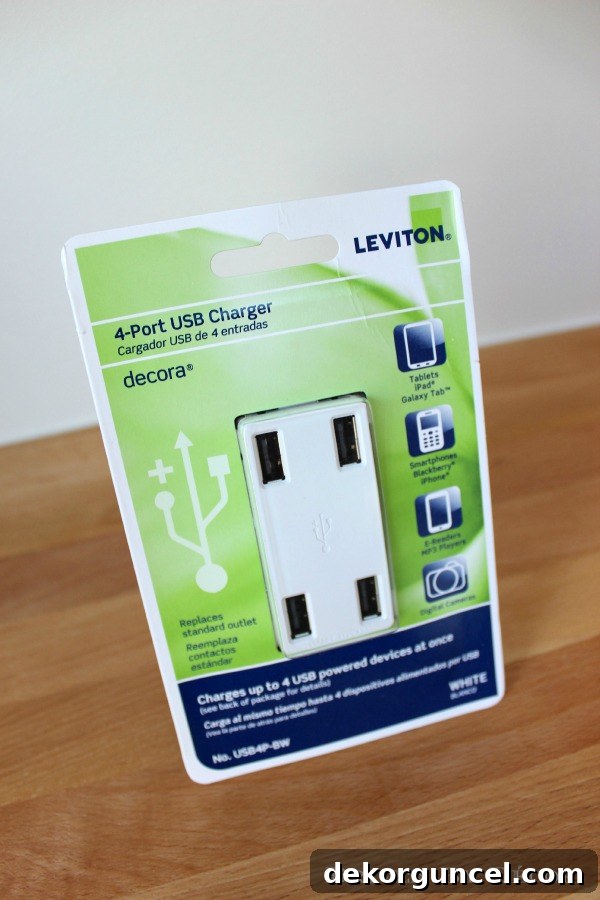
The installation process for the USB outlet was remarkably quick, completed in under five minutes by diligently following the included instructions. First and foremost, safety is paramount: we began by locating the circuit breaker for the specific outlet and absolutely ensured the power was completely off by testing the outlet before proceeding. Next, we carefully removed the old outlet’s faceplate, gently pulled the existing outlet out of its electrical box, and disconnected its wires. The new USB charger comes pre-wired with three colored wires (typically black, white, and green for ground). We simply connected these new wires to their corresponding colored wires coming from the wall outlet box, ensuring each connection was twisted tightly and securely. To further enhance safety and stability, we then screwed on the plastic wire connectors and wrapped them firmly with electrical tape. Finally, the USB charger device was carefully mounted and secured within the wall box. It’s truly a simple upgrade that yields incredible benefits!
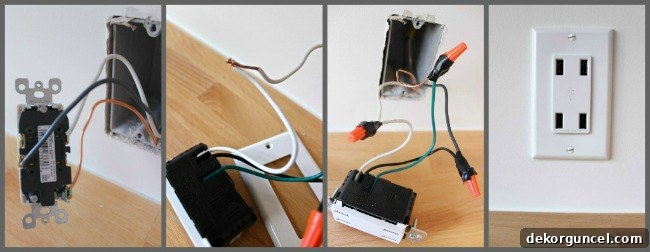
A few crucial considerations for a smooth and safe installation:
1. **Wall Box Dimensions:** The Leviton USB charger, like many modern electrical devices, is designed to fit into standard electrical wall boxes. However, some older homes may have shallower wall boxes that might not accommodate its depth. Before purchasing, it’s wise to measure your wall box; it should ideally measure at least 3 inches high, 2 inches wide, and 2.5 inches deep to ensure a proper fit.
2. **Safety First – Consult an Expert:** I must emphasize that I am not a certified electrician. Our installation was uncomplicated due to standard wiring, but every home’s electrical system can vary. It is absolutely essential to **read the instructions thoroughly** that come with your USB charger. If you have any doubts, concerns, or if your wiring appears unusual, please do not hesitate to **consult a qualified electrician**. Electrical work can be dangerous if not performed correctly, and professional guidance ensures safety and compliance with local codes.
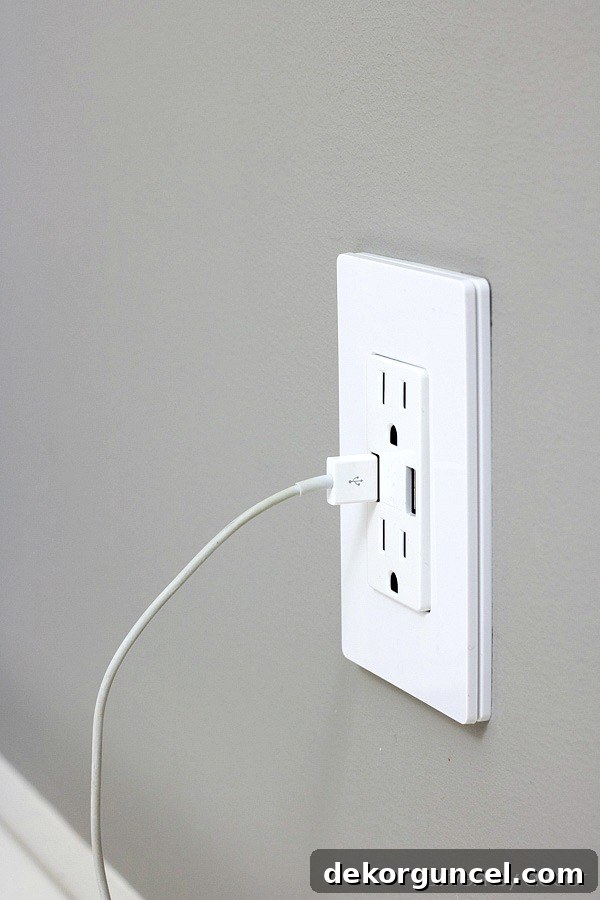
For those who desire both traditional AC outlets and USB charging capabilities, there’s also an excellent option available that combines a regular outlet with two integrated USB ports. You can find such a convenient device here. Again, remember to purchase a compatible wall plate for a complete and cohesive look!
Beyond DIY: Exploring Alternative Charging Solutions
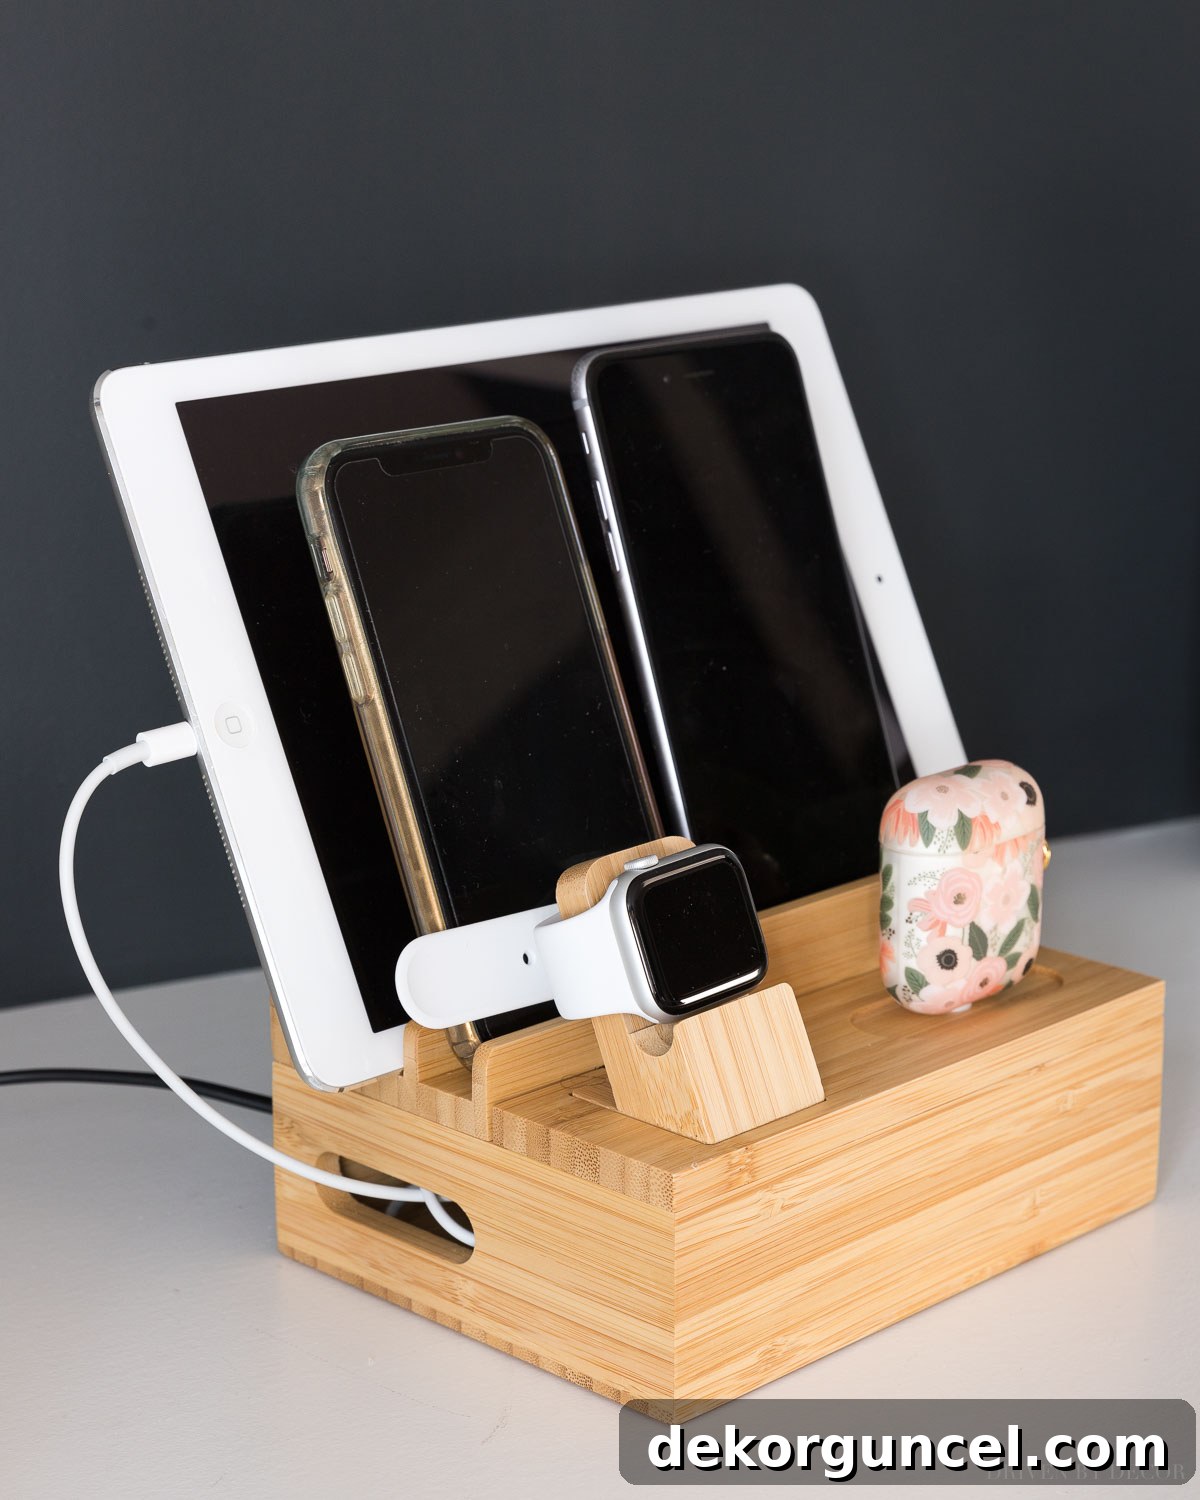
I am genuinely thrilled to have resolved one of our family’s recurring daily dilemmas with this simple DIY project. However, I understand that not everyone has the time, tools, or inclination for a do-it-yourself venture. The good news is that there are fantastic pre-made options available that offer similar benefits of organized charging without the need for any construction. For instance, in our office, we utilize this elegant bamboo charging station. It’s a wonderful, ready-to-use solution that beautifully combines functionality with a natural aesthetic, providing dedicated slots for multiple devices and a discreet space for cables. These pre-fabricated stations are an excellent choice for immediate organization.
If you’re eager for more brilliant ideas to whip your workspace into its most productive and serene shape, I highly recommend exploring my comprehensive post on favorite desk organization ideas. It’s packed with tips and tricks to create an inspiring and efficient work environment.
Another innovative and incredibly discreet charging solution to consider is integrating an outlet directly into the inside of a drawer. This offers the ultimate hidden charging spot for all your electronics, keeping them completely out of sight and maintaining a pristine, uncluttered aesthetic in your living spaces. We incorporated this ingenious feature as part of our recent kitchen remodel, and it has proven to be an invaluable addition, providing a convenient and unseen charging hub for our devices and small appliances.
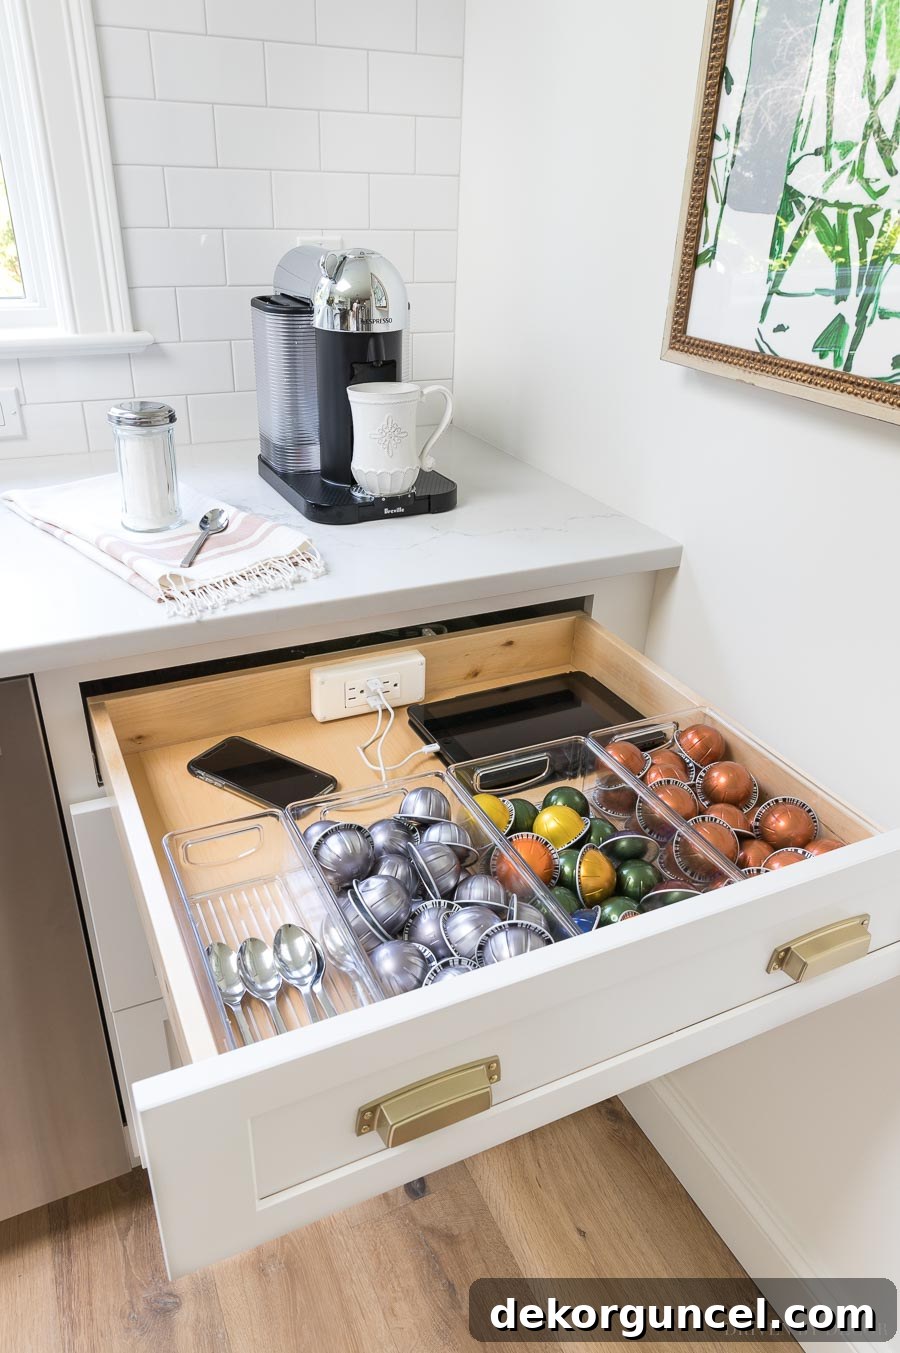
While we had our in-drawer outlet custom-installed as part of our new kitchen cabinets, you don’t necessarily need a full remodel to enjoy this luxury. You can easily purchase and integrate this specialized in-drawer docking outlet to add to an existing drawer in your kitchen or any other room. For more ingenious ways to optimize your kitchen space and create smart storage solutions, be sure to check out my detailed post on kitchen drawer organizers.
And for one final, yet equally brilliant, idea to simplify your charging routine: consider a lamp with a built-in USB outlet conveniently located in its base. This elegant solution offers both beauty and exceptional functionality, making bedside phone charging incredibly easy and accessible. We have a pair of these innovative USB lamps gracing our guest room, and our guests consistently rave about the effortless convenience of charging their phones right by their bedside. It’s a thoughtful touch that combines lighting with modern utility.

While our exact lamps may no longer be available, the market is brimming with stylish and functional options. You can explore a wide variety of table lamps featuring integrated USB outlets here, ensuring you find the perfect match for your decor and charging needs.
Embrace a Clutter-Free, Organized Home
Thanks for joining me on this journey to a more organized and serene home! Tackling the everyday challenge of electronic clutter can significantly enhance your living experience, reducing stress and boosting efficiency. Whether you opt for a custom DIY charging station, a sleek pre-made organizer, a hidden in-drawer solution, or functional USB lamps, the goal remains the same: to create an environment where your devices are always charged, easily accessible, and your space remains beautifully clutter-free. If you’re inspired to discover even more practical and stylish ways to get your home beautifully organized, I invite you to explore my extensive collection of other helpful home organization posts here! Happy organizing!
