Curtains That Get Stuck on a Telescoping Rod: An unfussy Fix
Keep the dimensions nearby. Most of the trouble in these projects starts with scale. I tested the most popular products for smoothing out joints on telescoping curtain rods so your curtain rings don't get stuck when you're opening and closing them. I'm sharing the details on each and what worked best for me! (post includes commissionable links; for more information, see my full disclosure statement {here})
If you're coming over from Instagram for links, The household has linked everything for you below!
Quick Links to the Glide Tape and Acrylic Wands Featured in My Instagram Reel
Find the exact glide tape that I used on my curtain rods {HERE}
Find my exact clip-on acrylic wands {HERE} – if out of stock, {these acrylic wands} look identical
Find my exact light blue kitchen eat-in curtains {here} (mine are the 40″ W x 95″ H in Dusty Blue sold as a pair). Such a great price!!!
Find the exact aged brass ¾″ curtain rods in our bay kitchen window {here}. I connected them with {these corner brackets} and used {these ¾″ rings}
Read on information on glide tape installation plus other details…
Telescoping curtain rods have several advantages, including that they're less expensive than custom-sized rods and their length can be easily adjusted if you need your rod a little longer or shorter than you expected. But there is one major disadvantage: curtain rings often get stuck on the telescoping joint where the smaller diameter rod meets the larger one:
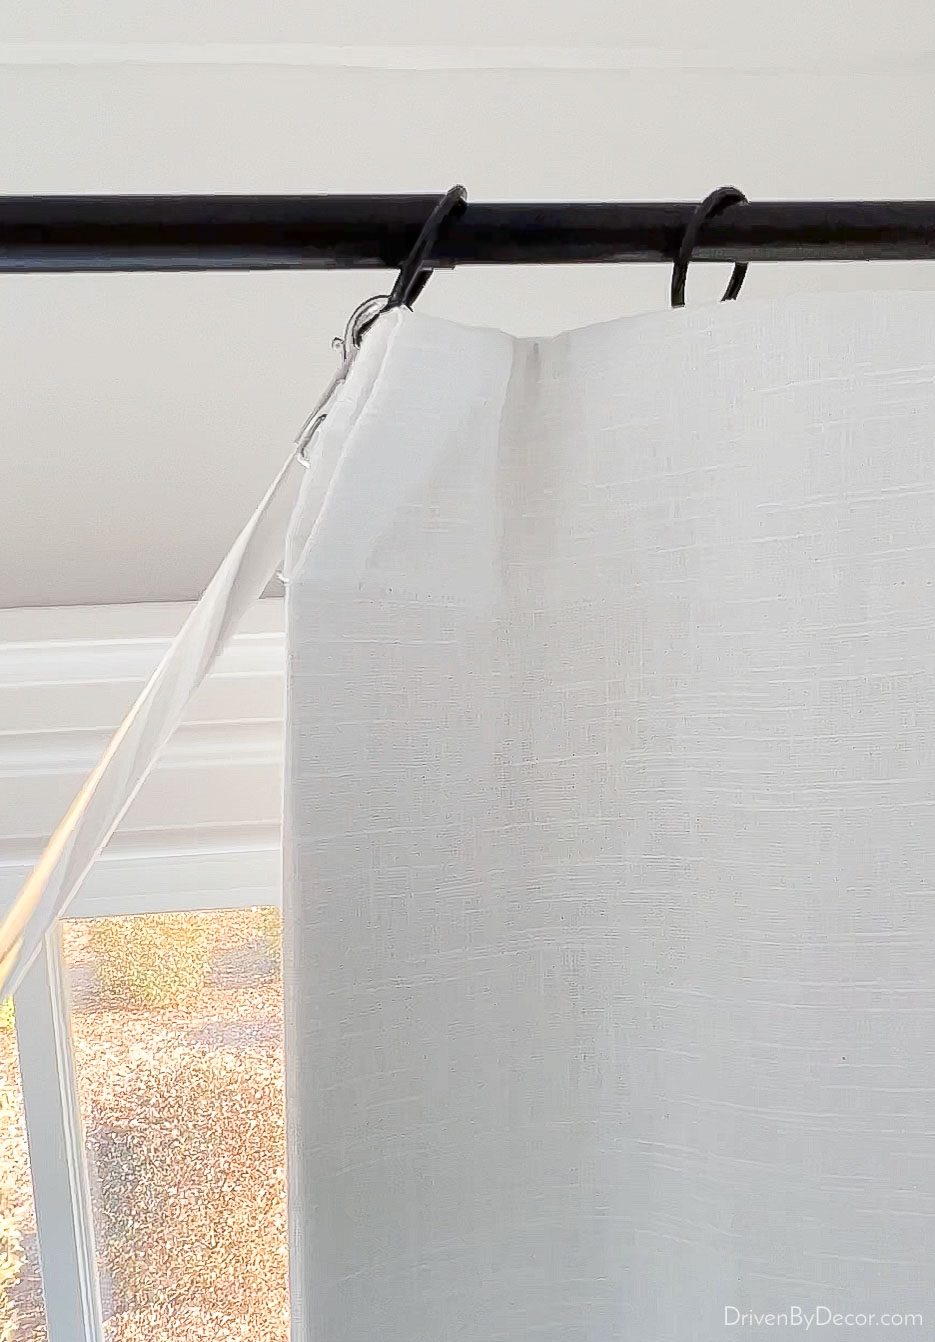
I tested the two most popular products for smoothing out the curtain rod joints, including curtain ring glide tape and curtain joint ramps. Here's what I found…
Curtain Ring Glide Tape
I'll kick things off with the solution that worked best for me, {this curtain ring glide tape}. It's a thin, clear strip of plastic with adhesive on one side that comes in a roll:
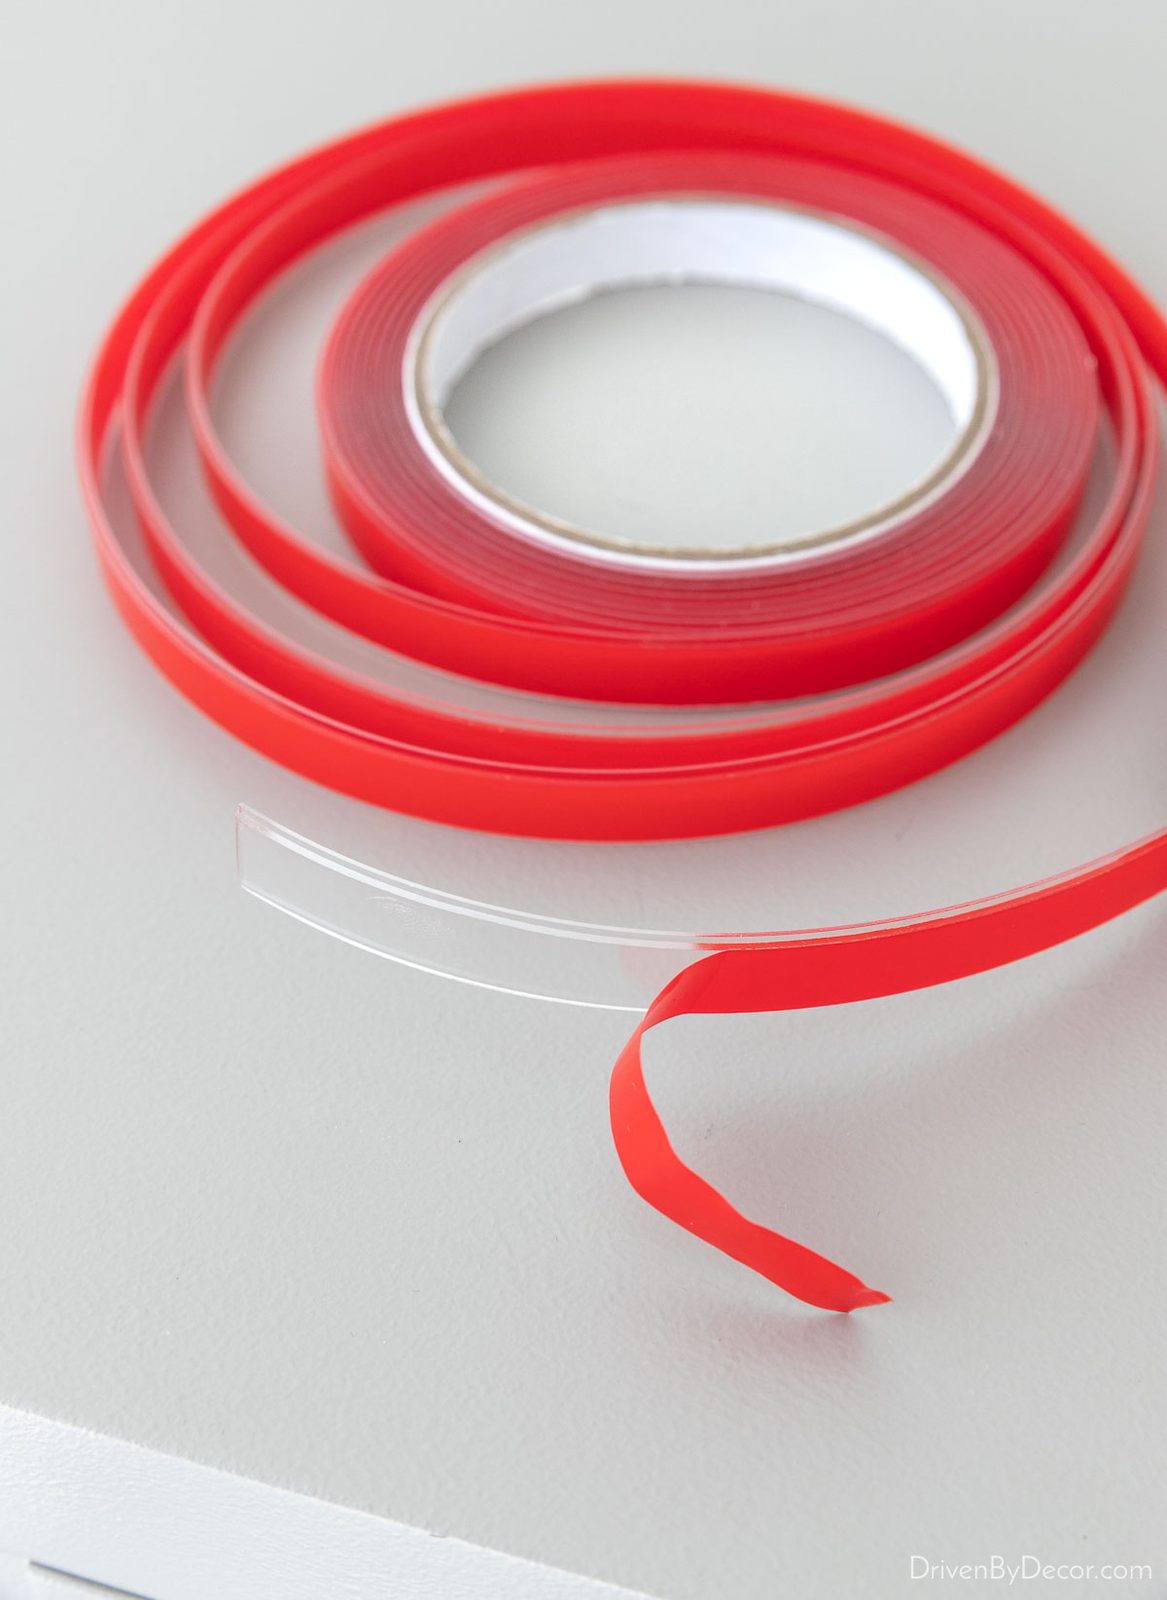
Installation is simple and straightforward. First, it's recommended that you apply and then remove a small piece of tape on your curtain rod as a test to ensure it doesn't damage the surface. It worked fine with my metal rod and I figured that even if it did remove any of the finish, if I wanted to remove it months or years down the road, I could always turn that portion of my rod to the back where you wouldn't see it. You'll also want to make sure your rod is adjusted to the exact length you want to keep it at because you won't be able to adjust it once the tape is applied.
Next, clean off the top of your rod with the provided alcohol wipe. Then simply peel off the backing and stick the tape along the entire length of the curtain rod (not just at the junction):
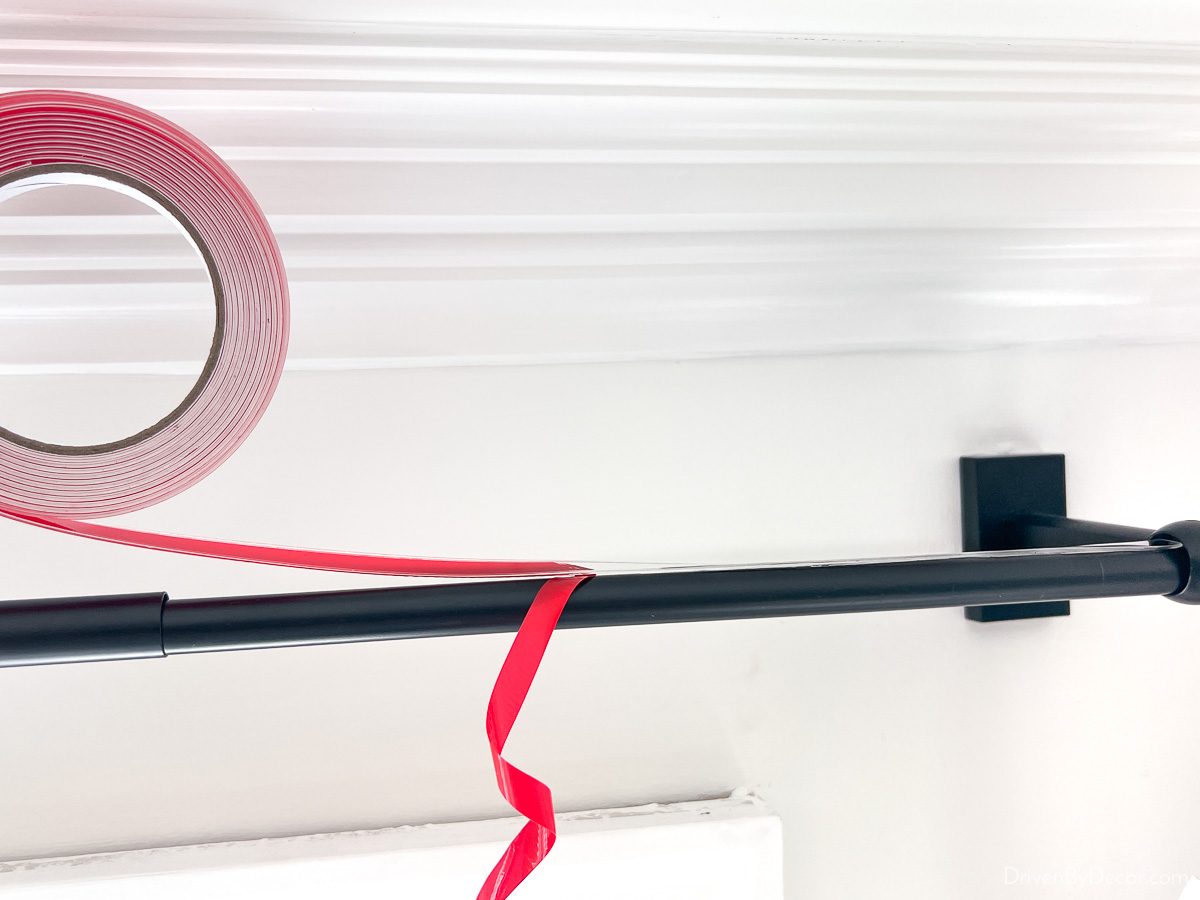
As you continue down the rod over the joint where it telescopes, you'll see how it totally smooths it out:
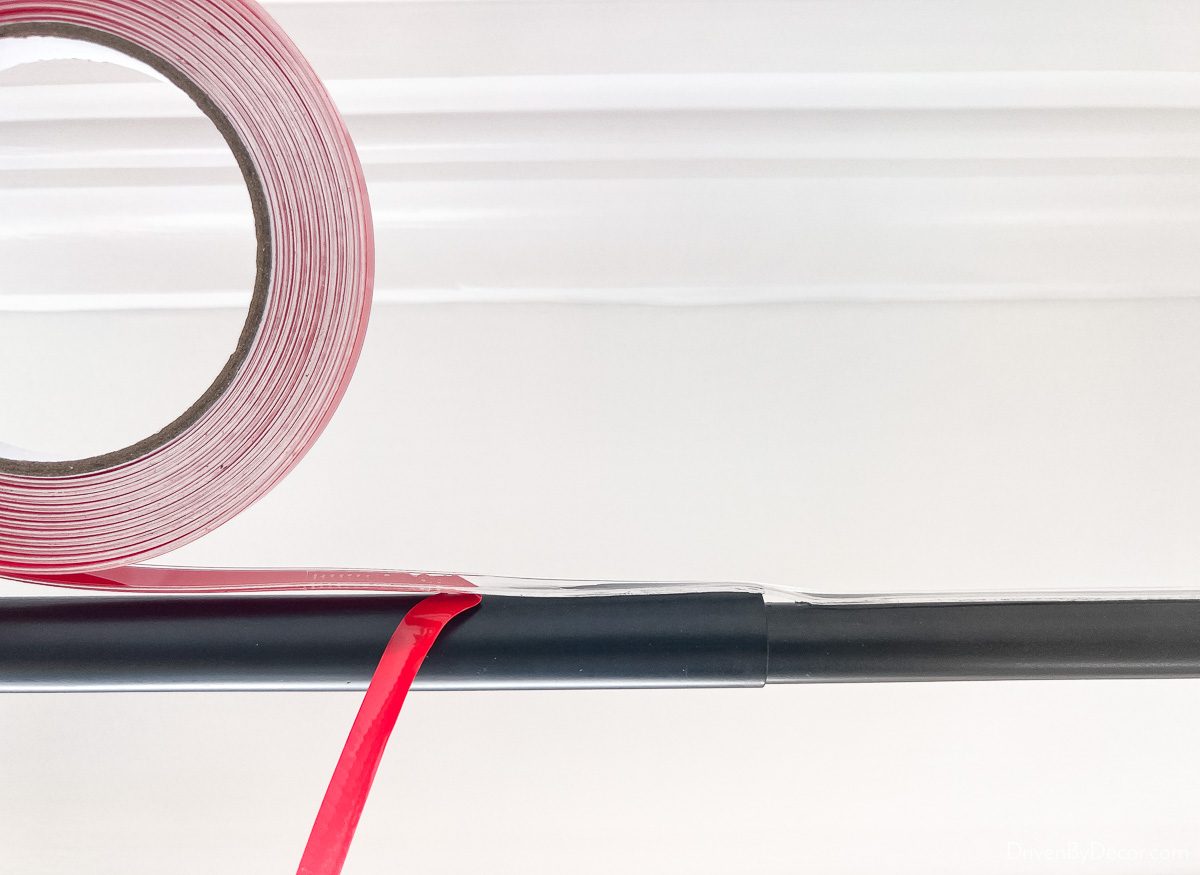
I discovered that if you apply the tape a little more toward the back of the rod rather than directly on top of it, it is less visible from below and the rings still glide well:
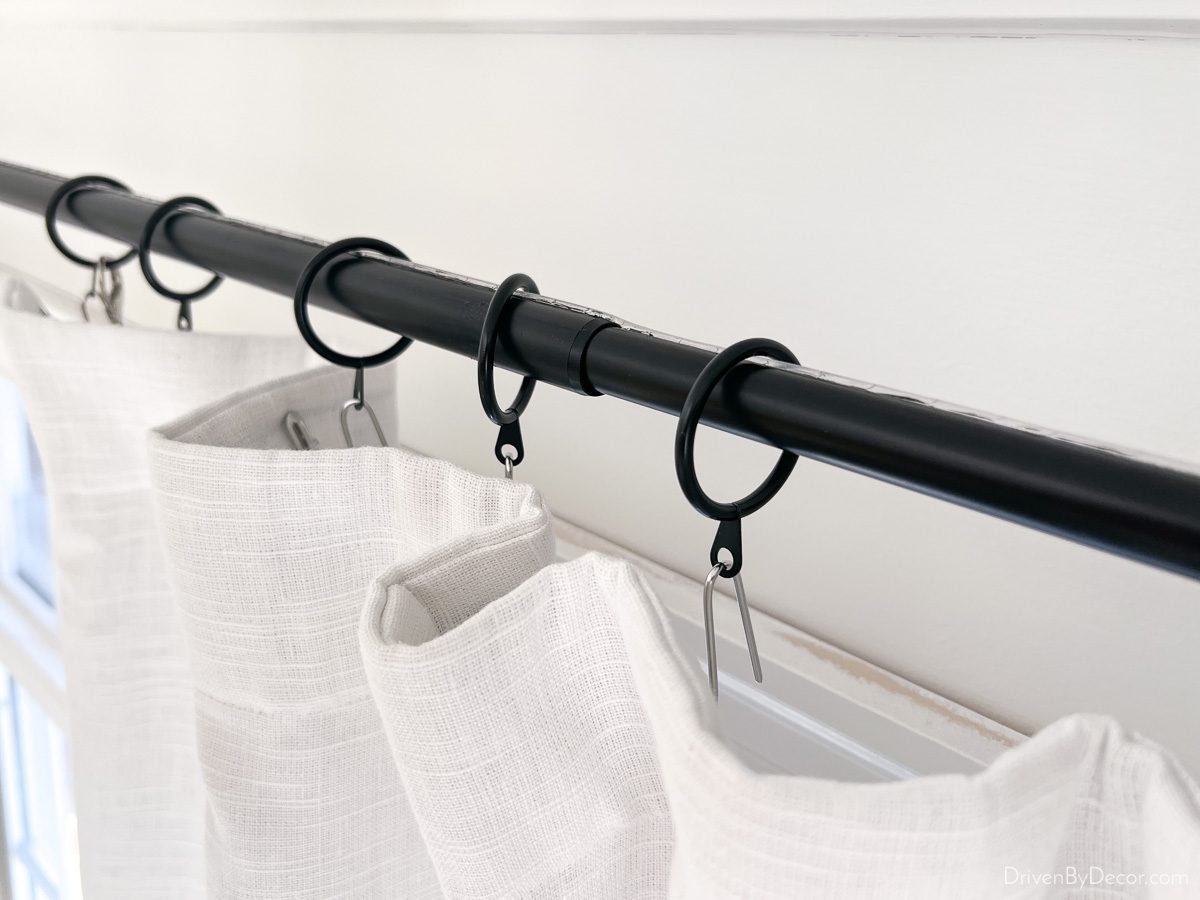
Once the glide tape was stuck along the entire length of the rod, my curtain rings glided right over that telescoping joint with ease! Another advantage is that my curtain rings now move more quietly back and forth across the rod. Definitely a winning solution!
Combined with {these curtain wands} (or {these} that are similar)that attach to the inside curtain ring on each drape (a must-have if you have tall drapes like mine or light colored drapes that are susceptible to staining over time from hand oils), my curtains now glide back and forth like butta!
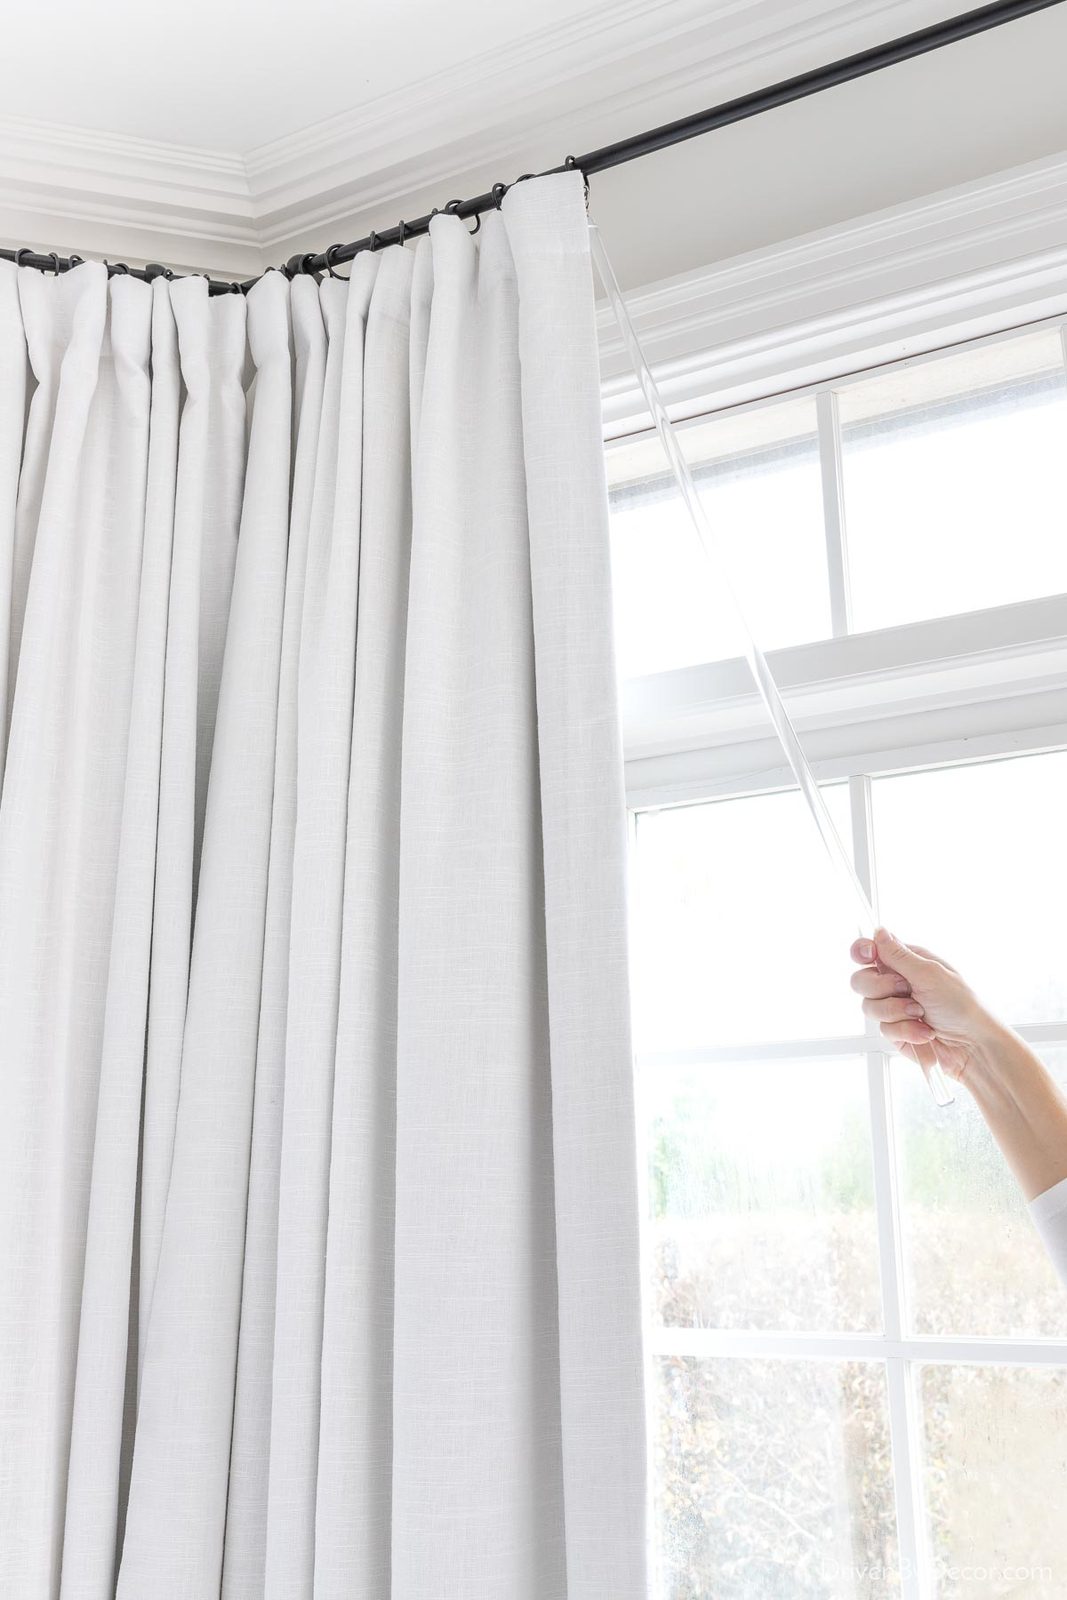
Curtain Rod Joint Ramps
I also tested out {these curtain rod joint ramps} which I had thought would be the winning solution. The concept is clever – the joint ramps are round stickers that have a plastic “ramp” built into them to ease that transition at the telescoping rod joint:
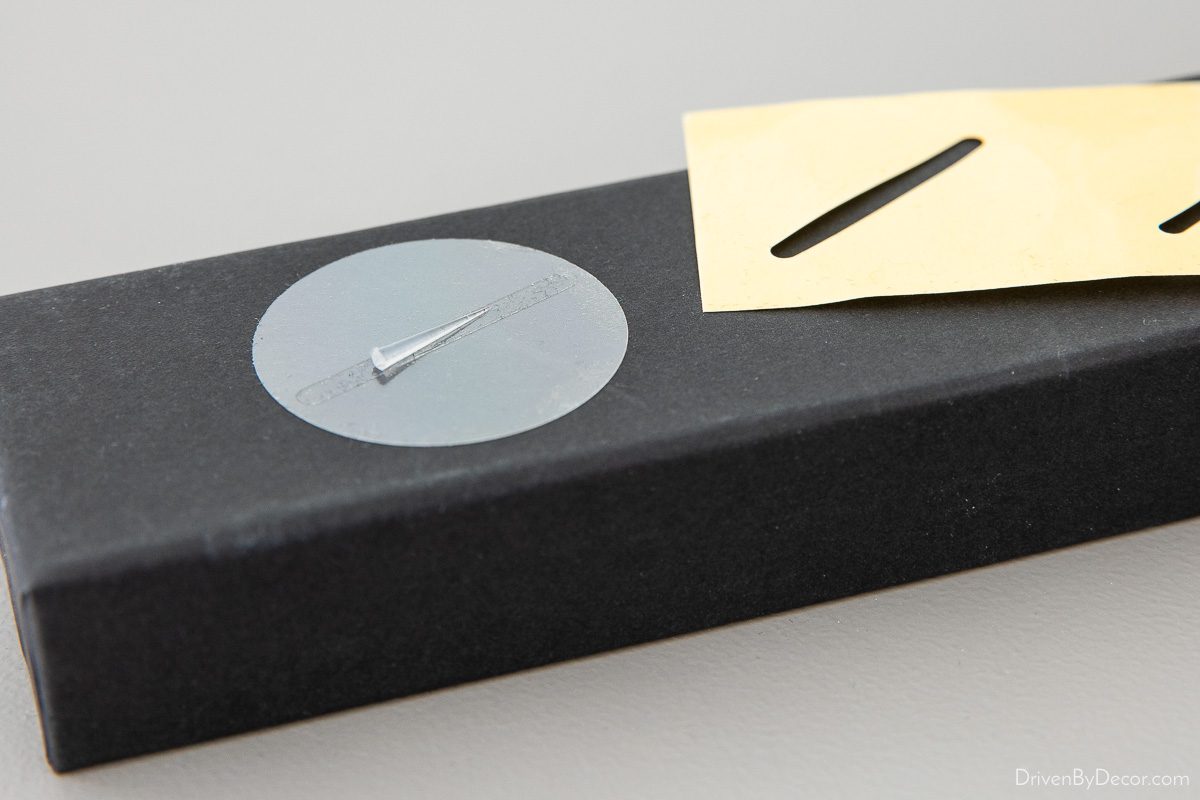
What wasn't too clever is that they came in a box lined with a black velvety fabric that shed tons of little black fuzzies onto the stickers.
To apply the curtain rod joint ramps, you simply clean your rod, butt the higher part of the ramp up against the joint in the rod, and then press the sticker down against the rod to keep it in place. I thought it would be a fairly invisible solution, but honestly it didn't look so great:
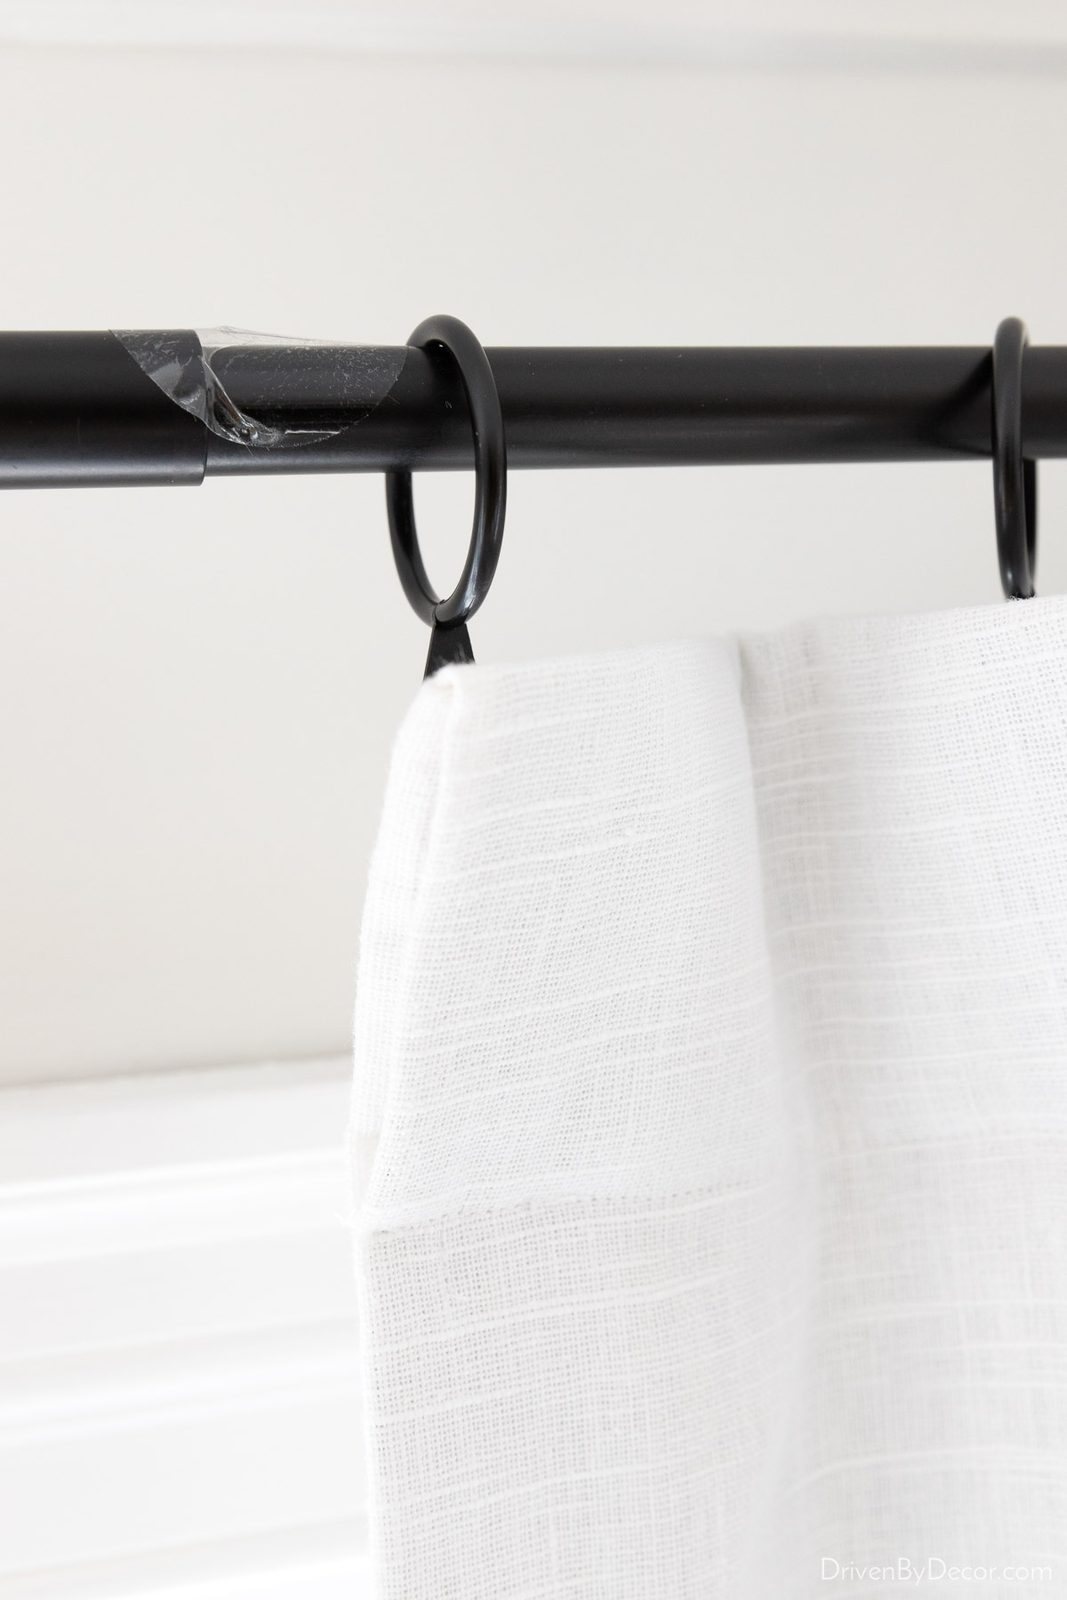
When testing out how it worked, I found that I was now able to get my curtain rings over the joint with the ramps in place, but not nearly as easily or smoothly as with the rod tape. It did tend to catch a bit right at the point where the tape starts and I got the feeling that over time, the tape would likely start to lift up due to that. And it was more visible than the rod tape too. So while it worked, to me it was just an okay solution that wasn't nearly as effective as the rod tape. I think the joint ramps would be fine for curtains you only opened and closed occasionally but for everyday use, the rod tape was definitely superior.
It would help if this helps those of you who have had the same issue with your telescoping rods as I did! If you want more info on buying and hanging curtains and links to the preferred curtains and rods, look at my post on how high to hang curtains. You might also find my post on how to measure for curtains to be helpful!
I'll see you back on the blog soon!
XO,

Elsewhere in the house
 Dining RoomsDecorating Your Dining Room: Pointers Worth Keeping
 Decorating TipsTen More Rule of Thumb Measurements for Decorating Your Home
 Decorating TipsConsole Table Decor: My 10 Kept Styling Approaches
 Decorating TipsTwenty Interior Design Rules and Measurements You Need to Know
 Living RoomsDecorating Your Living Room: Pointers Worth Keeping
 Living RoomsSix Stylish Coffee Table Decor Approaches to Elevate Your Space
 Decorating TipsThe 10 Best Home Decorating Apps
 BathroomsWhat Actually Works (And What Doesn't): Mixing Metals in Your Bathroom
 Decorating TipsNeutral Home Decor: 6 Decorating Pointers